
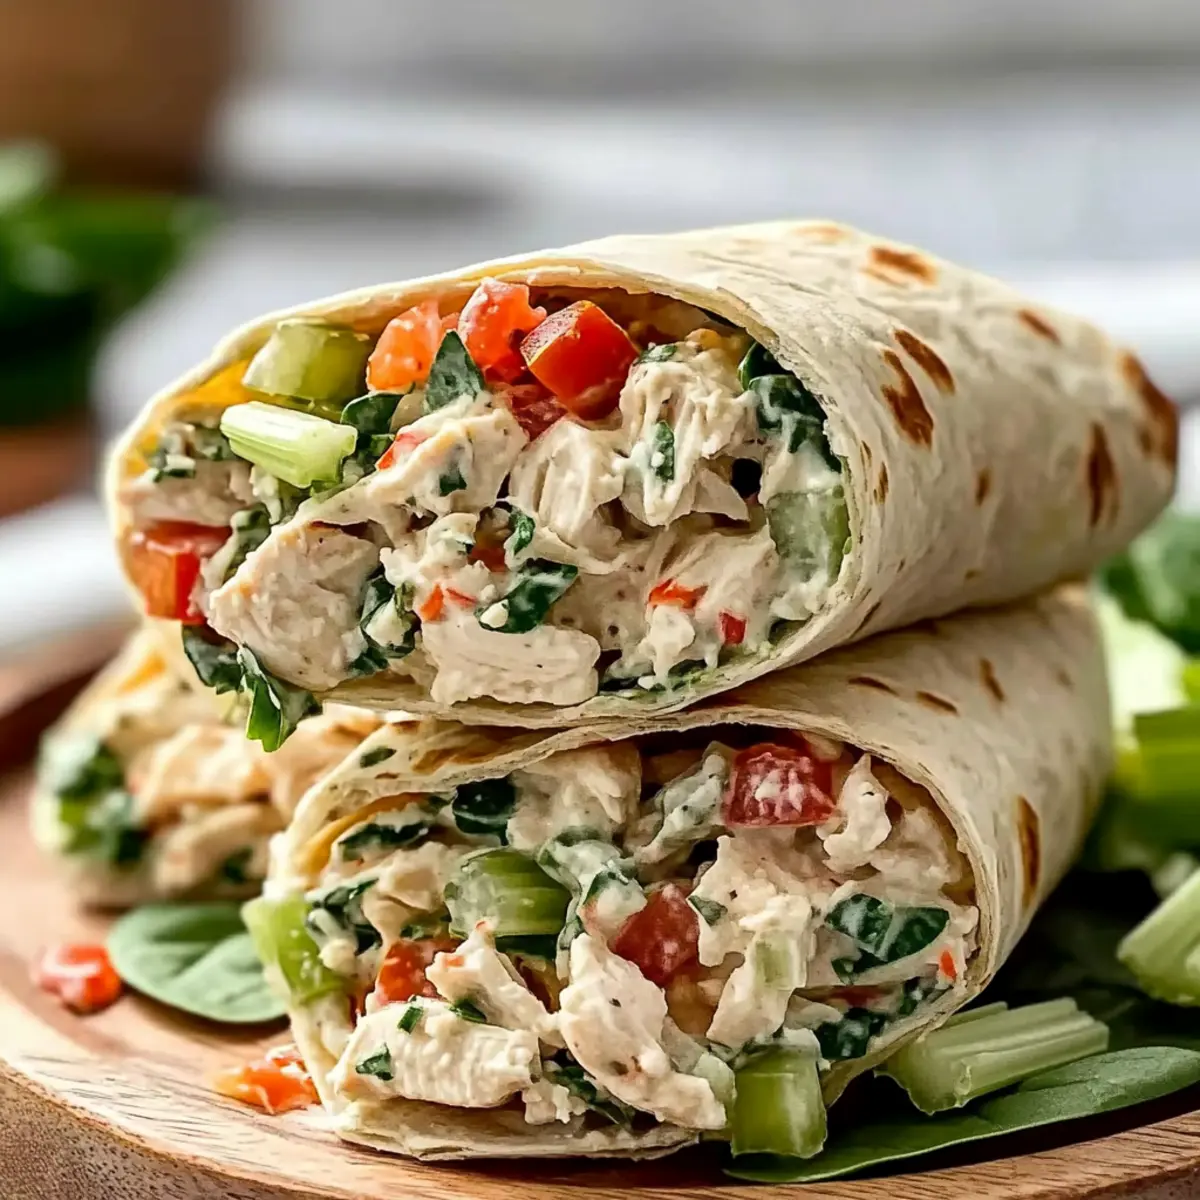
With summer picnics and outdoor gatherings just around the corner, I can’t help but crave something refreshingly simple yet mouthwatering. That’s where these Easy Homemade Chicken Salad Wraps come into play! This recipe is not only a quick lunch solution, but it also doubles as an easy meal prep option that you’ll love. You can whip these up using leftover rotisserie chicken or even poached chicken—talk about versatility! The delightful mix of creamy yogurt and mayonnaise, coupled with crunchy veggies and zesty lemon, creates a balance that transforms your lunch into something special. These wraps are ideal for packing in lunch boxes or serving at your next gathering. So, are you ready to discover the ultimate picnic idea that everyone will adore? Let’s get started!
Why Are Chicken Salad Wraps Perfect for Picnics?
Versatile and Customizable: You can easily adjust the ingredients based on what you have at home. Whether you opt for rotisserie, poached, or grilled chicken, your wraps will always be delightful!
Quick Preparation: This recipe is a breeze, perfect for those busy days when you want to eat well without the fuss—ideal for lazy afternoons!
Crowd-Pleasing Flavor: The combination of creamy yogurt, zesty lemon, and fresh veggies creates a satisfying taste that will impress any guest at your picnic.
Nutrient-Packed: The addition of greens and vegetables not only enhances flavor but also boosts the nutritional value, making these wraps a health-conscious choice.
Easy to Pack: Whether for a picnic or a lunch box, these wraps travel well and stay fresh, pairing beautifully with side dishes like Macaroni Salad Summer or a refreshing fruit salad.
Make-Ahead Friendly: Prepare the chicken salad the night before, and you’ll have a quick meal ready to go, just when you need it.
Picnic Idea Chicken Salad Wrap Ingredients
• Perfect for your next outdoor feast!
For the Chicken Salad
- Chicken (14 oz, cooked and shredded) – Base protein; cooked and cooled to avoid sogginess.
- Green Onions (2, thinly sliced) – Adds a mild onion flavor; can substitute with scallions for a similar taste.
- Yogurt (2 oz, plain, unsweetened) – Provides creaminess with fewer calories than mayo; try Greek yogurt for extra protein.
- Mayonnaise (4 oz, e.g., Hellmann’s) – Adds richness; avocado mayo is a healthy alternative worth exploring.
- Dijon Mustard (1.5 tsp) – Enhances flavor; yellow mustard can work in a pinch.
- Carrot (1/2, finely grated) – Adds sweetness and crunch; substitute with zucchini for a twist.
- Spinach (1.5 oz, roughly chopped) – Contributes freshness; lettuce or kale makes great substitutes.
- Tomatoes (1 oz, diced) – Adds juiciness; cherry tomatoes can add a pop of color and flavor.
- Celery (1 stalk, finely diced) – Provides crunch; cucumber is a refreshing alternative.
- Lemon Zest (zest of 1/2) – Brightens flavor; optional if you prefer a milder taste.
- Lemon Juice (juice of 1/2) – Balances the creaminess; lime juice can also work nicely here.
- Parmesan Cheese (1 oz, finely grated) – Offers a savory note; use nutritional yeast for vegan options.
- Black Pepper (pinch) – Enhances overall flavor; adjust to your taste preference.
- Dried Dill (1/2 tsp) – Adds a distinct herbal note; fresh dill or parsley is great for a fresher taste.
For the Wraps
- Tortillas (6, flour or whole wheat) – Wrap base; lettuce leaves or gluten-free tortillas can be used as an alternative.
Step‑by‑Step Instructions for picnic idea Chicken Salad Wrap
Step 1: Prep Ingredients
Start by washing and preparing your vegetables for the chicken salad wrap. Dice the celery and tomatoes into bite-sized pieces, and finely grate the carrot. Thinly slice the green onions and roughly chop the spinach. This step should take about 10 minutes, and having everything prepped will ensure a smooth assembly of your delicious wraps!
Step 2: Mix Dressing
In a medium-sized mixing bowl, whisk together the plain yogurt and mayonnaise until smooth, creating a creamy base for the chicken salad. Next, incorporate the Dijon mustard, lemon juice, lemon zest, dried dill, black pepper, and grated Parmesan cheese. Mix until everything is well-combined, creating a flavorful dressing that will enhance your chicken salad wrap.
Step 3: Combine Salad
Gently fold the cooled, shredded chicken into the bowl with the dressing. Add in the prepped veggies: diced celery, tomatoes, grated carrot, chopped spinach, and sliced green onions. Carefully stir until everything is evenly coated with the creamy dressing, ensuring a well-distributed mixture that will bring the picnic idea chicken salad wrap to life.
Step 4: Warm Tortillas
To make the tortillas more pliable for wrapping, heat them in a skillet over medium heat for about 20–30 seconds per side, or warm them in the microwave for 10-15 seconds. This will prevent them from cracking and make assembly easier. Keep an eye on them, as you just want them warm and flexible for the next step.
Step 5: Assemble Wraps
Position a warm tortilla on a flat surface and spoon 1 to 1.5 cups of the chicken salad mixture slightly off-center on the tortilla. Fold in the sides, then roll tightly from the bottom to encase the filling securely. Repeat this for all your tortillas, creating a delightful picnic idea chicken salad wrap that everyone will enjoy.
Step 6: Serve or Toast
You can enjoy the wraps immediately or place them seam-side down in a hot skillet for 2-3 minutes per side until golden and crispy. Toasting adds a delightful texture and warms the filling. Once ready, slice them in half for easy serving, and get ready to share the joy of these scrumptious chicken salad wraps!
What to Serve with Easy Homemade Chicken Salad Wraps
These vibrant wraps are the perfect centerpiece for a delightful meal, with fresh flavors that invite you to explore tasty complements.
- Crispy Kettle-Cooked Potato Chips: The crunchy texture and salty flavor of kettle chips create the perfect contrast to the creamy wraps.
- Seasonal Fruit Salad: A refreshing mix of seasonal fruits brings a touch of sweetness and elevation, cleansing the palate between bites.
- Sweet Potato Fries: These perfectly baked fries offer a sweet and savory balance, adding a comforting side that everyone loves.
- Simple Green Salad: A light green salad with a lemon vinaigrette enhances freshness and provides an excellent nutritional boost.
- Greek Yogurt Dip: A tangy yogurt dip with herbs can elevate the experience, perfect for dipping or spreading along the wraps.
- Herbed Couscous: Fluffy couscous tossed with fresh herbs complements the chicken salad with delightful Mediterranean vibes.
- Sparkling Lemonade: Refreshing and bubbly, a glass of sparkling lemonade enhances the zesty notes of the wraps while cool and invigorating.
- Chocolate Chip Cookies: End your meal on a high note with soft, chewy cookies, a sweet reward for a satisfying picnic spread.
- Cold Iced Tea: A refreshing glass of iced tea offers a light touch with subtle flavor, making it an excellent pairing for warm days.
Expert Tips for Chicken Salad Wraps
-
Chill Your Chicken: Cool cooked chicken in the fridge for at least 30 minutes before using. This keeps fresh veggies crisp and ready for your picnic idea.
-
Control the Filling: Avoid filling tortillas to the brim. Stick to 1 to 1.5 cups of chicken salad to prevent messy spills.
-
Wrap Wisely: Warm tortillas make rolling easier. Heat them just enough until they’re pliable—too hot can make them tear!
-
Fresh Herbs Matter: Adding fresh herbs enhances flavor. Use dill or experiment with basil for a delightful twist in your chicken salad wraps.
-
Perfect Storage: If making ahead, store the chicken salad in an airtight container separately from tortillas. This keeps wraps fresh until serving.
How to Store and Freeze Chicken Salad Wraps
-
Fridge: Store assembled chicken salad wraps in an airtight container for up to 4 hours for best texture. If longer, keep the chicken salad and tortillas separate.
-
Freezer: Wrap chicken salad mixture tightly in plastic wrap or place in a freezer-safe container for up to 3 months. Thaw in the fridge overnight before use.
-
Reheating: To enjoy leftovers, place wraps in a skillet over medium heat for about 2-3 minutes per side until warmed through and golden.
-
Airtight Storage: If you have leftover ingredients, store the chicken salad mixture in an airtight container in the fridge for easy access to create more picnic idea chicken salad wraps whenever you want!
Make Ahead Options
These Easy Homemade Chicken Salad Wraps are perfect for meal prep enthusiasts aiming to save time during busy weeks! You can prepare the chicken salad filling up to 3 days in advance; simply combine the cooled, shredded chicken with all the prepped veggies and dressing and store it in an airtight container in the refrigerator. For the best quality, keep the tortillas separate and assemble the wraps just before serving to maintain crispness. When ready to enjoy, warm the tortillas for easier wrapping, spoon in the chicken salad, and roll tightly for a delightful meal that tastes just as fresh as if it were made that day!
Variations and Substitutions for Chicken Salad Wrap
Feel free to get creative with this recipe and make it your own! Customize these wraps to suit your taste buds and ingredient preferences.
-
Turkey Swap: Substitute shredded chicken with turkey for a delightful twist; perfect for holiday leftovers!
-
Tuna for a Change: Use canned tuna for a quick and easy protein option. The fish adds a unique flavor that’s sure to impress.
-
Herb Infusion: Swap dried dill for fresh herbs like basil or cilantro. Their vibrant flavors add a fresh touch to your wraps.
-
Zucchini Crunch: Instead of carrots, try grated zucchini for added moisture and texture; it’s a wonderful summer alternative.
-
Lettuce Wraps: Go low-carb by using large lettuce leaves instead of tortillas. Crisp romaine or butter lettuce makes a refreshing base.
-
Spice it Up: Add diced jalapeños or a splash of sriracha to give your chicken salad an extra kick. A little heat can elevate flavor beautifully.
-
Cheese Variation: For a creamier option, try cream cheese instead of yogurt; it adds indulgent richness that’s hard to resist.
-
Veggie Mix: Incorporate seasonal vegetables like roasted bell peppers or avocado slices to make it even heartier—each bite is a treasure!
Serving these wraps with a side of Macaroni Salad Summer or a cool fruit salad complements the flavors perfectly. Whether you’re prepping for a gathering or a simple lunch, there’s no limit to how delightful these chicken salad wraps can be!
Picnic Idea Chicken Salad Wrap Recipe FAQs
How do I choose the best chicken for my wraps?
Absolutely! Your choice of chicken can make all the difference. For the best flavor and texture, I recommend using rotisserie chicken, which adds moisture and seasoning. If you’re feeling adventurous, you can poach chicken breasts in a broth for a leaner option or grill marinated chicken for a smoky flavor. Just ensure the chicken is cooked and cooled properly to avoid wilting your fresh vegetables.
How long can I store the chicken salad mixture in the fridge?
You can store the chicken salad mixture in an airtight container in the fridge for up to 4 days. This is super handy for meal prep! Just be sure to keep the tortillas separate to maintain their crispness. If you notice any dark spots on the mixture or a sour smell, it’s best to discard it to stay safe.
Can I freeze my chicken salad wraps?
Very! To freeze, first wrap the chicken salad mixture tightly in plastic wrap or place it in a freezer-safe container—it’ll last for up to 3 months. Then, thaw the mixture in the fridge overnight before use. For the tortillas, it’s best to store them separately. When you’re ready, just warm them up before assembly to restore their pliability.
What should I do if my wraps are falling apart?
No worries! If your wraps are falling apart, it’s likely due to overfilling. Aim for 1 to 1.5 cups of filling per wrap, ensuring it’s centered. You can also warm the tortillas before wrapping to maintain their flexibility and avoid tearing. If a wrap does tear, simply use a second tortilla as a reinforcement—more layers of deliciousness!
Are these wraps suitable for specific dietary restrictions?
Definitely! These chicken salad wraps can easily be customized for various dietary needs. If you’re looking for a gluten-free option, use lettuce leaves or gluten-free tortillas instead of traditional ones. For a dairy-free or vegan approach, swap the yogurt and mayonnaise for avocado or a dairy-free alternative. Keep an eye on ingredients for nut allergies, especially if you choose alternative dressings—always worth checking!
How do I pack these wraps for a picnic?
Packing these wraps is a breeze! Once assembled, wrap each chicken salad wrap tightly in parchment paper or aluminum foil to keep them fresh. Place them in an insulated lunch bag or cooler to maintain their deliciousness. Pair them with refreshing fruit or a crunchy side, and you’re all set for the perfect picnic idea!
Perfect Picnic Idea: Delicious Chicken Salad Wraps
Ingredients
Equipment
Method
- Start by washing and preparing your vegetables for the chicken salad wrap. Dice the celery and tomatoes into bite-sized pieces, and finely grate the carrot. Thinly slice the green onions and roughly chop the spinach.
- In a medium-sized mixing bowl, whisk together the plain yogurt and mayonnaise until smooth, creating a creamy base for the chicken salad. Next, incorporate the Dijon mustard, lemon juice, lemon zest, dried dill, black pepper, and grated Parmesan cheese. Mix until everything is well-combined.
- Gently fold the cooled, shredded chicken into the bowl with the dressing. Add in the prepped veggies: diced celery, tomatoes, grated carrot, chopped spinach, and sliced green onions. Carefully stir until everything is evenly coated.
- To make the tortillas more pliable, heat them in a skillet over medium heat for about 20–30 seconds per side, or warm them in the microwave for 10-15 seconds.
- Position a warm tortilla on a flat surface and spoon 1 to 1.5 cups of the chicken salad mixture slightly off-center. Fold in the sides, then roll tightly from the bottom.
- Enjoy the wraps immediately or place them seam-side down in a hot skillet for 2-3 minutes per side until golden and crispy.
Leave a Reply