
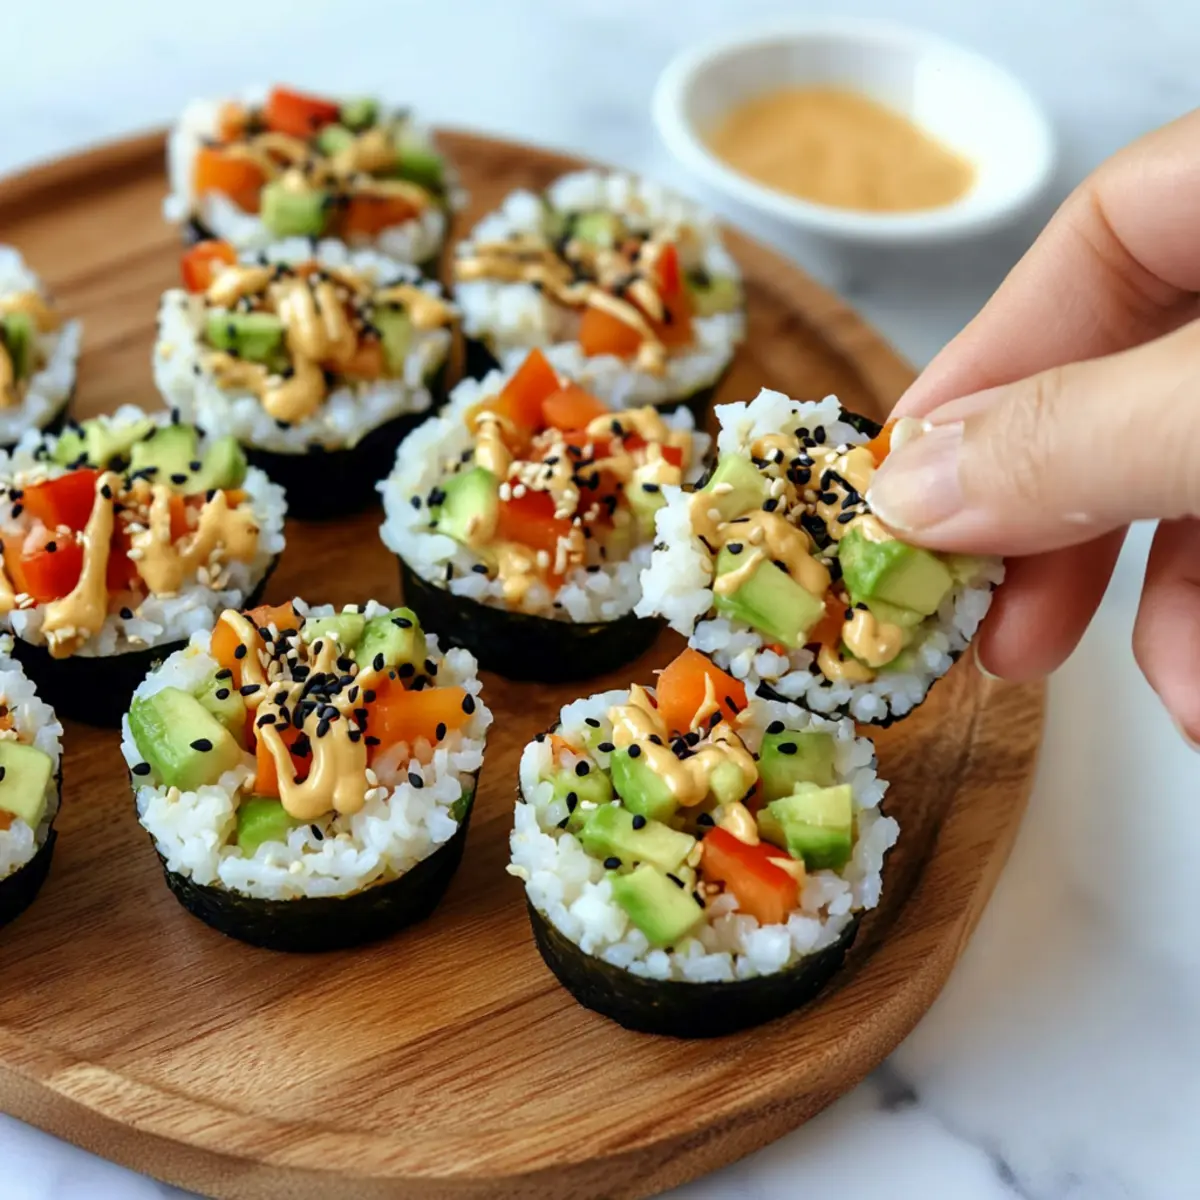
“Did you know you can make sushi without the rolling?” As someone who craves the vibrant and fresh flavors of sushi but often finds the traditional method a bit daunting, I was thrilled when I discovered these customizable Sushi Cups. These bite-sized delights not only save time with no baking required, but they also let you get creative with whatever fresh veggies and proteins you have on hand. Perfect for gatherings, these sushi cups double as a healthy snack or an elegant appetizer. The creamy avocado paired with crunchy veggies and that delicious spicy mayo… it’s a combination that’s hard to resist! Have you ever thought about giving your sushi a fun twist? Let’s dive into making these delightful bites!

Why Are Sushi Cups So Appealing?
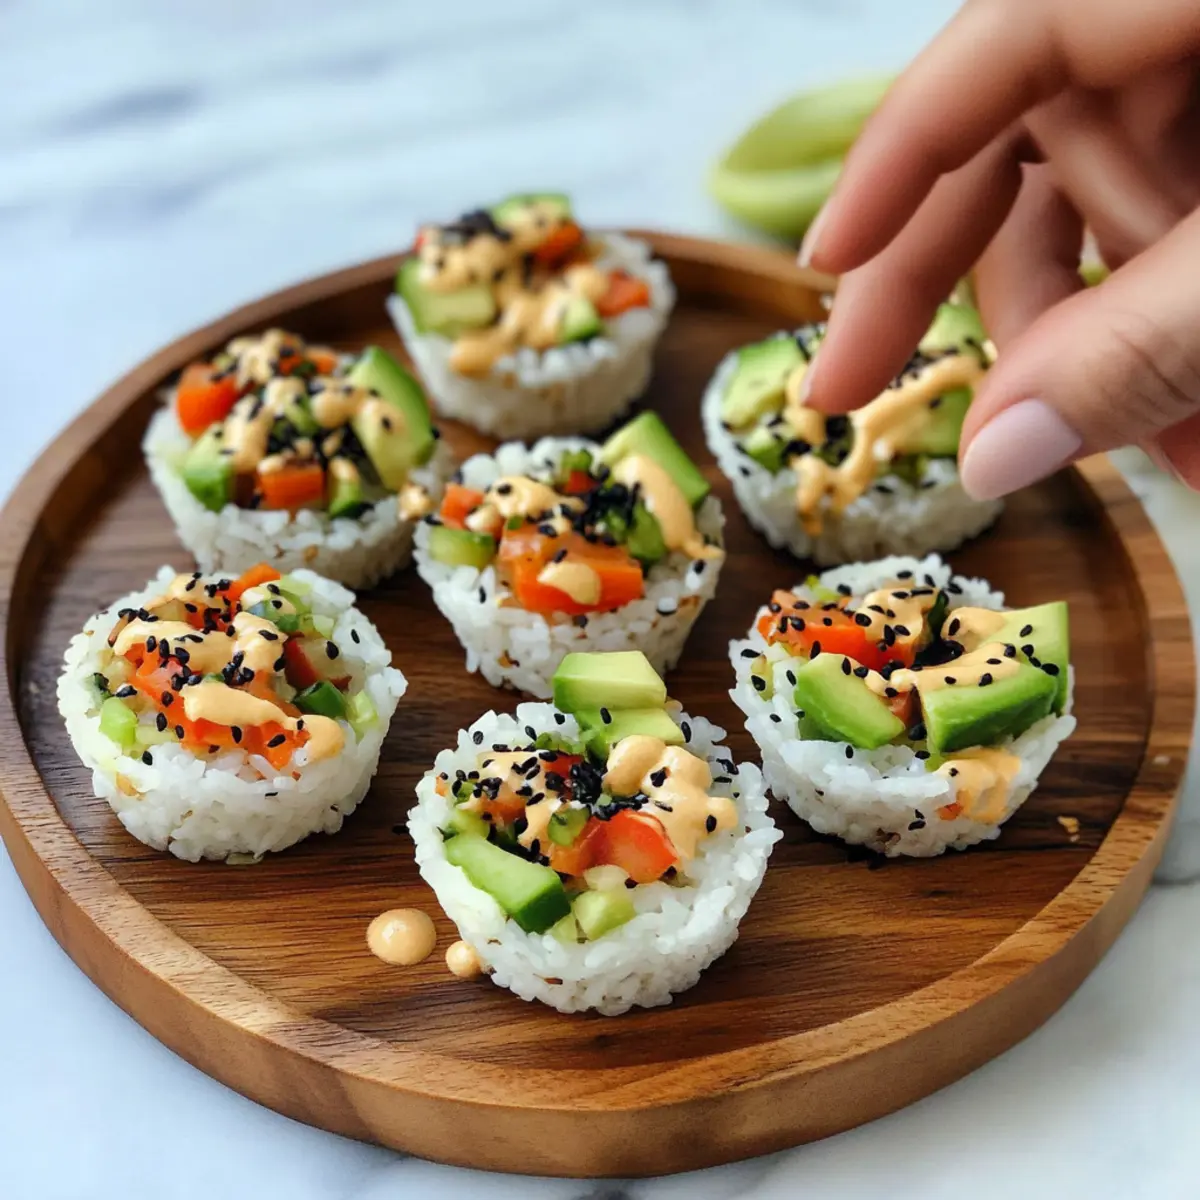
No-Roll Sushi: Enjoy the beloved flavors of sushi without the hassle of rolling! These sushi cups allow you to whip up delightful bites that look as good as they taste.
Customize Your Way: Tailor these cups to your liking with any veggies or proteins you have on hand—perfect for clearing out the fridge!
Healthy & Delicious: Each cup is a nutritious snack and only around 110 calories, making them a guilt-free choice.
Ideal for Gatherings: Impress your guests at parties or potlucks! These sushi cups are portable and easy to share.
Quick & Easy Prep: With no baking involved, you can have these sushi cups ready in no time, making them a fantastic last-minute appetizer.
These customizable Sushi Cups are perfect alongside other fun appetizers like Halloween Taco Cups and tasty treats like Fluff Trifle Cups. Get ready for a fresh and fun snacking experience!
Sushi Cups Ingredients
• Here’s everything you need to create these deliciously customizable sushi cups!
For the Rice Cups
- Sushi Rice – Provides the perfect foundation for these sushi cups; rinse thoroughly before cooking for fluffy results.
- Water – Essential for cooking the rice; measure accurately for the best texture.
For the Filling
- Chopped Veggies (Carrots, Cucumber, Bell Peppers, Sprouts) – Add freshness and crunch; feel free to mix in seasonal favorites.
- Steamed Mukimame (Shelled Edamame) – Packed with protein and fiber; substitute with cooked shrimp or tofu for variation.
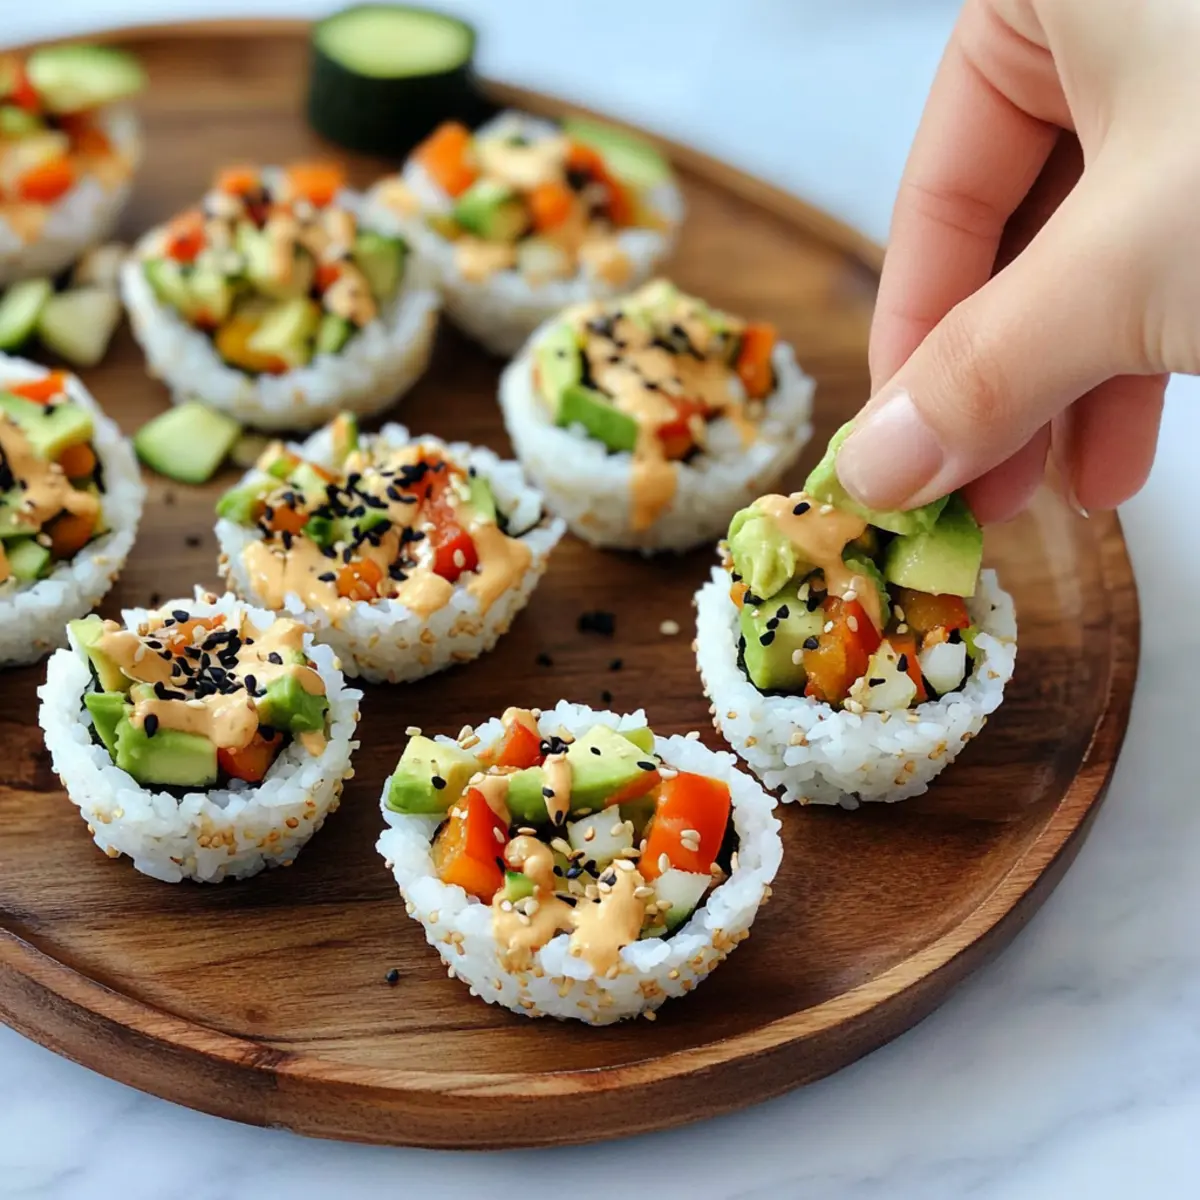
- Diced Avocado – Offers creaminess and healthy fats; ensure your avocado is ripe for maximum flavor.
For the Sauce
- Soy Sauce, Tamari, or Coconut Aminos – Enhances umami flavors; choose based on dietary needs for gluten-free options.
- Mayonnaise – The base for the spicy mayo; consider a plant-based alternative for a vegan version.
- Sriracha Sauce – Adds a kick of heat; adjust according to your spice tolerance.
- Honey – Balances the spiciness of Sriracha; agave syrup makes a great vegan substitute.
- Sesame Oil – Adds a distinctive nutty flavor; omit if allergies are a concern.
For Garnish
- Black Sesame Seeds – Sprinkle on top for added visual appeal and crunch; an authentic finishing touch!
Now you have all the ingredients covered for your fabulous sushi cups—ready to dive into some vibrant flavors?
Step‑by‑Step Instructions for Sushi Cups
Step 1: Cook the Rice
In a medium pot, combine 1 cup of rinsed sushi rice with 1¼ cups of water. Bring the mixture to a vigorous boil over medium-high heat. Once boiling, reduce the heat to low, cover, and let it simmer for 20 minutes. After the rice is tender and water is absorbed, remove it from heat and allow it to cool for about 10 minutes, keeping the lid on to maintain fluffiness.
Step 2: Prepare Rice Cups
Once the rice has cooled slightly, preheat your oven to 350°F (180°C). Lightly grease a muffin tin with cooking spray or oil. Press about 2 heaping tablespoons of warm sushi rice into each muffin cup, shaping it to create a cup. Bake the rice cups for 10 minutes until they firm up slightly, then let them cool for 20 minutes in the tin before gently removing them.
Step 3: Mix Filling
In a mixing bowl, combine your chopped veggies like carrots, cucumber, and bell peppers with 1 cup of steamed mukimame and 1 diced avocado. Drizzle with 2 tablespoons of soy sauce or coconut aminos and mix everything together gently. The goal is to evenly coat each ingredient while preserving the freshness and crunchiness, making your sushi cup filling vibrant and flavorful.
Step 4: Make Spicy Mayo
In a separate small bowl, whisk together ¼ cup of mayonnaise, 1 tablespoon of Sriracha sauce, 1 teaspoon of honey, and a dash of sesame oil. Adjust the Sriracha to your heat preference. Aim for a creamy yet spicy consistency that enhances the flavor of your sushi cups without overpowering them, making every bite a delightful experience.
Step 5: Assemble Cups
Carefully remove your rice cups from the muffin tin and place them on a serving platter. Spoon the colorful veggie mixture into each rice cup, filling them generously. Drizzle the spicy mayo over the top for a delicious kick and garnish each cup with a sprinkle of black sesame seeds, creating an inviting presentation that’s ready for your guests to enjoy.
Expert Tips for Sushi Cups
-
Rinse the Rice: A thorough rinse of the sushi rice is essential. This removes excess starch, preventing overly sticky rice cups that fall apart.
-
Cool Before Shaping: Allow the rice to cool slightly before pressing it into muffin tins. This helps maintain shape and prevents overheating your hands during the shaping process.
-
Timing is Key: Assemble the sushi cups close to serving time. If prepared in advance, store them separately to avoid soggy rice cups and keep their crunch.
-
Use Silicone Liners: To make removal easier, utilize silicone muffin liners. They ensure your sushi cups maintain their shape without sticking to the pan.
-
Customize Wisely: While you can get creative with fillings, be cautious of overly wet ingredients, which can make the sushi cups mushy. Aim for a balance of textures!
These tips will help you create perfect sushi cups that are not only delightful to eat but also visually appealing. Enjoy every vibrant flavor!
Storage Tips for Sushi Cups
Fridge: Store sushi cups in an airtight container in the refrigerator for up to 2 days. For best taste, assemble close to serving time to maintain crunch.
Freezer: Sushi cups can be frozen for up to a month. Wrap each cup tightly in plastic wrap and then place in a freezer-safe container.
Reheating: To reheat, allow the cups to thaw in the fridge overnight, then warm them in the oven at 350°F (175°C) for about 10 minutes to restore texture.
Prep Ahead: You can prepare the rice cups and filling separately 24 hours in advance and assemble them just before serving to keep everything fresh and flavorful.
What to Serve with Customizable Sushi Cups?
Elevate your sushi experience with these delightful pairings, perfect for a vibrant meal spread!
-
Crispy Tempura Veggies: These crunchy delights provide a wonderful contrast to the soft sushi cups while adding an exciting flavor.
-
Miso Soup: A warm bowl of miso soup complements the fresh ingredients in your sushi cups, enhancing the overall Japanese theme.
-
Sesame Noodles: Tasty and slightly sweet, these noodles offer a chewy texture that balances well with the rice cups.
-
Sushi Soy Salad: A light salad tossed with soy dressing, it brings out the umami flavors and fresh elements from the sushi cups.
-
Cucumber and Seaweed Salad: Refreshing and tangy, this pair brightens up the meal with its crisp texture, making each bite feel refreshing.
-
Sake or Green Tea: A glass of chilled sake perfectly complements the flavor profiles, while green tea refreshes the palate after each sushi cup.
-
Fruit Skewers: For dessert, colorful fruit skewers provide a sweet finish to your meal, contrasting the savory flavors of the sushi cups.
-
Chocolate Mochi: End on a sweet note; these chewy treats add a fun texture and a taste of classic Japanese dessert, wrapping up your meal beautifully!
Make Ahead Options
These customizable Sushi Cups are perfect for meal prep enthusiasts! You can prepare the rice cups up to 24 hours in advance by pressing the sushi rice into the muffin tin, letting them chill in the refrigerator, and then removing them once set. Additionally, you can chop the veggies and mix the filling (mukimame and avocado excluded) a day ahead, storing it separately to keep the textures fresh and vibrant. When you’re ready to serve, simply assemble the cups by adding the filling and drizzling the spicy mayo on top. This way, you’ll have a delightful appetizer ready to impress with minimal effort during your busy weeknights!
Sushi Cups Variations & Substitutions
Feel free to explore these tasty ideas to make your sushi cups even more exciting and personalized.
-
Quinoa Base: Substitute sushi rice with cooked quinoa for a nutty flavor and extra protein. Quinoa is an excellent gluten-free alternative that adds an unexpected twist!
-
Protein Variants: Switch out mukimame for grilled chicken, shrimp, or crispy tofu to amp up the protein. Each option brings a new taste while still keeping those nutritious benefits.
-
Veggie Swap: Use roasted vegetables like zucchini or sweet potatoes for a hearty flavor boost. The roasting brings out natural sweetness, making every bite a new adventure.
-
Different Sauces: Experiment with a sesame ginger dressing or spicy hoisin sauce instead of traditional soy sauce. These sauces add unique dimensions that elevate the sushi cups to gourmet status!
-
Heat Level Adjustments: Amp up the spice with diced jalapeños or switch the Sriracha for a spicy chili garlic sauce. Tailor the heat to wow your guests while still pleasing everyone’s palate.
-
Herb Infusion: Mix fresh herbs like cilantro, basil, or mint into your veggie filling for a fresh, aromatic lift. This vibrant addition enhances flavor and presentation, making your sushi cups a feast for the senses.
-
Creative Add-ins: Add a spoonful of pickled ginger or avocado cream for added zing and creaminess. These flavorful additions can bring a delightful surprise to each cup!
These customizable sushi cups can be paired beautifully with favorite treats like Spicy Tuna Sushi or alongside your delicious Halloween Taco Cups. Dive into this culinary adventure and let your creativity flourish!
Sushi Cups Recipe FAQs
What type of rice should I use for sushi cups?
You’ll want to use sushi rice, as it’s starchy enough to hold its shape when pressed into cups. Rinse the rice thoroughly before cooking to remove excess starch, which will help achieve a fluffy texture.
How long do sushi cups last in the fridge?
Sushi cups can be stored in an airtight container in the fridge for up to 2 days. However, for the best taste and texture, assemble them close to serving time to maintain the crunch of the ingredients.
Can I freeze sushi cups?
Absolutely! Sushi cups can be frozen for up to 1 month. Wrap each cup tightly in plastic wrap to prevent freezer burn, then place them in a freezer-safe container. When you’re ready to enjoy them, thaw in the fridge overnight and reheat in the oven at 350°F (175°C) for about 10 minutes.
What if my sushi cups become soggy?
To prevent soggy sushi cups, avoid adding overly wet ingredients, and assemble everything right before serving. If you need to prepare in advance, store the rice cups and fillings separately, and only put them together when you’re ready to eat.
Are these sushi cups safe for those with dietary restrictions?
Yes! The sushi cups can easily be customized to fit various dietary needs. Use gluten-free soy sauce or coconut aminos for gluten-sensitive guests, and opt for plant-based mayonnaise for those who are vegan. Just be mindful of any allergies when choosing your fillings!
How can I enhance the flavor of my sushi cups?
To add depth to your sushi cups, consider mixing in herbs like cilantro or green onions into the veggie mixture. You can also experiment with different sauces—like a sweet chili sauce for a twist or increase the amount of Sriracha if you prefer a bolder kick!
These FAQs should help you get the most out of making your sushi cups. Enjoy every fresh and flavorful bite!
Customizable Sushi Cups for Fresh and Fun Snacking
Ingredients
Equipment
Method
- In a medium pot, combine 1 cup of rinsed sushi rice with 1¼ cups of water. Bring to a vigorous boil, then reduce to low, cover, and simmer for 20 minutes. Remove from heat and let it cool for about 10 minutes.
- Preheat your oven to 350°F (180°C). Grease a muffin tin, press about 2 heaping tablespoons of warm sushi rice into each muffin cup, and bake for 10 minutes. Cool for 20 minutes before removing.
- In a mixing bowl, combine chopped veggies, steamed mukimame, and diced avocado. Drizzle with 2 tablespoons of soy sauce and mix gently.
- Whisk together ¼ cup of mayonnaise, 1 tablespoon of Sriracha, 1 teaspoon of honey, and a dash of sesame oil. Adjust for preferred spice.
- Remove rice cups from the muffin tin, fill them with the veggie mixture, drizzle spicy mayo on top, and garnish with black sesame seeds.
Leave a Reply