
As I stood in my kitchen, I realized the magic of a no-cook dish: effortless yet delightful. Enter the Pea Salad with Bacon—a quick prep that whirls together in just 10 minutes. This creamy and crunchy creation is perfect for picnics, barbecues, or any gathering where a crowd-pleaser is needed. The best part? You can whip it up without breaking a sweat, making it an ideal side dish for those busy days. Plus, the combination of tender peas, crispy bacon, and a wonderful blend of flavors creates a taste that’s sure to make you smile. Are you ready to discover a salad that brings a twist to your summer meals?
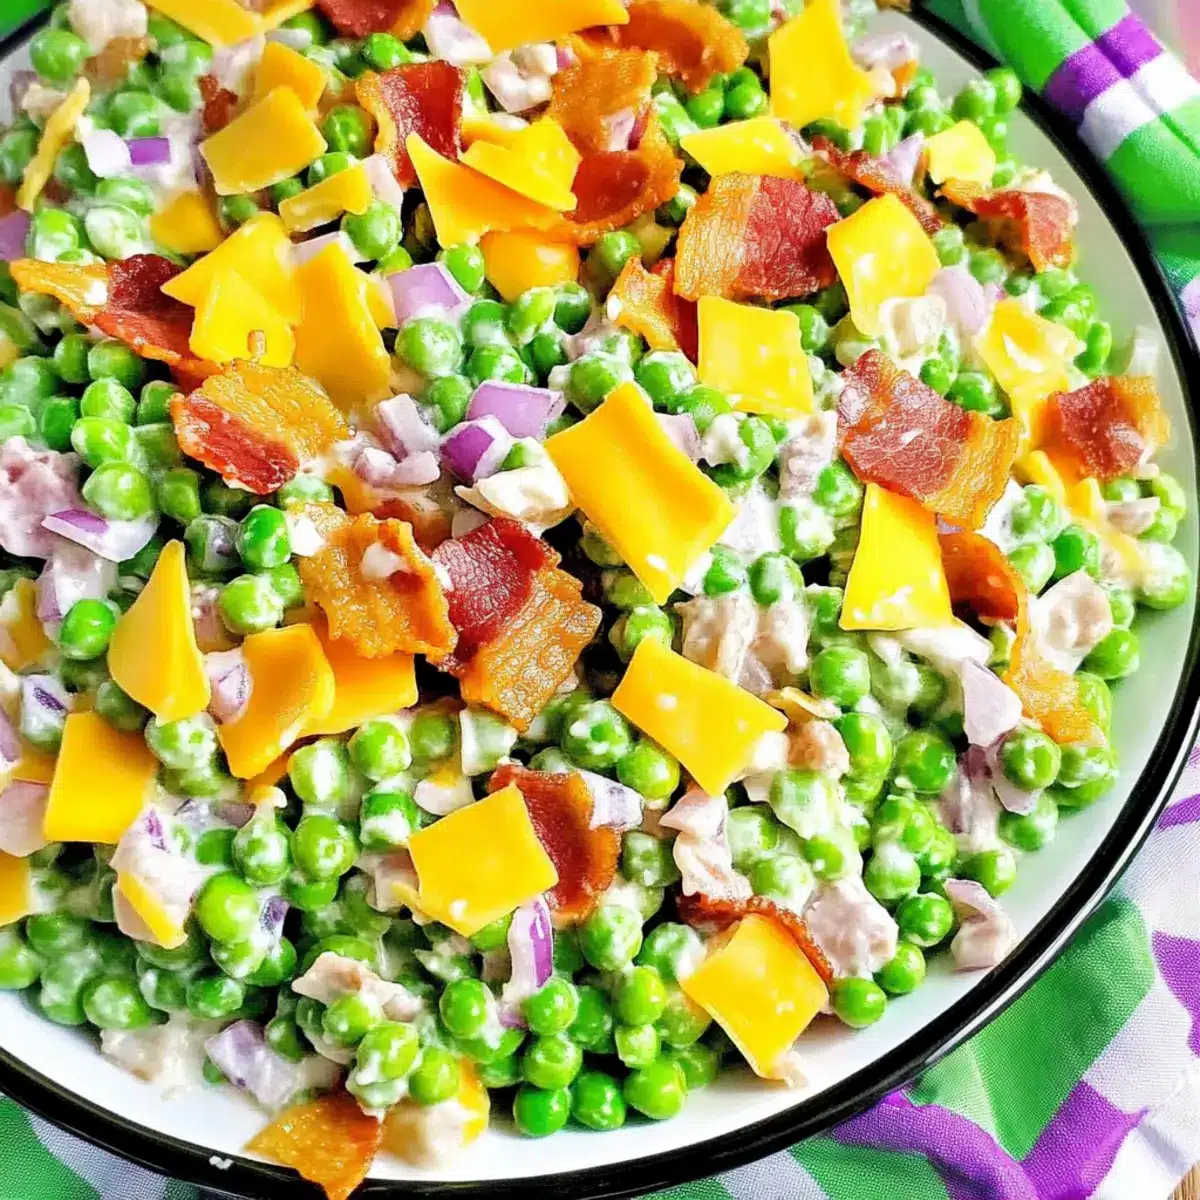
What Makes Pea Salad So Special?
Quick and Easy: This no-cook salad comes together in just 10 minutes, making it a lifesaver for busy weeknights or unexpected gatherings.
Crowd-Pleasing Flavor: The combination of creamy mayonnaise and crispy bacon creates a delightful contrast that will have everyone asking for seconds.
Versatile Ingredients: Feel free to substitute ingredients—whether it’s fresh peas or swapping cheddar for mozzarella, you can easily customize this salad to your taste.
Perfect for Picnics: With its chill-friendly nature, it’s ideal for summer outings or barbecues, just like this Roasted Pear Salad or Macaroni Salad Summer.
Make Ahead Convenience: It keeps well in the fridge for up to three days, allowing you to prepare it in advance – because who doesn’t love a meal that’s ready to go?
Pea Salad Ingredients
• A delightful mix of flavors awaits in this Pea Salad recipe!
For the Salad
- Frozen Peas – Provides the base of the salad; feel free to substitute with fresh peas for a fresher flavor.
- Sharp Cheddar Cheese – Adds creaminess and a rich flavor; any cheese of your choice can work well too.
- Red Onion – Offers a sharp, pungent bite that balances the salad; finely dice it for even distribution.
- Green Pepper – Contributes a fresh crunch and vibrant color; any bell pepper variety makes a great substitute.
- Mayonnaise – Acts as the creamy dressing that binds all the ingredients together; Greek yogurt can be used for a lighter option.
- Bacon – Infuses savory crunch into the salad; always cook until crispy for the best flavor.
Step‑by‑Step Instructions for Pea Salad
Step 1: Rinse the Peas
Begin by rinsing the frozen peas under cool running water in a colander for about 2 minutes. This will help thaw them quickly while removing any ice crystals. Once rinsed, allow the peas to drain thoroughly before patting them dry with a kitchen towel to avoid a watery Pea Salad.
Step 2: Combine the Base Ingredients
In a large mixing bowl, combine the sharp cheddar cheese, finely diced red onion, and chopped green pepper. Mix these ingredients gently with a spatula for about 1-2 minutes until they are well distributed. The vibrant colors and textures will set a beautiful base for your Pea Salad.
Step 3: Add the Dressing
Next, gently fold in the mayonnaise into the cheese and vegetable mixture. Season with salt and pepper to taste, which usually takes about 1 minute of mixing. Aim for a creamy coating that binds all the flavors together while ensuring an even distribution throughout your Pea Salad.
Step 4: Incorporate the Bacon
Carefully add the crispy bacon pieces to your mixture, folding them in gently. This step should take about 1 minute to ensure the bacon maintains its crunchiness while evenly dispersing throughout the salad. The combination of the savory bacon with the other ingredients will enhance the overall flavor of your Pea Salad.
Step 5: Chill for Maximum Flavor
Now, cover the bowl with plastic wrap and place the Pea Salad in the refrigerator for 1-2 hours. Chilling allows the flavors to meld beautifully, creating a refreshing taste that will shine at your next picnic or barbecue.
Step 6: Serve and Savor
Once chilled, give the Pea Salad a final gentle stir before serving. This should take about 1 minute. Ensure it’s well mixed and ready to delight your guests with its creamy texture and crunchy elements. Enjoy this delicious side at your next gathering!
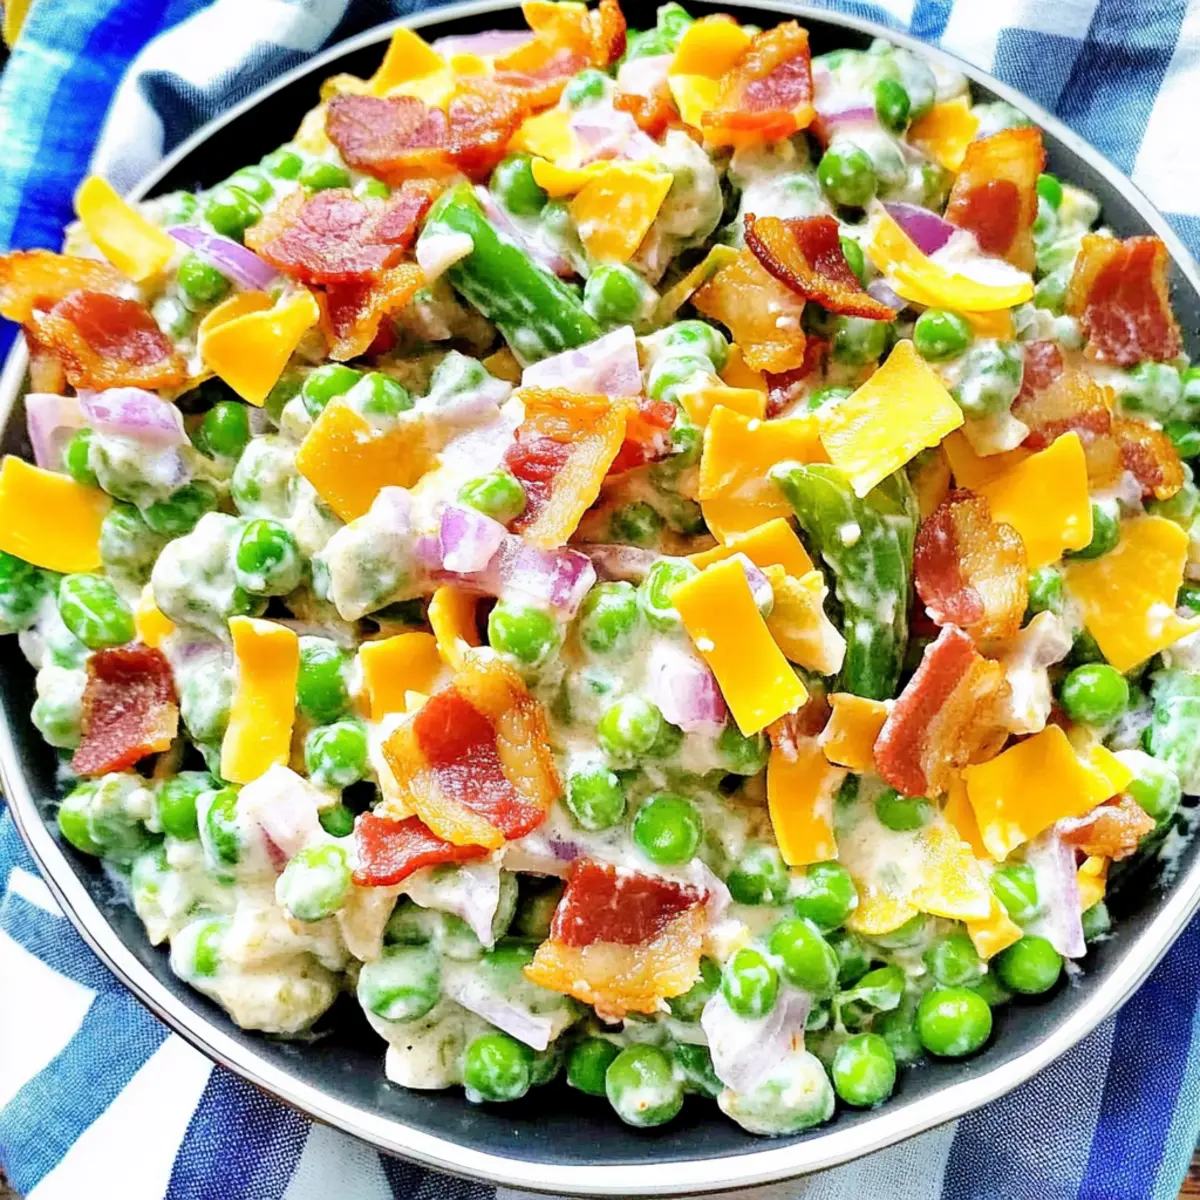
Pea Salad Variations & Substitutions
Feel free to get creative with your Pea Salad! Here are some fun ways to add your personal touch.
-
Fresh Peas: Swap frozen peas for fresh ones during the spring season for a vibrant crunch. Fresh peas taste delightful and add a garden-fresh flavor.
-
Mozzarella Magic: Replace sharp cheddar cheese with mozzarella for a milder, creamier cheese experience that balances beautifully with the other ingredients.
-
Crunchy Additions: Toss in diced apples or sliced almonds for an extra layer of crunch and sweetness that perfectly contrasts with the creamy dressing.
-
Greek Yogurt Twist: Use Greek yogurt instead of mayonnaise for a lightened version that’s still creamy and offers a protein boost. It adds a tangy flavor that complements the bacon nicely.
-
Colorful Carrots: Add grated or finely diced carrots for a pop of color and natural sweetness, enhancing both the texture and the overall appearance of the salad.
-
Egg-cellent Protein: Mix in chopped hard-boiled eggs for an added dose of protein and creaminess, making your salad even more satisfying and nutritious.
-
Spicy Bacon Upgrade: For a kick, try using spicy or maple bacon instead of regular bacon. The added flavor will elevate the profile of your salad, making it a hit at any gathering.
-
Herb Infusion: Adding fresh herbs like dill or parsley can bring a lovely freshness to your salad and complement the flavors beautifully, much like in a Fall Farro Salad or Sun Dried Salad.
Get ready to enjoy your customizable Pea Salad—there’s no wrong way to make it uniquely yours!
What to Serve with No-Cook Pea Salad with Bacon
Picture a sunny afternoon where your Pea Salad with Bacon takes center stage, ready to elevate any meal with its delightful crunch and creamy goodness.
- Grilled Chicken: The smokiness of grilled chicken complements the salad’s crunch, creating a harmonious balance of flavors perfect for summer meals.
- Corn on the Cob: Sweet, juicy corn brings a delightful texture and freshness that enhances the pea salad’s rich creaminess. Imagine the perfect bite with a dollop of butter melting into sweet kernels!
- Potato Salad: Another classic picnic dish, potato salad provides a comforting counterpart to the bright flavors of the pea salad—bringing a filling, hearty option to your spread.
- BBQ Ribs: The tangy richness of BBQ ribs pairs beautifully with the light and refreshing nature of the pea salad, balancing indulgence with a fresh kick.
- Crusty Bread Rolls: Soft, warm rolls are perfect for scooping up creamy salad or served alongside for an alternative texture experience.
- Lemonade or Iced Tea: A refreshing drink such as lemonade or iced tea complements the savory notes in the salad, cleansing the palate beautifully throughout your meal.
- Fruit Salad: A colorful fruit salad adds a sweet contrast to the flavors in your pea salad, providing a refreshing burst of juicy goodness after each bite.
- Cheese Platter: A variety of cheeses, such as brie or gouda, can enhance the meal, pleasing cheese lovers and providing exciting flavor combinations with the pea salad.
- Brownies or Lemon Bars: For dessert, treat yourself to fudgy brownies or zesty lemon bars that finish off the meal with sweetness, making every gathering feel extra festive.
Make Ahead Options
This Pea Salad with Bacon is an excellent choice for meal prep, allowing you to savor its deliciousness without last-minute stress! You can prepare the ingredients—such as rinsing and drying the peas, and chopping the veggies (like red onion and green pepper)—up to 24 hours in advance. Simply store them in airtight containers in the refrigerator to keep them fresh. To maintain quality, avoid adding the mayonnaise and bacon until just before serving to preserve the crunchiness. When it’s time to serve, combine all the components, gently fold in the mayonnaise, and finish with crispy bacon. You can also chill the salad in the refrigerator up to 3 days before your gathering, ensuring a flavorful, crowd-pleasing side dish ready when you need it!
Expert Tips for Pea Salad
-
Dry Peas Thoroughly: Ensure that the peas are completely dry after rinsing to prevent a watery Pea Salad. This will maintain the ideal creamy texture.
-
Customize Creaminess: Adjust the amount of mayonnaise to suit your preference. For a richer flavor, add a bit more, but start with a conservative amount.
-
Chill for Flavor: Letting the salad chill for 1-2 hours before serving is key. This step enhances the overall flavor, making every bite more delightful.
-
Bacon Crispness: Always cook bacon until crispy before adding to your salad. This ensures a satisfying crunch that complements the creamy base.
-
Feel Free to Substitute: If you’re out of an ingredient, don’t stress! Fresh peas, different cheeses, or even Greek yogurt can work beautifully in your Pea Salad.
How to Store and Freeze Pea Salad
Fridge: Store your Pea Salad in an airtight container in the refrigerator for up to 3 days. This will keep it fresh and maintain its wonderful texture.
Room Temperature: It’s best to avoid leaving the salad out at room temperature for more than 2 hours, especially in warmer weather, to ensure food safety.
Freezer: Freezing is not recommended for this Pea Salad as the texture of the peas and other ingredients may become mushy once thawed.
Reheating: This dish is best enjoyed cold and does not require reheating. Simply pull it out from the fridge and it’s ready to serve!
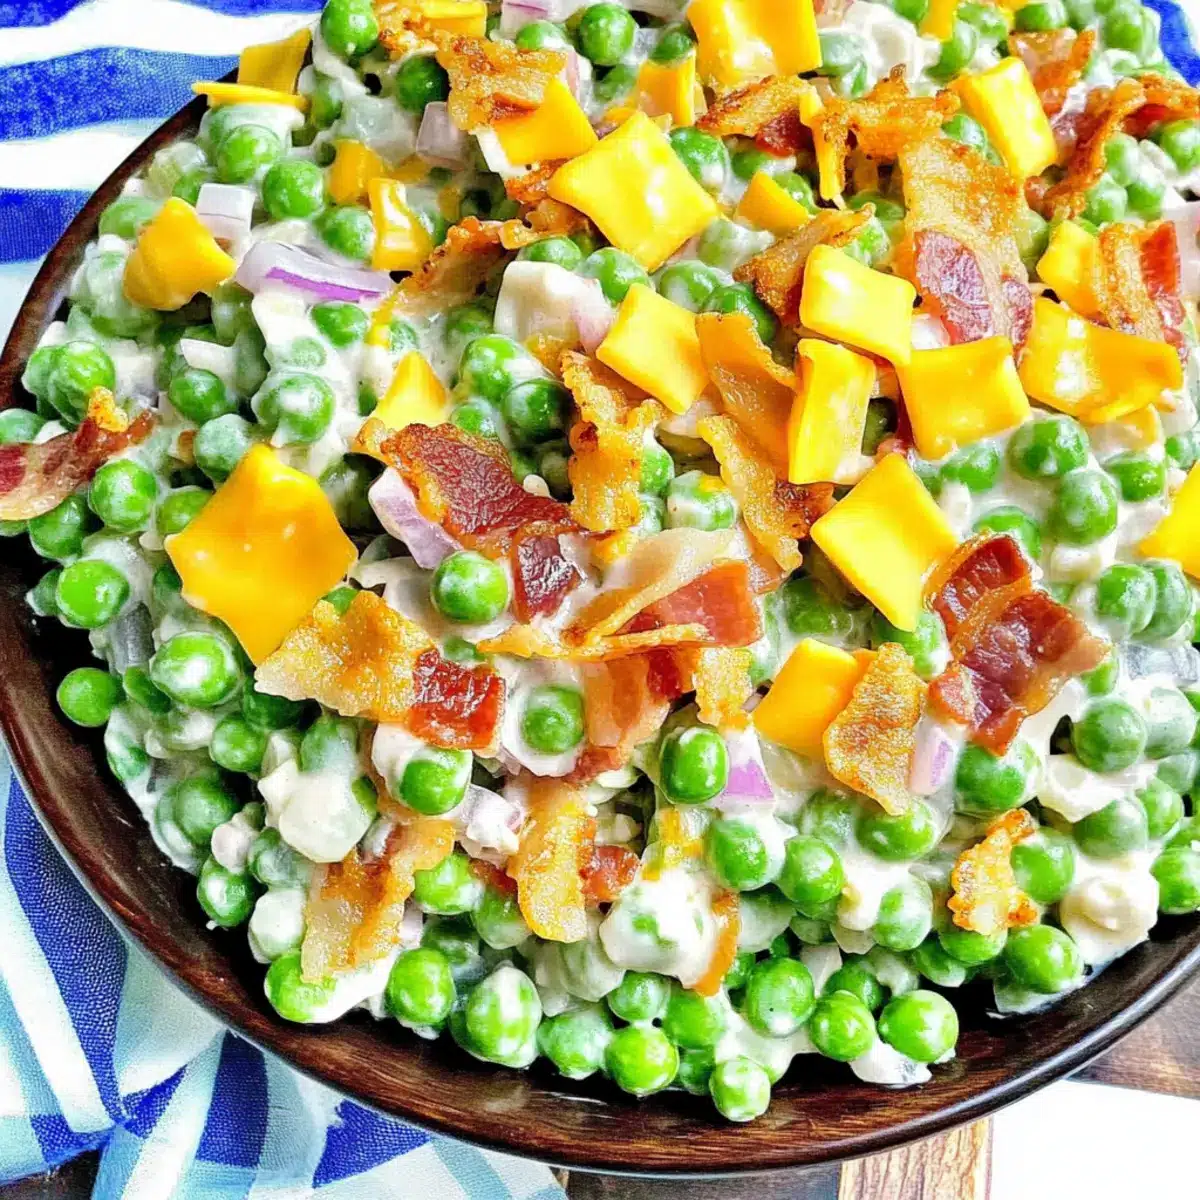
Pea Salad with Bacon Recipe FAQs
How do I select the best peas?
Absolutely! For the best flavor and texture, choose high-quality frozen peas that are bright green and free of ice crystals. If using fresh peas, they should be firm and sweet, avoiding any that have wrinkles or dark spots.
What’s the best way to store leftover Pea Salad?
Very! Store any leftovers in an airtight container in the refrigerator for up to 3 days. Make sure the salad is covered tightly to retain its freshness and avoid absorbing any odors from the fridge.
Can I freeze Pea Salad?
Not typically recommended. Freezing can alter the texture of the peas, making them mushy when thawed. If you find yourself with leftover Pea Salad, it’s best to enjoy it fresh rather than freezing.
What if my salad becomes watery?
If your salad turns out watery, it’s likely due to the peas not being dried properly after rinsing. Next time, make sure to dry them completely with a kitchen towel after rinsing. If it happens, you can drain some of the excess liquid before serving, and if you’d like, add a bit more mayonnaise to help bind everything together.
Are there any dietary considerations for Pea Salad?
Yes, definitely! If you or your guests have allergies, be sure to check mayonnaise for eggs and bacon for any added preservatives. This recipe can easily be adjusted for dietary preferences; for instance, you can swap bacon for a vegetarian alternative or use Greek yogurt to make it lighter. Just think about the needs of everyone at your table!
How can I make this salad healthier?
Very much! To give your Pea Salad a healthful twist, you can substitute mayonnaise with Greek yogurt to reduce fat and calories, and consider using turkey bacon instead of regular bacon. You can also add diced cucumbers or other vegetables for extra nutrients and crunch!
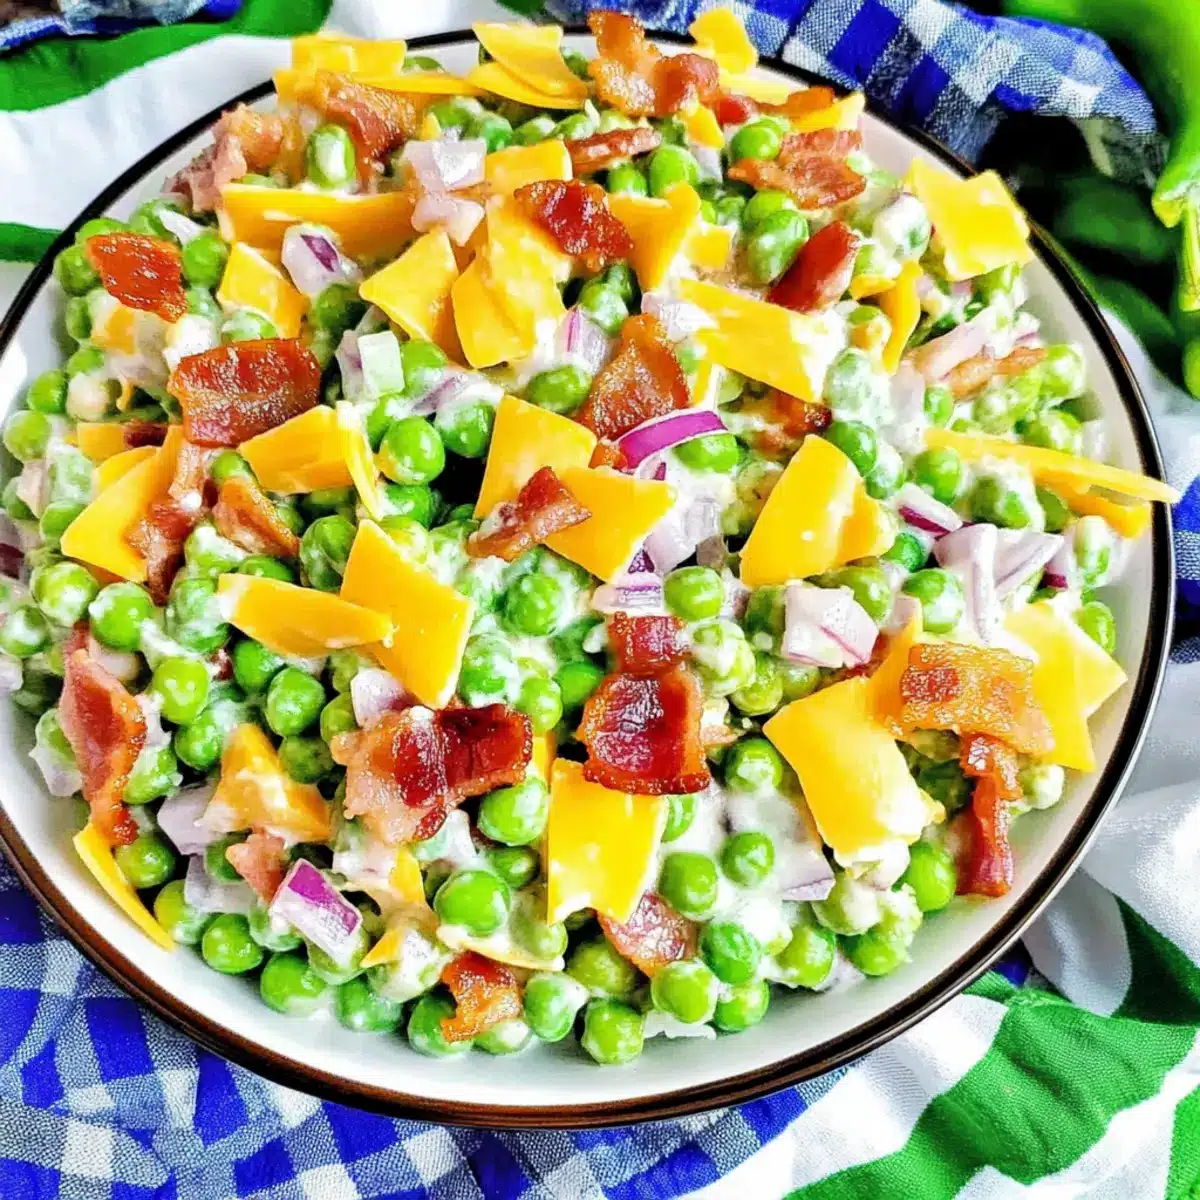
Delicious Pea Salad with Bacon for Your Summer Picnics
Ingredients
Equipment
Method
- Rinse the frozen peas under cool running water in a colander for about 2 minutes.
- In a large mixing bowl, combine the sharp cheddar cheese, finely diced red onion, and chopped green pepper.
- Gently fold in the mayonnaise into the cheese and vegetable mixture. Season with salt and pepper to taste.
- Carefully add the crispy bacon pieces to your mixture, folding them in gently.
- Cover the bowl with plastic wrap and place the Pea Salad in the refrigerator for 1-2 hours.
- Once chilled, give the Pea Salad a final gentle stir before serving.
Leave a Reply