
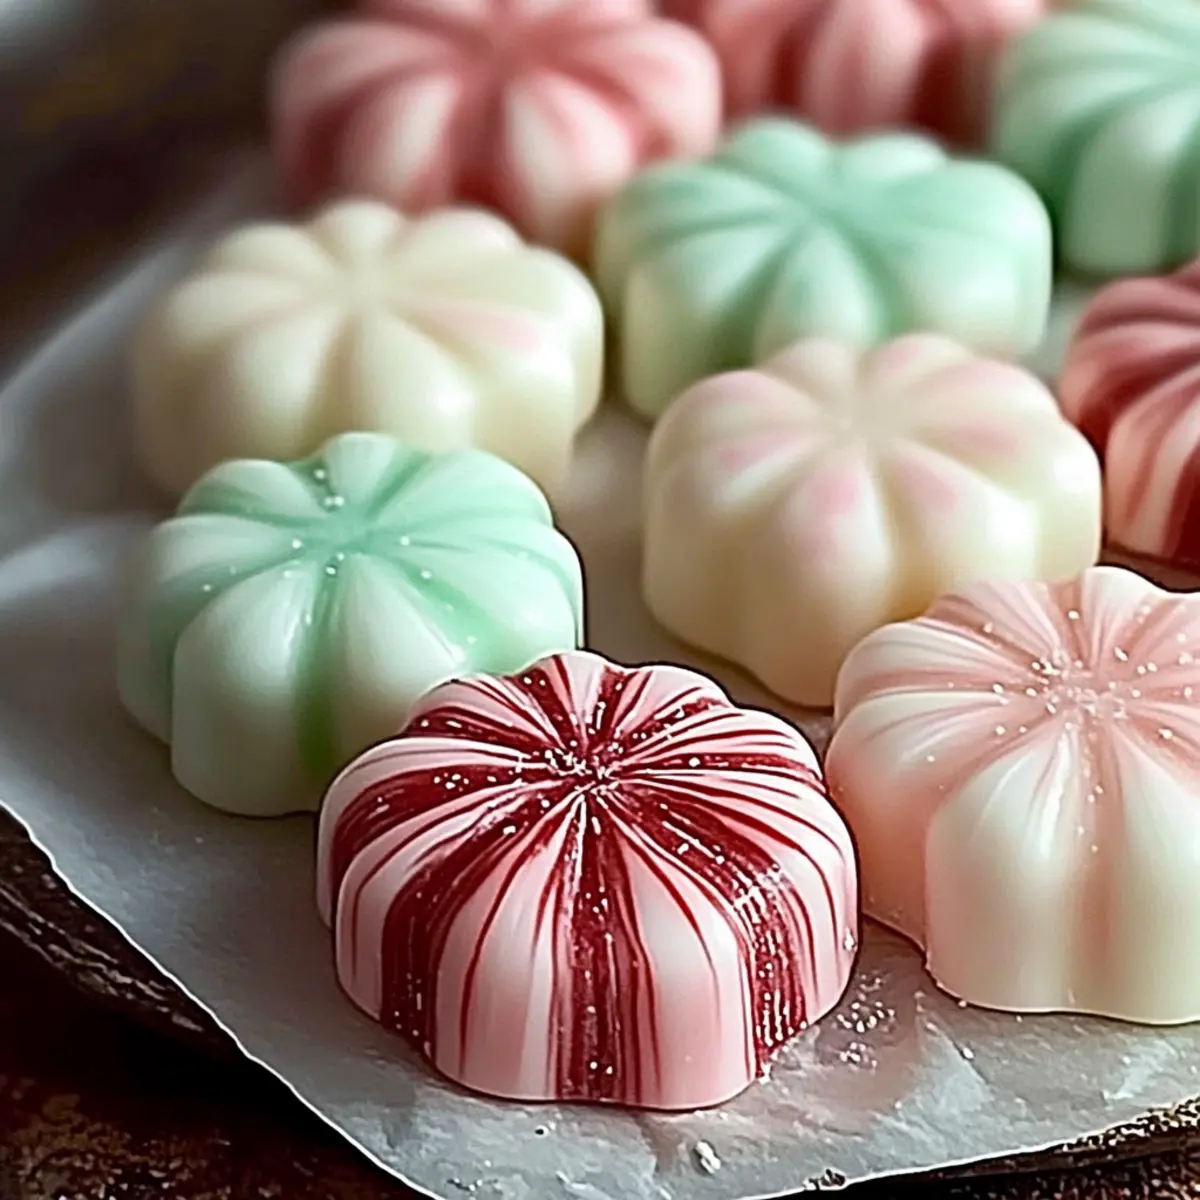
“Have you ever craved that nostalgic candy flavor that takes you back to simpler times?” That’s exactly what these Old-Fashioned Butter Mints deliver—a sweet trip down memory lane. With a melt-in-your-mouth texture and customizable flavors, this no-bake candy recipe is the answer to your cravings. The preparation is quick and easy, making it perfect for last-minute party favors or delightful additions to holiday platters. Plus, you can tailor these mints with your favorite extracts and food coloring to match any occasion. Whether you’re planning a wedding or just want to brighten up a gathering, these treats are a nostalgic charm that everyone will adore. So, are you ready to indulge in some old-fashioned sweetness and make a batch of these delightful confections?
Why Are Old-Fashioned Butter Mints Irresistible?
Nostalgic Charm: These delightful mints whisk you away to simpler times, reminding you of childhood treats and celebrations.
No-Bake Convenience: Perfect for those busy days! You can whip up a batch in no time, making them a go-to treat for any occasion.
Customizable Flavors: Want a twist? Experiment with almond, lemon, or spearmint extracts to personalize your mints.
Perfect for Gifting: Pack these minty delights into decorative jars, and they become charming homemade gifts that anyone would love.
Crowd-Pleasing Treat: Whether it’s a wedding, baby shower, or holiday gathering, these mints are sure to impress your guests and leave them wanting more!
Old-Fashioned Butter Mints Ingredients
These simple ingredients will help you create your delightful Old-Fashioned Butter Mints.
For the Dough
- Unsalted Butter – Provides creaminess and richness; use only unsalted to control the level of salt.
- Powdered Sugar – The main sweetener, crucial for creating that smooth texture; never substitute with granulated sugar.
- Heavy Cream or Milk – Adds moisture for the right dough consistency; for a dairy-free option, use coconut cream.
- Peppermint Extract – Gives that classic minty flavor; start with a small amount to keep it balanced.
- Pinch of Salt – Enhances flavor and balances the sweetness.
For Customization
- Gel Food Coloring (Optional) – Adds beautiful colors to your mints; use sparingly to achieve pastel shades, avoiding liquid dyes that may affect texture.
- Additional Extracts (Variety) – Want to mix things up? Try using almond or lemon extract for different flavor profiles!
Step‑by‑Step Instructions for Old-Fashioned Butter Mints
Step 1: Prepare the Butter
In a large mixing bowl, beat 1 cup of softened unsalted butter with an electric mixer on medium speed until it becomes smooth and fluffy, about 2-3 minutes. The butter’s texture should look creamy without any lumps present. Be sure to scrape down the sides of the bowl occasionally to ensure an even blend throughout.
Step 2: Mix in the Wet Ingredients
Add in 1 teaspoon of peppermint extract, a pinch of salt, and 2 tablespoons of heavy cream or milk. Continue mixing on low speed until everything is fully combined, which should take about 1 minute. The mixture should have a silky, well-blended consistency that complements the butter.
Step 3: Incorporate the Powdered Sugar
Gradually add 4 cups of powdered sugar 1 cup at a time while mixing on low. This prevents the sugar from clouding the kitchen! After each addition, increase the mixer speed to medium and blend until a soft, pliable dough forms. This dough should hold together without being overly sticky; adjust with extra powdered sugar if necessary.
Step 4: Color and Flavor Customization
If you’d like to customize your Old-Fashioned Butter Mints, divide the dough into portions based on the number of colors or flavors you are using. Knead in drops of gel food coloring or additional extracts until each portion is uniformly colored and fragrant, taking care to work the dough until the color is evenly distributed.
Step 5: Shape the Mints
Dust your work surface with powdered sugar to prevent sticking and take one portion of the dough. Roll it into thin ropes about 1/2 inch thick. After rolling, cut the ropes into bite-sized pieces, ensuring they are uniform for a beautiful presentation. Repeat this process for all portions of dough.
Step 6: Dry the Mints
Place the shaped mints on a baking sheet lined with parchment paper. Ensure they’re arranged in a single layer without touching one another. Let them air dry in a cool, dry place for at least 8 hours, but preferably overnight. This drying time is crucial for achieving that delightful melt-in-your-mouth texture of the Old-Fashioned Butter Mints.
Expert Tips for Old-Fashioned Butter Mints
- Room Temperature Butter: Ensure your unsalted butter is at room temperature for best results. Cold butter can lead to lumpy dough and uneven texture.
- Add Sugar Gradually: Mix in the powdered sugar slowly to avoid a cloud of sugar. This gentle approach ensures a smooth and creamy blend for your Old-Fashioned Butter Mints.
- Knead Gently: When incorporating food coloring or additional extracts, knead gently to evenly distribute. Avoid overworking the dough to maintain its delicate consistency.
- Adequate Drying Time: Allow the mints to dry for a full 8 hours or overnight. Rushing this step can lead to a sticky finish instead of a delightful melt-in-your-mouth texture.
- Storing Tips: Keep your finished mints in an airtight container to preserve freshness. Store in a cool, dry place for ideal conditions.
Old-Fashioned Butter Mints Variations
Feel free to let your creativity shine by customizing these delightful mints to suit your taste and celebrations!
-
Extract Swaps: Try almond, lemon, or vanilla extracts for unique flavor profiles that elevate your mints to another level. Each swap brings a fresh twist, turning the classic into something wonderfully original.
-
Dairy-Free Option: Substitute heavy cream with coconut cream for a delightful, dairy-free version of these candies. It adds a subtle coconut flavor that beautifully enhances the sweetness.
-
Colorful Creations: Use food coloring to match your mint shades to specific themes or occasions. Whether it’s pastel pink for a baby shower or vibrant green for St. Patrick’s Day, the options are endless.
-
Robust Mint Flavor: Combine peppermint extract with spearmint extract for a bolder, more complex mint flavor. This remarkable blend will kick up the freshness, leaving your guests craving more!
-
Chocolate Dipped: Dip finished mints in melted chocolate for a decadent twist on the classic recipe. The rich chocolate coating adds a lovely contrast to the minty sweetness.
-
Chill for Refreshment: For a cool twist, refrigerate the shaped mints before letting them dry. This adds a refreshing chill that’s perfect for hot summer days or festive gatherings.
-
Nutty Goodness: Incorporate crushed nuts like walnuts or pecans into the dough for an inviting crunch. This adds both texture and flavor, making them even more irresistible.
-
Cocoa Dusting: Dust your mints with cocoa powder or that powdered sugar for an extra touch of sweetness and a unique flavor dimension. The cocoa adds a rich depth that pairs wonderfully with mint.
If you want to indulge in other delicious options, try these Garlic Butter Lobster or Garlic Butter Brazilian recipes! They showcase the wonderful versatility of flavors just like your Old-Fashioned Butter Mints!
How to Store and Freeze Old-Fashioned Butter Mints
Room Temperature: Store mints in an airtight container at room temperature for up to 2 weeks. This keeps them fresh and delicious for a lovely treat any time!
Fridge: If you prefer to extend their shelf life, you can refrigerate them in an airtight container for up to 1 month. Allow mints to come to room temperature before enjoying for optimal taste.
Freezer: For longer storage, freeze Old-Fashioned Butter Mints in a sealed container for up to 3 months. Thaw completely at room temperature before serving to retain their delightful texture.
Reheating: There’s no need to reheat these mints! Just take them out of the container and enjoy their melt-in-your-mouth goodness straight away.
What to Serve with Old-Fashioned Butter Mints
When you’re ready to create a delightful spread that pairs perfectly with these sweet mints, consider these charming accompaniments.
- Creamy Hot Chocolate: The rich, warm flavor of hot chocolate enhances the cool minty taste, making them a cozy match for chilly evenings.
- Vanilla Ice Cream: A scoop of vanilla ice cream provides a creamy counterpart, perfect for balancing the mints’ sweetness on warm summer days.
- Festive Fruit Platter: Juicy, fresh fruits like strawberries and slices of citrus not only offer brightness but also refresh the palate between sweet treats.
- Coffee or Tea: A warm cup of coffee or soothing herbal tea allows for a delightful contrast, enlivening your senses alongside the buttery mints.
- Nutty Biscotti: The crunchy texture of biscotti pairs beautifully with the mints; dip them in coffee for an elegant touch.
- Chocolate Drizzled Pretzels: The salty-sweet combination of pretzels coated in chocolate brings an exciting texture that complements the soft mints.
- Mini Cupcakes: Sweet, bite-sized cupcakes elevate your gathering—consider topping them with light frosting to harmonize with the buttery flavor.
- Sparkling Water with Lime: This refreshing drink brightens up the dessert table, offering a bubbly cleanse for your taste buds after indulging in sweets.
- Lemon Bars: The zesty notes of lemon bars contrast wonderfully with the sweet mints; their tartness refreshes the palate for more bites of candy.
Make Ahead Options
These Old-Fashioned Butter Mints are not only a delightful treat but also ideal for meal prep! You can prepare the dough up to 3 days in advance; simply cover it tightly with plastic wrap and refrigerate to keep it fresh. When you’re ready to shape the mints, allow the dough to sit at room temperature for about 15 minutes to soften. After cutting the mints, let them air dry for at least 8 hours or overnight before serving. This drying time ensures they maintain that irresistible melt-in-your-mouth texture. By pre-prepping your Old-Fashioned Butter Mints, you’ll save precious time on busy days while still serving up delicious, homemade candy!
Old-Fashioned Butter Mints Recipe FAQs
What type of butter should I use?
Always use unsalted butter for these Old-Fashioned Butter Mints to control the salt levels. The creaminess and richness from unsalted butter will enhance the flavor of the mints, creating a smoother and more delightful texture.
How long can I store Old-Fashioned Butter Mints?
You can store these mints in an airtight container at room temperature for up to 2 weeks. If you prefer a longer shelf life, refrigerate them for up to 1 month. For even more longevity, freeze them in a sealed container for up to 3 months.
Can I freeze Old-Fashioned Butter Mints?
Absolutely! To freeze your mints, lay them out on a baking sheet in a single layer and freeze until solid. Then, transfer them to a sealed container or freezer bag. They can be frozen for up to 3 months. Just remember to thaw completely at room temperature before enjoying for the best texture.
What if my dough is too sticky?
If your dough feels too sticky while mixing, don’t worry! Simply add more powdered sugar, one tablespoon at a time, until it reaches a soft and pliable consistency. This will help you achieve the perfect texture for your Old-Fashioned Butter Mints.
Are Old-Fashioned Butter Mints safe for pets?
It’s best to keep these mints away from pets. The high sugar content, along with some extracts, can be harmful to dogs and other pets. Always store candies in a safe place out of their reach.
Can I use liquid food coloring instead of gel?
It’s recommended to use gel food coloring for your mints, as liquid versions can alter the dough’s texture and moisture content. If you do choose liquid food coloring, use only a tiny amount and be mindful of any adjustments to the moisture levels in the dough.
Delightful Old-Fashioned Butter Mints: Melt-in-Your-Mouth Treats
Ingredients
Equipment
Method
- In a large mixing bowl, beat the softened unsalted butter with an electric mixer on medium speed until smooth and fluffy, about 2-3 minutes.
- Add in the peppermint extract, pinch of salt, and heavy cream or milk, and mix on low speed until fully combined, about 1 minute.
- Gradually add powdered sugar, 1 cup at a time, mixing on low to prevent clouding. Increase speed to medium until a soft, pliable dough forms.
- If customizing, divide the dough and knead in gel food coloring or additional extracts until uniformly colored and fragrant.
- Dust the work surface with powdered sugar, roll portions of dough into thin ropes, cut into bite-sized pieces for uniformity.
- Place shaped mints on a parchment-lined baking sheet and let them air dry for at least 8 hours, preferably overnight.
Leave a Reply