
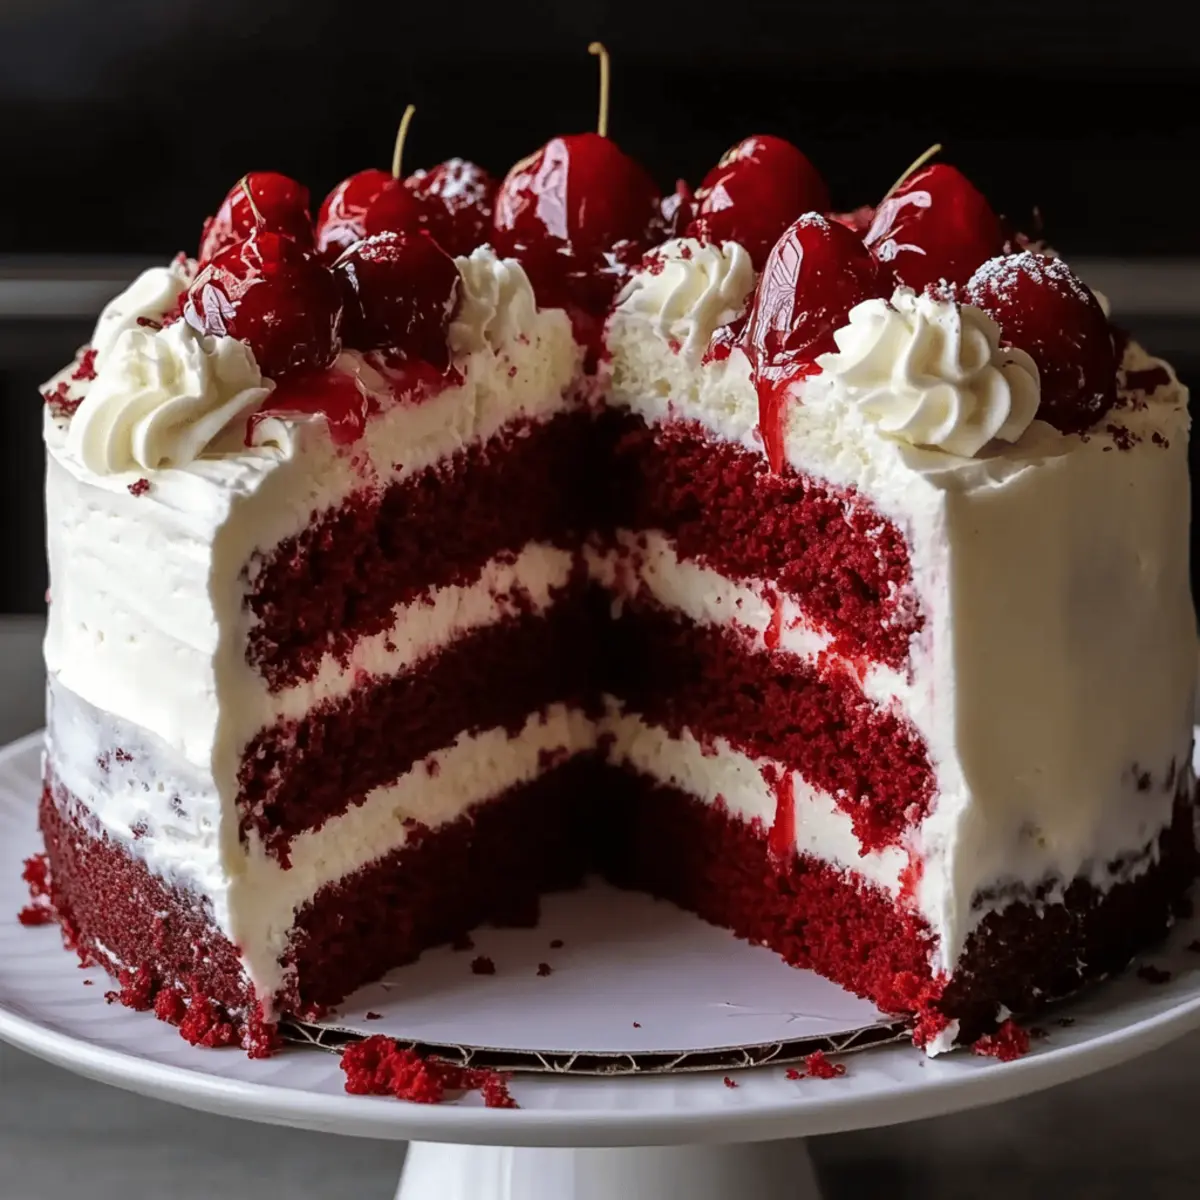
There’s something undeniably enchanting about the mix of creamy and soft textures in a dessert. That’s exactly what you’ll experience with my Red Velvet Cheesecake Cake! This luscious creation blends the luxurious essence of rich cheesecake with the charming vibrancy of red velvet cake, making it an absolute showstopper for any celebration. Not only does it boast a stunning visual appeal, but it’s also a guaranteed crowd-pleaser, offering an impressive yet enjoyable baking experience. In just a few steps, you’ll have a cake that delights both the eyes and the palate, perfect for birthdays, weddings, or even a sweet indulgence on a quiet evening. Are you ready to dive into this baking adventure? Let’s get started!
Why Is This Cake So Irresistible?
Decadent Delight: This Red Velvet Cheesecake Cake combines two favorites, giving you the creamy richness of cheesecake with the soft allure of red velvet!
Visual Stunner: With its beautiful layers and vibrant color, it will be the centerpiece of any gathering, guaranteed to impress your guests.
Easy to Personalize: Want to add a twist? Consider chocolate chips or a different frosting; feel free to make it your own!
Perfect for Any Occasion: Whether it’s a wedding, birthday, or just a treat for yourself, this cake shines in every setting.
Make-Ahead Convenience: Prepare it a day in advance and simply refrigerate until you’re ready to serve—less stress, more enjoyment!
Let’s celebrate life’s moments with sweetness, and if you’re craving more delicious cakes, check out my Iced Blueberry Cheesecake or Berry Peach Cheesecake for more delightful inspirations!
Red Velvet Cheesecake Cake Ingredients
For the Red Velvet Cake
- Red Velvet Cake Mix – Ensures a perfect balance of flavor and texture; you can opt for homemade for a richer taste.
- Buttermilk – Adds moisture and a subtle tang; feel free to substitute with yogurt or milk if needed.
- Vegetable Oil – Keeps your cake moist and tender; melted coconut oil also works great as a substitute.
- Eggs – Binds ingredients together and enhances richness; vegan? Try flaxseed meal mixed with water instead.
- Natural Cocoa Powder – Introduces a delicious chocolate note; avoid Dutch-processed as it alters the cake’s texture.
- Vinegar – Essential for that signature lift; reacts with baking soda to create the perfect crumb.
For the Cheesecake Layer
- Cream Cheese – The heart of your cheesecake, rich and tangy; stick to full-fat for the ideal texture.
- Heavy Cream – Ensures a super creamy frosting; whipped topping can be a lighter alternative if you wish.
- Powdered Sugar – Sweetens the frosting beautifully; adjust according to your personal sweetness preference.
- Vanilla Extract – Adds depth to your flavors; choose pure vanilla for the most authentic taste.
This luxurious Red Velvet Cheesecake Cake will surely delight and impress at your next gathering!
Step‑by‑Step Instructions for Red Velvet Cheesecake Cake
Step 1: Prepare Cake Batter
In a large mixing bowl, combine the red velvet cake mix, buttermilk, vegetable oil, eggs, natural cocoa powder, and vinegar. Use a hand mixer on medium speed to blend the ingredients until smooth and free of lumps, about 2 minutes. Ensure everything is well incorporated, creating a vibrant batter that’s ready to bake.
Step 2: Bake the Cakes
Preheat your oven to 350°F (175°C). Grease and flour three 9-inch round cake pans and evenly divide the prepared red velvet batter among them. Bake in the preheated oven for 40-50 minutes, or until a toothpick inserted into the center comes out clean. Watch for the edges to slightly pull away from the pan as a visual cue for doneness.
Step 3: Cool Layers
Once baked, remove the cakes from the oven and allow them to rest in the pans for about 10 minutes. Carefully turn the cakes out onto wire racks to cool completely, which will take at least 4 hours. Cooling is essential for the structure, as it prevents shrinkage and cracking when you assemble your Red Velvet Cheesecake Cake later.
Step 4: Make the Cheesecake Layer
While the cake layers cool, prepare the cheesecake filling. In a separate bowl, beat together the cream cheese, powdered sugar, eggs, and vanilla extract until smooth and creamy. Pour this mixture into a greased springform pan and place it into a larger baking dish filled with water, creating a water bath for even baking. Bake at 325°F (163°C) for 50-60 minutes until the center is set yet slightly jiggly.
Step 5: Assemble the Cake
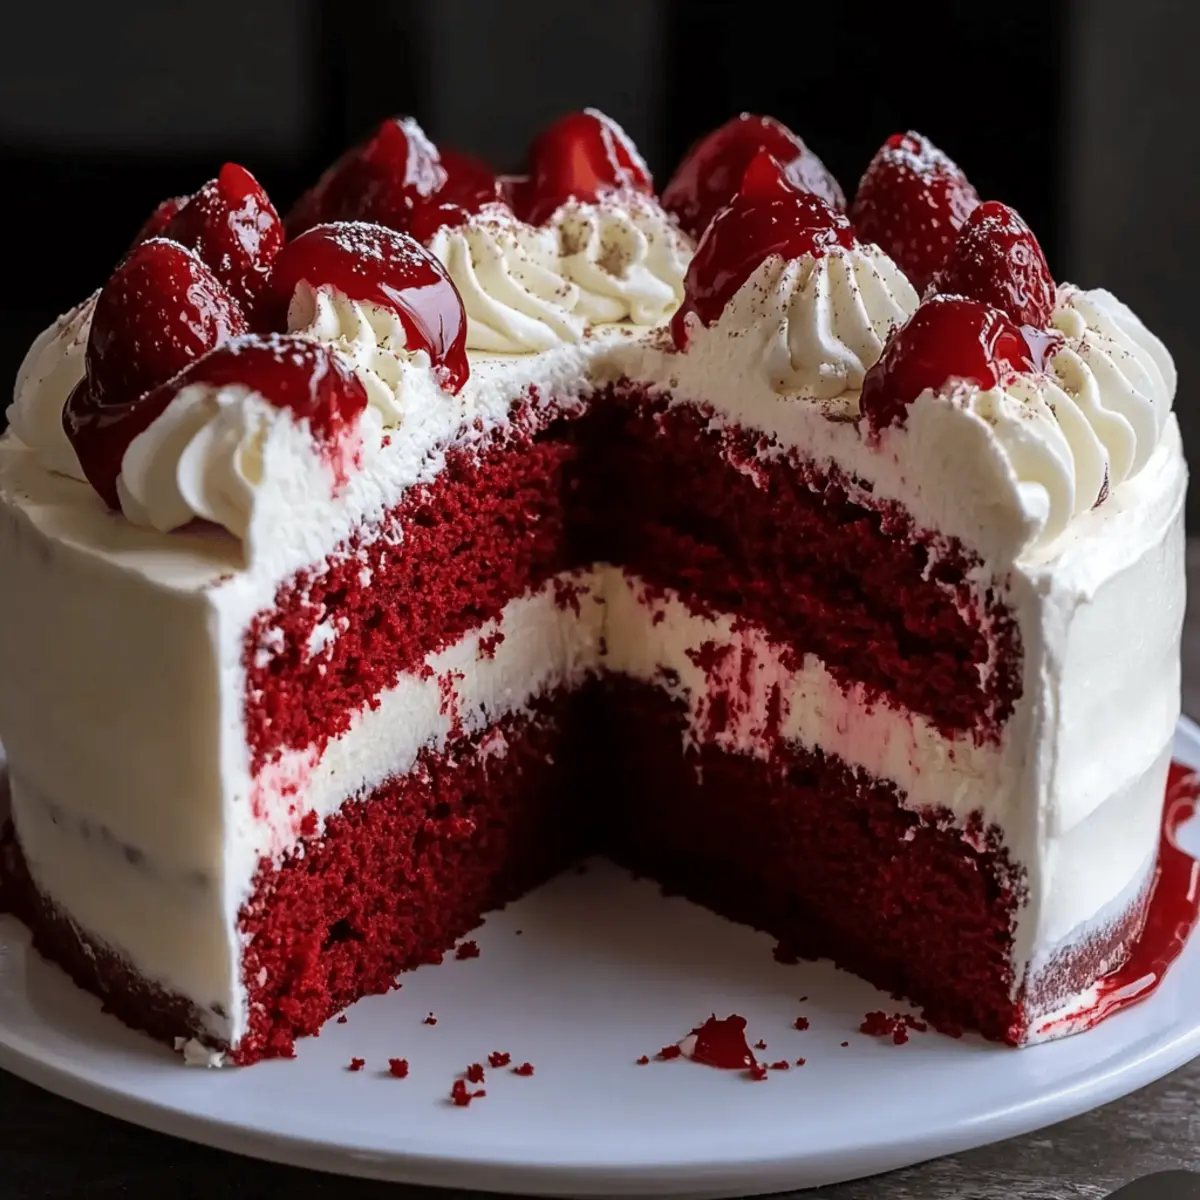
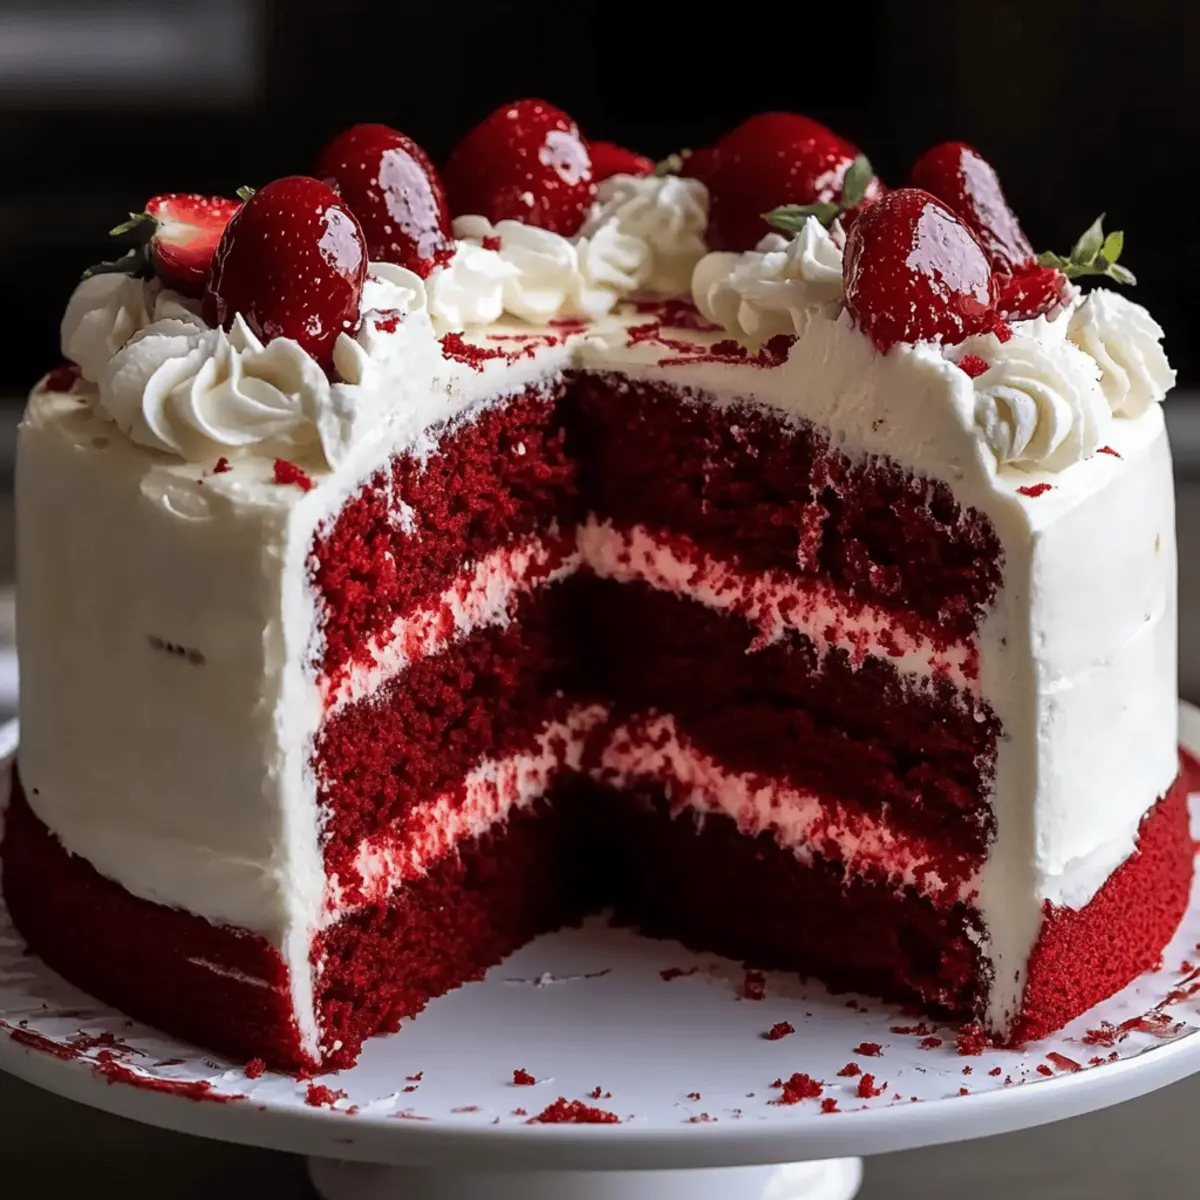
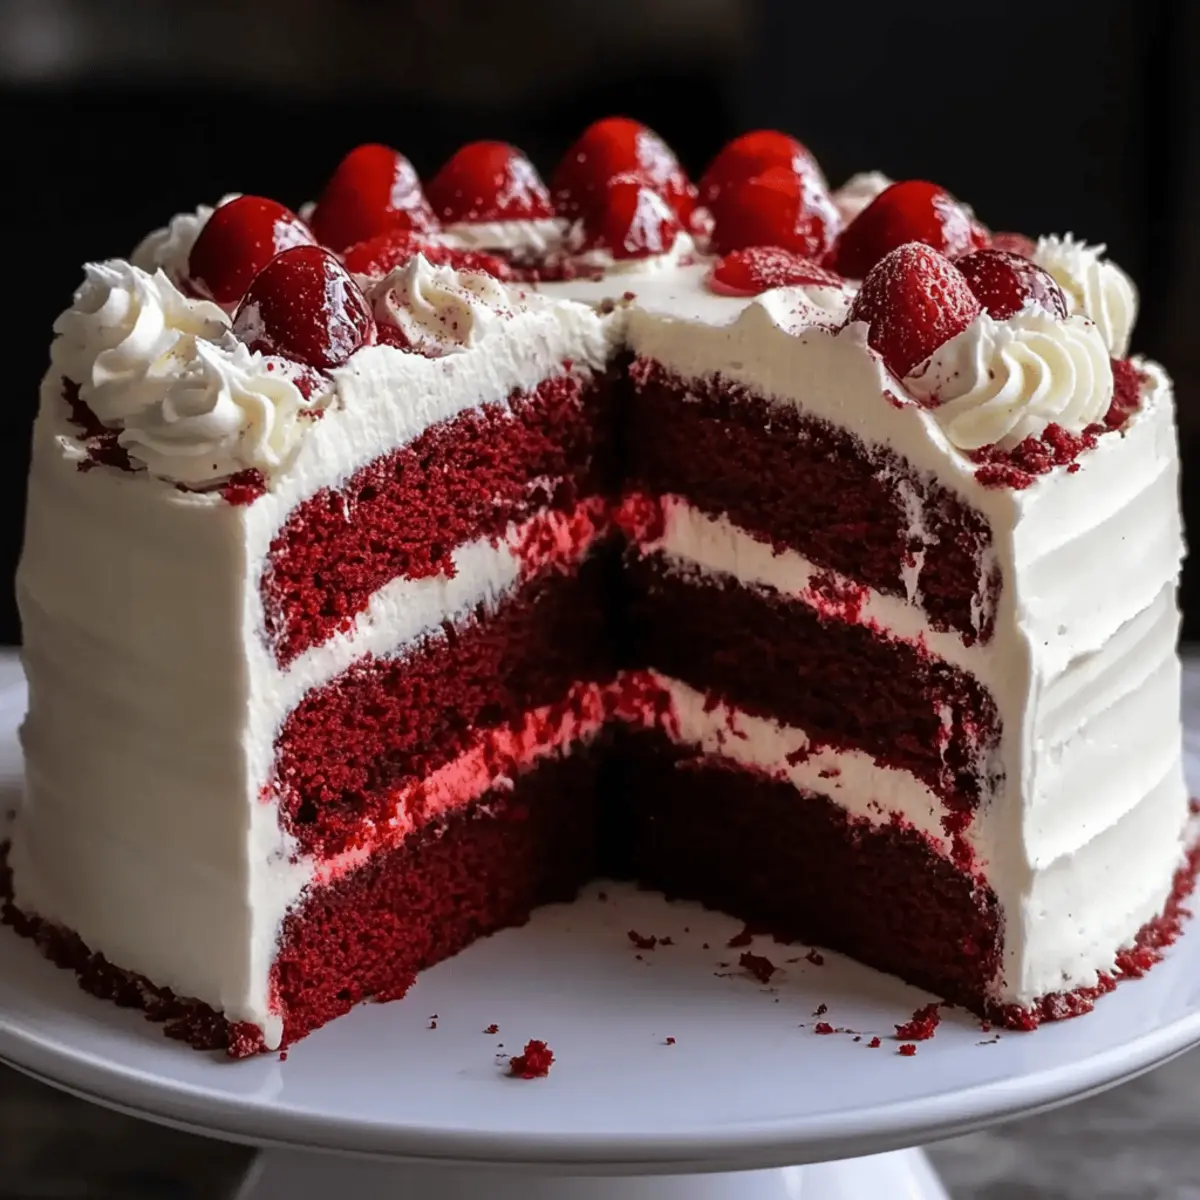
Once the cheesecake has cooled completely, start assembling your cake. Place one red velvet layer on a serving platter, spread a layer of cream cheese frosting on top, followed by the cheesecake layer. Add another red velvet layer and repeat the frosting process. Top with the final red velvet layer and frost the sides and top generously with cream cheese frosting, smoothing it out for a finished look.
Step 6: Chill Before Serving
For the best texture and flavor, refrigerate the assembled Red Velvet Cheesecake Cake for at least 2 hours before serving. This chilling time allows the flavors to meld and the cake to set properly, making each slice a perfect combination of rich cheesecake and soft red velvet cake.
Expert Tips for Red Velvet Cheesecake Cake
-
Use Quality Ingredients: Always opt for fresh, high-quality ingredients, like full-fat cream cheese and pure vanilla extract, for the best flavors in your Red Velvet Cheesecake Cake.
-
Perfect Baking Temperature: Ensure your oven is fully preheated; even slight variations in temperature can affect your cake’s crumb and rise.
-
Preventing Cake Shrinkage: Gradually cool your cakes to room temperature; abrupt temperature changes can cause them to shrink or crack.
-
Cheesecake Consistency: Don’t overmix the cheesecake batter. Blend until just combined to maintain its creamy texture without adding unnecessary air.
-
Water Bath Tips: When using a water bath for the cheesecake, wrap the bottom of your springform pan in aluminum foil to prevent water from seeping in.
-
Chill for Flavor: Refrigerate the finished cake for several hours (or overnight) for the best flavor; this allows the ingredients to meld beautifully.
How to Store and Freeze Red Velvet Cheesecake Cake
Refrigerator: Keep your assembled Red Velvet Cheesecake Cake in an airtight container in the fridge for up to 5 days. This helps maintain its moisture and flavor.
Freezer: If you want to freeze any leftovers, wrap individual slices tightly in plastic wrap, then place them in a freezer-safe bag. They can be frozen for up to 2 months.
Thawing: To enjoy frozen slices, transfer them to the fridge 6-8 hours before serving to allow for a gentle thaw without compromising texture.
Reheating: If you prefer your cake slightly warm, gently microwave a slice for 10-15 seconds, but avoid overheating to prevent melting the cream cheese frosting.
Make Ahead Options
These Red Velvet Cheesecake Cakes are perfect for meal prep enthusiasts! You can bake the cake layers and the cheesecake layer up to 3 days in advance. Once cooled, wrap each cake layer tightly in plastic wrap and refrigerate to maintain their moisture and prevent drying out. The cheesecake can be stored in the refrigerator as well, ideally in an airtight container. When you’re ready to assemble, simply layer the red velvet cakes with the cheesecake filling and frost with cream cheese frosting. Chill the finished cake for at least 2 hours before serving to enhance its flavor and texture. Enjoy delicious results with minimal last-minute effort!
What to Serve with Red Velvet Cheesecake Cake
Imagine a leisurely gathering with loved ones, the aroma of sweet delights filling the air, while your stunning cake takes center stage.
-
Fresh Berries: Juicy strawberries and raspberries add a refreshing contrast, balancing the rich flavors of the cake perfectly. Their natural tartness enhances the overall dessert experience.
-
Whipped Cream: Light and airy, freshly whipped cream provides a delightful creaminess that complements the cake’s texture. A dollop on the side lets guests enjoy it just the way they like.
-
Ice Cream: A scoop of vanilla or cream cheese ice cream adds a delightful chill and extra creaminess that pairs beautifully with every slice of cake. Try serving it alongside warm cake for a heavenly treat!
-
Chocolate-Covered Strawberries: These indulgent treats offer a decadent twist and a fun finger food option. The mingling of chocolate with the red velvet cake is an irresistible match.
-
Coffee or Tea: Serve with a piping hot cup of coffee or your favorite herbal tea to help balance the sweetness. The warm beverages enhance the cake’s flavors, making every bite more satisfying.
-
Nutty Brownies: For those who love rich desserts, fudgy brownies can create a delightful dessert duo. Layer them on your dessert table to satisfy different cravings among your guests.
-
Sparkling Water or Lemonade: Refreshing drinks like bubbly sparkling water or citrusy lemonade cleanse the palate between the rich bites of cake, adding a bright touch to your celebration.
Red Velvet Cheesecake Cake Variations
Feel free to let your creativity shine as you customize this decadent cake, bringing new flavors and textures into every slice!
-
Chocolate Chip Delight: Add a cup of chocolate chips to the red velvet batter for an extra rich burst of flavor, elevating the classic taste!
-
Nutty Crunch: Incorporate finely chopped walnuts or pecans into the batter or sprinkle on top for a pleasing crunch that complements the creaminess of the cheesecake.
-
Dairy-Free Option: Swap out cream cheese and heavy cream with coconut cream and dairy-free cream cheese for a delightful dairy-free version that maintains a luscious texture.
-
Fruity Twist: Layer fresh strawberries or raspberries between the cake and cheesecake for a pop of freshness and a gorgeous presentation—perfect for summer gatherings!
-
Warm Spices: Sprinkle in 1 teaspoon of cinnamon or nutmeg to the red velvet batter for a warm, aromatic touch that enhances the existing flavors beautifully.
-
Cupcake Version: Transform this layered cake into individual cupcakes by adding cheesecake filling into red velvet batter-filled liners; they make lovely bite-sized treats!
-
Orange Zest Boost: Add a teaspoon of orange zest to the cheesecake layer for a citrusy brightness that complements the cake’s sweetness.
Embrace each variation as an opportunity to create a unique version of your Red Velvet Cheesecake Cake! And if you’re looking for more delicious inspirations, don’t forget to check out my Red Wine Braised or indulge in my Forest Blackberry Cheesecake for more flavorful ideas!
Red Velvet Cheesecake Cake Recipe FAQs
How do I choose ripe ingredients for the Red Velvet Cheesecake Cake?
When selecting ingredients like eggs and cream cheese, make sure they are fresh, as older products can affect the cake’s texture and taste. I often recommend using eggs that are at room temperature for better blending, and check that your cream cheese is creamy and free of any lumps.
What’s the best way to store leftover Red Velvet Cheesecake Cake?
Absolutely! The cake should be stored in an airtight container in the refrigerator for up to 5 days. This will help maintain its wonderful moisture and flavor. I always advise placing a layer of plastic wrap directly on the frosted surfaces to further prevent drying out.
Can I freeze the Red Velvet Cheesecake Cake?
Yes, you can! To freeze your cake, wrap individual slices tightly in plastic wrap and then place them in a freezer-safe bag. It can be stored in the freezer for up to 2 months. When you’re ready to enjoy a slice, simply transfer it to the fridge about 6-8 hours before serving to allow it to thaw gently.
What should I do if my cheesecake layer cracks?
No worries! To prevent cracks, I recommend always using a water bath when baking the cheesecake layer. This method helps maintain moisture during baking, and ensures even heat distribution. If cracks do occur, don’t fret; just cover them with frosting—it’s all part of the charm!
Are there any dietary considerations for the Red Velvet Cheesecake Cake?
Good question! The cake contains gluten from the cake mix and dairy from the cream cheese. If you’re catering to dietary restrictions, you can substitute the eggs with flaxseed meal mixed with water for a vegan option, and use gluten-free cake mix to cater to those with gluten sensitivities.
What’s the ideal chilling time before serving?
For the best flavor and texture, ideally, you should chill the assembled cake for at least 2 hours before serving. This resting period allows flavors to meld beautifully and provides the cake with its signature creamy consistency. If possible, chilling it overnight is even better!
Irresistible Red Velvet Cheesecake Cake for Your Next Celebration
Ingredients
Equipment
Method
- In a large mixing bowl, combine the red velvet cake mix, buttermilk, vegetable oil, eggs, natural cocoa powder, and vinegar. Blend until smooth for about 2 minutes.
- Preheat your oven to 350°F (175°C). Grease and flour three 9-inch round cake pans and evenly divide the prepared batter among them. Bake for 40-50 minutes.
- Once baked, let the cakes rest in the pans for about 10 minutes, then carefully cool completely on wire racks, which will take at least 4 hours.
- Prepare the cheesecake filling by beating together cream cheese, powdered sugar, and vanilla extract until smooth. Pour into a greased springform pan and bake at 325°F (163°C) for 50-60 minutes.
- Assemble your cake by layering red velvet cake, cream cheese frosting, and cheesecake, repeating until all layers are used. Frost the top and sides.
- Refrigerate the assembled cake for at least 2 hours before serving.
Leave a Reply