
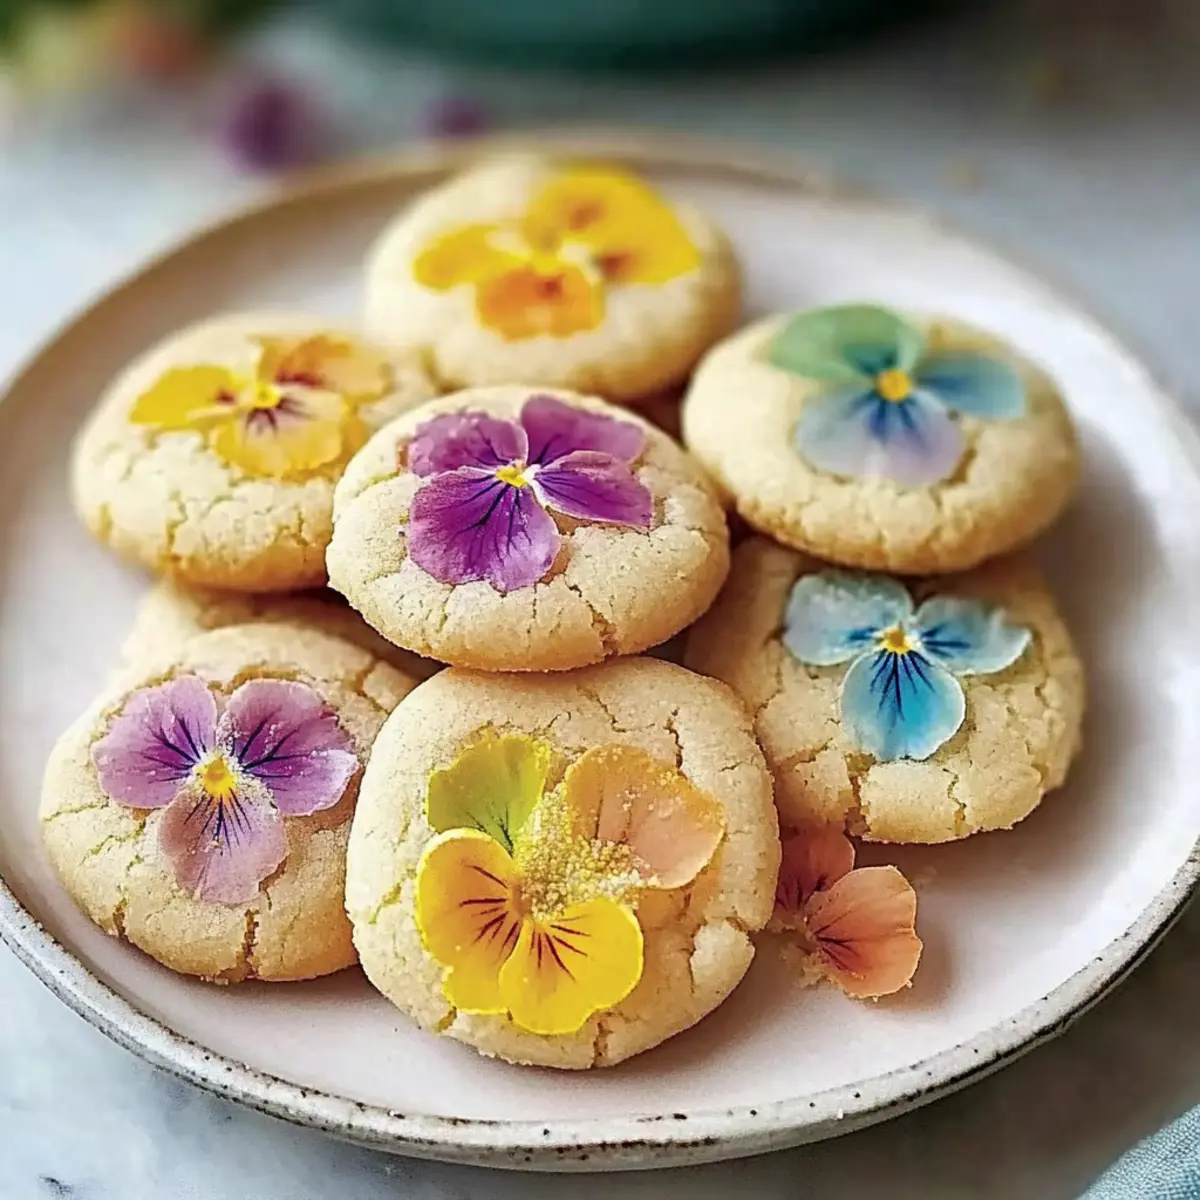
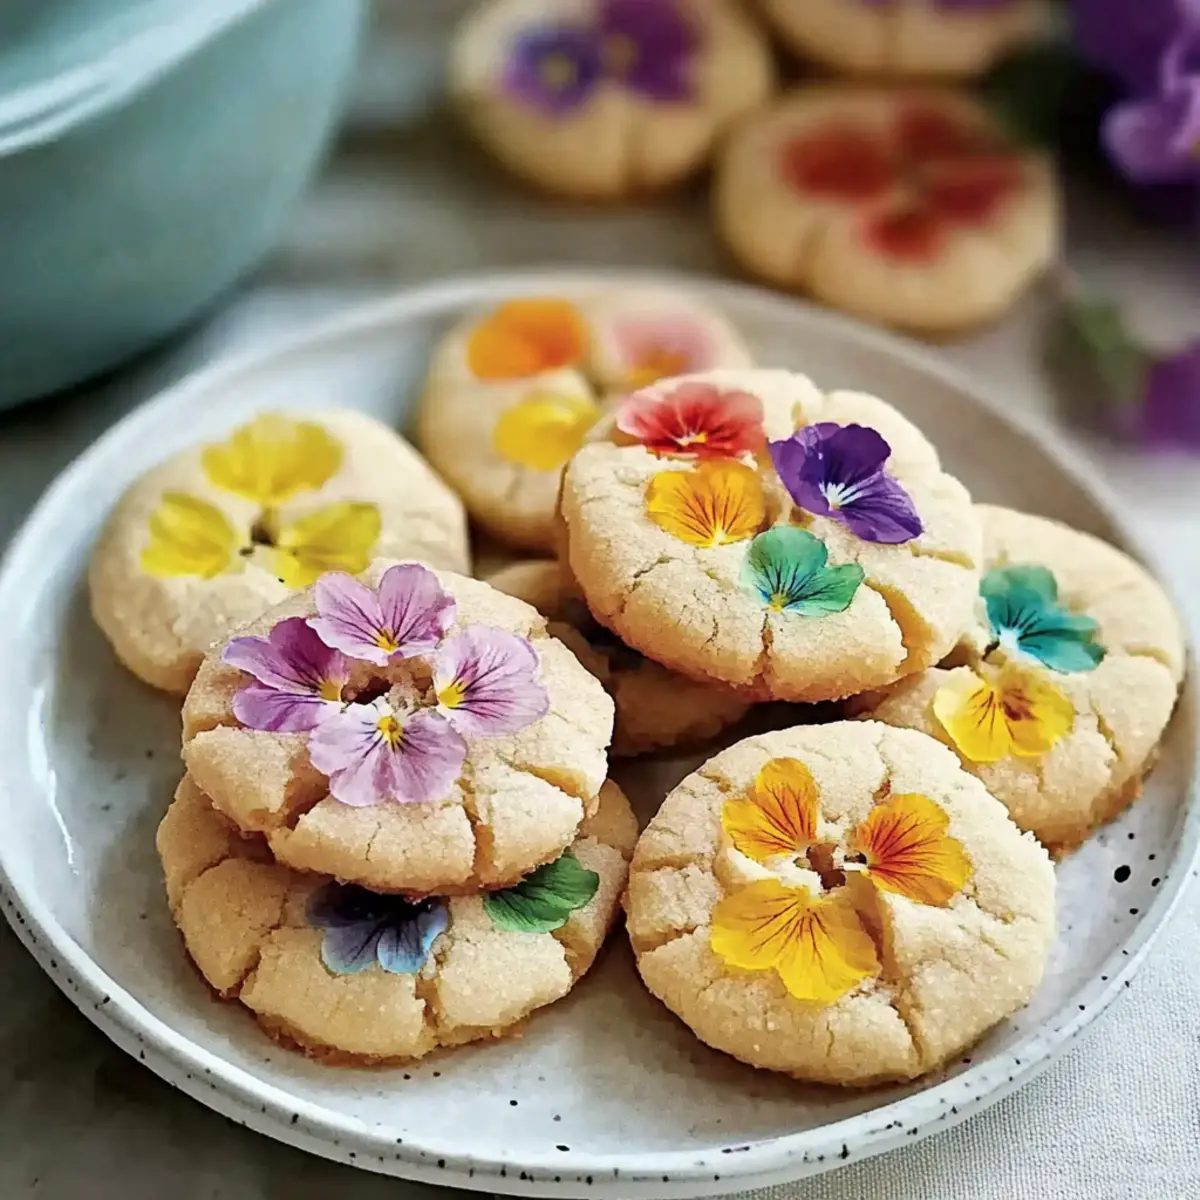
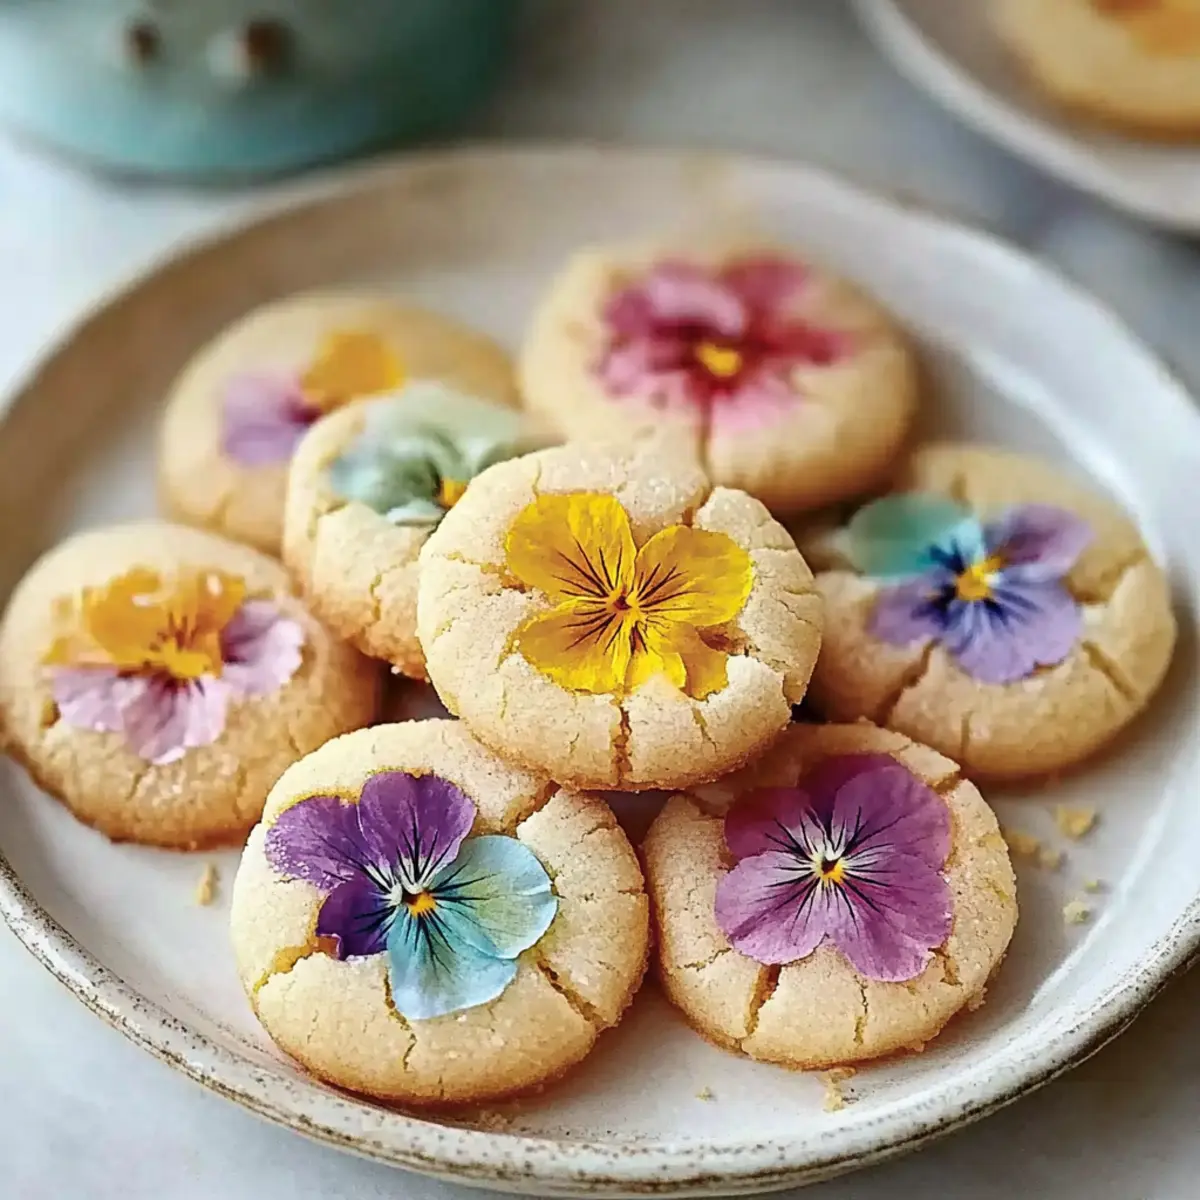
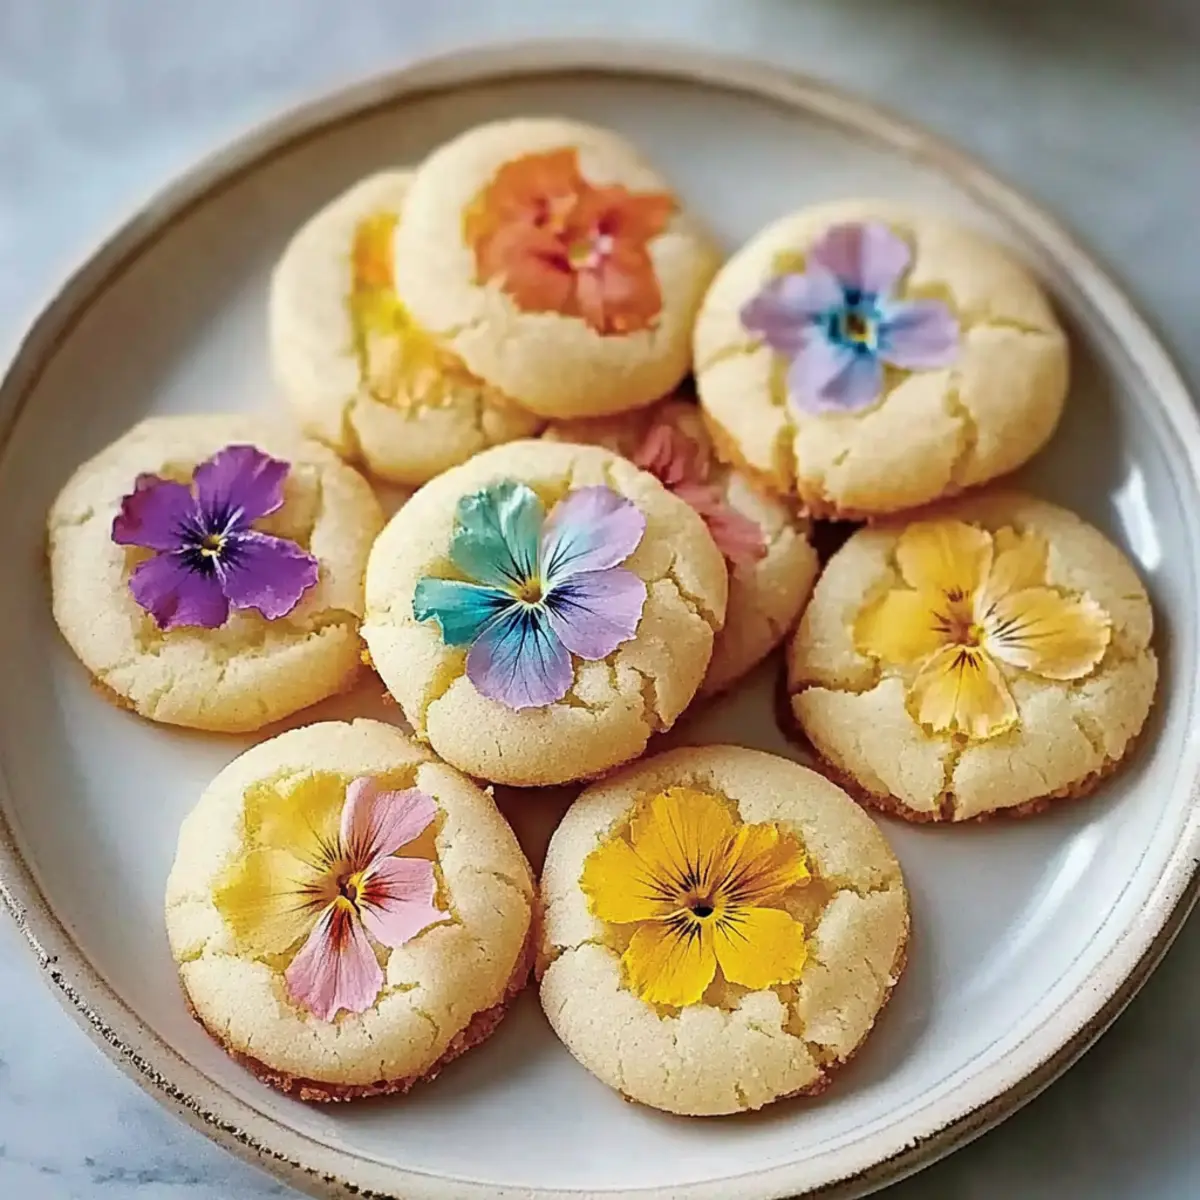
There’s a certain joy that lies in the soft flutter of petals as spring unveils its vibrant colors. Inspired by this seasonal beauty, I’m excited to share my recipe for Spring Blossom Cookies, a delightful treat that adds a touch of elegance to any gathering. These delicate cookies not only bring a buttery melt-in-your-mouth goodness to the table but are also adorned with charming edible flowers, making them perfect for garden parties. The best part? They come together quickly, allowing you to enjoy homemade goodness without hours in the kitchen. Whether you’re looking to impress guests or simply treat yourself to a sweet moment, these cookies will leave everyone reaching for more. Ready to create your very own batch of springtime magic? Let’s dive in!
Why Are Spring Blossom Cookies So Special?
Delightful cookies that capture spring’s essence: Bursting with flavor and adorned with fresh edible flowers, they are not just treats but a celebration on a plate. Effortless to prepare, these cookies take minimal time, making them perfect for busy home cooks. Versatile and adaptable, you can personalize them with different extracts or decorative toppings. Crowd-pleasing appeal means they’ll be a hit at any gathering, be it a tea party or picnic. Nostalgic and light, they evoke memories of sunny afternoons, inviting everyone to savor the beauty of homemade goodness. For more seasonal delights, explore our other garden-inspired recipes to keep the spring spirit alive!
Spring Blossom Cookies Ingredients
• Here’s what you’ll need to create these delightful treats!
For the Cookies
- All-Purpose Flour – Provides structure to the cookies; substitute with a gluten-free flour blend for a gluten-free option.
- Baking Powder – Adds lift, ensuring your cookies rise perfectly.
- Salt – Enhances flavor by balancing the sweetness beautifully.
- Unsalted Butter (softened) – Contributes rich flavor and a tender texture; use dairy-free butter for a vegan alternative.
- Granulated Sugar – Supplies essential sweetness and affects the cookie’s texture.
- Powdered Sugar – Adds a smooth sweetness without any grittiness; you can make your own by grinding granulated sugar fined.
- Large Egg – Acts as a binder; substitute with a flax egg (1 tbsp ground flaxseed + 2.5 tbsp water) for a vegan-friendly version.
- Vanilla Extract – Provides warmth and depth of flavor that complements the sweetness in these spring cookies.
For the Topping
- Edible Flowers – Use beautiful edible flowers to decorate each cookie; ensure they are free from pesticides for safety.
With these ingredients ready, you’re one step closer to enjoying your very own batch of Spring Blossom Cookies!
Step‑by‑Step Instructions for Spring Blossom Cookies
Step 1: Preheat and Prepare
Begin by preheating your oven to 350°F (175°C). While the oven warms up, line a baking sheet with parchment paper, ensuring it’s ready for your Spring Blossom Cookies. The parchment will allow for easy release and promote even baking, helping the cookies achieve that perfect golden edge.
Step 2: Whisk Dry Ingredients
In a medium bowl, combine 2 cups of all-purpose flour, 1 teaspoon of baking powder, and a pinch of salt. Whisk them together until well blended, ensuring there are no lumps. This step is crucial as it aerates the flour mixture, helping your cookies rise beautifully as they bake.
Step 3: Cream Butter and Sugars
In a large mixing bowl, use an electric mixer to cream together 1 cup of softened unsalted butter with ½ cup of granulated sugar and ½ cup of powdered sugar. Beat the mixture on medium speed for 2-3 minutes, or until it becomes light and fluffy. This process creates air pockets that contribute to the cookies’ tender, buttery texture.
Step 4: Add Egg and Vanilla
Once the butter and sugar mixture is fluffy, add in 1 large egg and 1 teaspoon of vanilla extract. Mix on low speed just until the liquid is fully incorporated. Be careful not to overbeat; you want a smooth mixture that’s ready to be combined with the dry ingredients without losing any of that airiness we achieved in the previous step.
Step 5: Combine Dry and Wet Mixtures
Gradually incorporate the dry flour mixture into the wet ingredients. Stir with a spatula or mix on low speed until a soft dough forms, ensuring you stop mixing as soon as there are no visible flour streaks. This will keep your Spring Blossom Cookies tender and prevent them from becoming tough.
Step 6: Shape the Cookies
Scoop the dough and roll it into 1-inch balls. Place these balls on your prepared baking sheet, leaving about 2 inches of space between each one. Use your fingers or the bottom of a glass to flatten each ball slightly—it doesn’t need to be perfectly even, just enough to give them a gentle shape.
Step 7: Add Edible Flowers
Take 1-2 edible flowers and gently press them onto the surface of each cookie before baking. Choose vibrant blooms for a stunning visual appeal that enhances the charm of your Spring Blossom Cookies. Ensure these flowers are completely edible and pesticide-free for safety and flavor.
Step 8: Bake to Perfection
Transfer your baking sheet to the preheated oven and bake the cookies for 10-12 minutes. Keep an eye on them; they should be lightly golden around the edges while the centers remain tender and slightly underbaked. This will guarantee that melt-in-your-mouth texture we love.
Step 9: Cool and Enjoy
After baking, let the cookies cool on the baking sheet for about 5 minutes before transferring them to a wire rack. Allow them to cool completely before serving. As they cool, their lovely buttery fragrance will fill your kitchen, inviting everyone to gather around for a bite of delightful Spring Blossom Cookies.
What to Serve with Spring Blossom Cookies
These delightful treats deserve a magical pairing to elevate your spring gatherings and create memorable meals.
- Floral Tea: Offers a soothing complement to the cookies, enhancing their floral essence. Jasmine or chamomile teas create a soft and fragrant atmosphere that is simply enchanting.
- Fresh Berries: A colorful array of strawberries, blueberries, and raspberries provides a burst of freshness and acidity that balances the buttery sweetness of the cookies.
- Lemonade Spritzer: A refreshing choice, this drink adds a zesty zing that cuts through the richness of the cookies while echoing the vibrant flavors of spring.
- Cream Cheese Frosting: Spread a light layer of this creamy topping on top of the cookies for added indulgence. The smooth tanginess pairs beautifully with their delicate sweetness.
- Cinnamon Sugar Dusting: A sprinkle of cinnamon sugar before baking offers a delightful warm spice that perfectly complements the floral undertones of the cookies.
- Edible Flower Salad: Create a colorful salad tossed with mixed greens and edible flowers for a stunning and healthful side that mirrors the cookie’s beauty.
- Sparkling Water with Mint: Infusing sparkling water with fresh mint provides a refreshing palate cleanser that enhances the floral notes.
- Pistachio Ice Cream: Creamy and nutty, the rich flavors of pistachio ice cream serve as an indulgent treat alongside the cookies, taking dessert to the next level.
- Fruit Tart: The fruity and creamy components of a fruit tart add depth to the dessert experience, making the pairing truly memorable.
- Herbal Infused Cookies: For an adventurous twist, try cookies infused with herbs like lavender or rosemary. The herbaceous notes will harmonize beautifully with the Spring Blossom Cookies.
Spring Blossom Cookies Variations & Substitutions
Feel free to let your creativity bloom by customizing these delightful cookies to suit your taste!
-
Gluten-Free: Substitute all-purpose flour with a gluten-free blend for a delicious, gluten-free version that still maintains the tender texture.
-
Dairy-Free: Use vegan butter for a plant-based twist while ensuring your cookies are just as creamy and rich in flavor.
-
Vegan: Replace the egg with a flax egg (1 tbsp ground flaxseed + 2.5 tbsp water) to make these cookies completely vegan-friendly.
-
Flavor Infusion: Swap vanilla extract for almond or lemon extract for an exciting flavor twist that enhances the cookies’ springtime charm.
-
Decorative Sprinkles: Instead of edible flowers, opt for colorful sprinkles or sanding sugar for a festive look, perfect for birthdays or celebrations.
-
Nutty Addition: Fold in chopped nuts like almonds or walnuts for added texture and a delightful crunch that complements the soft cookie base.
-
Citrus Zest: Mix in lemon or orange zest for a fresh, zesty flavor that brightens your cookies and makes them even more aromatic.
-
Chocolate Drizzle: For chocoholics, drizzle melted dark chocolate over the cooled cookies for an elegant finish that feels indulgent yet light.
Remember, each variation opens a new avenue of deliciousness, so have fun exploring these ideas! For more creative takes on cookies, check out our collection of gourmet cookie recipes that will surely inspire your baking adventure!
Expert Tips for Perfect Spring Blossom Cookies
- Fresh Flowers: Ensure that the edible flowers you use are fresh and free from pesticides. Organic flowers work best for safety and flavor.
- Dough Consistency: Be cautious not to overmix the dough; mixing just until combined will keep your Spring Blossom Cookies tender and prevent them from becoming tough.
- Baking Time: Watch the edges closely while baking. The cookies should be light golden around the edges, with the centers remaining soft and slightly underbaked for that melt-in-your-mouth experience.
- Storage Strategy: Store any leftover cookies in an airtight container for up to 5 days to maintain their delicious texture and freshness.
- Dough Freezing: To get ahead, you can freeze the cookie dough balls before baking. Just roll them and freeze them on a sheet, then transfer to a bag for future baking!
How to Store and Freeze Spring Blossom Cookies
Room Temperature: Store cookies in an airtight container at room temperature for up to 5 days to keep their delightful texture and flavor intact.
Freezer: For longer storage, you can freeze your Spring Blossom Cookies in an airtight container for up to 3 months. Thaw at room temperature for a sweet treat anytime!
Cookie Dough: Roll your cookie dough into balls, then freeze them on a baking sheet before transferring to a freezer bag. They can be baked straight from the freezer when you’re ready to enjoy fresh cookies!
Reheating: If you prefer your cookies warm, reheat baked cookies in a low oven at 300°F (150°C) for about 5 minutes to restore their buttery goodness before serving.
Make Ahead Options
These Spring Blossom Cookies are perfect for busy home cooks looking to streamline their meal prep! You can prepare the cookie dough up to 24 hours in advance by mixing it and then refrigerating it in an airtight container. Alternatively, you can roll the dough into balls and freeze them for up to 3 months. This way, when you’re ready to bake, simply place the cookies on a lined baking sheet, press the edible flowers on top, and bake straight from the freezer, adding a few extra minutes to your baking time. To ensure they stay fresh and just as delicious, store any baked cookies in an airtight container at room temperature for up to 5 days. Enjoy the delightful convenience of having these charming treats ready whenever you need them!
Spring Blossom Cookies Recipe FAQs
How do I choose the right edible flowers for the cookies?
Absolutely! When selecting edible flowers, look for varieties that are colorful and free from pesticides. Popular choices include violets, nasturtiums, and pansies. Make sure to purchase them from trusted sources like organic farmers’ markets or specialty grocery stores, as they ensure freshness and safety for consumption.
How should I store Spring Blossom Cookies?
To keep your cookies fresh, store them in an airtight container at room temperature for up to 5 days. This will help maintain their delightful texture and prevent them from drying out. If you’re baking a large batch, consider separating layers with parchment paper to prevent sticking.
Can I freeze the dough for Spring Blossom Cookies?
Yes, you can! To freeze your cookie dough, roll it into 1-inch balls and lay them on a baking sheet lined with parchment paper. Freeze for about 1-2 hours until solid, then transfer the dough balls to a freezer-safe bag. They can be stored for up to 3 months! When ready to bake, simply place them on a baking sheet and add 1-2 extra minutes to the baking time.
What if my cookies come out too tough?
It happens to the best of us! If your cookies turn out tough, it may be due to overmixing the dough. Always mix until the ingredients are just combined. Another tip is to ensure you’re measuring your flour accurately; using too much can lead to a dense texture. Remember, the key to tender cookies is handling the dough gently!
Are there any dietary considerations for Spring Blossom Cookies?
Certainly! These Spring Blossom Cookies can be made vegetarian, and with simple substitutions, you can also make them dairy-free or vegan. Use a dairy-free alternative for the butter and a flax egg (1 tbsp ground flaxseed mixed with 2.5 tbsp water) instead of a large egg. Always check for allergies related to specific flowers, as some individuals may have sensitivities.
Spring Blossom Cookies That Bring Springtime Joy to Your Table
Ingredients
Equipment
Method
- Preheat your oven to 350°F (175°C) and line a baking sheet with parchment paper.
- In a medium bowl, whisk together the flour, baking powder, and salt until well blended.
- In a large bowl, cream together the softened butter, granulated sugar, and powdered sugar until light and fluffy.
- Add in the egg and vanilla extract, mixing until fully incorporated.
- Gradually mix the dry ingredients into the wet ingredients until a soft dough forms.
- Scoop and roll the dough into 1-inch balls and place them on the prepared baking sheet.
- Gently press the edible flowers onto each cookie before baking.
- Bake the cookies for 10-12 minutes until lightly golden around the edges.
- Cool for 5 minutes on the baking sheet before transferring to a wire rack.
Leave a Reply