
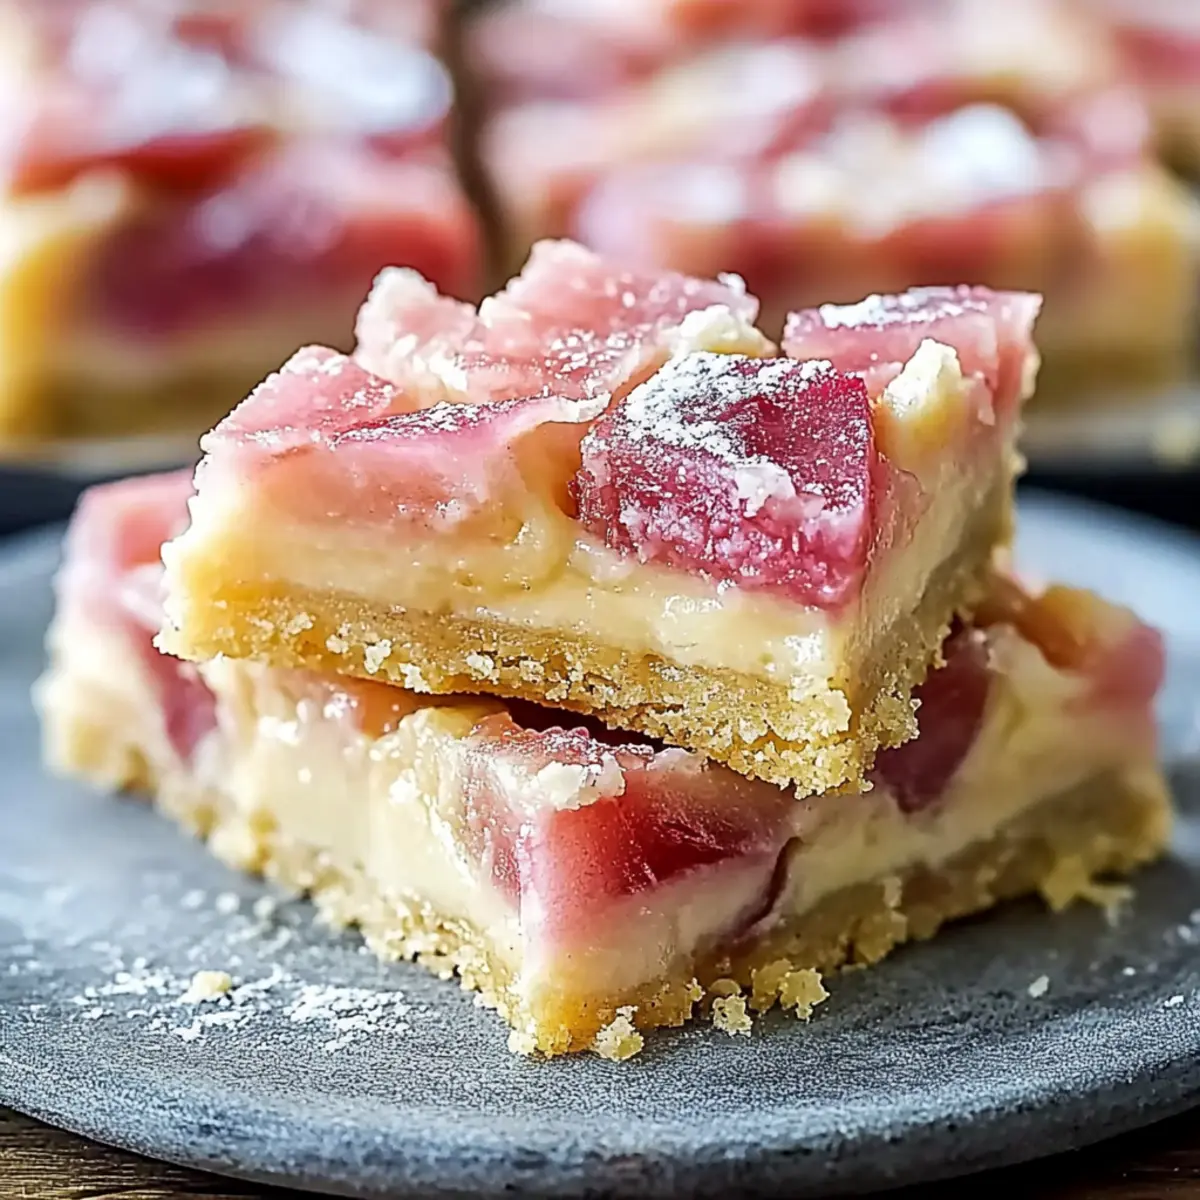
Summer whispers secrets of flavor, and there’s nothing quite like the delight of homemade Easy Rhubarb Custard Bars to capture its essence. Seriously, these bars are a game-changer! With a creamy custard filling that plays beautifully with the tartness of fresh rhubarb, they’re not only quick to whip up but also certain to impress at any gathering or bring a touch of sweetness to a regular weeknight. Plus, they’re incredibly customizable—feel free to swap in frozen rhubarb or even mix in your favorite fruits! Trust me, the buttery crust paired with that perfect sweet-tart balance makes these bars a must-try for any dessert lover. Curious about how to bring this summer treat to life? Let’s dive into the delicious details!
Why Make Rhubarb Custard Bars?
Simplicity at Its Best: The ease of this recipe is remarkable—just a few straightforward steps and minimal ingredients.
Rich Creamy Texture: Indulge in a velvety custard topping that perfectly complements the tangy burst of rhubarb.
Customizable Delight: Use frozen rhubarb or mix in strawberries for a fun twist, making it uniquely yours!
Perfect for Any Occasion: Whether it’s a casual weeknight dessert or a fancy gathering, these bars will impress.
Make Ahead Magic: Prepare a day in advance for flavors that meld beautifully overnight, allowing you to enjoy without stress!
For another delightful bar recipe, check out our Chip Banana Bars, guaranteed to satisfy any sweet tooth!
Rhubarb Custard Bars Ingredients
• Here’s everything you need to make delightful Rhubarb Custard Bars!
For the Filling
- Fresh Rhubarb (2 cups, chopped) – Provides tartness; frozen rhubarb can be used after thawing and draining moisture.
- Granulated Sugar (1 cup, divided) – Adds sweetness; for a sweeter custard, consider increasing sugar by 1/4 cup.
- Ground Cinnamon (1/2 teaspoon) – Adds warmth and depth to the filling.
- Whole Milk (1 cup) – Creates a creamy custard; half-and-half can be substituted for a richer texture.
- Large Eggs (3) – Binds the custard; replace with flax eggs if desired (1 tbsp ground flaxseed + 3 tbsp water per egg).
- Vanilla Extract (1 teaspoon) – Enhances the flavor depth of the custard.
For the Crust
- Unsalted Butter (1/2 cup, melted) – Forms the crust; ensure it’s melted for easy mixing.
- All-Purpose Flour (1/4 cup + 1 cup for crust) – Provides structure; feel free to try gluten-free flour for a different twist.
- Salt (1/4 teaspoon) – Enhances overall flavor.
For Dusting
- Powdered Sugar (1/4 cup) – Adds a lovely decorative sweetness just before serving.
Step‑by‑Step Instructions for Rhubarb Custard Bars
Step 1: Preheat the Oven
Begin by preheating your oven to 350°F (175°C). While the oven is heating, grab a 9×13-inch baking dish and grease it lightly with butter or non-stick spray to ensure easy removal of the bars later. This step sets the perfect foundation for your delightful Rhubarb Custard Bars.
Step 2: Prepare the Rhubarb Filling
In a medium mixing bowl, combine 2 cups of chopped fresh rhubarb with 1/2 cup of granulated sugar, 1/4 cup of all-purpose flour, 1/4 teaspoon of salt, and 1/2 teaspoon of ground cinnamon. Toss everything together until the rhubarb is well coated with the mixture. Set this aside to allow the flavors to meld while you work on the custard.
Step 3: Mix the Custard Ingredients
In a separate bowl, whisk together 1 cup of whole milk, 3 large eggs, and the remaining 1/2 cup of granulated sugar, along with 1 teaspoon of vanilla extract. Continue whisking until the mixture is smooth and creamy, ensuring the eggs are fully combined. This will be the luscious custard that sits atop your rhubarb filling.
Step 4: Make the Crust
To create the crust, mix 1 cup of all-purpose flour with 1/2 cup of melted unsalted butter in a clean bowl. Stir until the mixture resembles coarse crumbs. Press this mix firmly into the bottom of your prepared baking dish to form an even layer. This buttery crust will serve as the perfect support for your filling and custard.
Step 5: Assemble the Bars
Evenly pour the rhubarb mixture over the crust in your baking dish, spreading it out gently. Then, slowly pour the custard mixture on top, allowing it to seep through the rhubarb. This layered approach creates a beautifully textured balance in your Easy Rhubarb Custard Bars.
Step 6: Bake to Perfection
Place the assembled baking dish in the preheated oven and bake for 40-45 minutes. Watch closely for the custard to set and become lightly golden on top. A good indicator that it’s done is a slight jiggle in the center—this means it’s firming up into a creamy delight.
Step 7: Cool and Slice
Once baked, remove your Rhubarb Custard Bars from the oven and let them cool completely in the pan. This cooling period is crucial for achieving clean slices. After about an hour, refrigerate the bars for additional firmness before cutting them into squares for serving.
Step 8: Dust and Serve
Before serving, dust the tops of the bars with 1/4 cup of powdered sugar for an elegant finish. You can serve these delightful bars slightly warm or chilled, perhaps with a dollop of whipped cream or a scoop of ice cream for an extra treat.
Rhubarb Custard Bars Variations
Feel free to get creative and adjust these delightful Rhubarb Custard Bars to match your cravings or dietary needs!
- Frozen Rhubarb: Swap fresh rhubarb for frozen; just thaw and drain it well before using.
- Mixed Fruits: Add berries: Combine strawberries or blueberries with rhubarb for a burst of sweetness and color.
- Gluten-Free: GF Flour: Use a gluten-free flour blend instead of all-purpose flour for a gluten-sensitive option.
- Non-Dairy: Milk Substitute: Replace whole milk with almond or coconut milk for a dairy-free version, still creamy and delicious!
- Extra Flavor: Almond Extract: Swap vanilla extract for almond extract to add a nutty twist that enhances the custard beautifully.
- Heat It Up: Spicy Kick: Add a pinch of cayenne pepper to the custard for a surprising hint of heat—an exciting flavor twist!
As you play around with these variations, you’ll discover a whole new world of flavors! For some delightful inspiration, don’t forget to check out our Chip Banana Bars and bring yet another scrumptious treat to your table. Happy baking!
Expert Tips for Rhubarb Custard Bars
-
Cool Completely: Allow the Rhubarb Custard Bars to cool completely before slicing to achieve clean, neat pieces without crumbling.
-
Watch Closely: Keep an eye on the bars in the last few minutes of baking; over-baking can lead to a tough custard.
-
Add Zest: Mix in a teaspoon of lemon zest into the custard for a vibrant flavor boost that pairs beautifully with the tart rhubarb.
-
Use Frozen Rhubarb: If fresh rhubarb isn’t available, frozen works great! Just remember to thaw and drain excess moisture beforehand.
-
Experiment with Flavors: Don’t hesitate to customize! Add strawberries or almond extract for a unique twist on these delightful bars.
Make Ahead Options
These Rhubarb Custard Bars are a fantastic option for busy home cooks seeking to save time without sacrificing flavor! You can prepare the crust and the rhubarb filling up to 24 hours in advance; simply store them separately in the refrigerator. For best results, press the crust into the baking dish and cover it with plastic wrap, while the filling should be kept in an airtight container to prevent moisture loss. When you’re ready to bake, just whisk together your custard ingredients and layer everything into the dish before baking. This prep-ahead method allows the flavors to meld beautifully, making your Rhubarb Custard Bars even more delicious when it’s time to serve!
How to Store and Freeze Rhubarb Custard Bars
Room Temperature: Keep the bars covered at room temperature for up to 2 hours if serving immediately. Beyond that, refrigerate to maintain freshness.
Fridge: Store leftovers in an airtight container in the refrigerator for up to 3 days. Ensure they cool completely before sealing to retain texture and flavor.
Freezer: For longer storage, wrap the bars tightly in plastic wrap and then in aluminum foil, freezing them for up to 3 months. Thaw in the fridge overnight before serving.
Reheating: Reheat individual bars in the microwave for 10-15 seconds or in an oven at 350°F until warmed through. Enjoying your Rhubarb Custard Bars fresh makes all the difference!
What to Serve with Easy Rhubarb Custard Bars
Elevate your delightful dessert experience with these perfect pairing ideas that complement the tangy sweetness of these bars.
-
Whipped Cream: A dollop of freshly whipped cream adds a light, creamy touch that enhances the dessert’s sweetness.
-
Vanilla Ice Cream: The classic combination of warm bars with cold vanilla ice cream creates a heavenly contrast of temperatures.
-
Fresh Berries: A mix of strawberries and blueberries offers a refreshing burst of sweetness and color with each bite.
-
Mint Tea: The herbal notes of mint tea will cleanse your palate and provide a calming balance to the sweet-tart flavors.
-
Lemonade: A cold glass of lemonade provides a zesty kick that complements the rhubarb’s tanginess perfectly, making it a refreshing choice.
Pair any of these sides with your Easy Rhubarb Custard Bars, and you’re sure to delight everyone at the table!
Rhubarb Custard Bars Recipe FAQs
What type of rhubarb should I use for these bars?
Absolutely! Fresh rhubarb is ideal for these bars as it provides a delightful tartness that balances the creamy custard. However, if you don’t have fresh rhubarb at hand, frozen rhubarb can definitely be used. Just remember to thaw it completely and drain any excess moisture before adding it to your mixture; this will help maintain the right texture!
How should I store the leftover rhubarb custard bars?
I recommend storing the bars in an airtight container in the refrigerator for up to 3 days. For optimal freshness, make sure they cool completely before sealing them up. That way, they’ll keep their lovely creamy texture and flavor!
Can I freeze rhubarb custard bars?
Absolutely! To freeze your Rhubarb Custard Bars, wrap them tightly in plastic wrap, then place them in a freezer-safe container or bag. They can be stored for up to 3 months. When you’re ready to enjoy, simply thaw them in the refrigerator overnight before serving!
What if my custard doesn’t set properly while baking?
If your custard isn’t setting as it should, this could be due to a couple of factors. First, ensure you’re baking it long enough—sometimes it might need an extra 5-10 minutes. Second, if you’ve added ingredients like extra sugar or fruit, it can cause additional moisture that affects setting. If this happens, let the bars cool completely in the fridge for a firmer texture; chilling often helps the custard to firm up.
Are rhubarb custard bars safe for pets?
While rhubarb is safe for human consumption, it can be toxic to pets, especially cats and dogs. Rhubarb leaves contain oxalic acid, which can be harmful. It’s best to keep these delicious bars out of reach of your furry friends!
Can I make this recipe gluten-free?
Very! You can certainly experiment with gluten-free all-purpose flour in place of regular all-purpose flour for the crust and filling. Just be aware that the texture might vary slightly. I recommend blending it with a little cornstarch for best results, as it often helps gluten-free baked goods achieve a better structure.

Delicious Rhubarb Custard Bars for a Perfect Summer Treat
Ingredients
Equipment
Method
- Preheat your oven to 350°F (175°C) and grease a 9x13-inch baking dish with butter or non-stick spray.
- In a medium mixing bowl, combine the chopped rhubarb, 1/2 cup of granulated sugar, 1/4 cup of flour, 1/4 teaspoon of salt, and 1/2 teaspoon of cinnamon. Toss until well coated.
- In a separate bowl, whisk together the whole milk, 3 eggs, the remaining 1/2 cup of sugar, and the vanilla extract until smooth.
- In another bowl, mix 1 cup of flour with 1/2 cup of melted butter until it resembles coarse crumbs. Press this into the bottom of the baking dish.
- Pour the rhubarb filling over the crust evenly, followed by the custard mixture.
- Bake for 40-45 minutes until the custard is set and lightly golden on top.
- Cool completely in the pan before slicing into squares.
- Dust with powdered sugar before serving.
Leave a Reply