
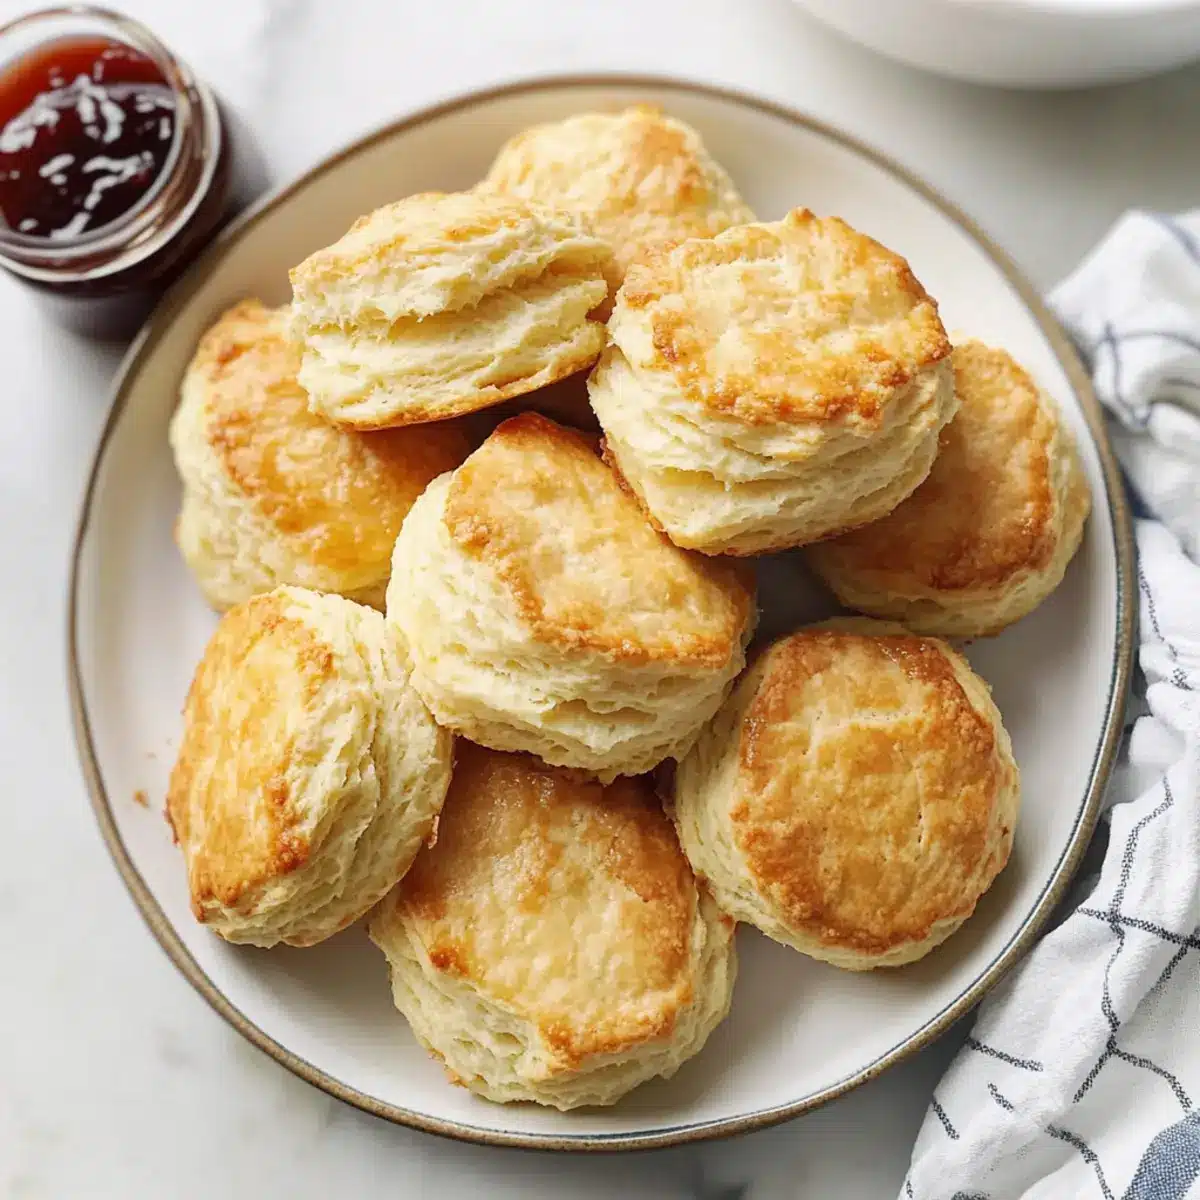
As I stood in my kitchen, the rich aroma of baked goods wafted through the air, instantly transporting me to cherished family gatherings. Buttermilk Biscuits have a way of conjuring nostalgia while remaining incredibly versatile. Perfectly flaky and buttery, these biscuits offer a delightful contrast of crisp exterior and tender, fluffy interior that makes them a go-to for any meal. Whip them up in just 30 minutes, and you’ll have a quick comfort food that shines at breakfast with jam or as a savory side for dinner. With a few simple ingredients and endless variations—think cheesy herbs or rustic drop biscuits—you can create a batch that suits your mood, bringing warmth to your table! So, are you ready to embrace the joy of homemade buttermilk biscuits? Let’s dive in!
Why are Buttermilk Biscuits a Must-Try?
Irresistible Texture: These biscuits are delightfully flaky on the outside and tender within, creating a comforting bite that everyone loves.
Quick and Easy: From mixing to baking, enjoy fresh-buttermilk goodness in just 30 minutes—perfect for busy days!
Endless Versatility: Serve them with gravy for breakfast, alongside soups for lunch, or even at holiday dinners.
Homemade Appeal: Nothing beats the smell of baked goods in your home; these biscuits will fill your kitchen with warmth and nostalgia.
Customize Your Way: Add your favorite herbs, cheese, or spices to create unique flavor profiles that cater to any palate.
Elevate your cooking game with this timeless recipe, and don’t forget to check out my tips on Storage Tips for biscuits, so you can enjoy your creations later!
Buttermilk Biscuit Ingredients
For the Dough
• All-Purpose Flour – Provides structure; substitute with a mix of all-purpose and pastry flour for a softer texture.
• Granulated Sugar – Adds a hint of sweetness; can be reduced or omitted for less sweetness.
• Baking Powder – Primary leavening agent; ensure freshness by checking for bubbles when mixed with water.
• Baking Soda – Reacts with buttermilk to aid in rising; not interchangeable with baking powder, so test for potency if old.
• Fine Sea Salt – Enhances overall flavor; can replace with table salt, avoiding coarse varieties directly.
• Unsalted Butter – Adds richness and contributes to flaky layers; keep it cold for the best results, or mix with shortening for different texture.
• Buttermilk – Essential for tenderness and flavor; use plain kefir or a mix of yogurt and milk as substitutes, or lemon/vinegar in milk as a last resort.
Experience the magic of Buttermilk Biscuits and transform your meals today!
Step‑by‑Step Instructions for Buttermilk Biscuits
Step 1: Preheat the Oven
Start by preheating your oven to 425°F (220°C). This high temperature is crucial for achieving those beautifully golden-brown, flaky layers in your Buttermilk Biscuits. Make sure your oven is fully heated before placing the biscuits inside to ensure even cooking.
Step 2: Mix Dry Ingredients
In a large mixing bowl, combine the all-purpose flour, granulated sugar, baking powder, baking soda, and fine sea salt. Whisk them together until well blended, ensuring that there are no clumps. This harmonious mix will provide the foundation for your flaky and tender biscuits.
Step 3: Incorporate the Butter
Take chilled, unsalted butter and cut it into small cubes. Add the butter to the flour mixture, and using a pastry cutter or your fingertips, gently work it in until the mixture resembles coarse crumbs. Look for a sandy texture with small bits of butter visible—this will help create those beautiful, flaky layers in your Buttermilk Biscuits.
Step 4: Add Buttermilk
Next, pour in the chilled buttermilk, stirring gently with a wooden spoon or spatula until just combined. Take care not to overmix the dough; it’s okay if a few dry spots remain. The goal is to create a cohesive dough that stays tender and light, perfect for your Buttermilk Biscuits.
Step 5: Shape the Dough
Turn the dough out onto a lightly floured surface. Carefully pat it into a rectangle about 1-inch thick. To create even more flaky layers, fold the dough in thirds like a letter, then gently pat it back out into a rectangle. Repeat this folding technique two more times, working swiftly to keep the dough cool.
Step 6: Cut the Biscuits
After shaping, pat the dough to a 1-inch thickness once more. Using a sharp biscuit cutter, cut out your biscuits without twisting the cutter, as this can seal the edges. Place each biscuit on an ungreased baking sheet, ensuring they’re close but not touching for even rising.
Step 7: Bake to Perfection
Slide the baking sheet into your preheated oven and let the biscuits bake for 12 to 15 minutes. Keep an eye on them; they should turn a lovely golden-brown color when they’re ready. The aroma of Buttermilk Biscuits will fill your kitchen, tantalizing and comforting!
Step 8: Serve Warm
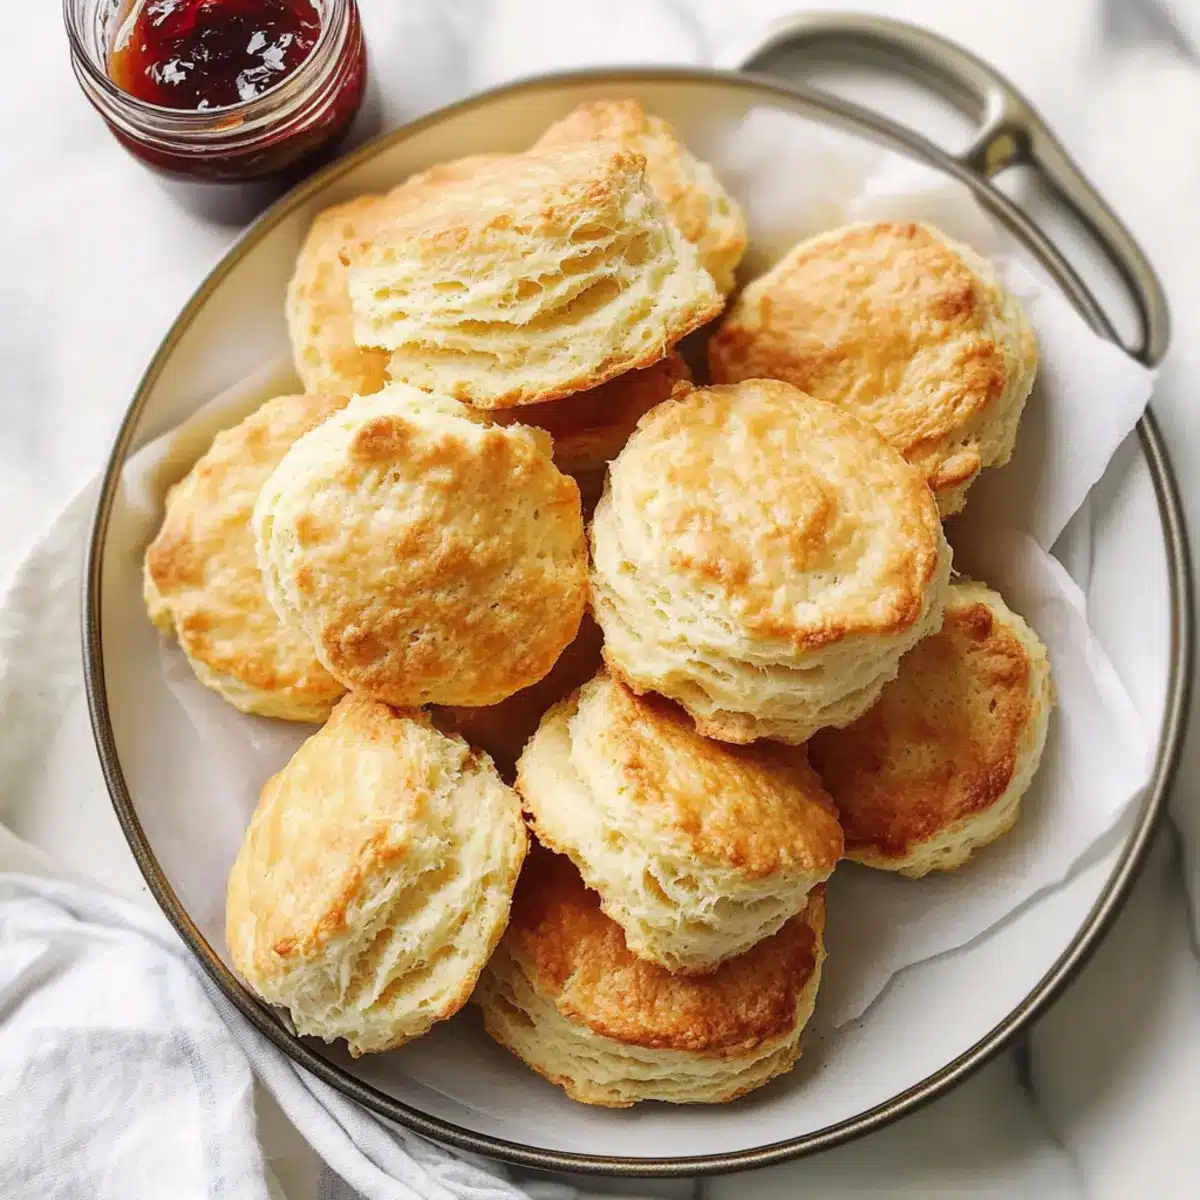
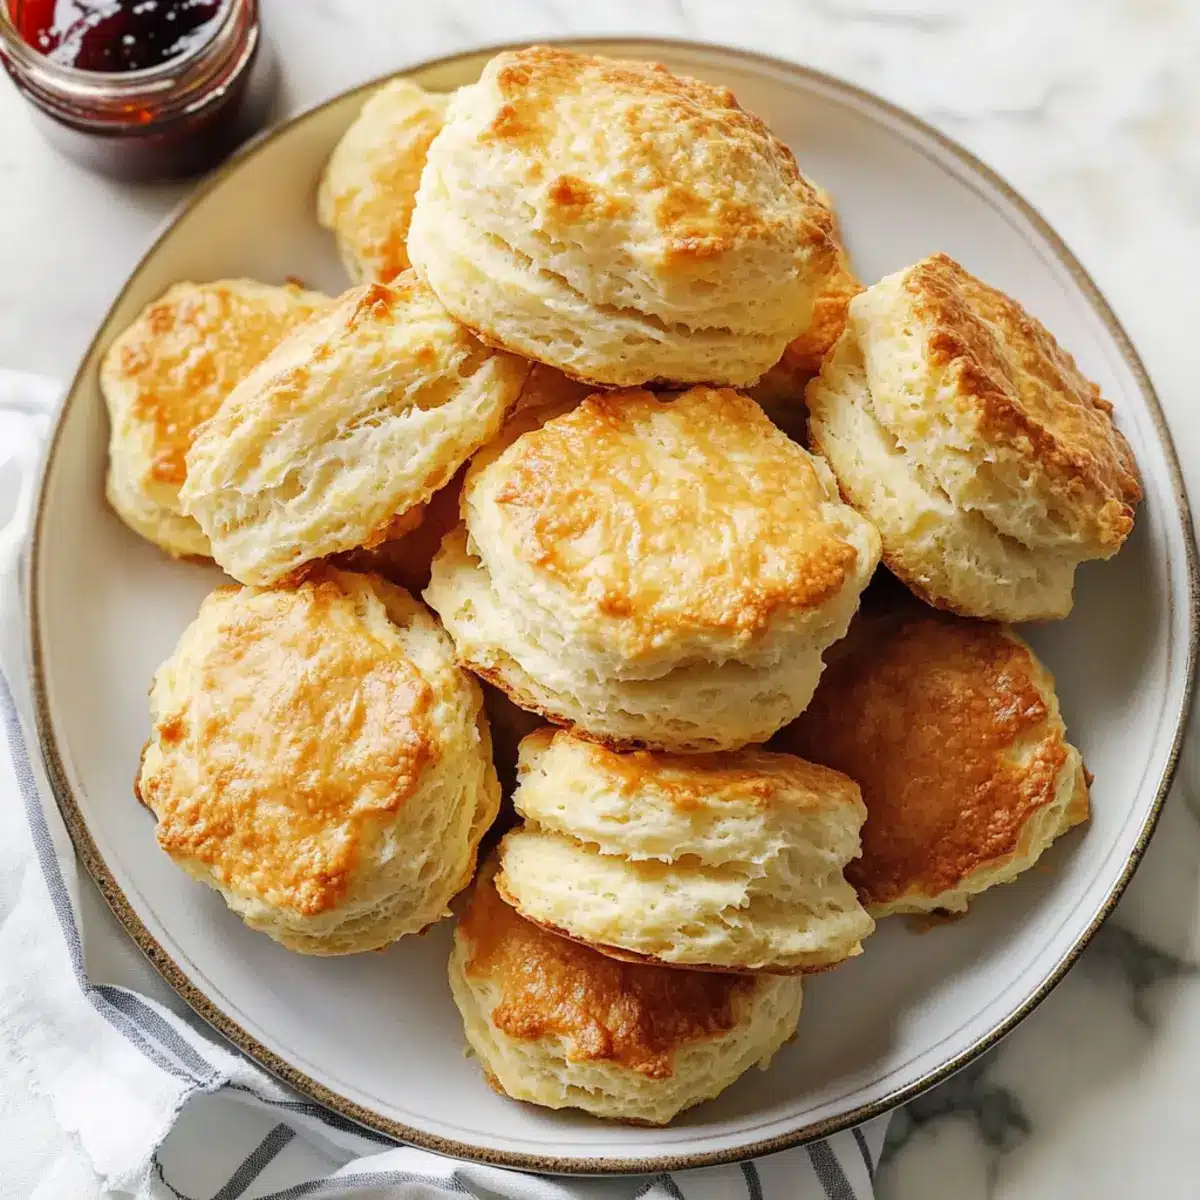
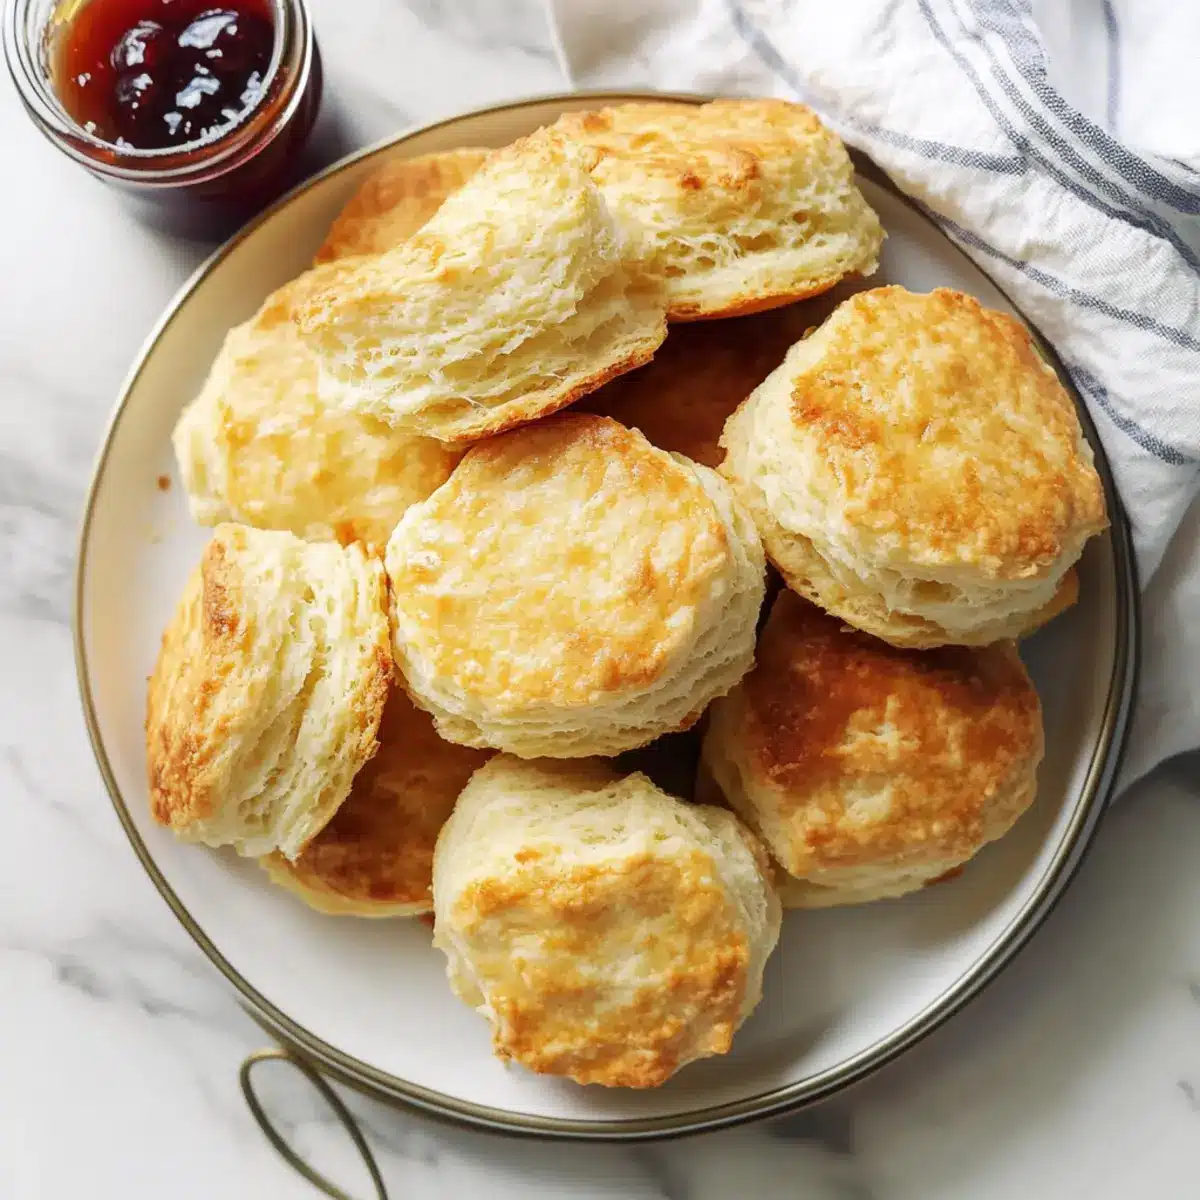
Once baked, remove the biscuits from the oven and let them cool for a few minutes on the baking sheet. For the best experience, serve them warm on the same day they are made. These Buttermilk Biscuits pair beautifully with butter, jam, or as a side for hearty meals, making them a delightful addition to any table.
Expert Tips for Buttermilk Biscuits
• Keep it Cold: Ensure your butter and buttermilk are thoroughly chilled to achieve flaky layers in your biscuits.
• Don’t Overmix: Gently combine the ingredients to avoid dense biscuits; overworking the dough is a common mistake.
• Use a Sharp Cutter: A sharp biscuit cutter prevents sealing the edges, allowing your Buttermilk Biscuits to rise beautifully.
• Chill if Needed: If your dough becomes too warm, chill it slightly before cutting to maintain the ideal texture.
• Experiment with Add-ins: Try mixing in shredded cheese or fresh herbs for unique flavor variations that will elevate your biscuits!
Buttermilk Biscuits Variations & Substitutions
Feel free to personalize your buttermilk biscuits and make them uniquely yours, whether you’re looking for a flavor boost or a dietary swap!
-
Cheesy Twist:
Add shredded cheese like cheddar or pepper jack into the dough for a gooey, flavorful surprise in every bite. -
Herb-Infused:
Incorporate fresh herbs like rosemary or chives directly into the dough to elevate the flavors with earthy aromas. -
Spicy Kick:
Mix in cayenne pepper or red pepper flakes for a delightful heat that contrasts beautifully with the biscuit’s tender texture. -
Sweet Luxe:
For a sweet variation, fold in cinnamon and a splash of vanilla extract, and enjoy these biscuits with honey or jam. -
Gluten-Free Option:
Substitute all-purpose flour with a gluten-free flour blend. Just make sure to check for appropriate baking powder adjustments. -
Drop Variation:
Skip the rolling and cutting—spoon globs of dough directly onto the baking sheet for a rustic, hearty version that’s just as delicious. -
Veggie Delight:
Incorporate finely chopped sautéed vegetables like spinach or sun-dried tomatoes into the dough for added nutrition and flavor. -
Nutty Addition:
Add finely chopped nuts, such as walnuts or pecans, to the dough for a delightful crunch and nutty flavor that pairs well with breakfast spreads.
Explore these variations and create something special that will make your biscuits a hit! Don’t forget to check out my tips on Storage Tips for biscuits to keep them fresh for later enjoyment!
Make Ahead Options
These Buttermilk Biscuits are a fantastic option for meal prep, allowing you to enjoy fresh, flaky goodness even on the busiest days! You can prepare the dough up to 24 hours in advance; simply follow the recipe through to shaping the biscuits, then wrap the dough tightly in plastic wrap and refrigerate. Another great option is to cut the biscuits and place them on a baking sheet, then freeze them before baking; transfer to an airtight container after freezing. When you’re ready to enjoy your Buttermilk Biscuits, simply bake them straight from the fridge or freezer, adding a few minutes to the baking time for perfectly golden results. This way, you’ll always have delicious, homemade biscuits ready to go, making your meal planning a breeze!
How to Store and Freeze Buttermilk Biscuits
Room Temperature: Store baked biscuits in an airtight container at room temperature for up to 2 days to maintain their freshness and flaky texture.
Fridge: For longer storage, place cooled buttermilk biscuits in the fridge, where they will remain tasty for up to 5 days. Reheat in the oven for best results.
Freezer: For meal prep, freeze unbaked biscuits directly on a baking sheet, then transfer to an airtight container after frozen. Bake from frozen, increasing bake time by a few minutes.
Reheating: To enjoy leftover baked buttermilk biscuits, reheat in the oven at 350°F (175°C) for about 10 minutes to restore their crispy exterior.
What to Serve with Buttermilk Biscuits?
Buttermilk biscuits are not just a standalone treat; they pave the way for creating delightful meals that warm both the heart and home.
-
Savory Sausage Gravy: This rich and hearty gravy, with its creamy texture and flavorful spices, is the perfect partner for soaking up the flaky goodness of buttermilk biscuits. Creamy and satisfying, it transforms breakfast into an unforgettable feast.
-
Homestyle Chicken Soup: The comforting warmth of chicken soup pairs beautifully with these biscuits, offering a delightful contrast between the crisp, buttery layers and the steamy, savory broth. Slather your biscuit with a spoonful of soup for an indulgent experience.
-
Fresh Garden Salad: A crisp, refreshing salad with mixed greens and cherry tomatoes adds a vibrant contrast to the richness of buttermilk biscuits. It’s a welcome balance that brightens up the plate during any meal.
-
Honey Butter: Whipped honey butter, sweet and creamy, is the ultimate treat spread over warm biscuits. This sweet and savory combo is a match made in heaven, enhancing the buttery flavor in every bite.
-
Bacon and Eggs: The classic breakfast duo of crispy bacon and perfectly cooked eggs complements the fluffy texture of buttermilk biscuits wonderfully. Together, they create a hearty breakfast spread that the whole family will enjoy.
-
Fruit Jam or Preserve: Adding a dollop of your favorite fruit jam elevates buttermilk biscuits to a delightful dessert option, balancing the richness with a touch of sweetness. Pair with a hot cup of tea for the ultimate indulgence.
-
Fruity Smoothie: A refreshing smoothie filled with your favorite fruits will contrast the biscuits’ texture and provide a nutritious balance, making for a perfect breakfast or snack.
-
Coffee or Tea: A warm cup of coffee or a soothing herbal tea pairs charmingly with buttermilk biscuits, making every bite a cozy experience, reminiscent of quiet mornings spent with loved ones.
Buttermilk Biscuits Recipe FAQs
What type of buttermilk should I use?
You can use store-bought buttermilk, which is ideal, as it has the right acidity for tender biscuits. However, if you can’t find it, you can easily make a substitute by mixing 1 cup of milk with 1 tablespoon of lemon juice or vinegar. Let it sit for 5-10 minutes until it curdles, then use it as you would regular buttermilk.
How should I store leftover buttermilk biscuits?
To keep your biscuits fresh, store them in an airtight container at room temperature for up to 2 days. If you need to store them longer, transfer them to the fridge, where they will last for about 5 days. Just be sure to reheat them in the oven to regain their delightful crispy texture!
Can I freeze buttermilk biscuits? How do I do that?
Absolutely! To freeze, take unbaked biscuits and place them on a baking sheet without touching. Freeze until solid, then transfer to an airtight container or freezer bag. They can be kept frozen for up to 3 months. When ready to bake, preheat your oven and add a few extra minutes to the baking time for a deliciously baked biscuit straight from the freezer.
Why did my buttermilk biscuits turn out dense?
Dense biscuits can happen if the dough is overworked. Make sure to mix just until combined, leaving some dry spots. Another common reason is using old baking powder or baking soda; always check for freshness by mixing them with water—fresh baking powder should bubble up! If your butter wasn’t cold enough, that can also lead to denser biscuits, so keep your ingredients chilled.
Can I use gluten-free flour for buttermilk biscuits?
Yes, you can use gluten-free all-purpose flour as a substitute. Look for a brand that includes xanthan gum in its blend, as this will help replicate the texture of traditional flour. You may have to add a bit more liquid since gluten-free flours often absorb more moisture.
Are buttermilk biscuits suitable for pets?
While homemade buttermilk biscuits are delicious, they aren’t suitable for pets due to the butter, baking soda, and salt in the recipe. Avoid sharing them with your furry friends! If you want to treat your pets, consider making dog-friendly biscuits without harmful ingredients instead.
Irresistibly Flaky Buttermilk Biscuits You Can Make Today
Ingredients
Equipment
Method
- Preheat your oven to 425°F (220°C) to achieve golden-brown, flaky layers.
- In a large mixing bowl, combine the all-purpose flour, sugar, baking powder, baking soda, and salt. Whisk until blended.
- Cut the chilled butter into small cubes and mix it into the flour until resembling coarse crumbs.
- Pour in chilled buttermilk and stir gently until just combined. Avoid overmixing.
- Turn the dough onto a floured surface, pat to 1-inch thick, fold in thirds, and repeat twice.
- Pat the dough to 1-inch thickness, cut biscuits with a cutter, and place on a baking sheet.
- Bake in the preheated oven for 12 to 15 minutes until golden brown.
- Remove from the oven and allow cooling slightly before serving warm.
Leave a Reply