
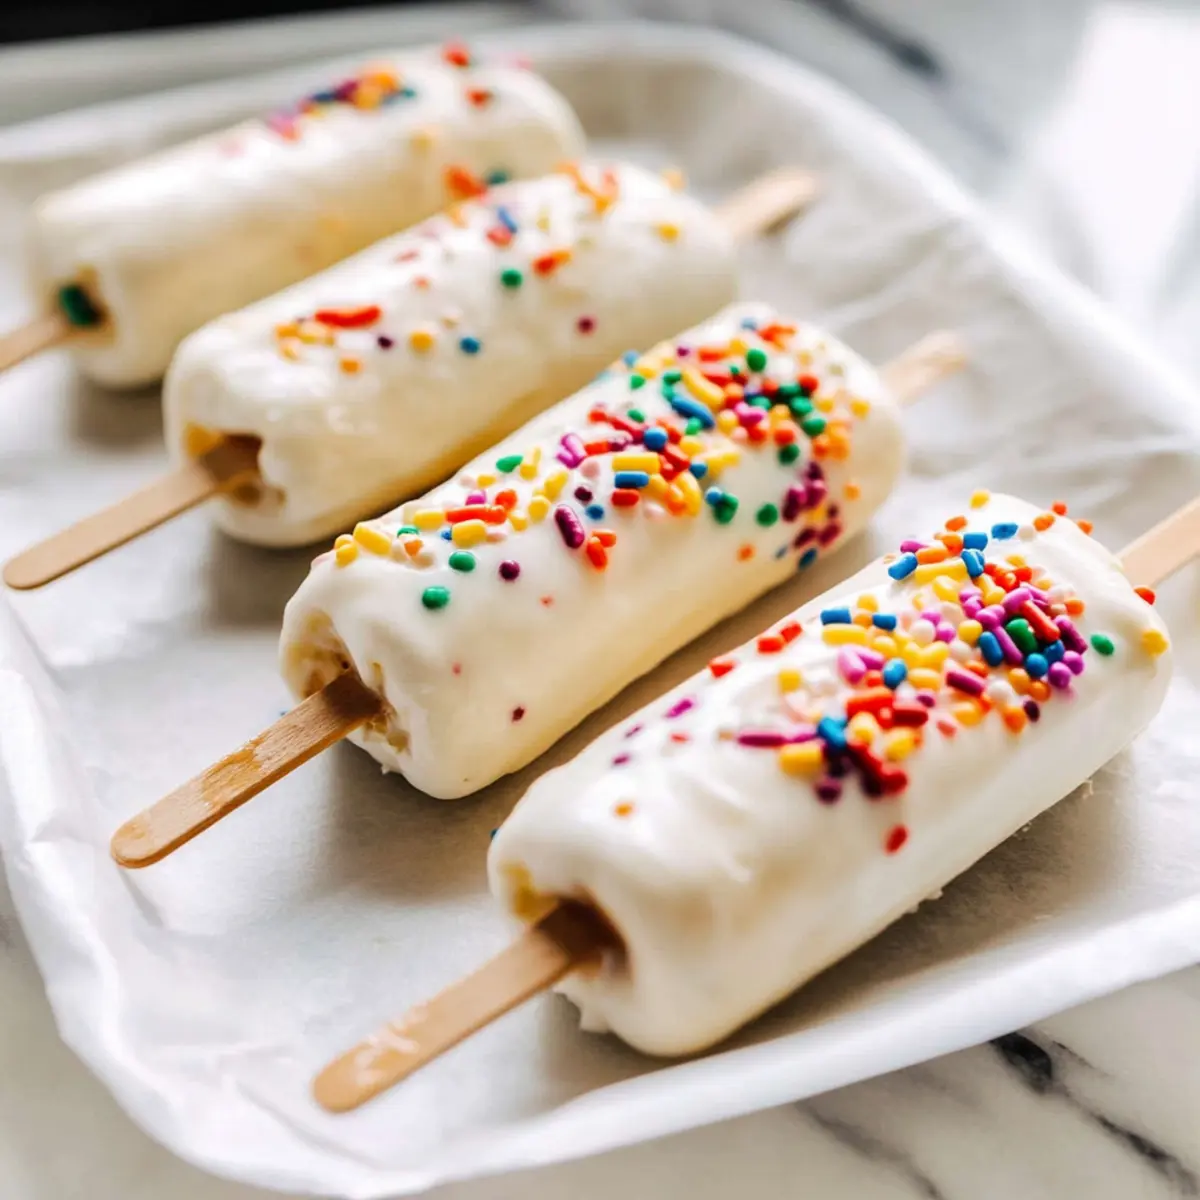
When the summer sun blazes, nothing cools you down quite like a popsicle. Picture this: you take a bite into a creamy, sweet treat that’s not only delicious but also guilt-free! These Healthy Frozen Yogurt Banana Pops fit the bill perfectly. With just three simple ingredients—ripe bananas, creamy vanilla Greek yogurt, and a sprinkle of colorful fun—they’re a refreshing twist on the classic chocolate-covered bananas we all loved as kids. The best part? They’re not just a delicious snack; they’re also an easy-to-make, wholesome treat that will keep the whole family happy and healthy. Ready to dive into a world of refreshing flavors? Let’s make summer a little sweeter!
Why You’ll Love These Pops
Quick and Easy: Just three ingredients and minimal prep time make these Frozen Yogurt Banana Pops a breeze to whip up.
Healthier Option: Enjoy the satisfaction of a sweet treat without the guilt—perfect for those looking to ditch fast food!
Kid-Friendly Fun: Kids will love customizing their pops with sprinkles or toppings. Consider serving them with other fun snacks like Chocolate Chip Banana Bars for a delicious party platter!
Versatile Treat: Use any yogurt flavor or mix in other fruits like strawberries for delightful variations.
Perfect for Hot Days: These pops are not only refreshing but also provide a protein boost thanks to Greek yogurt—ideal for keeping energy levels up while staying cool.
Snack smart this summer with these delightful pops and enjoy a taste of nostalgia in a healthy way!
Frozen Yogurt Banana Pops Ingredients
For the Pops
• Bananas – Use ripe bananas for maximum sweetness and creaminess when frozen.
• Greek Yogurt (vanilla flavor) – This gives a deliciously creamy coating and added protein; feel free to swap for flavored or dairy-free yogurt.
• Rainbow Sprinkles – These add a fun and colorful touch; optional but fantastic for a pop of sweetness and visual appeal.
Embrace the deliciousness of Frozen Yogurt Banana Pops with this trio!
Step‑by‑Step Instructions for Frozen Yogurt Banana Pops
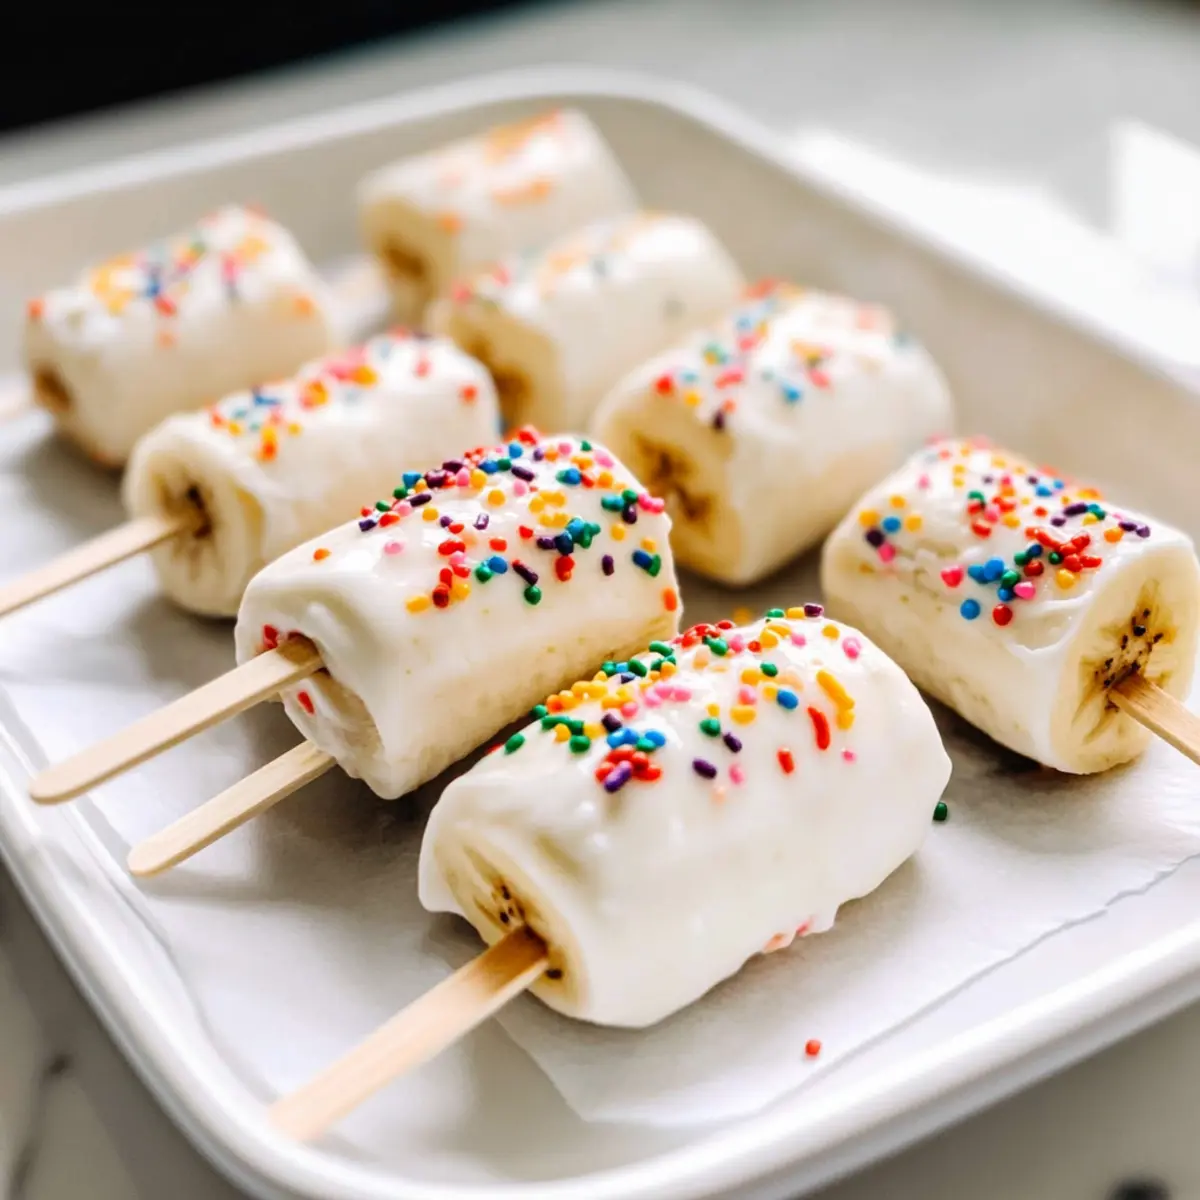
Step 1: Prepare the Bananas
Start by peeling ripe bananas and cutting them in half. Arrange the banana halves on a parchment-lined baking sheet, ensuring they’re spaced apart to prevent sticking. The bananas should be firm yet slightly soft to the touch for optimal creaminess once frozen.
Step 2: Insert Popsicle Sticks
Take wooden popsicle sticks and gently insert them into the cut end of each banana half, making sure they go deep enough to hold the banana securely. This step is crucial for making Frozen Yogurt Banana Pops that are easy to handle once coated in yogurt and frozen.
Step 3: Mix the Yogurt
In a mixing bowl, spoon out your vanilla Greek yogurt and whisk it until it’s completely smooth and creamy. This will ensure a nice, even coating on your banana pops. If you’re using flavored yogurt, feel free to mix in any spices or zest for added flavor before dipping.
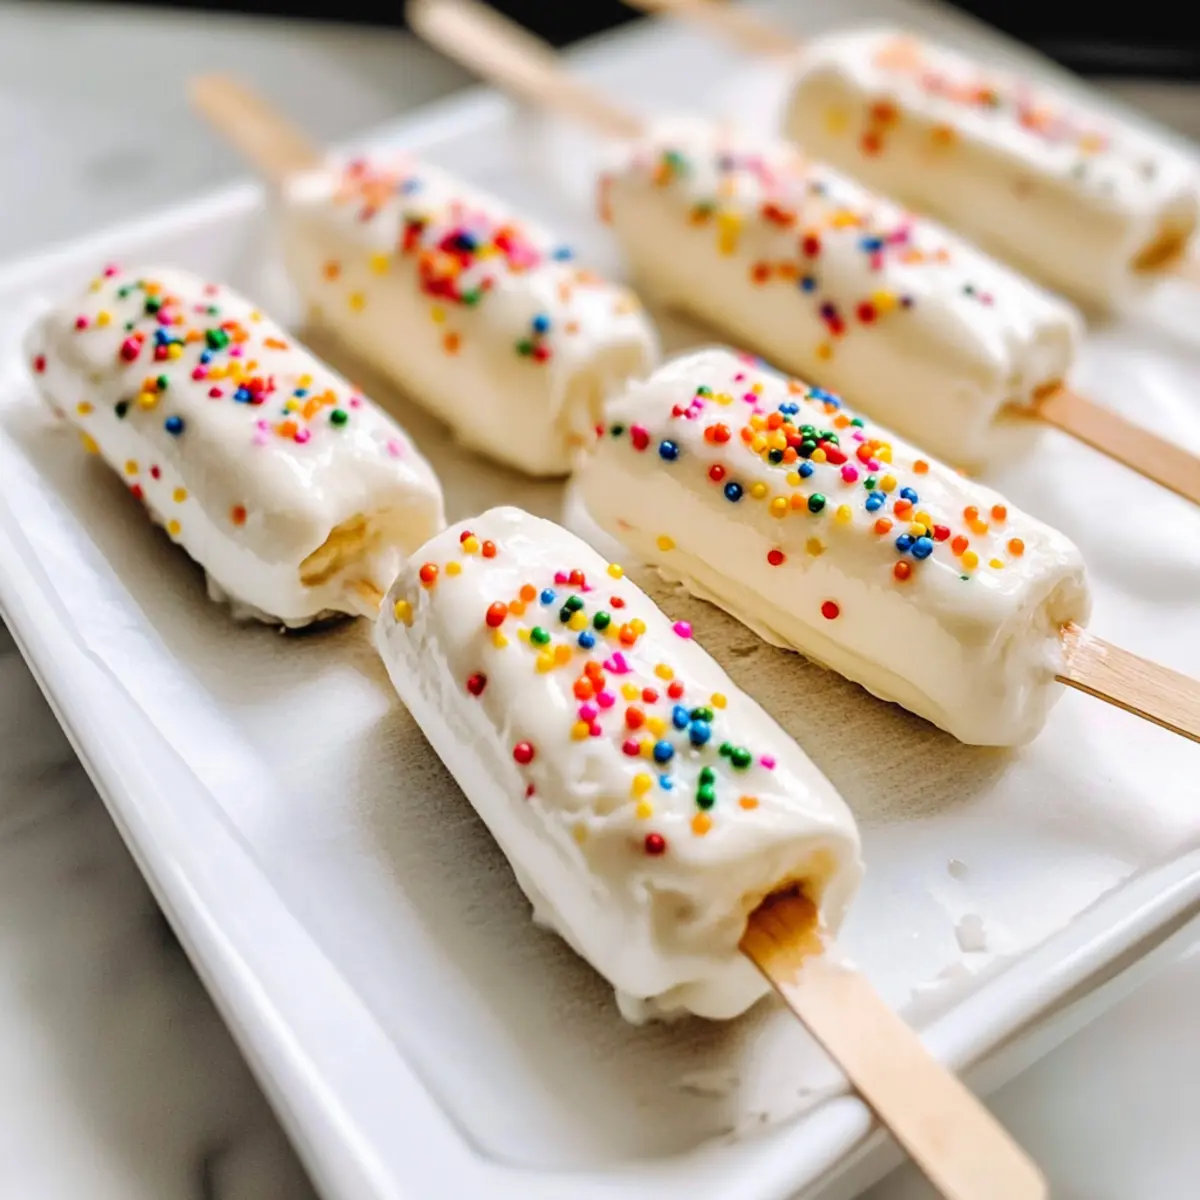
Step 4: Coat the Bananas
Carefully dip each banana pop into the creamy yogurt, rotating it to cover all sides thoroughly. Let any excess yogurt drip back into the bowl, ensuring a generous yet not overly thick coating. This layer will freeze beautifully, creating that delightful yogurt shell.
Step 5: Add the Sprinkles
Return the yogurt-coated banana pops to the baking sheet and, before the yogurt starts to freeze, sprinkle them generously with colorful rainbow sprinkles. They’ll add a fun crunch and a pop of color. If using crushed nuts or coconut flakes, now is the perfect time to sprinkle those on as well.
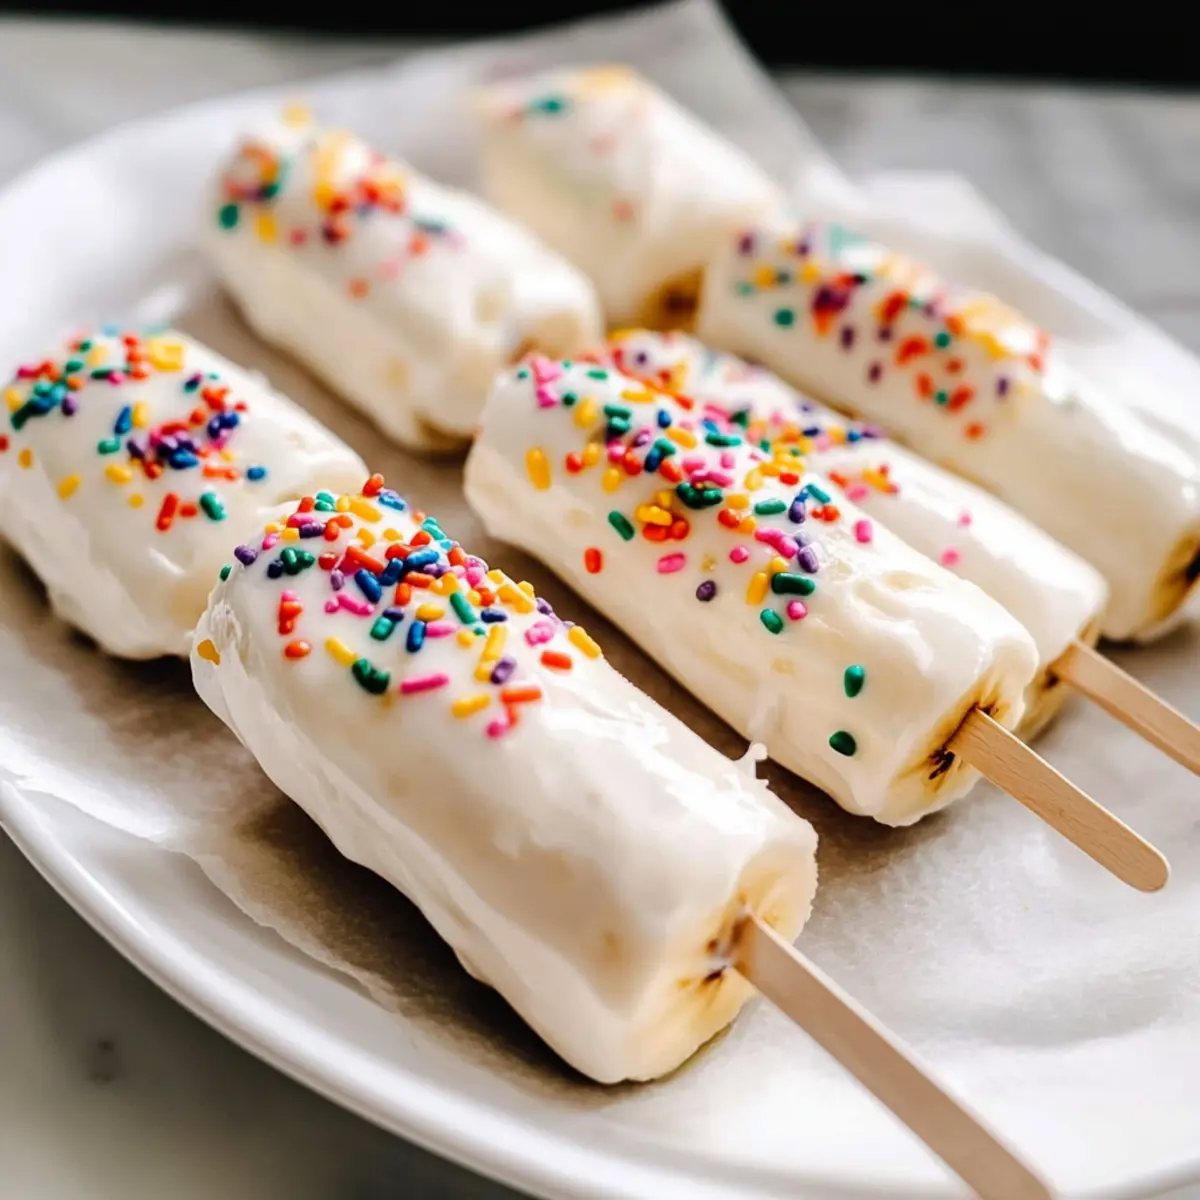
Step 6: Freeze the Pops
Place the baking sheet in a freezer set to 0°F (-18°C) and allow the banana pops to freeze for at least 2 hours or until the yogurt coating is solid. This step is vital for achieving that satisfying frozen texture of the Frozen Yogurt Banana Pops.
Step 7: Serve and Enjoy
Once frozen, remove the pops from the freezer and let them sit at room temperature for a minute for easier removal. Serve the pops immediately as a refreshing summer treat, or store any leftovers in an airtight container in the freezer for up to a week.
Frozen Yogurt Banana Pops Variations
Feel free to get creative and customize these delightful Frozen Yogurt Banana Pops to suit your taste buds!
-
Dairy-Free: Use coconut or almond-based yogurt for a creamy, dairy-free version everyone can enjoy.
Your pops will still be deliciously smooth and satisfying, just with a unique flavor twist! -
Nutty Crunch: Swap rainbow sprinkles for crushed nuts like almonds or walnuts for an added crunch and healthy fats.
This variation brings a delightful contrast in texture, making every bite an adventure! -
Fruity Swirl: Blend fresh strawberries or mangoes into the yogurt for a fruity flavor enhancement and vibrant colors.
This simple twist can take your yogurt pops to a whole new level of deliciousness! -
Chocolate Drizzle: Drizzle melted dark chocolate over the frozen pops after freezing for a decadent touch.
The rich chocolate contrasts beautifully with the yogurt and banana, creating an indulgent treat. -
Spicy Kick: Add a pinch of cayenne or chili powder to the yogurt for an unexpected kick to your pops.
This fiery twist will surprise and delight adventurous eaters craving something different! -
Coconut Flakes: Roll the yogurt-coated pops in unsweetened coconut flakes for a tropical twist and chewy texture.
These pops will transport you to a sunny beach with every chilled bite. -
Honey Touch: Drizzle a touch of honey into your Greek yogurt before dipping for a natural sweetener and richer flavor.
The honey adds a delightful sweetness that beautifully complements the banana and yogurt base.
Get ready to explore a world of flavors and textures with these variations, and don’t forget—you can always serve your pops alongside tasty treats like Forbidden Forest Pops for even more fun!
Make Ahead Options
These Healthy Frozen Yogurt Banana Pops are perfect for meal prep enthusiasts! You can cut the bananas and insert popsicle sticks up to 24 hours in advance, as this saves time on busy days. Simply store the prepared banana halves in an airtight container in the refrigerator to keep them fresh. On the day you’re ready to serve, dip the bananas in your yogurt mixture, sprinkle on the fun toppings, and pop them in the freezer for at least 2 hours. This way, you’ll have delicious treats ready at a moment’s notice, just as yummy as when you make them fresh!
What to Serve with Healthy Frozen Yogurt Banana Pops
Create a delightful summer experience by pairing these dreamy pops with delicious sides and treats!
- Fresh Fruit Salad: A medley of seasonal fruits adds brightness and freshness, balancing the creamy pops with juicy flavors.
- Granola Parfait: Layer some Greek yogurt, granola, and fresh berries for a wholesome snack. The crunch of granola complements the smooth texture of the pops beautifully.
- Veggie Sticks with Dip: Crunchy carrot and cucumber sticks with a refreshing yogurt-based dip make for a light, healthy option alongside your pops. The cool dip enhances the overall refreshment!
- Coconut Water: This tropical beverage is hydrating and subtly sweet, making it the perfect drink to sip on with your pops. It complements the pops’ tropical vibes!
- Chocolate Dipped Pretzels: Sweet and salty, these treats create a delightful contrast to the fruity pops. Their crunch also provides a fun texture variation!
- Mint Mojito Mocktail: A refreshing minty drink can elevate your summer party. The citrus in the drink will enhance the flavors of the banana pops while adding a touch of sophistication!
How to Store and Freeze Frozen Yogurt Banana Pops
Fridge: Keep any freshly made popsicles in the fridge for a short time, ideally consuming them within 1-2 days for the best flavor and texture.
Freezer: Store your Frozen Yogurt Banana Pops in an airtight container or wrapped individually to prevent freezer burn. They can be kept for up to a week.
Reheating: There’s no need to reheat these pops! Just let them sit at room temperature for a minute to soften before enjoying.
Leftovers: If you have any leftover pops, place them back in the freezer immediately after serving to maintain their creamy texture and delightful taste.
Expert Tips for Frozen Yogurt Banana Pops
-
Choose Ripe Bananas: Ripe bananas will provide the sweetest flavor and creaminess once frozen. Avoid underripe ones for the best experience!
-
Smooth Yogurt Coating: Ensure your Greek yogurt is lump-free for a smooth dip. Whisk it thoroughly before coating to get that perfect yogurt shell.
-
Sturdy Sticks Matter: Use sturdy wooden sticks that can hold the banana half securely. Test one before using to avoid spills after freezing.
-
Creative Toppings: Don’t hesitate to get creative with alternative toppings! Nuts or coconut flakes can replace sprinkles for a unique twist on your Frozen Yogurt Banana Pops.
-
Quick Freeze Tip: To achieve a quick freeze, spread your pops apart on the baking sheet. This prevents them from sticking together for easy serving later on.
-
Storage Strategy: Keep your pops in an airtight container in the freezer for up to a week. They maintain their delightful taste during storage if sealed properly!
Frozen Yogurt Banana Pops Recipe FAQs
What type of bananas should I use for the best flavor?
Absolutely, use ripe bananas for maximum sweetness and creaminess when frozen. Look for bananas that are slightly spotted but not overly brown, as they will provide the best flavor once coated.
How should I store my Frozen Yogurt Banana Pops?
To keep your pops in excellent condition, store them in an airtight container in the freezer. They will maintain their delightful taste and texture for up to a week, ensuring you have a guilt-free treat ready whenever you want.
Can I freeze these pops for longer?
Certainly! If you want to extend their shelf life, you can keep your Frozen Yogurt Banana Pops in the freezer for up to 3 months. Just wrap each pop tightly in plastic wrap before placing them in an airtight container to prevent freezer burn.
What if my yogurt mix isn’t smooth?
No worries! If your yogurt isn’t smooth, simply whisk it more vigorously until all lumps are gone. Make sure to incorporate it well before dipping the bananas. A smooth mixture is key to achieving that lovely yogurt coating that sticks beautifully.
Are there any dietary restrictions to consider?
Very! If you’re catering to allergies, opt for dairy-free yogurt to accommodate those with lactose intolerance or dairy allergies. Additionally, be mindful of the sprinkles you choose, as some might contain allergens like gluten or nuts. Just check the labels, and you’re good to go!
How can I modify this recipe for different flavors?
The more the merrier! You can easily swap the vanilla Greek yogurt for flavored varieties or even blend in fruits like strawberries or peaches for a twist. Just remember to adjust the toppings accordingly—perhaps some crushed nuts or coconut flakes instead of sprinkles for added texture!
Frozen Yogurt Banana Pops: A Guilt-Free Summer Delight
Ingredients
Equipment
Method
- Peel ripe bananas and cut them in half. Arrange on a parchment-lined baking sheet, ensuring they’re spaced apart.
- Insert wooden popsicle sticks into the cut end of each banana half.
- Spoon out the vanilla Greek yogurt into a mixing bowl and whisk until smooth.
- Dip each banana pop into the yogurt, coating all sides thoroughly.
- Return coated banana pops to the baking sheet and sprinkle with rainbow sprinkles before the yogurt freezes.
- Place the baking sheet in a freezer and freeze for at least 2 hours until the coating is solid.
- Remove from the freezer and let sit at room temperature for a minute before serving.
Leave a Reply