
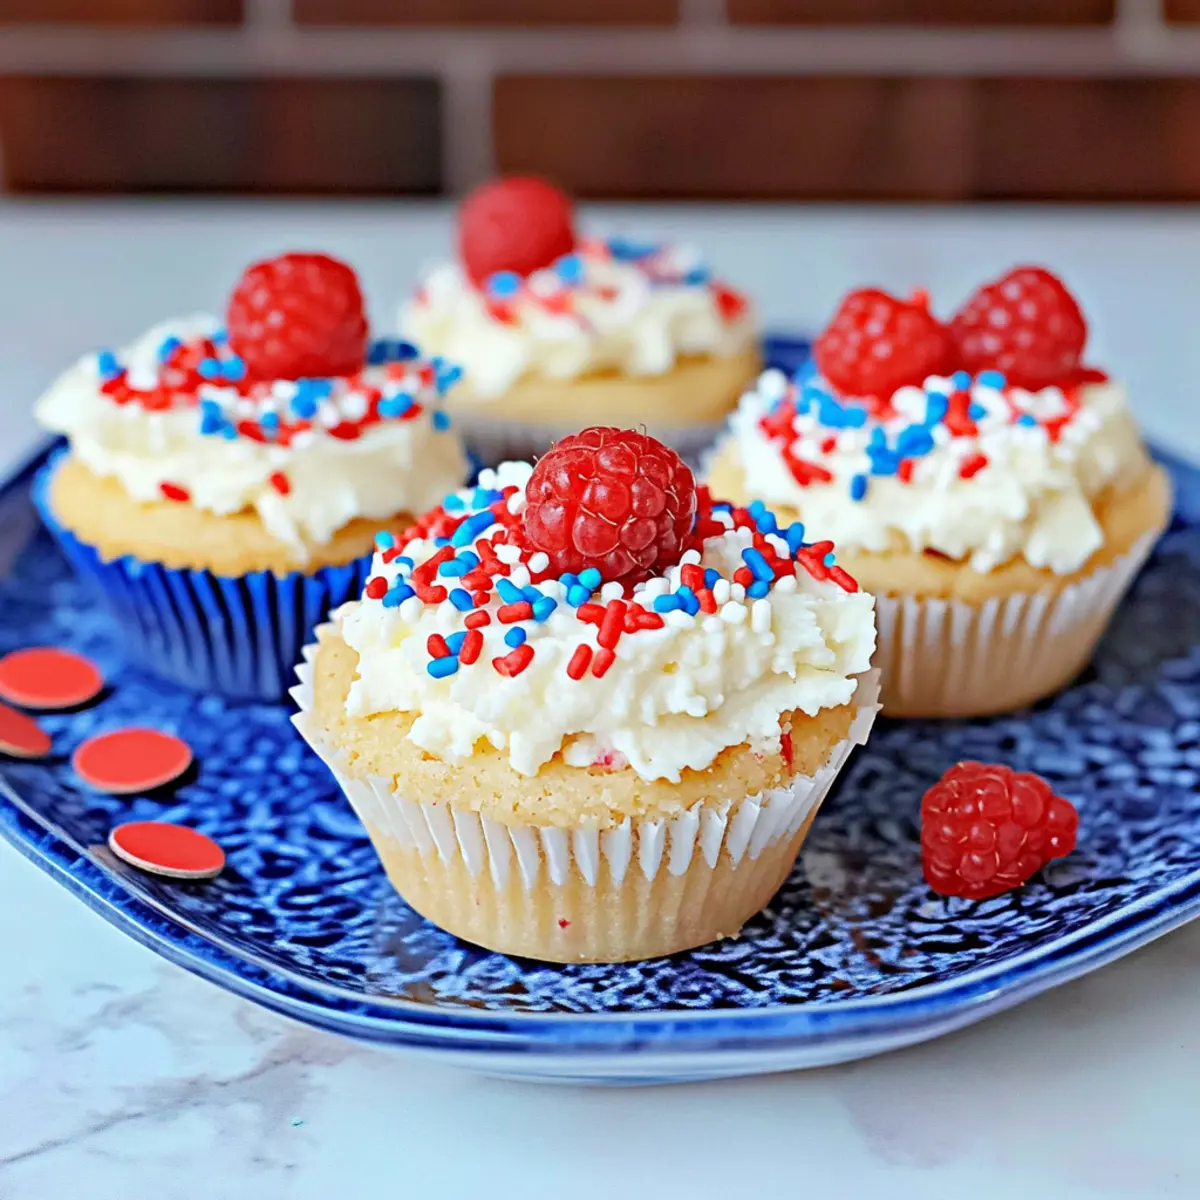
As summer sun beckons us outdoors, it’s time to celebrate with treats that mirror the vibrant colors of the season. These Mini Red, White, and Blue No-Bake Cheesecakes are not just adorable—they’re a refreshing and effortless way to satisfy your sweet tooth during festive occasions like Memorial Day and the 4th of July. What makes this recipe a must-try is its quick prep time, allowing you more moments for laughter and memories, and the fact that kids can join in the fun by decorating their cheesecakes with sprinkles. If you’re looking to make a deliciously patriotic dessert that wows without the hassle of baking, you’ve come to the right place. Ready to dive into this delightful recipe?
Why Choose Red White and Blue Cheesecake?
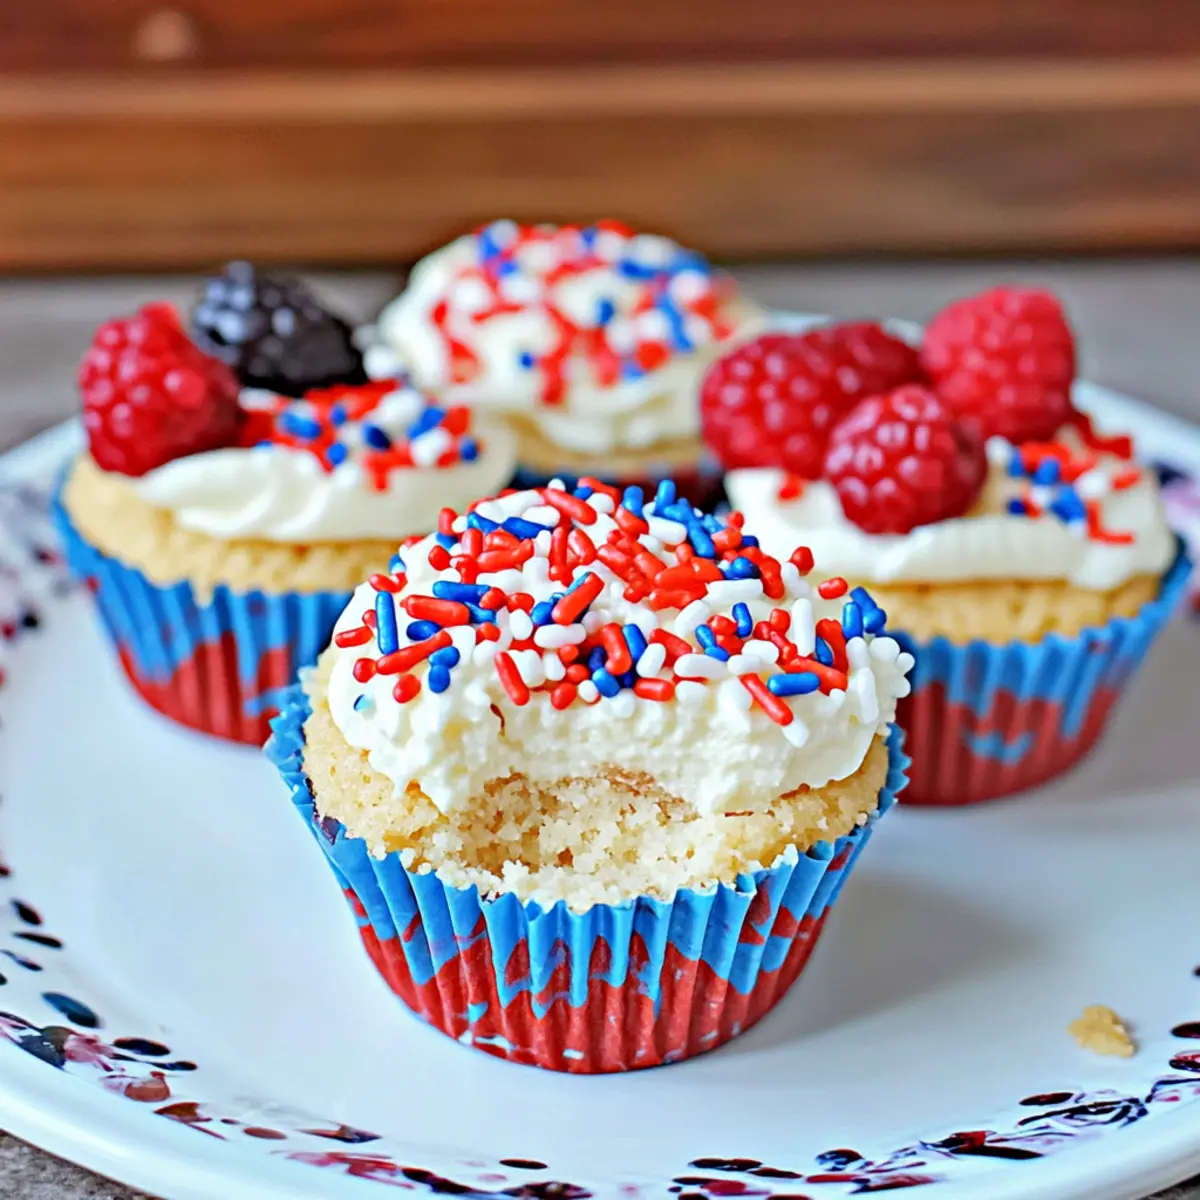
Festive Appeal: These vibrant cheesecakes add a splash of color to your summer celebrations, making them the perfect centerpiece for your dessert table.
No-Bake Convenience: Save time and effort while enjoying a scrumptious dessert that doesn’t require an oven, allowing you to focus on what really matters—spending time with loved ones.
Kid-Friendly Fun: This recipe invites little hands to help out in the kitchen, letting kids personalize their desserts with sprinkles and toppings.
Creamy Texture: Indulge in a velvety perfection, where the buttery crust meets luscious cheesecake, creating a mouthwatering experience in every bite.
Crowd-Pleaser: Whether for a backyard BBQ or a festive party, these mini cheesecakes are sure to impress friends and family alike. Dive into these delectable treats and explore more fun recipes like Iced Blueberry Cheesecake or Berry Peach Cheesecake!
Red White And Blue Cheesecake Ingredients
• Dive into creating these festive, no-bake mini delights that are perfect for summer gatherings!
For the Crust
- Graham Cracker Crumbs – The crunchy base for your cheesecake, providing sweetness and texture; substitute with digestive biscuits for a fun twist.
- Brown Sugar – Adds moisture and caramel notes; white sugar can be used if you’re in a pinch.
- Melted Butter – Binds the crust together while adding richness; try coconut oil for a dairy-free alternative.
For the Filling
- Cream Cheese – The creamy star of the show that gives the filling its delightful texture; ensure it’s softened for easy blending.
- White Sugar – This sweetens the filling to perfection; using powdered sugar results in a smoother mix.
- Heavy Whipping Cream – Infuses lightness and stability; consider coconut cream for a non-dairy option.
- Vanilla Extract – Elevates the flavor profile; always opt for pure vanilla to enhance taste.
For the Decoration
- Red, White, and Blue Sprinkles – These fun decorations add festive flair; swap them for themed sprinkles to celebrate other holidays!
Now you’re ready to whip up these vibrant Mini Red, White, and Blue No-Bake Cheesecakes that celebrate the spirit of summer while bringing smiles to every gathering!
Step‑by‑Step Instructions for Mini Red, White, and Blue No-Bake Cheesecakes
Step 1: Prepare the Cupcake Pan
Start by lining a standard cupcake pan with 10 paper wrappers to hold your charming Mini Red, White, and Blue No-Bake Cheesecakes. This will prevent sticking and make serving a breeze. Set it aside while you prepare the crust, ensuring the wrappers are positioned firmly.
Step 2: Make the Crust
In a mixing bowl, combine graham cracker crumbs, brown sugar, and melted butter, mixing until the mixture resembles clumpy sand. Use about 1 tablespoon of this crust mixture to fill each cupcake liner, pressing it down firmly for stability. Once done, place the pan in the freezer for about 10 minutes to firm up while you whip up the filling.
Step 3: Create the Cheesecake Filling
In a large mixing bowl, beat together the softened cream cheese, white sugar, heavy whipping cream, and vanilla extract until the mixture is smooth and creamy, about 2-3 minutes. Scrape the sides down halfway through to ensure even mixing. The filling should be luscious and free of lumps—this is the heart of your Mini Red, White, and Blue Cheesecakes!
Step 4: Assemble the Cheesecakes
Carefully remove the pan from the freezer once the crusts are set. Spoon about 2 tablespoons of the cream cheese mixture onto each graham cracker crust. Gently spread the filling to create an even layer. The filling should be smooth and lightly mounded over the crust, making your mini treats irresistible.
Step 5: Decorate and Chill
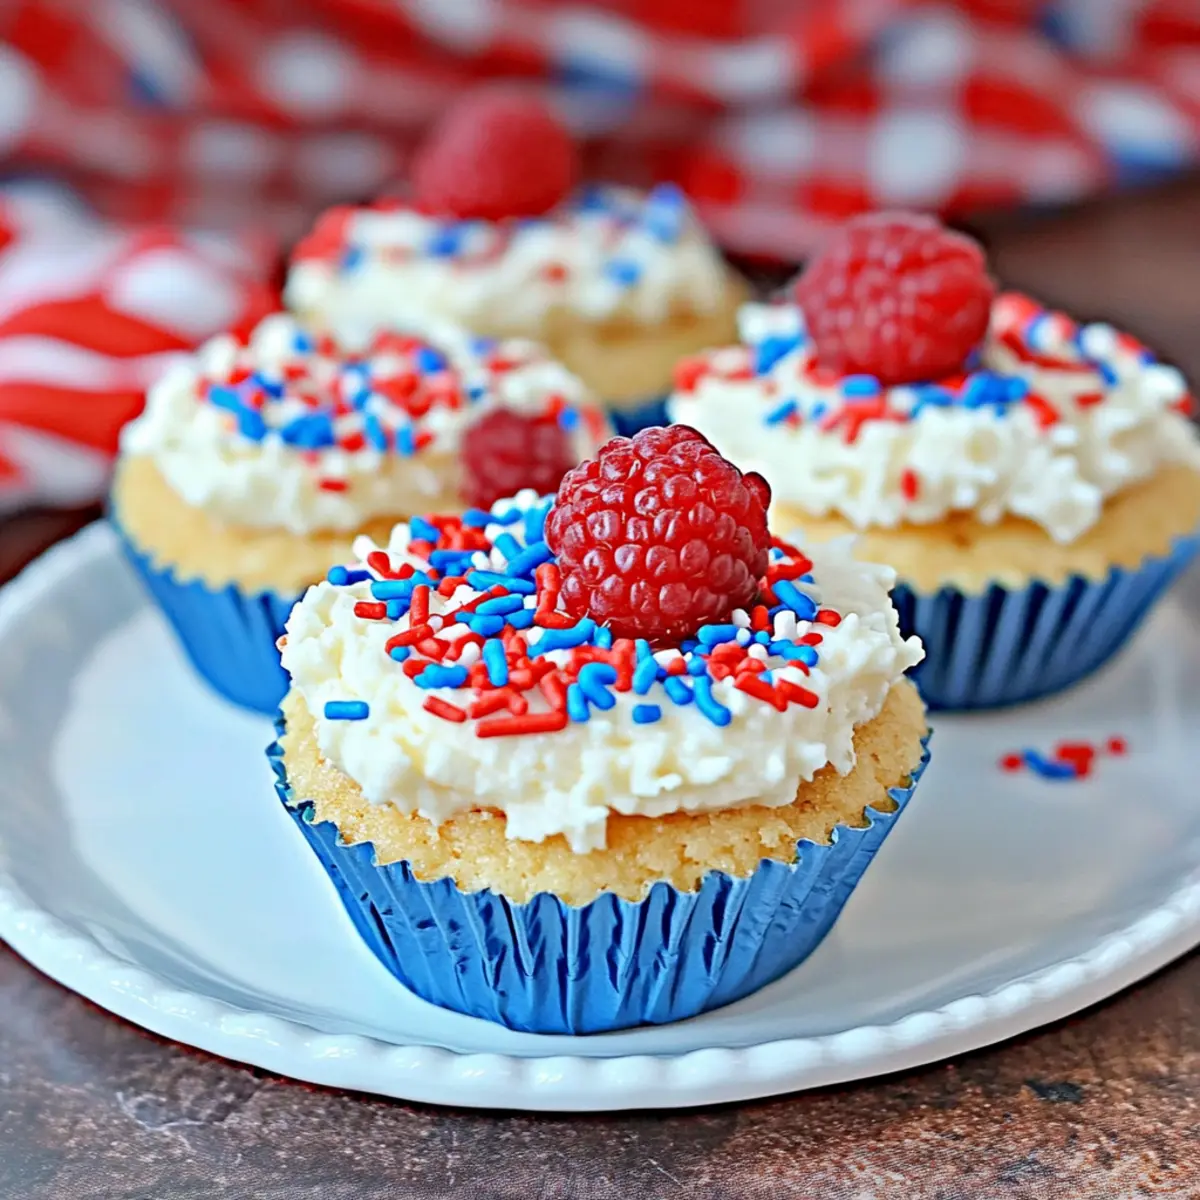
Sprinkle your choice of red, white, and blue sprinkles over the top of each cheesecake for a festive touch. This step adds visual appeal and is a fun way for kids to get involved. Now, return the pan to the freezer and allow the cheesecakes to chill for about 1 hour or until fully set.
Step 6: Serve and Enjoy
Once your Mini Red, White, and Blue No-Bake Cheesecakes are firm, remove them from the freezer. Let them sit at room temperature for about 1 hour before serving, allowing the flavors to meld and the texture to soften slightly. Enjoy these delightful treats with family and friends at your summer gatherings!
Make Ahead Options
These Mini Red, White, and Blue No-Bake Cheesecakes are a fantastic option for meal prep enthusiasts seeking to save time during busy summer festivities! You can prepare the graham cracker crust and the cheesecake filling up to 24 hours in advance. Simply follow the crust instructions and store the mixture in an airtight container in the refrigerator. For the filling, mix the cream cheese, sugar, heavy cream, and vanilla as directed and also refrigerate. When you’re ready to serve, spoon the filling into the crusts, decorate with sprinkles, and freeze for about 1 hour until set. This way, you’ll enjoy the same delightful creamy goodness while reducing prep time on the big day!
Red White And Blue Cheesecake Variations
Feel free to personalize your Mini Red, White, and Blue Cheesecakes with these delightful twists and swaps that enhance flavor and creativity!
-
Dairy-Free: Use vegan cream cheese and coconut cream for a luscious vegan version that everyone can enjoy.
-
Chocolatey Treat: Add cocoa powder to the cream cheese mixture for a rich, chocolate variant, topping with chocolate sprinkles.
-
Fruit Infusion: Incorporate pureed strawberries or blueberries into the cream cheese mixture for a fruity burst of flavor.
-
Zesty Twist: Swap vanilla extract for lemon or almond extract for an exciting change that brightens up your dessert.
-
Texture Variety: Try using crushed pretzels instead of graham crackers for a sweet and salty crust that adds an intriguing crunch.
-
Frozen Delight: For a refreshing twist, freeze the mixture in popsicle molds instead, creating fun mini cheesecake pops!
-
Seasonal Sprinkles: Change up the festive sprinkles to match the season or event, like using pastel colors for Easter or spooky sprinkles for Halloween.
-
Fun Toppings: Whip some flavored whipped cream or yogurt to add an extra creamy layer on top and a touch of indulgence.
Indulge in these enchanting variations and consider pairing these cheesecakes with slices of fresh fruit or a delightful fruit compote on the side. For more scrumptious ideas, don’t miss out on the decadent Forest Blackberry Cheesecake or the vibrant Pan Basque Cheesecake!
Storage Tips for Red White And Blue Cheesecake
Fridge: Store your Mini Red, White, and Blue Cheesecakes in an airtight container for up to 3 days to maintain their creamy texture and freshness.
Freezer: If you have leftovers, you can freeze them for up to 1 month. Wrap each cheesecake in plastic wrap, then place them in a freezer-safe container.
Thawing: When ready to enjoy, transfer them to the fridge for several hours or overnight to thaw. Avoid microwaving as it can alter the texture.
Serving: For the best flavor, allow them to sit at room temperature for about 1 hour before serving. This helps restore their creamy consistency.
What to Serve with Mini Red, White, and Blue No-Bake Cheesecakes?
Delight your guests by pairing these festive cheesecakes with complementary sides and drinks that enhance their flavors and create a full summer experience.
-
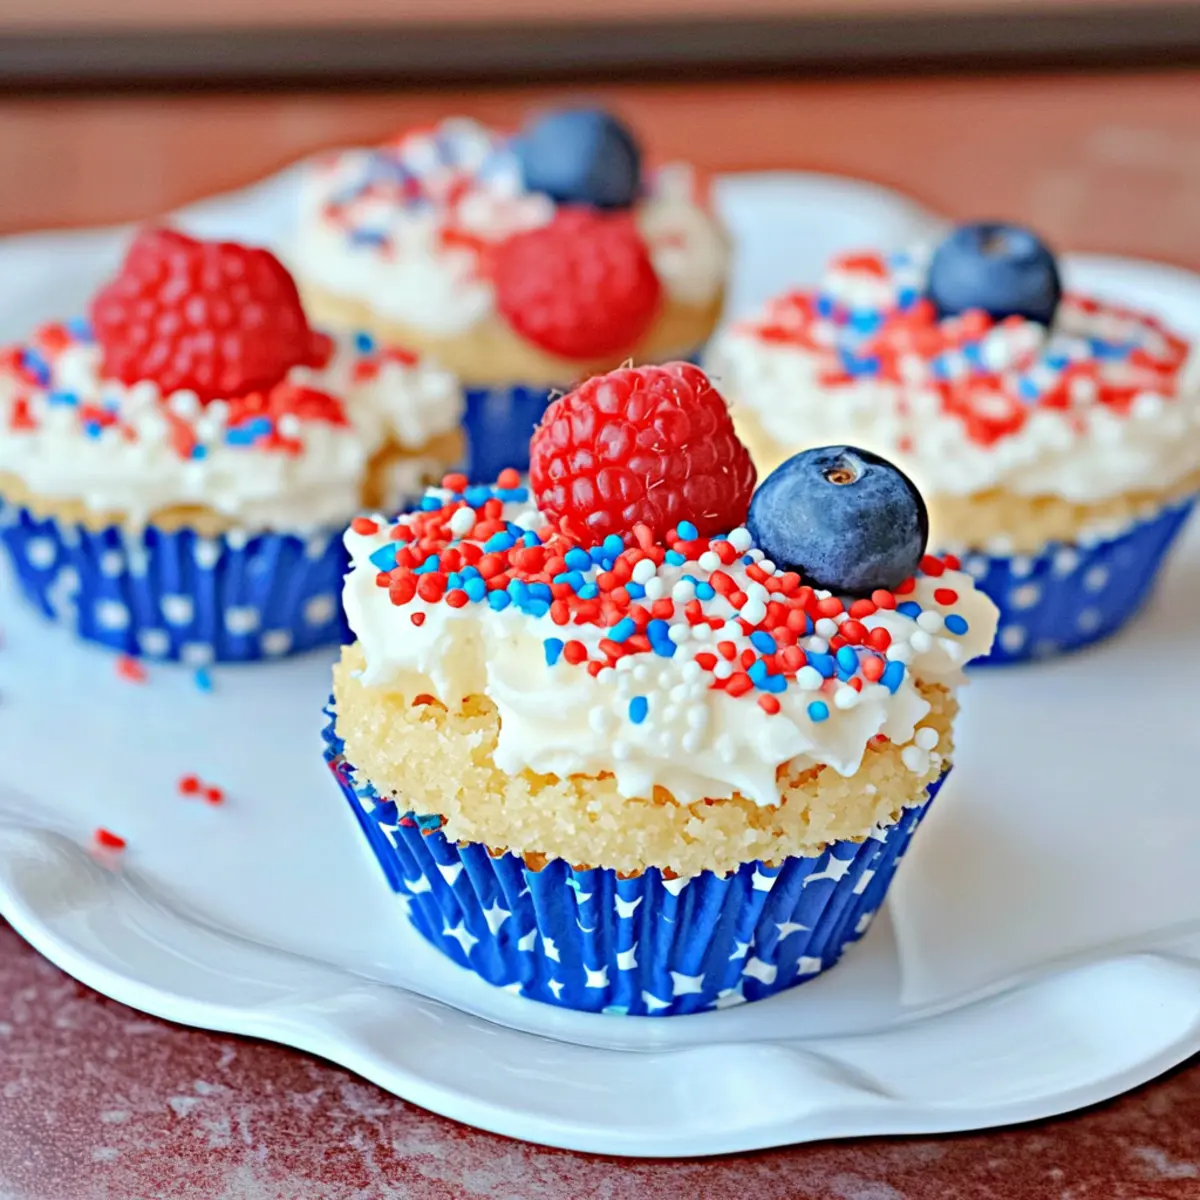
Fresh Berries: Juicy strawberries, blueberries, and raspberries add a burst of freshness that balances the creaminess of the cheesecake. They make for a vibrant, colorful garnish on your plate.
-
Whipped Cream: A dollop of homemade whipped cream accentuates the lightness of your cheesecakes. It offers an airy contrast that enhances the dessert without overwhelming it.
-
Fruit Compote: Drizzle a tangy berry compote over your cheesecakes for an extra layer of flavor. The sweetness and tartness meld perfectly with the rich cream cheese filling.
-
Lemonade: A refreshing glass of iced lemonade is perfect for a summer gathering. Its zesty notes cleanse the palate, so you can truly savor each cheesecake bite.
-
Grilled Peaches: For a warm touch, serve grilled peaches as a side. Their caramelized sweetness contrasts beautifully with the coolness of the cheesecakes.
-
Ice Cream Floats: Pairing these cheesecakes with fizzy ice cream floats creates a fun, nostalgic dessert duo that’s sure to please both kids and adults.
-
Sparkling Water: Keep it light and refreshing with sparkling water infused with mint or cucumber. This drink enhances the dessert experience without competing with the flavors of the cheesecakes.
Create a delightful gathering by pairing these options with your Mini Red, White, and Blue No-Bake Cheesecakes for a celebration everyone will cherish!
Expert Tips for Perfect Red White And Blue Cheesecake
-
Room Temperature Cream Cheese: Ensure your cream cheese is at room temperature for easy blending and a silky-smooth filling. This step is crucial for achieving that desired texture.
-
Avoid Overmixing: Be careful not to overmix the cheesecake filling, as too much air can lead to cracks during freezing. Aim for a smooth mixture without lumps.
-
Freezing Time Matters: Freeze the cheesecakes for no more than an hour. A longer freeze can lead to a firm texture that’s hard to enjoy. You want them firm yet creamy.
-
Customize with Toppings: Let kids choose their sprinkles or even add fresh berries on top for a delightful twist. This not only makes it fun but adds a personal touch to each treat.
-
Storage Tips: Store any leftovers in an airtight container in the fridge for up to 3 days. This helps retain freshness and keep your Red White And Blue Cheesecake delicious!
Red White And Blue Cheesecake Recipe FAQs
What kind of cream cheese should I use?
Absolutely! It’s best to use full-fat cream cheese for the most luscious texture. Make sure it’s softened to room temperature for easy mixing—this helps ensure your filling is smooth and avoids lumps. If you’re looking for a lighter option, you can use low-fat cream cheese, but the texture may differ slightly.
How should I store the cheesecakes after making them?
Very simple! Store your Mini Red, White, and Blue Cheesecakes in an airtight container in the refrigerator for up to 3 days. This keeps them fresh and maintains their creamy texture. If you have leftovers beyond that, you can freeze them for up to 1 month—just wrap each cheesecake in plastic wrap and place them in a freezer-safe container.
Can I freeze Mini Red, White, and Blue Cheesecakes?
Certainly! To freeze, wrap each cheesecake individually in plastic wrap to prevent freezer burn, then place them in a freezer-safe container. They can be stored in the freezer for up to 1 month. When you’re ready to enjoy them, just transfer them to the refrigerator for several hours or overnight to thaw. Avoid microwave thawing as it can alter the texture.
What if my cheesecake filling is too runny?
If your filling turns out runny, don’t worry! It may be because the cream cheese wasn’t sufficiently mixed or was too warm. You can remedy this by adding more heavy whipping cream, and then whipping the mixture until it thickens—this may take a few minutes. Ensure you mix it thoroughly and avoid overmixing to keep the air out.
Can I substitute any ingredients for dietary needs?
Absolutely! You can tailor the recipe to meet various dietary preferences. Use non-dairy cream cheese and coconut cream for a dairy-free version. For a gluten-free option, substitute regular graham cracker crumbs with gluten-free biscuits. Sugar can also be swapped with sweeteners like Stevia, keeping in mind the sweetness level may vary.
How can I tell if the cheesecakes are set?
To check if your Mini Red, White, and Blue Cheesecakes are set, gently wiggle the cupcake pan. If the filling jiggles slightly but is firm, they’re ready! They should not be overly soft or liquid-like. Once frozen for an hour, they should hold their shape while still being creamy when served at room temperature.
Deliciously Easy Red White and Blue Cheesecake Cups
Ingredients
Equipment
Method
- Prepare the Cupcake Pan by lining it with 10 paper wrappers.
- Make the Crust: Combine graham cracker crumbs, brown sugar, and melted butter in a bowl until it resembles clumpy sand. Fill each cupcake liner with 1 tablespoon of this mixture and press down firmly. Freeze for about 10 minutes.
- Create the Cheesecake Filling: Beat together the softened cream cheese, white sugar, heavy whipping cream, and vanilla extract until smooth, about 2-3 minutes. Scrape the sides halfway through.
- Assemble the Cheesecakes: Remove the pan from the freezer and spoon about 2 tablespoons of the cream cheese mixture onto each crust, spreading it to create an even layer.
- Decorate and Chill: Sprinkle red, white, and blue sprinkles on top of each cheesecake, then return to the freezer for about 1 hour to set.
- Serve and Enjoy: After freezing, let the cheesecakes sit at room temperature for about 1 hour before serving.
Leave a Reply