Standing in my kitchen, I’ve discovered a secret for those evenings when dessert cravings strike unexpectedly—4-Ingredient No-Bake Chocolate Oat Cookies! These little gems combine the richness of chocolate with the satisfying chew of oats, delivering a delightful sweet treat that’s ready in minutes. The best part? They are incredibly easy to make and fully customizable, catering to various dietary needs, including gluten-free options. Not only are these cookies a breeze to whip up, but they also provide a guilt-free indulgence that anyone can enjoy. Whether you’re serving them as an after-school snack or a late-night pick-me-up, trust me, they’ll put a smile on your face. Curious about how you can mix things up with flavors and ingredients? Let’s dive in!
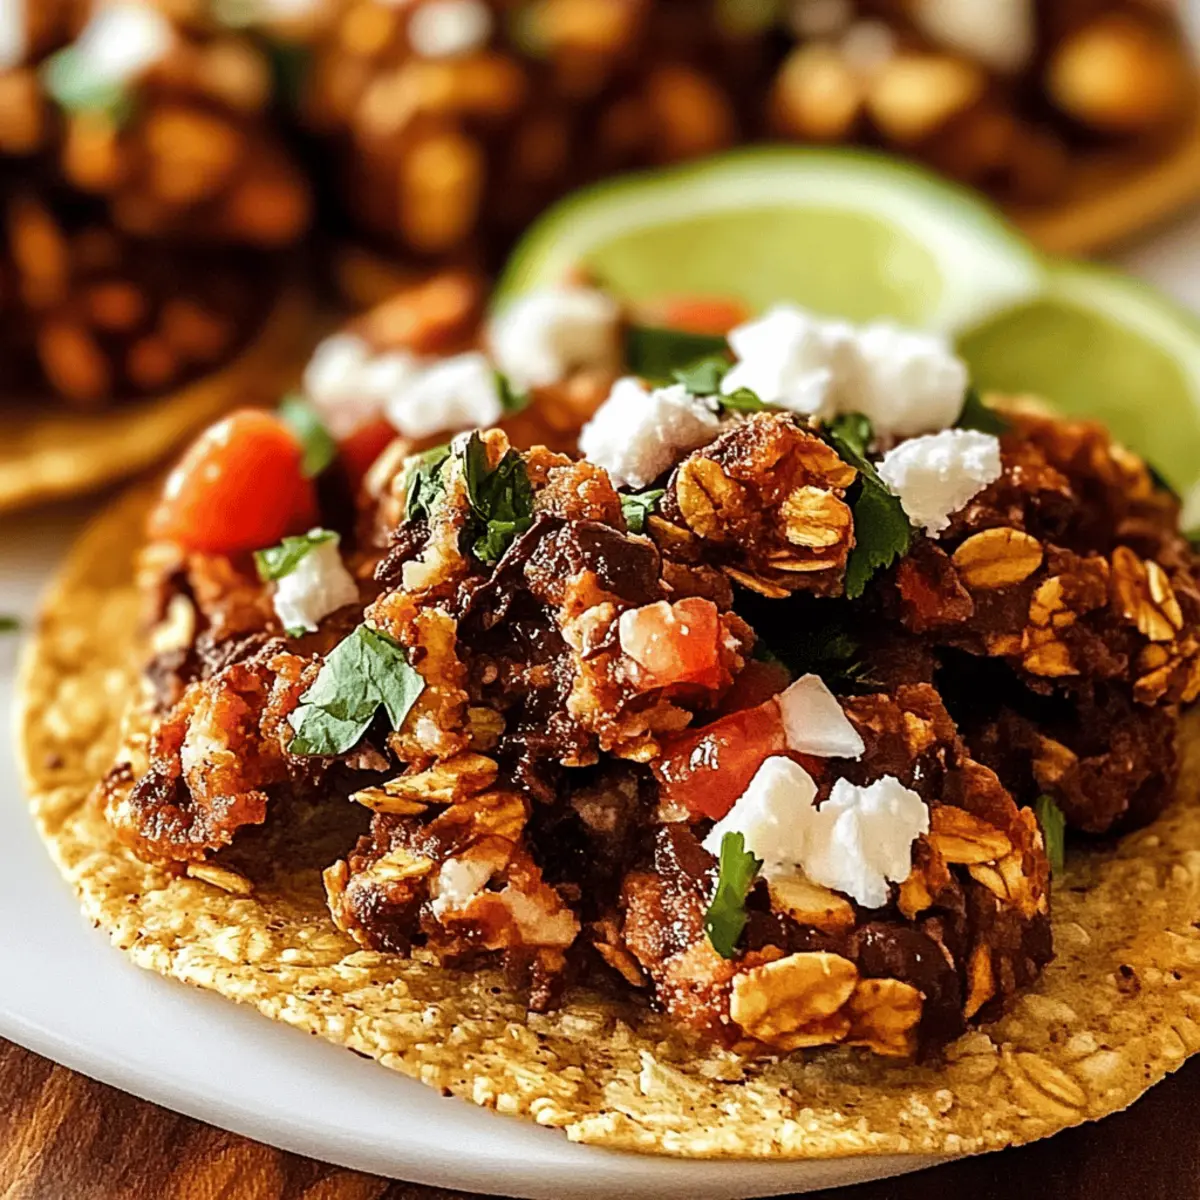
Why Are These Cookies So Irresistible?
Simplicity at Its Core: With just four ingredients, you can whip up these delightful cookies in no time—perfect for busy schedules!
Customizable Goodness: Feel free to experiment with different nut butters or sweeteners to create a version that’s uniquely yours.
No-Bake Convenience: Enjoy a sweet treat without the hassle of turning on the oven, making these cookies a perfect choice for any season.
Healthy Indulgence: Packed with oats and nut butter, they provide a satisfying energy boost while keeping your cravings in check.
Family-Friendly Appeal: These no-bake cookies are loved by kids and adults alike—serve them at your next gathering or keep them as a quick snack.
Whether you’re looking for a delicious treat or trying to satisfy a chocolate craving, these cookies have got you covered! Plus, if you’re in the mood for something savory later, check out our Easy Chicken Street Tacos Recipe for a fantastic meal idea!
Chocolate Oat Cookie Ingredients
• Dive into these easy and customizable Chocolate Oat Cookies with a handful of simple ingredients!
For the Base
- Rolled Oats – Use these for chewier cookies that provide great texture and nutrition.
- Nut Butter – Choose almond, peanut, or cashew butter for richness and to help bind the cookies.
For the Chocolate Flavor
- Cocoa Powder – Ensure you use unsweetened cocoa powder for a rich chocolate flavor without excess sweetness.
For Sweetness
- Sweetener – Honey, maple syrup, or agave nectar works beautifully; adjust based on your taste preferences.
Feel free to mix and match additional ingredients to make these cookies truly your own!
Step‑by‑Step Instructions for 4-Ingredient No-Bake Chocolate Oat Cookies
Step 1: Mix Base Ingredients
In a large mixing bowl, combine 1 cup of rolled oats with 1/2 cup of unsweetened cocoa powder. Stir the dry ingredients together until they are fully blended, showing a rich chocolate color. This base is crucial for creating your delicious Chocolate Oat Cookies, so take a moment to mix well for an even texture.
Step 2: Add Nut Butter
Next, scoop in 1/2 cup of your favorite nut butter, such as almond or peanut. Using a spatula, stir the mixture until the nut butter is thoroughly incorporated, creating a thick, creamy blend. This step is key to ensuring the cookies stick together, so make sure you don’t leave any dry cocoa or oats behind.
Step 3: Incorporate Sweetener
Gradually add your chosen sweetener—about 1/4 cup of honey, maple syrup, or agave nectar works well. Stir continuously until the mixture becomes sticky and holds together when pressed. This is an important step for our Easy Chicken Street Tacos recipe if you’re feeling adventurous later; you want everything to blend beautifully!
Step 4: Form Cookies
Once the mixture is well-combined, use a cookie scoop or your hands to form small balls. Aim for about 1 inch in diameter to ensure they set nicely. Place these formed cookies on a parchment-lined tray, ready to chill and firm up in the next step, which will make them delectably chewy.
Step 5: Chill
Refrigerate the tray of cookies for at least 30 minutes. This chilling time helps the cookies firm up, making them easier to handle. You’ll know they’re ready when they have a slightly firm texture and a beautiful sheen, looking scrumptious and inviting. These will be a fantastic treat alongside your next savory dish!
Step 6: Enjoy and Store
After chilling, enjoy your delicious no-bake chocolate oat cookies immediately or store them in an airtight container in the refrigerator for up to a week. The cookies will maintain their chewy texture and rich flavor, perfect for a quick snack or a sweet treat on the go!

Easy Chocolate Oat Cookies Variations
Feel free to let your creativity shine by customizing your easy chocolate oat cookies to suit your taste buds!
-
Different Nut Butters: Swap almond butter for creamy peanut or nut-free sunflower seed butter for a unique flavor twist.
-
Flavor Boosts: Add a pinch of sea salt to enhance the chocolate flavor for a decadent touch that elevates each bite.
-
Sweetener Substitutes: Use ripe mashed bananas or applesauce for a natural sweetness, making them even healthier and delicious.
-
Protein Punch: Mix in a scoop of protein powder (vanilla or chocolate) for an extra protein boost that’s perfect for post-workout snacking.
-
Cocoa Variants: Try adding dark chocolate cocoa powder for a richer taste or even a splash of espresso powder for a coffee-infused kick.
-
Texture Twists: Fold in crispy rice cereal for some added crunch that delights with every chewy bite, creating an irresistible contrast.
-
Dried Fruit Addition: Toss in some dried cranberries or raisins for a hint of chewiness and natural sweetness that complements the chocolate beautifully.
Don’t hesitate to mix things up as you make these no-bake cookies! And if you’re looking for more delicious ideas, check out our cozy Chicken Vesuvio recipe or our delightful Thai Baked Chicken for bursting flavors that will inspire your culinary adventures!
How to Store and Freeze Chocolate Oat Cookies
Fridge: Store your chocolate oat cookies in an airtight container for up to 1 week. This will keep them fresh and chewy for those late-night cravings!
Freezer: For longer storage, place cookies in a single layer on a baking sheet, freeze until solid, then transfer to a zip-top bag. They can last up to 3 months in the freezer.
Thawing: To enjoy your frozen treats, simply let them thaw at room temperature for about 15-20 minutes. Perfectly soft, ready to satisfy your sweet tooth!
Reheating: If you prefer them slightly warmed, briefly microwave them for 10-15 seconds before indulging. This can enhance the rich chocolate flavor in these easy chocolate oat cookies!
Make Ahead Options
These 4-Ingredient No-Bake Chocolate Oat Cookies are a perfect solution for busy home cooks looking to save time! You can prepare the cookie mixture up to 24 hours in advance. Simply combine the rolled oats, cocoa powder, nut butter, and sweetener as directed, then cover the bowl tightly and refrigerate. To maintain freshness and flavor, ensure the mixture is sealed well to prevent drying out. When you’re ready to enjoy, scoop and roll the cookies, then chill them for a minimum of 30 minutes until set. This way, you’ll have delicious, chewy cookies ready to satisfy your sweet cravings whenever they strike!
What to Serve with 4-Ingredient No-Bake Chocolate Oat Cookies
These delightful cookies are perfect to transform your snack time into a full experience of flavors and textures.
-
Creamy Vanilla Yogurt: A luscious blend of creaminess with a touch of tang balances the chocolate perfectly. Serve it as a dip for an enjoyable mix of flavors.
-
Fresh Berries: Seasonal strawberries or raspberries add a burst of freshness and acidity, complementing the rich chocolate. Their juicy texture offers a lovely contrast to the chewy cookies.
-
Nutty Granola: Sprinkle a handful of your favorite granola over the cookies for an extra texture boost. The crunch enhances the delightful chewiness while adding wholesome oats.
-
Chilled Almond Milk: A glass of nut milk provides a refreshing and light beverage choice, ideal for washing down the chocolate goodness while adding a nutty undertone.
-
Coconut Whipped Cream: A sweet and airy topping, coconut whipped cream can elevate your cookies to a whole new level. The richness of coconut complements the chocolate beautifully.
-
Homemade Fruit Compote: Warmed fruit compote, like raspberry or blueberry, introduces a tart contrast that enhances the sweetness of the cookies, creating an elevated dessert experience.
-
Chocolate-Dipped Pretzels: For a sweet and salty combination, serve chocolate-dipped pretzels on the side. Their crunchy texture and flavor profile harmonize beautifully with your no-bake treats.
-
Mint Tea: A soothing cup of mint tea after enjoying your cookies brings a refreshing finish. Its light herbal notes cleanse the palate, complementing the chocolatey sweetness.
Expert Tips for No-Bake Chocolate Oat Cookies
-
Achieve Moisture Balance: Ensure the mixture is moist enough; if too dry, add a touch more nut butter or sweetener to create the perfect texture.
-
Use a Cookie Scoop: For uniform cookies, use a cookie scoop or your hands to form consistent-sized balls, ensuring even chilling and delightful look.
-
Customize Your Flavors: Don’t hesitate to experiment with different nut butters or add-ins like shredded coconut or chocolate chips to enhance your easy chocolate oat cookies.
-
Mixing Technique: Incorporate the nut butter thoroughly to avoid dry clumps; this ensures the cookies hold together and have a rich, creamy texture.
-
Perfect Chilling Time: Let the cookies chill in the fridge for at least 30 minutes. This crucial step firms them up for a delightful, chewy treat that everyone will love!

Chocolate Oat Cookies Recipe FAQs
What type of oats should I use for these cookies?
For the best texture and chewiness, I recommend using rolled oats. They provide the perfect base for your chocolate oat cookies, allowing them to hold their shape while delivering that satisfying bite. Instant oats can also work, but they may yield a softer consistency.
How should I store my chocolate oat cookies?
Store your chocolate oat cookies in an airtight container in the refrigerator for up to 1 week. This will keep them fresh and maintain their chewy texture, perfect for grabbing a quick snack or satisfying those late-night cravings!
Can I freeze chocolate oat cookies for later?
Absolutely! To freeze your cookies, first place them in a single layer on a baking sheet and freeze until solid. Then, transfer the frozen cookies to a zip-top bag, ensuring to remove as much air as possible. They’ll stay fresh in the freezer for up to 3 months. When you’re ready to indulge, just let them thaw at room temperature for 15-20 minutes.
What if my cookie mixture is too dry?
If you find that your cookie mixture is too dry and doesn’t hold together well, no worries! Simply add a bit more nut butter or sweetener, a tablespoon at a time, until the mixture is sticky and binds together perfectly. This will ensure you get those delightful, chewy cookies you’re aiming for.
Are there any dietary considerations for pets or allergies?
While these chocolate oat cookies are a fantastic treat for humans, avoid offering them to pets due to the potential danger of chocolate. Also, if you’re preparing these for someone with nut allergies, you can substitute the nut butter with sunflower seed butter or tahini for a safe alternative. Always check ingredient labels to ensure safety!
Can I use different nut butters in this recipe?
Very! You can customize your cookies by using various nut butters such as almond, cashew, or even pecan butter. Each type will offer a unique flavor profile and complement the chocolate beautifully. Have fun experimenting with your favorites!

Savor the Flavor with Easy Chicken Street Tacos Recipe
Ingredients
Equipment
Method
- In a large mixing bowl, combine rolled oats and cocoa powder. Stir until fully blended.

- Scoop in your favorite nut butter. Stir until thoroughly incorporated.

- Gradually add your chosen sweetener and stir until the mixture is sticky.

- Form small balls with your hands or a cookie scoop, about 1 inch in diameter.

- Refrigerate for at least 30 minutes to firm up.

- Enjoy immediately or store in an airtight container for up to a week.


Leave a Reply