
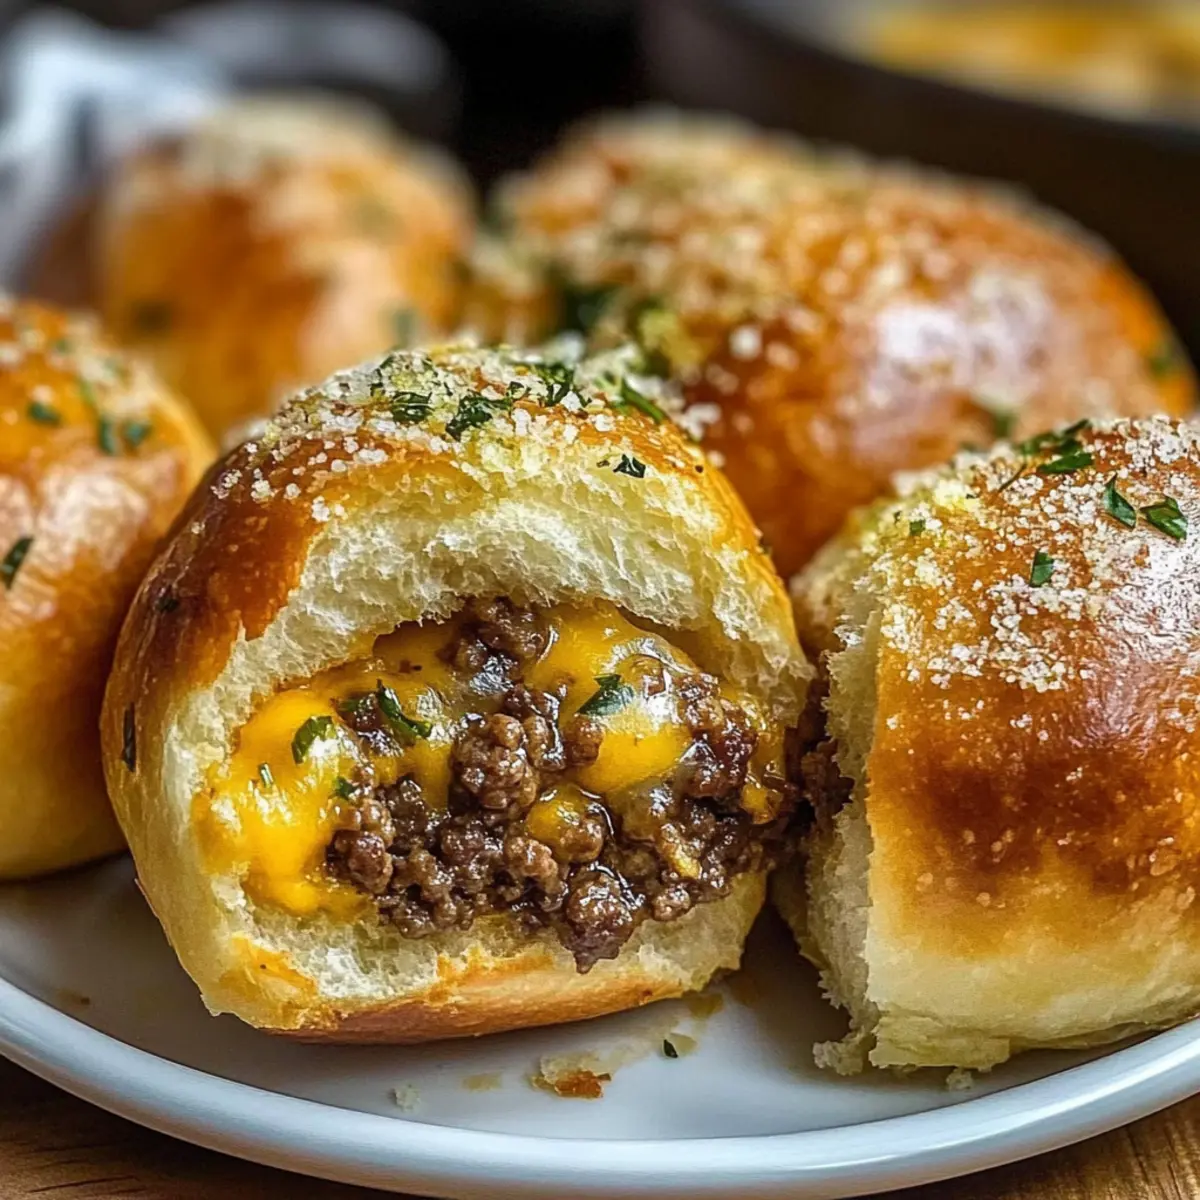
As I pulled a tray of golden-brown Garlic Parmesan Cheeseburger Bombs from the oven, the buttery aroma of fresh garlic mixed with melting cheese enveloped my kitchen. Each little ball is a delightful surprise—crispy on the outside and filled with a savory cheeseburger blend that’s simply irresistible. This recipe is not just quick to make; it’s a customizable snack that fits perfectly for game nights or casual family dinners. Whether you stick with classic cheddar or experiment with zesty pepper jack, these bombs promise comfort in every bite. Are you ready to elevate your appetizer game and impress your friends with this simple yet crowd-pleasing treat? Let’s dive in!
Why Are These Cheeseburger Bombs So Special?
Irresistible Flavor: Garlic Parmesan Cheeseburger Bombs blend the creamy essence of cheese with savory spices, creating a mouthwatering explosion of flavor in every bite.
Customizable: Feel free to switch up the cheese, like opting for gooey mozzarella or kicky pepper jack, to cater to your taste buds.
Quick Preparation: Ready in just 30 minutes, these bombs are perfect for a hassle-free weeknight meal or a last-minute gathering.
Crowd-Pleasing: They’re not just a snack; these bombs are a guaranteed hit at any party or get-together, ensuring you’ll be the star of the kitchen.
Easy Cleanup: Using refrigerated biscuit dough simplifies the process, so you can focus on the fun part—enjoying delicious food!
Ready to add some extra flavor to your table? Check out these Garlic Butter Lobster rolls for a twist on gourmet appetizers!
Garlic Parmesan Cheeseburger Bombs Ingredients
For the Filling
• Ground Beef – Use 80-85% lean for the perfect balance of flavor and tenderness.
• Shredded Cheddar Cheese – Offers a creamy texture and sharp taste; switch to mozzarella for a milder flavor.
• Kosher Salt & Black Pepper – Essential for seasoning; adjust to your preference for taste.
For the Dough
• Refrigerated Biscuit Dough – This is the fluffy exterior encasing your filling; homemade dough works equally well.
• Unsalted Butter – Adds richness to the garlic butter coating; feel free to substitute with olive oil for a lighter alternative.
For the Flavor Boost
• Garlic (minced) – Fresh garlic is recommended for the best aroma and flavor infusion.
• Grated Parmesan Cheese – This coats the bombs for added flavor and crunch; use nutritional yeast for a dairy-free option.
• Italian Seasoning – Elevates the taste profile; swap for individual herbs like oregano or basil for a personal touch.
For the Garnish
• Fresh Parsley (optional) – Adds a pop of color and freshness; don’t skip this for a beautiful presentation!
Get ready to dive into these delectable Garlic Parmesan Cheeseburger Bombs that bring comfort food to a whole new level!
Step‑by‑Step Instructions for Garlic Parmesan Cheeseburger Bombs
Step 1: Preheat the Oven
Begin by preheating your oven to 375°F (190°C). While it warms up, line a baking sheet with parchment paper to prevent sticking and make cleanup easy. This step sets the stage for creating deliciously golden-brown Garlic Parmesan Cheeseburger Bombs that are sure to delight.
Step 2: Cook Beef
In a large skillet, heat over medium heat and add the ground beef, browning it for 5-6 minutes until it’s no longer pink. Use a spatula to break it apart while cooking. Once browned, drain any excess fat to keep the filling light and juicy, ensuring optimal flavor for your cheeseburger bombs.
Step 3: Season Filling
Sprinkle salt and pepper over the cooked beef, mixing well to incorporate. Allow the mixture to cool slightly, which will make it easier to handle when you fill the dough. This seasoning step enhances the savory profile of your Garlic Parmesan Cheeseburger Bombs, setting a tasty foundation.
Step 4: Add Cheese
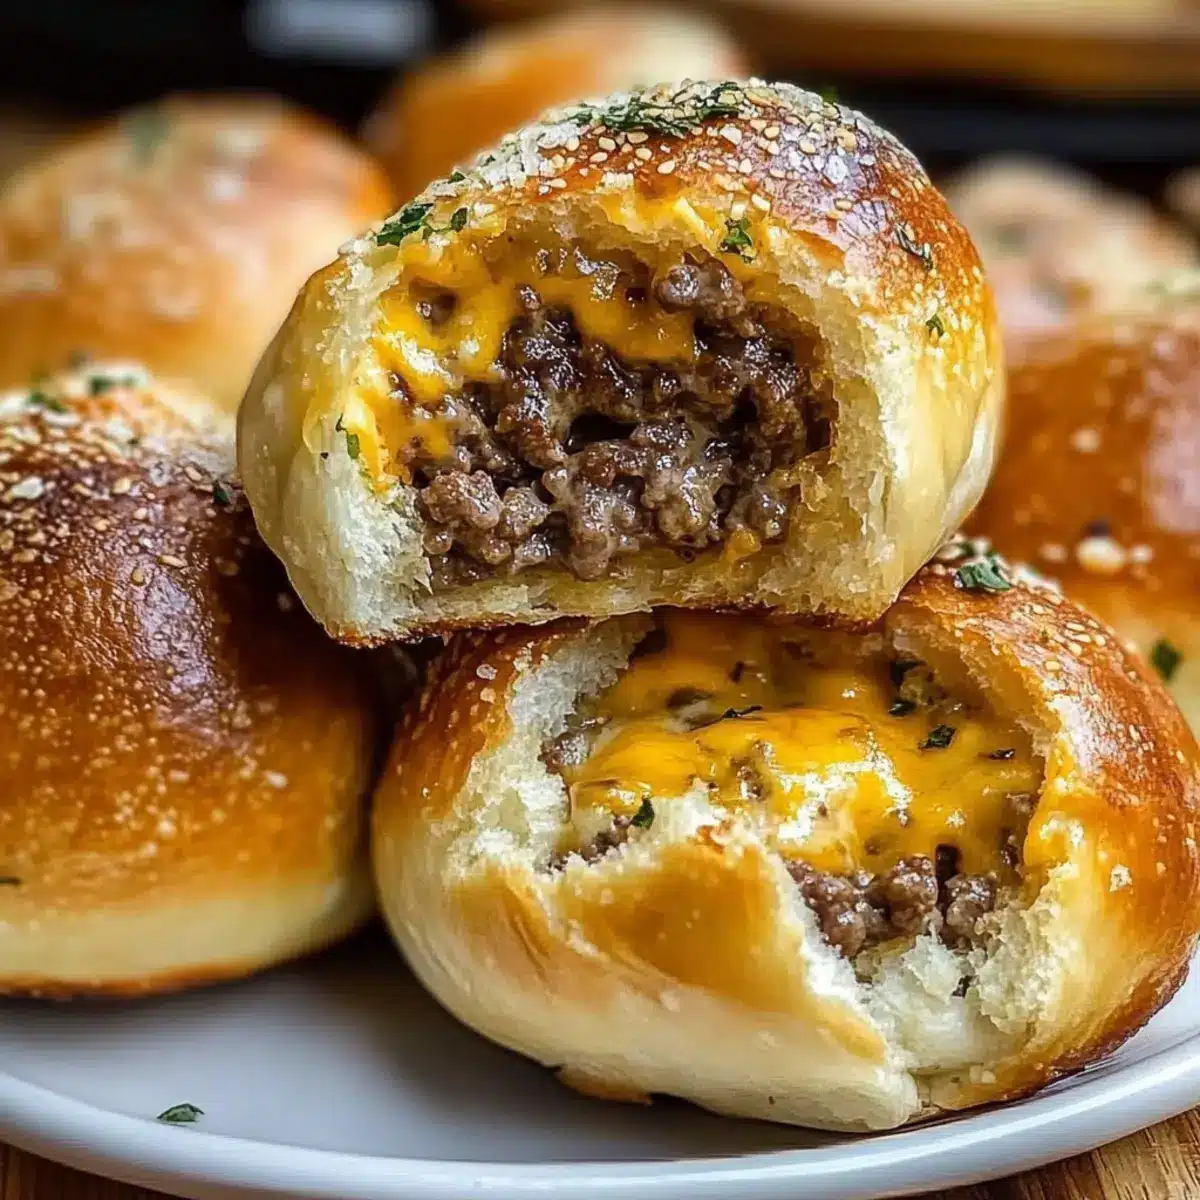
Stir in the shredded cheddar cheese into the warm beef mixture, allowing it to melt slightly. This creates a gooey, delicious filling that is integral to the overall experience of the Garlic Parmesan Cheeseburger Bombs. Set aside the mixture to cool further while you prepare the dough.
Step 5: Prep Garlic Butter
In a small bowl, melt the unsalted butter in the microwave or on the stovetop. Once melted, mix in the minced garlic and, if desired, add some chopped fresh parsley. This aromatic garlic butter will coat the bombs, creating a flavorful crust that elevates each bite of your cheeseburger treats.
Step 6: Prepare Dough
Open the refrigerated biscuit dough and flatten each piece into a 4-5 inch round using a rolling pin or your hands. Make sure to work on a clean surface for easy handling. These soft rounds will form the outer layer that holds the savory filling while baking, ensuring a flaky texture.
Step 7: Fill & Seal
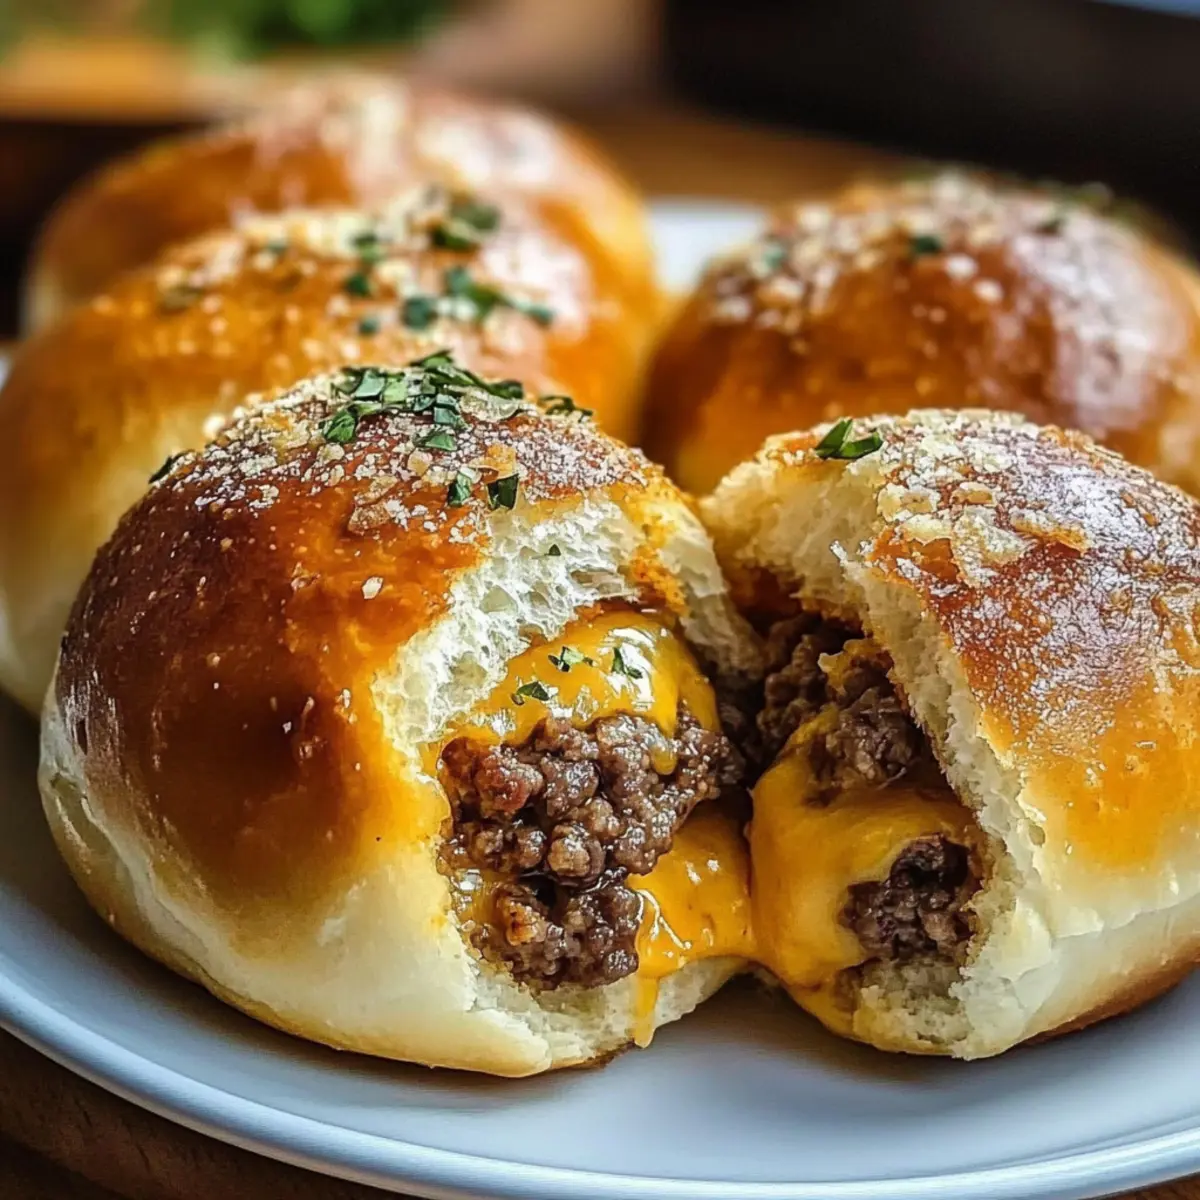
Place about 2 tablespoons of the beef and cheese mixture in the center of each dough round. Carefully pinch the edges together, sealing the mixture inside and forming a ball. Make sure no filling leaks out to maintain the integrity of your Garlic Parmesan Cheeseburger Bombs during baking.
Step 8: Brush & Coat
Brush each sealed ball generously with the garlic butter mixture, ensuring all sides are coated. Then, roll them in a mixture of grated Parmesan cheese and Italian seasoning for added flavor. This step gives the bombs a flavorful and crispy exterior that will have everyone clamoring for more.
Step 9: Bake
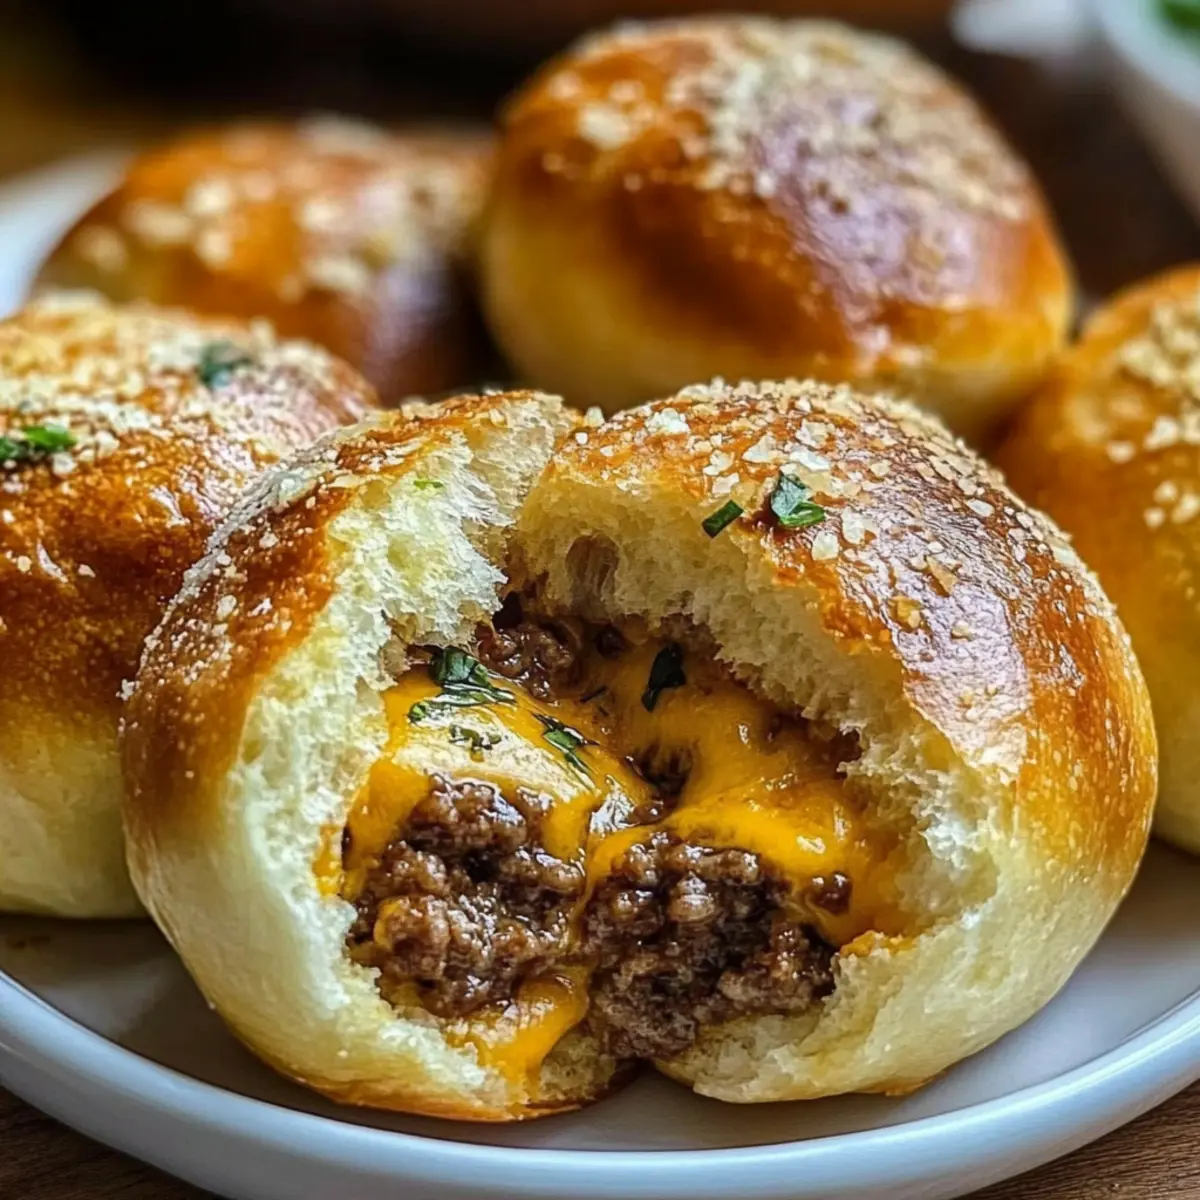
Arrange the filled balls seam-side down on the prepared baking sheet, leaving space between them. Bake in the preheated oven for 12-15 minutes, or until they are golden brown and cooked through. The delightful aroma of your Garlic Parmesan Cheeseburger Bombs will fill your kitchen during this time!
Step 10: Cool & Serve
Once baked, remove the cheeseburger bombs from the oven and allow them to cool for about 5 minutes. Brush any leftover garlic butter on top for an extra burst of flavor, and if desired, garnish with fresh parsley for a touch of color. Now, they’re ready to be devoured!
Make Ahead Options
These Garlic Parmesan Cheeseburger Bombs are perfect for meal prep, saving you precious time on busy weeknights! You can prepare the beef filling up to 3 days in advance; just cook and season the ground beef, then combine it with the cheese. After cooling, store the mixture in an airtight container in the refrigerator. The dough itself can also be prepped 24 hours ahead—just shape and seal the bombs, cover tightly, and refrigerate until ready to bake. When you’re set to serve, simply pop the bombs in the oven for an effortless, warm appetizer that’s just as delicious as when freshly made!
How to Store and Freeze Garlic Parmesan Cheeseburger Bombs
Fridge: Store leftover Garlic Parmesan Cheeseburger Bombs in an airtight container for up to 3 days. Place parchment paper between layers to prevent sticking.
Freezer: For longer storage, freeze the unbaked bombs on a baking sheet until solid, then transfer to a freezer bag. They can be frozen for up to 2 months.
Reheating: To reheat baked bombs, place them in a preheated oven at 350°F (175°C) for about 10-15 minutes, or until warmed through. Avoid the microwave to keep them crispy.
Dough Preparation: If making the dough from scratch, consider freezing it in advance. Just remember to thaw it in the fridge overnight before using.
What to Serve with Garlic Parmesan Cheeseburger Bombs
As you savor the delightful crunch and gooey interior of these tasty bites, consider these complementary dishes to create a memorable meal experience.
- Crispy Coleslaw: This zesty side adds a refreshing crunch, perfectly balancing the richness of the bombs.
- Sweet Potato Fries: Their natural sweetness contrasts beautifully with the savory bombs, making for a delightful flavor journey.
- Garlic Butter Corn on the Cob: Oozing with flavor, this classic side enhances the garlic notes and rounds out the meal.
- Creamy Potato Salad: The smooth and rich flavors of potato salad provide a comforting cushion to the excitement of the bombs.
- Buffalo Cauliflower Bites: For those who love a spicy kick, these crispy bites bring an exciting contrast that pairs well with the cheeseburger flavor.
- Fresh Garden Salad: A light and nutritious option, a garden salad with seasonal veggies brightens the plate and palate.
- Craft Beer or Soda: Pair with a chilled craft beer or a fizzy soda to elevate your snacking experience, matching the fun vibe of game nights.
- Mini Cheesecake Bites: For dessert, these rich and creamy bites will satisfy your sweet cravings after the savory bombs.
Variations & Substitutions for Garlic Parmesan Cheeseburger Bombs
Feel free to unleash your creativity and make these Garlic Parmesan Cheeseburger Bombs your own with delightful variations and substitutions!
-
Cheese Options: Try swapping out cheddar for mozzarella for a deliciously stretchy experience, or go bold with smoked gouda for a deeper, richer flavor. The choice of cheese can really transform your bombs; your taste buds will thank you!
-
Lean Meats: For a healthier twist, use ground turkey or chicken instead of beef. Not only does this lighten the dish, but it also brings a whole new flavor profile to the table. Remember, the spices are your best friends here!
-
Spice Adjustments: Craving some heat? Finely chopped jalapeños or a sprinkle of red pepper flakes can elevate your bombs to another level. Just blend them in with the beef mixture for a delightful surprise.
-
Herbs and Seasonings: If Italian seasoning isn’t your jam, feel free to customize with your favorite herbs like fresh basil or cilantro. A hint of smoked paprika can add a smoky flavor that perfectly complements the cheeseburger filling.
-
Gluten-Free Option: To make these bombs gluten-free, look for gluten-free biscuit dough. You’ll still achieve that soft, fluffy exterior your family loves, making it accessible to gluten-sensitive friends!
-
Dairy-Free Delight: Substitute the cheese with vegan cheese and the butter with olive oil or a dairy-free alternative to ensure everyone can enjoy this treat. Nutritional yeast sprinkled in will add a cheesy depth without the dairy.
-
Savory Veggie Bombs: Mix in finely chopped mushrooms or spinach with your meat filling for a veggie boost. This not only adds nutrients but also enhances the flavor and texture of your bombs.
For even more savory inspirations, check out my delicious recipe for Sticky Garlic Chicken or try these glorious Garlic Herb Crusted delights for a unique twist at your next gathering. Now, go ahead, let your imagination run wild in the kitchen!
Expert Tips for Garlic Parmesan Cheeseburger Bombs
- Proper Cooling: Allow your beef mixture to cool slightly before filling, as this prevents the cheese from leaking during sealing.
- Monitor Baking Time: Keep a close eye while baking; ovens vary, and overbaking can lead to dry bombs. Aim for a golden-brown finish.
- Seal Securely: Ensure the dough is tightly sealed around the filling to keep all the delicious cheeseburger essence inside your Garlic Parmesan Cheeseburger Bombs.
- Customize Wisely: Feel free to experiment with cheeses or spices; however, don’t go overboard with strong flavors that can overpower the savory beef.
- Reheat for Freshness: If you have leftovers, reheat them in the oven or an air fryer instead of the microwave to preserve their crispy texture.
Garlic Parmesan Cheeseburger Bombs Recipe FAQs
What type of ground beef should I use for the filling?
Absolutely! For the best flavor and texture, I recommend using 80-85% lean ground beef. This balance provides enough fat for juiciness without being overly greasy. If you’re aiming for a leaner option, ground turkey or chicken can also work quite well.
How long can I store leftover Garlic Parmesan Cheeseburger Bombs?
You can store your leftovers in an airtight container in the fridge for up to 3 days. Just remember to place parchment paper between layers to prevent them from sticking together. When ready to enjoy, simply reheat them in the oven for that freshly-baked taste!
Can I freeze Garlic Parmesan Cheeseburger Bombs?
Definitely! To freeze, arrange the unbaked bombs on a baking sheet and freeze them until solid, about 1-2 hours. Afterward, transfer them to a freezer bag, keeping them for up to 2 months. When you’re ready to bake, just pop them straight from the freezer into the oven without thawing; they may need an extra minute or two in the oven.
Why did my filling leak out while baking?
Very good question! To avoid this mishap, ensure the filling has cooled slightly before sealing the dough, as hot filling can create steam that pushes the dough apart. Also, be sure to securely pinch the edges of your biscuit dough to form a tight seal around the filling. If your dough is too thin, consider using a larger circle to better secure the filling.
Can I make these bombs healthier?
Absolutely! For a healthier alternative, you can swap ground beef with ground turkey or chicken. Using whole wheat biscuit dough is another great way to add some fiber while staying delicious. Additionally, cheese can be reduced or replaced with a lower-fat option, and adding more veggies—like finely chopped bell peppers or onions—can enhance flavor without adding many calories!
What should I do if my cheese doesn’t melt properly?
If you find that the cheese isn’t melting as expected, make sure the beef mixture is warm enough when combined with the cheese. If the mixture cools too much before you fill the dough, the cheese might not melt adequately during baking. Just keep the mixture warm and give it a good stir before using!
Garlic Parmesan Cheeseburger Bombs for Irresistible Snacking
Ingredients
Equipment
Method
- Preheat your oven to 375°F (190°C) and line a baking sheet with parchment paper.
- In a skillet, brown the ground beef for 5-6 minutes until no longer pink. Drain excess fat.
- Season the beef with salt and pepper, mix well, and let it cool slightly.
- Stir in shredded cheddar cheese into the warm beef mixture and let it cool further.
- Melt unsalted butter and mix in minced garlic. Optionally, add chopped parsley.
- Flatten each biscuit dough into a 4-5 inch round.
- Place 2 tablespoons of beef and cheese mixture in the center of each dough round and seal carefully.
- Brush each ball with garlic butter mixture and roll in grated Parmesan and Italian seasoning.
- Bake in the preheated oven for 12-15 minutes until golden brown.
- Cool for 5 minutes and brush with leftover garlic butter, garnishing with parsley if desired.
Leave a Reply