
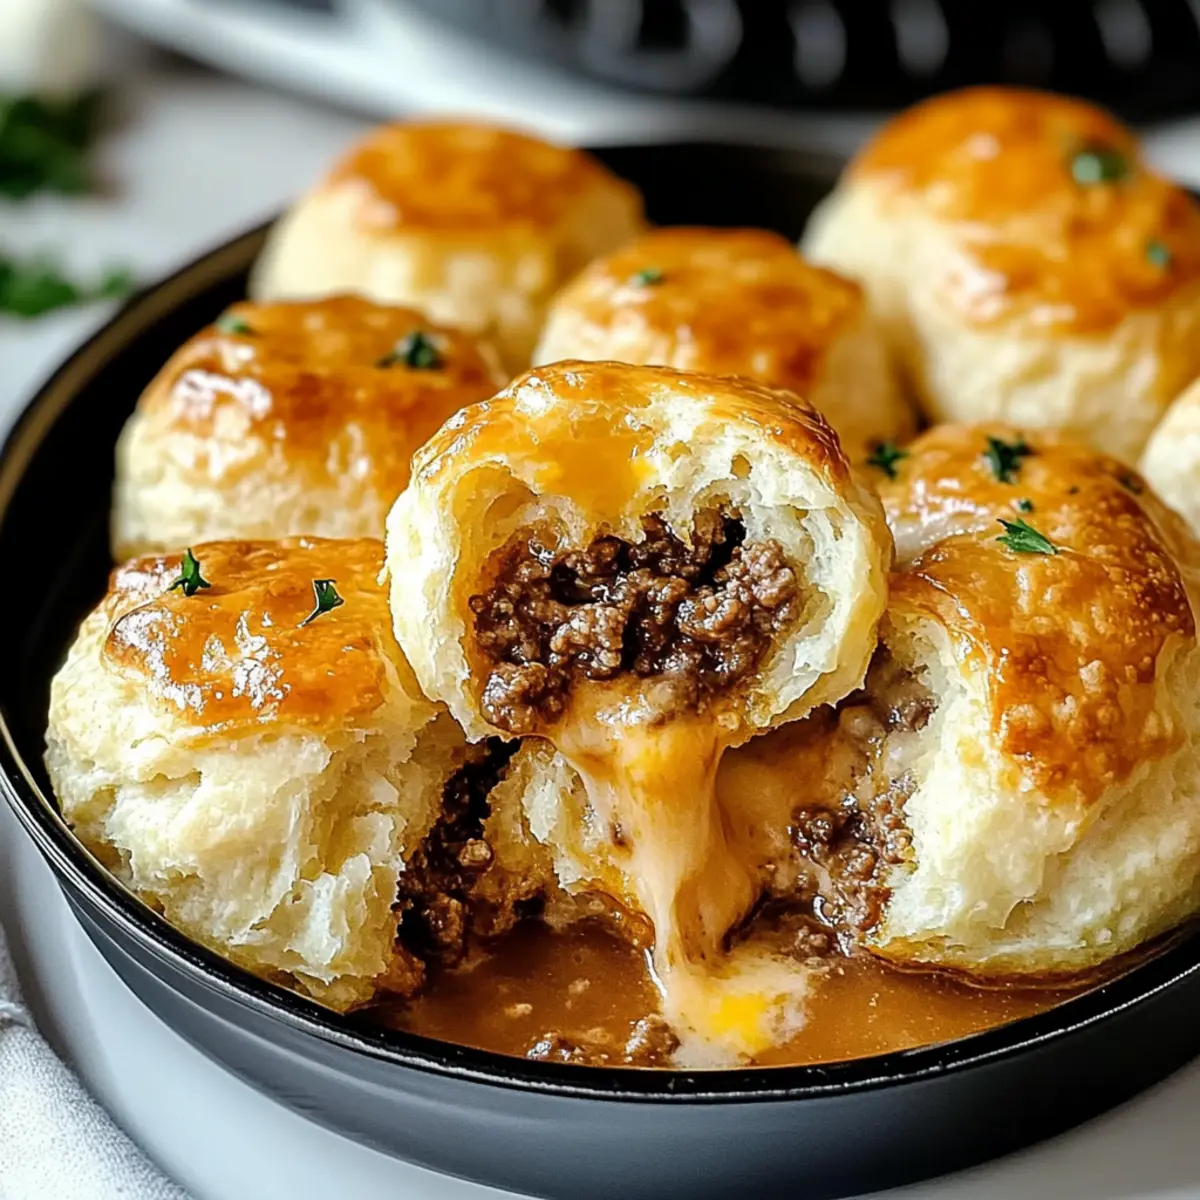
“Did you hear the oven timer go off?!” I exclaimed as the rich aroma of baking filled my kitchen. I couldn’t wait any longer to unveil my latest creation: Cheesy Beef Biscuit Bombs! These delightful bites are not just a treat for the senses—they’re the epitome of comfort food. With a flaky, golden exterior and a savory, gooey filling of seasoned beef and melty cheese, they promise to bring warmth to your table. The best part? They’re incredibly easy to whip up and fully customizable, so you can tweak the flavors to suit your mood or use whatever you have in your pantry. Perfect for family dinners or game day snacking, these cheesy bombs are bound to become a staple in your kitchen. Are you ready to dive into a world of flavor where each bite is a mini celebration? Let’s get cooking!
Why are Cheesy Beef Biscuit Bombs special?
Irresistible Comfort: These Cheesy Beef Biscuit Bombs deliver the ultimate satisfaction for your taste buds—perfect for cozy nights in or feeding a crowd!
Easy to Make: With just a few simple ingredients and straightforward steps, whipping up these comfort food delights is a breeze, making them a go-to for busy cooks.
Customizable Filling: The filling is easily adjustable; swap in your favorite cheeses or add veggies for a unique twist. Try incorporating spicy salsa or green onions for an exciting upgrade!
Crowd-Pleaser: Whether at a family gathering or a game-day party, these flavorful bites are sure to delight guests, and they’ll love dipping them in marinara or sour cream.
Freezer-Friendly: Want to prep ahead? Freeze unbaked biscuit bombs for quick meals later. Simply pop them in the oven for a homemade treat anytime!
Cheesy Beef Biscuit Bombs Ingredients
• To create your own delicious Cheesy Beef Biscuit Bombs, gather the following ingredients:
For the Filling
- Ground Beef – Provides a rich, savory filling that adds hearty texture.
- Shredded Cheddar Cheese – Creates a gooey, melty center; substitute with mozzarella or Monterey Jack for a different flavor.
- Cream Cheese (softened) – Adds creaminess and helps bind the filling.
- Grated Parmesan Cheese – Enhances flavor with a salty, umami kick; use extra sharp cheese for more intensity.
- Garlic Powder – Offers aromatic depth without overpowering.
- Onion Powder – Contributes mild sweetness, enhancing the overall flavor profile.
- Black Pepper – Adds a subtle heat that balances the dish.
For the Outer Layer
- Refrigerated Biscuit Dough – Serves as the outer layer, baking soft and flaky.
- Melted Butter – Promotes a golden, crispy finish on the biscuits.
Step‑by‑Step Instructions for Cheesy Beef Biscuit Bombs
Step 1: Preheat the Oven
Start by preheating your oven to 375°F (190°C) to ensure it reaches the perfect temperature for baking your Cheesy Beef Biscuit Bombs. This step is crucial as a hot oven will help the biscuits become golden brown and flaky. Prepare a baking sheet by lining it with parchment paper or lightly greasing it to prevent sticking.
Step 2: Cook the Ground Beef
In a skillet over medium heat, add the ground beef and break it apart with a wooden spoon. Cook for 6-8 minutes, stirring occasionally, until the beef is fully browned with no pink remaining. You’ll know it’s done when it reaches a deep brown color and a savory aroma fills your kitchen. Once browned, drain any excess grease to keep the filling from being too oily.
Step 3: Season the Beef
After draining the beef, return it to the skillet and sprinkle in the garlic powder, onion powder, and black pepper. Cook for an additional 1-2 minutes, stirring well to combine the spices with the beef. This step enhances the flavor profile of your filling, ensuring every bite of the Cheesy Beef Biscuit Bombs bursts with taste. Remove from heat and allow the mixture to cool slightly.
Step 4: Prepare the Cheese Mixture
In a mixing bowl, combine softened cream cheese, shredded cheddar, and grated Parmesan cheese. Using a spatula or fork, mix until the cheeses are evenly blended, creating a smooth, creamy texture. This cheese mixture is essential for achieving that gooey, delicious center of your Cheesy Beef Biscuit Bombs, so make sure it’s well combined.
Step 5: Combine Fillings
Once the beef mixture has cooled down a bit, stir it into the cheese mixture. Use a spatula to fold the beef gently into the cheese until the filling is uniform throughout. This step is crucial for ensuring that every bite captures the perfect blend of cheesy and savory flavors, making your Cheesy Beef Biscuit Bombs truly irresistible.
Step 6: Shape the Biscuits
Open your refrigerated biscuit dough and separate each biscuit. Flatten one biscuit at a time in your palm or on a clean surface, making sure it’s around 4 inches wide. Spoon a generous amount of the hearty beef and cheese filling into the center of the biscuit, then fold the edges over the filling and pinch to seal, creating a ball shape. Repeat this process until all biscuits are filled.
Step 7: Brush with Butter
Place the shaped Cheesy Beef Biscuit Bombs seam-side down on the prepared baking sheet. Once arranged, brush the tops generously with melted butter. This step will add a beautiful golden color and a rich flavor to your bombs, enhancing their overall appearance and taste. Make sure they have space in between to allow for even baking.
Step 8: Bake to Perfection
Slide the baking sheet into your preheated oven and bake for 12-15 minutes, or until the biscuits are golden brown and puffed up. Keep an eye on them as they bake; you’ll want to see a lovely, crispy exterior that hints at the cheesy goodness inside. The aroma will be irresistible, letting you know they’re nearly ready to be enjoyed!

Expert Tips for Cheesy Beef Biscuit Bombs
• Crispy Finish: Brush the tops with melted butter before baking for an extra golden, crunchy texture.
• Cool Filling: Let the beef filling cool slightly to prevent tearing the biscuit dough when sealing the bombs.
• Don’t Overcrowd: Space the biscuit bombs evenly on the baking sheet to ensure even cooking and avoid sogginess.
• Variations Galore: Feel free to experiment! Substitute cheeses or add finely chopped vegetables for a unique twist on your Cheesy Beef Biscuit Bombs.
• Baking Time: Watch closely as baking time varies based on oven type; look for a golden brown color to ensure they’re perfectly cooked.
Make Ahead Options
These Cheesy Beef Biscuit Bombs are a fantastic option for meal prep enthusiasts! You can prepare the filling (ground beef, cheeses, and spices) up to 3 days in advance. Simply cook the beef, mix it with the cheeses, and store it in an airtight container in the refrigerator until ready to assemble. You can also shape the biscuit bombs and refrigerate them for up to 24 hours before baking. To maintain quality, be sure to cover them with plastic wrap or foil to prevent them from drying out. When you’re ready to enjoy your delicious Cheesy Beef Biscuit Bombs, just pop them in the oven directly from the fridge, and bake as directed for a quick and satisfying meal any night of the week!
Cheesy Beef Biscuit Bombs Variations & Substitutions
Feel free to personalize your Cheesy Beef Biscuit Bombs with these delightful twists that will awaken your taste buds!
- Dairy-Free: Use non-dairy cream cheese and cheese alternatives to make these bombs suitable for lactose sensitivity without losing flavor.
- Veggie-Loaded: Add finely diced vegetables like spinach, mushrooms, or zucchini to the beef filling for extra nutrition and a burst of flavor!
- Spicy Kick: Incorporate minced jalapeños or a dash of hot sauce into the filling for a mouth-watering twist that adds heat.
- Different Proteins: Swap ground beef for turkey, chicken, or even sausage to create a lighter option without compromising on deliciousness!
- Herb Infusion: Stir in some fresh herbs such as chopped parsley or chives into your filling to intensify the aroma and flavor.
- Different Dipping Sauces: Mix things up by serving with BBQ sauce or a creamy ranch dip, adding an exciting twist to your snack.
- Use Pizza Dough: For a thicker, chewier outside, consider using pizza dough instead of biscuit dough for a unique texture experience.
Try out these variations, and don’t hesitate to check out our other crowd-pleasers like Crockpot Beef Short or Beef Bourguignon Cozy for more incredible meals tailored just for you!
Storage Tips for Cheesy Beef Biscuit Bombs
-
Fridge: Store leftover Cheesy Beef Biscuit Bombs in an airtight container for up to 3-4 days. Reheat in the oven at 350°F (175°C) for about 10 minutes to regain their original crispy texture.
-
Freezer: For longer storage, freeze unbaked biscuit bombs for up to 3 months. Simply place them on a baking sheet to flash freeze before transferring to a freezer-safe bag.
-
Reheating: To reheat frozen Cheesy Beef Biscuit Bombs, bake directly from frozen at 375°F (190°C) for 15-20 minutes, or until they’re warmed through and the biscuits are golden.
-
Make-Ahead: Prepare the filling and assemble the bombs a day in advance, refrigerating until ready to bake. This makes it super easy to have a hot snack or meal ready in no time!
What to Serve with Cheesy Beef Biscuit Bombs
Let your taste buds be delighted while you plan the perfect spread alongside these scrumptious bites, making every meal an occasion to savor.
- Warm Marinara Sauce: A side of rich marinara for dipping adds a tangy, vibrant contrast that enhances the savory beef filling. The combination is utterly irresistible.
- Crunchy Salad: A fresh garden salad topped with zesty vinaigrette provides a refreshing crunch to balance the warm, cheesy goodness of the biscuits.
- Creamy Coleslaw: Leafy slaw, dressed in creamy tang, brings a delightful crunch that perfectly complements the buttery biscuit texture.
- Garlic Breadsticks: Serve alongside buttery garlic breadsticks to amplify the comforting feel, offering another layer of chewiness and flavor.
- Stuffed Peppers: Baked stuffed peppers packed with rice, veggies, and spices can serve as a hearty side, creating a colorful and nutritious addition to the meal.
- Sour Cream Dip: A dollop of cool sour cream adds a creaminess, enhancing the flavor while counteracting the warmth of the cheesy beef bombs.
- Spicy Salsa: Offering your guests a spicy salsa can elevate the experience, introducing a kick that pairs beautifully with the savory bites.
- Macaroni and Cheese: For an ultimate comfort food duo, a creamy bowl of mac and cheese alongside your cheesy beef biscuit bombs is sure to please.
- Fruit Skewers: Lighten the palate with vibrant fruit skewers, providing a sweet counterpoint that refreshes between bites of rich flavors.

Cheesy Beef Biscuit Bombs Recipe FAQs
What should I look for when selecting ground beef?
When choosing ground beef, look for meat with a rich red color and minimal liquid in the packaging. Avoid any that looks gray or has dark spots, as this indicates it may not be fresh. Generally, ground beef with a fat content of 80/20 (meat to fat ratio) works best for these biscuits, providing enough flavor and moisture without being too greasy.
How should I store leftover Cheesy Beef Biscuit Bombs?
Absolutely! Store any leftover Cheesy Beef Biscuit Bombs in an airtight container in the refrigerator for up to 3-4 days. When you’re ready to enjoy them, reheat in the oven at 350°F (175°C) for around 10 minutes to restore their crispy texture—just perfect for an easy snack!
Can Cheesy Beef Biscuit Bombs be frozen?
Yes, they freeze beautifully! To freeze, prepare the unbaked biscuit bombs and place them on a baking sheet to flash freeze for about an hour. Once solid, transfer them to a freezer-safe bag, ensuring they’re sealed tightly. They can last in the freezer for up to 3 months. When you’re ready to bake, simply place them directly in a preheated oven at 375°F (190°C) for 15-20 minutes, adding a few extra minutes for a perfectly baked treat.
How can I prevent my biscuit bombs from tearing?
To prevent tearing, ensure your filling has cooled slightly before assembling the biscuit bombs. A hot filling can make the biscuit dough too pliable and prone to ripping. Additionally, when sealing each bomb, ensure that you pinched the edges well to create a tight seal. This will help keep all that delicious filling inside!
Are Cheesy Beef Biscuit Bombs suitable for people with dietary restrictions?
Great question! If you have dietary restrictions, you can easily adapt this recipe. For instance, those lactose intolerant can use lactose-free cream cheese and cheeses. You can also substitute ground beef with ground turkey or chicken for a leaner option. Just ensure that the biscuit dough you choose is free from any allergens, such as gluten, if needed. Always check labels to ensure the ingredients meet your dietary requirements.
How long do Cheesy Beef Biscuit Bombs stay fresh when made ahead?
If you make them ahead, let’s say the night before, you can refrigerate the assembled bombs without baking them. They’ll be fresh for up to 24 hours in the fridge. Just be sure they’re covered with plastic wrap or kept in an airtight container to prevent drying out.

Cheesy Beef Biscuit Bombs: Your New Favorite Comfort Food
Ingredients
Equipment
Method
- Step 1: Preheat the Oven to 375°F (190°C). Prepare a baking sheet by lining it with parchment paper or lightly greasing it.
- Step 2: Cook the Ground Beef over medium heat for 6-8 minutes until fully browned, then drain excess grease.
- Step 3: Season the Beef by adding garlic powder, onion powder, and black pepper, and cook for an additional 1-2 minutes.
- Step 4: Prepare the Cheese Mixture by combining softened cream cheese, shredded cheddar, and grated Parmesan in a mixing bowl.
- Step 5: Combine Fillings by mixing the beef mixture into the cheese mixture until uniform.
- Step 6: Shape the Biscuits by flattening each biscuit, adding the filling, and sealing them into balls.
- Step 7: Brush the tops of the biscuit bombs with melted butter before placing on the baking sheet.
- Step 8: Bake for 12-15 minutes until golden brown and puffed up.
Leave a Reply