
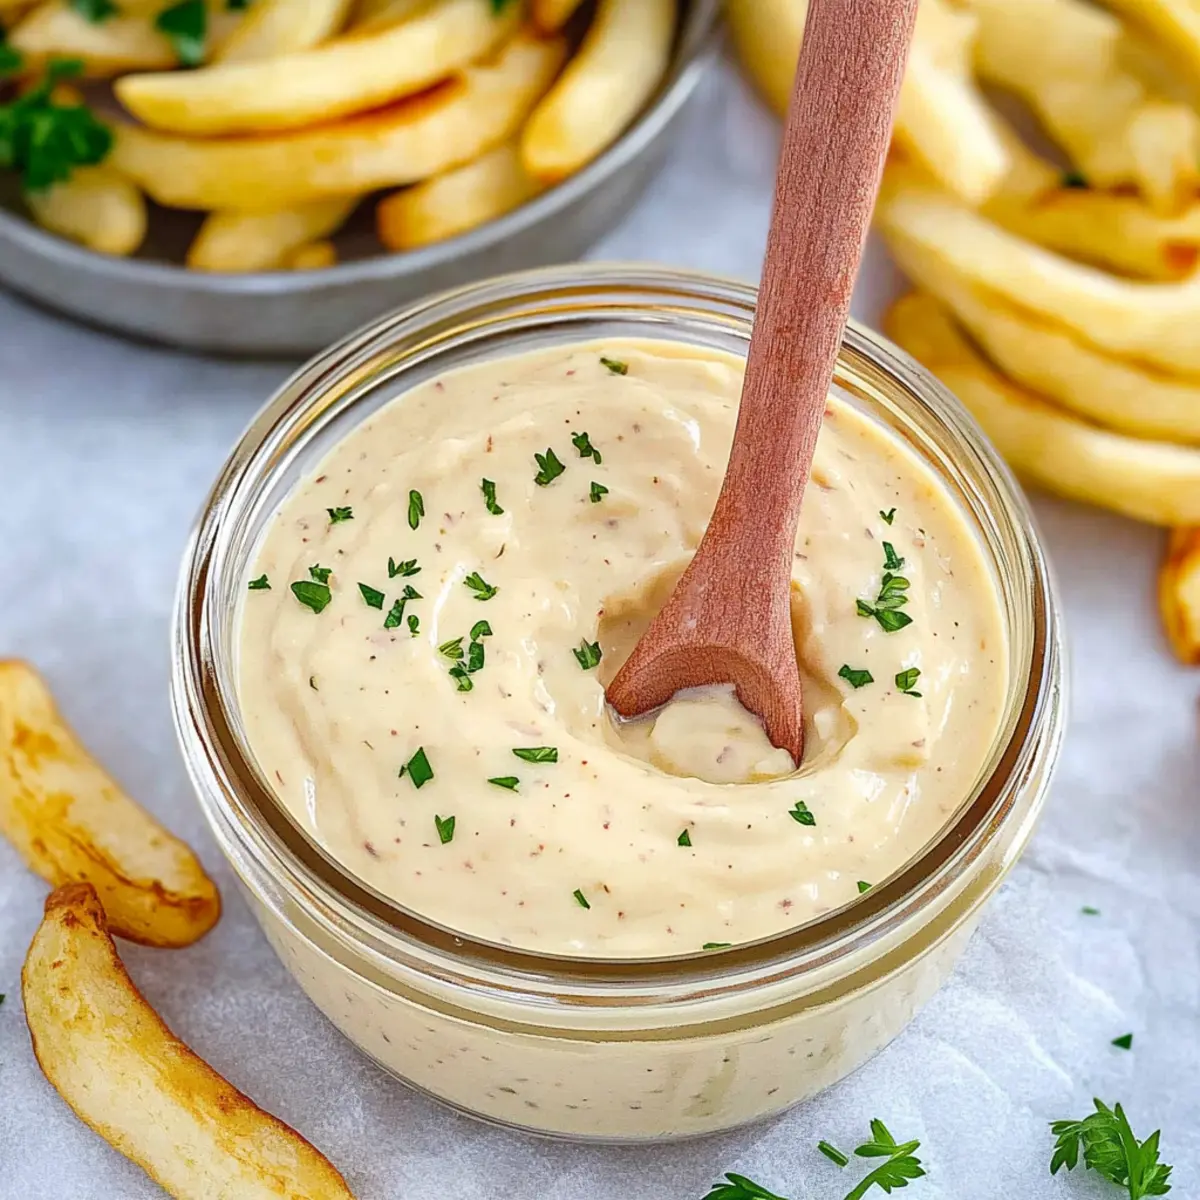
The aroma of roasted garlic dances through my kitchen, instantly turning a mundane afternoon into something extraordinary. Today, I’m excited to share my go-to recipe for Roasted Garlic Aioli, a creamy dip that transforms even the simplest meal into a gourmet experience. With just a handful of easily sourced ingredients and minimal prep time, this delightful condiment is not only quick to whip up but also gluten-free, ensuring everyone can enjoy it. Whether you’re dipping fresh veggies, spreading it on sandwiches, or drizzling it over grilled meats, this aioli packs a punch of flavor that’s hard to resist. Have you ever thought about how just one spoonful can elevate your meal? Let’s dive into the creamy goodness and make your taste buds dance!
Why is Roasted Garlic Aioli a Must-Have?
Deliciously Versatile: This aioli shines as a dip, spread, or drizzle, effortlessly elevating any dish. Creamy Texture: The balance of roasted garlic and mayonnaise creates a rich, luxurious mouthfeel that tempts every palate. Quick Preparation: With just a few steps, you can whip this up in no time, perfect for busy days. Gluten-Free Goodness: Enjoy guilt-free indulgence, making it an inclusive option for all your guests. Whether paired with Sticky Garlic Chicken or used in a Roasted Pear Salad, this versatile condiment guarantees a taste experience that’s both simple and gourmet!
Roasted Garlic Aioli Ingredients
For the Aioli Base
- Garlic – Roasted garlic provides a sweet and rich flavor that’s irresistible.
- Olive Oil – This adds richness while aiding in the roasting process of garlic.
- Mayonnaise – Creates the creamy foundation; try using Greek yogurt for a lighter twist.
- Lemon Juice – Freshly squeezed is best, giving a zesty balance to the aioli.
- Dijon Mustard – Adds a subtle kick; substitute with whole grain mustard if preferred.
- Salt and Pepper – Essential for seasoning; feel free to adjust to your taste.
For Garnish (Optional)
- Chopped Parsley – Adds a fresh, vibrant touch and color to the aioli.
- Chopped Chives – Offers a mild onion flavor, enhancing the overall taste.
This Roasted Garlic Aioli is not only an easy preparation but also ensures that each bite bursts with flavor!
Step‑by‑Step Instructions for Roasted Garlic Aioli
Step 1: Preheat the Oven
Begin by preheating your oven to 400°F (200°C). This temperature will allow for the perfect roast, bringing out the deep sweetness of the garlic. While the oven heats up, gather all your ingredients and equipment, ensuring a smooth cooking process.
Step 2: Prepare the Garlic
Take a whole bulb of garlic and gently peel away the outer layers, revealing the cloves inside. Next, slice the top off the bulb to expose the cloves lightly. This will ensure even roasting, releasing the aromatic flavors as it cooks and making your Roasted Garlic Aioli fabulously rich.
Step 3: Roast the Garlic
Drizzle a teaspoon of olive oil over the exposed cloves and wrap the garlic bulb snugly in aluminum foil. Place the wrapped garlic on a baking sheet and roast in the oven for 30 to 40 minutes. You’ll know it’s done when the garlic is soft and golden brown, radiating a heavenly aroma that fills your kitchen.
Step 4: Mash the Roasted Garlic
Once the garlic has cooled for a few minutes, carefully unwrap the foil. Squeeze the roasted cloves into a mixing bowl, using a fork or a garlic press to turn them into a smooth paste. The sweet, caramelized flavor of the garlic will be the star of your Roasted Garlic Aioli, bringing rich taste to your dish.
Step 5: Combine Ingredients
In a clean mixing bowl, combine the mashed roasted garlic with mayonnaise, freshly squeezed lemon juice, and Dijon mustard. Season with salt and pepper before mixing everything until you achieve a creamy, smooth consistency. Make sure the flavors meld beautifully for an unbeatable Roasted Garlic Aioli experience.
Step 6: Chill and Serve
Transfer your Roasted Garlic Aioli to an airtight container and let it chill in the refrigerator for at least 30 minutes. This resting time allows the flavors to deepen and develop. Once chilled, garnish with chopped parsley or chives, if desired, before serving alongside your favorite dishes!
Roasted Garlic Aioli Variations
Feel free to get creative with your aioli by exploring these delightful variations!
-
Greek Yogurt Swap: Replace half of the mayonnaise with Greek yogurt for a lighter, tangy twist. The yogurt’s creaminess will still provide that silky texture without extra calories.
-
Vinegar Zing: Swap the lemon juice for red wine or apple cider vinegar to bring a new tangy flair. This substitution offers an interesting depth that pairs beautifully with rich dishes.
-
Herb Infusion: Add fresh herbs like basil or cilantro for a vibrant flavor. Basil brings a sweet touch, while cilantro adds an exciting freshness that brightens the aioli.
-
Spicy Kick: Incorporate a teaspoon of sriracha or harissa for a spicy kick. This twist brings an exciting heat that adds an adventurous note to your dips and spreads.
-
Smoky Depth: Mix in a dash of smoked paprika for a smoky, warm flavor. It elevates the aioli and pairs perfectly with grilled meats or roasted vegetables.
-
Umami Punch: Add a splash of soy sauce or Worcestershire sauce to enhance the umami notes. This brings an extra layer of richness that will tantalize your taste buds.
-
Add Some Cheese: Blend in finely grated Parmesan or feta cheese for a savory twist. The creaminess of the cheese creates a richer mouthfeel and a delightful tang.
-
Chili Flakes: Stir in some red pepper flakes to introduce a delightful heat. This simple addition makes your aioli a more versatile condiment for those who enjoy a hint of spice!
These variations can elevate your Roasted Garlic Aioli, making it perfect for pairing with everything from Sticky Garlic Chicken to drizzling over a fresh Roasted Pear Salad. Enjoy experimenting!
Make Ahead Options
This Roasted Garlic Aioli is ideal for meal prep, allowing you to savor delicious flavors while saving precious time during busy weeks. You can prepare the aioli up to 3 days in advance, simply following the recipe up to the chilling step. After combining the ingredients, transfer the aioli into an airtight container and refrigerate it; this will keep the flavors fresh and vibrant. To maintain quality, avoid leaving the aioli out for extended periods and only garnish it with herbs just before serving. When ready to enjoy, simply give it a good stir and it will be just as creamy and flavorful as if freshly made, perfect for enhancing all your favorite dishes!
What to Serve with Creamy Roasted Garlic Aioli?
Indulge in a delightful culinary adventure as you discover the perfect accompaniments for this rich, creamy dip that can elevate any meal.
-
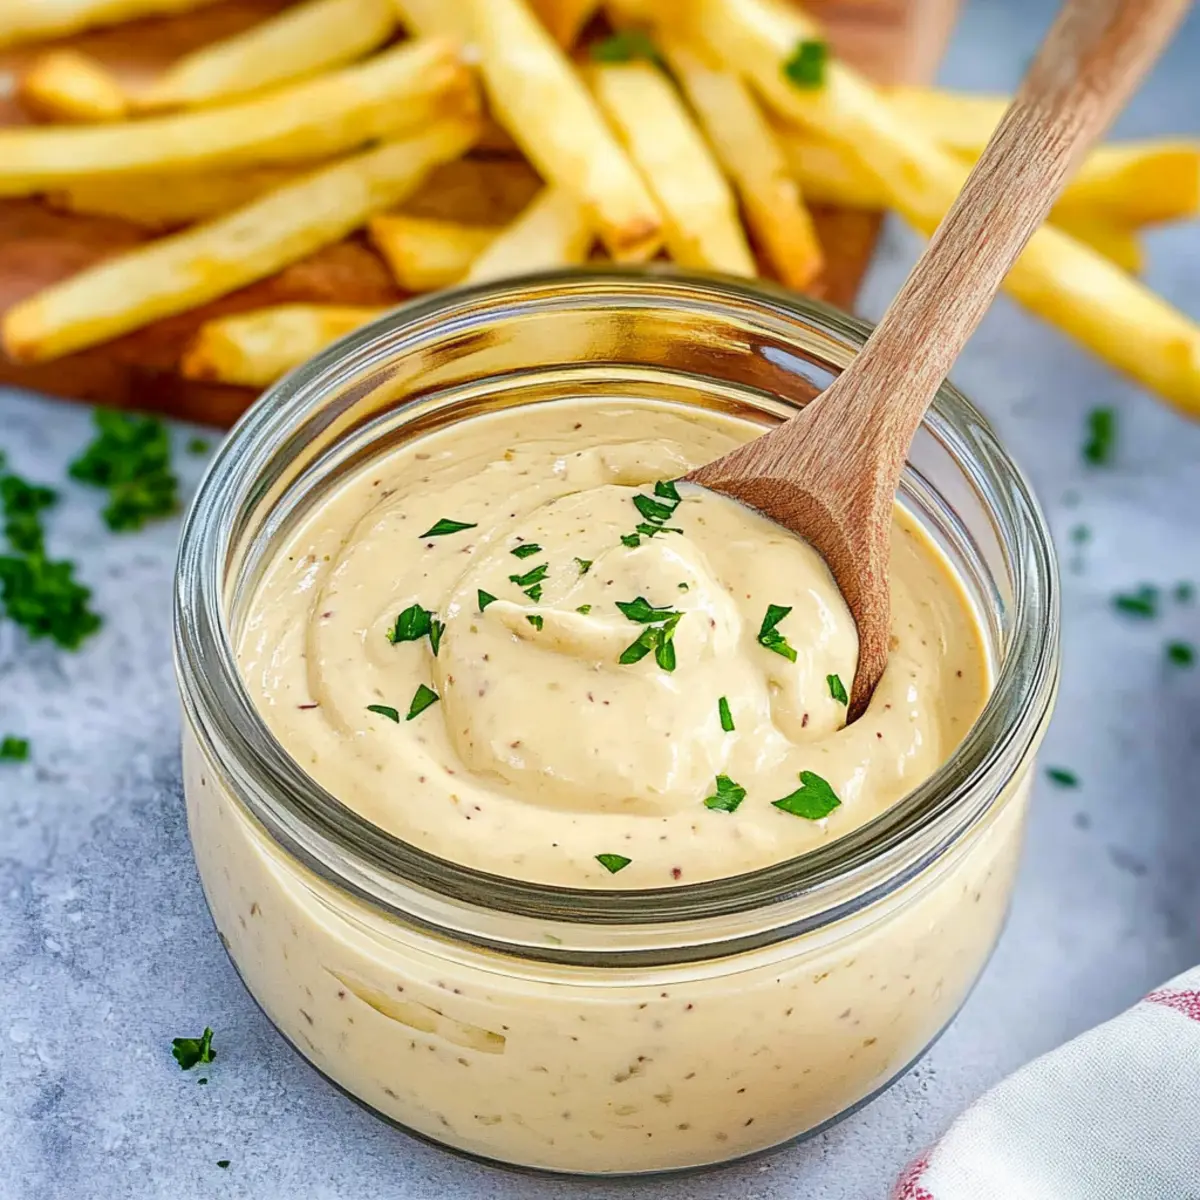
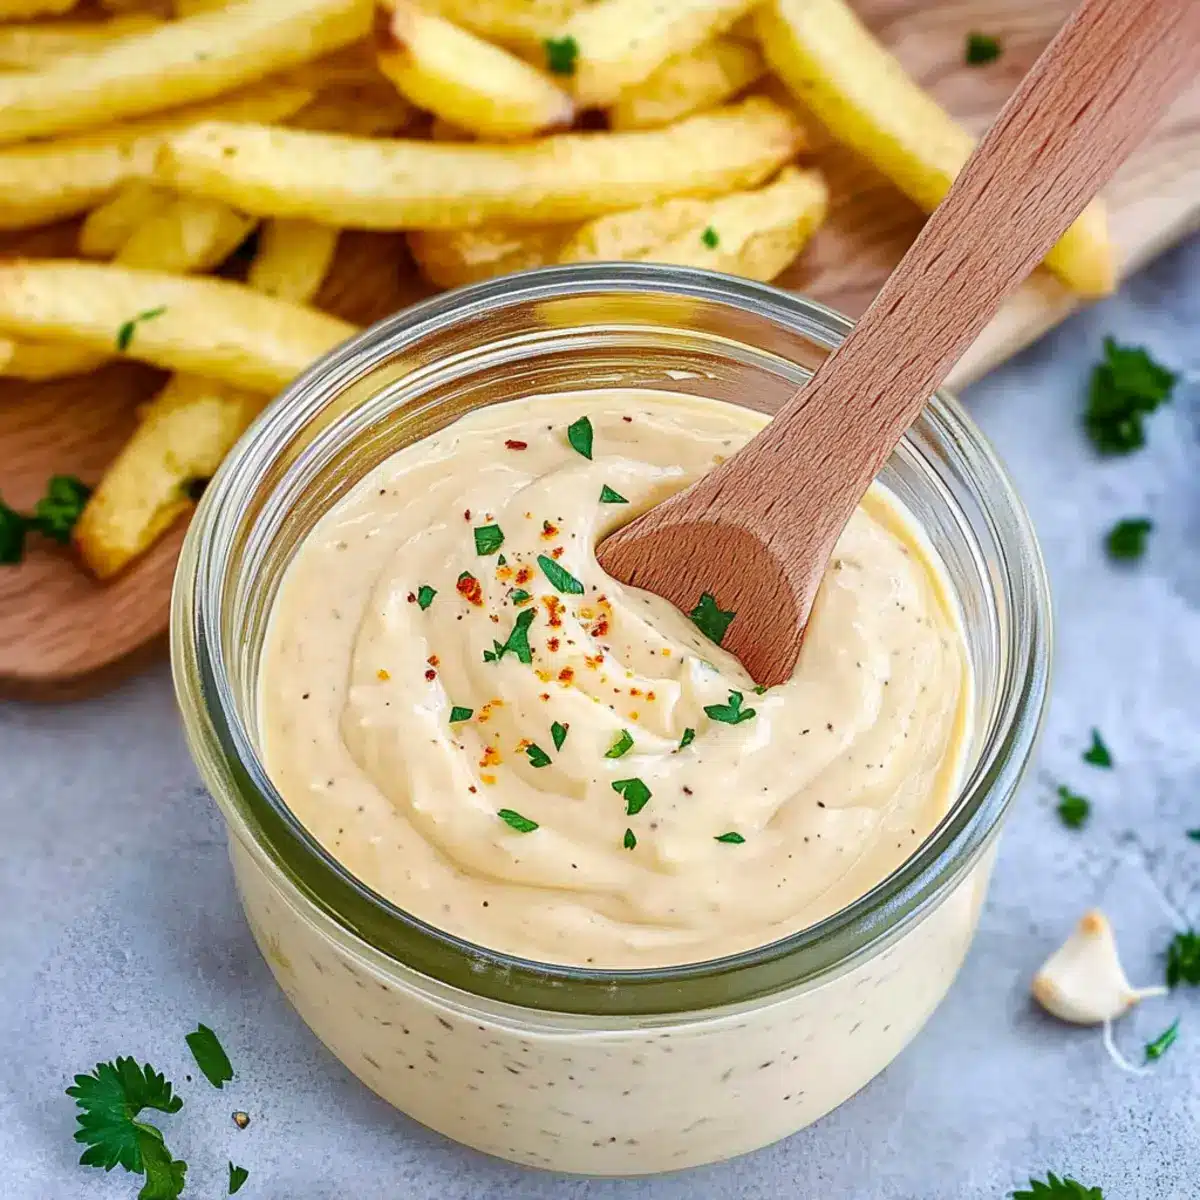
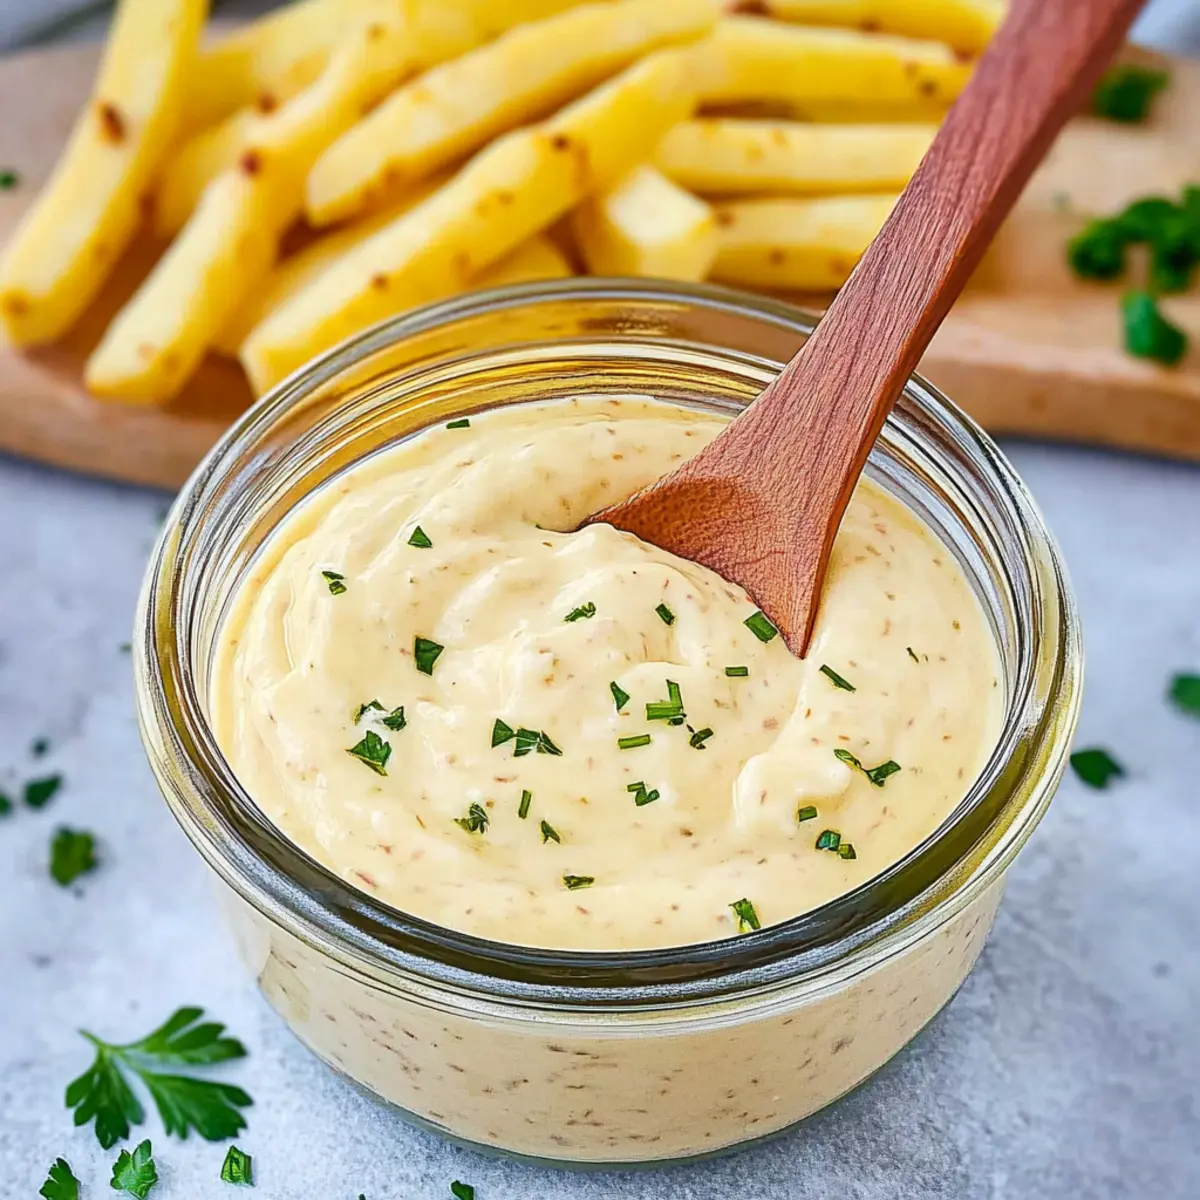
Crispy French Fries: The golden crunch pairs beautifully with the soft, creamy aioli, making every bite a festival of textures.
-
Grilled Vegetables: Enjoy the vibrant flavors of seasonal veggies that are enhanced by dipping them in the rich garlic goodness of aioli.
-
Savory Burgers: Spread this aioli on your favorite burgers for a gourmet touch that brings a creamy, tangy finish to each juicy bite.
-
Fresh Veggie Platter: Serve with an assortment of colorful raw veggies for a fresh, crunchy contrast to the creamy, rich aioli.
-
Warm Artisan Bread: Dip or spread the aioli on slices of warm, crusty bread. The warm bread absorbs the flavors beautifully.
-
Roasted Chicken: This aioli acts as a luscious sauce, perfectly complementing the juicy, herb-marinated chicken.
-
Pasta Salad: Drizzle over a cold pasta salad for a creamy texture that ties all the flavors together beautifully.
-
Chilled White Wine: Pair with a glass of chilled white wine to complement the rich, garlicky notes in the aioli effortlessly.
-
Mini Quiches: Add a dollop of aioli on mini quiches for an extra layer of deliciousness that dances on your palate.
How to Store and Freeze Roasted Garlic Aioli
Fridge: Store the aioli in an airtight container; it will retain its best flavor and quality for up to one week.
Freezer: For long-term storage, transfer the aioli into a freezer-safe container, leaving space for expansion. It can be frozen for up to three months.
Thawing: To enjoy your frozen roasted garlic aioli, thaw overnight in the fridge, then stir well before using to restore its smooth consistency.
Reheating: Although it’s typically served cold or at room temperature, if you prefer it warm, gently reheat in a saucepan over low heat while stirring continuously.
Expert Tips for Roasted Garlic Aioli
-
Perfect Timing: Watch the garlic closely during roasting; avoid burning by checking for golden, soft cloves. They should not have any char for the best flavor.
-
Make Ahead: For a richer taste, prepare your aioli a day in advance. Store in an airtight container in the fridge for up to a week to let flavors meld beautifully.
-
Texture Matters: If you prefer a smoother aioli, blend it using an immersion blender after combining the ingredients. This step enhances the creamy consistency of your Roasted Garlic Aioli.
-
Adjust to Taste: Don’t hesitate to tweak the seasoning! Add more lemon juice for brightness or extra Dijon mustard for a bolder flavor profile according to your preference.
-
Ingredient Validity: Ensure all ingredients used are labeled gluten-free when necessary to maintain the dietary needs of your guests and those enjoying your delicious roasted garlic aioli.
Roasted Garlic Aioli Recipe FAQs
How do I choose ripe garlic for roasting?
Absolutely! When selecting garlic bulbs, look for ones that are firm, with tight, dry skin—avoid any that feel soft or have dark spots all over. Fresh bulbs should also have a strong aroma. If you can find local, organic garlic, it often gives a more robust flavor!
How should I store Roasted Garlic Aioli?
For the best preservation, store your aioli in an airtight container in the refrigerator. It will maintain its optimal flavor for up to one week. To enhance the taste further, consider making it a day ahead of when you plan to serve—trust me, your taste buds will thank you!
Can I freeze Roasted Garlic Aioli?
Certainly! To freeze your aioli, place it in a freezer-safe container, leaving about an inch at the top for expansion as it freezes. It can be stored this way for up to three months. When you’re ready to use it, simply thaw it overnight in the fridge, then stir well before serving to restore its creamy texture.
What if my aioli is too thick? How can I fix it?
If you’ve made your aioli and find it’s too thick for your liking, don’t worry! You can easily adjust the texture. Just add a tablespoon of warm water or extra lemon juice at a time, mixing thoroughly until you reach your desired consistency. This little trick not only thins it out but can also enhance the flavors!
Are there any dietary considerations for Roasted Garlic Aioli?
Of course! This roasted garlic aioli is naturally gluten-free, making it a fabulous option for those with gluten sensitivities. If you’re preparing it for guests, just double-check that all your ingredients—particularly the mayonnaise—are labeled gluten-free. Also, for those with an egg allergy, you can substitute mayonnaise with a vegan version or use Greek yogurt for a similar taste and texture.
How can I use up leftover aioli?
The more the merrier! You can use leftover aioli in various delicious ways: spread it on sandwiches or wraps for an added zing, use it as a dip for fresh vegetables, or drizzle it over grilled meats and seafood. It’s a versatile addition that can elevate any meal, ensuring none of it goes to waste!
Creamy Roasted Garlic Aioli: Elevate Your Dishes Effortlessly
Ingredients
Equipment
Method
- Preheat your oven to 400°F (200°C).
- Prepare the garlic by peeling and slicing the top off.
- Drizzle olive oil over the garlic and wrap in aluminum foil.
- Roast the garlic for 30 to 40 minutes until soft and golden brown.
- Mash roasted garlic into a smooth paste.
- Combine mashed garlic with mayonnaise, lemon juice, and mustard. Season to taste.
- Chill the aioli in the fridge for at least 30 minutes before serving.
Leave a Reply