
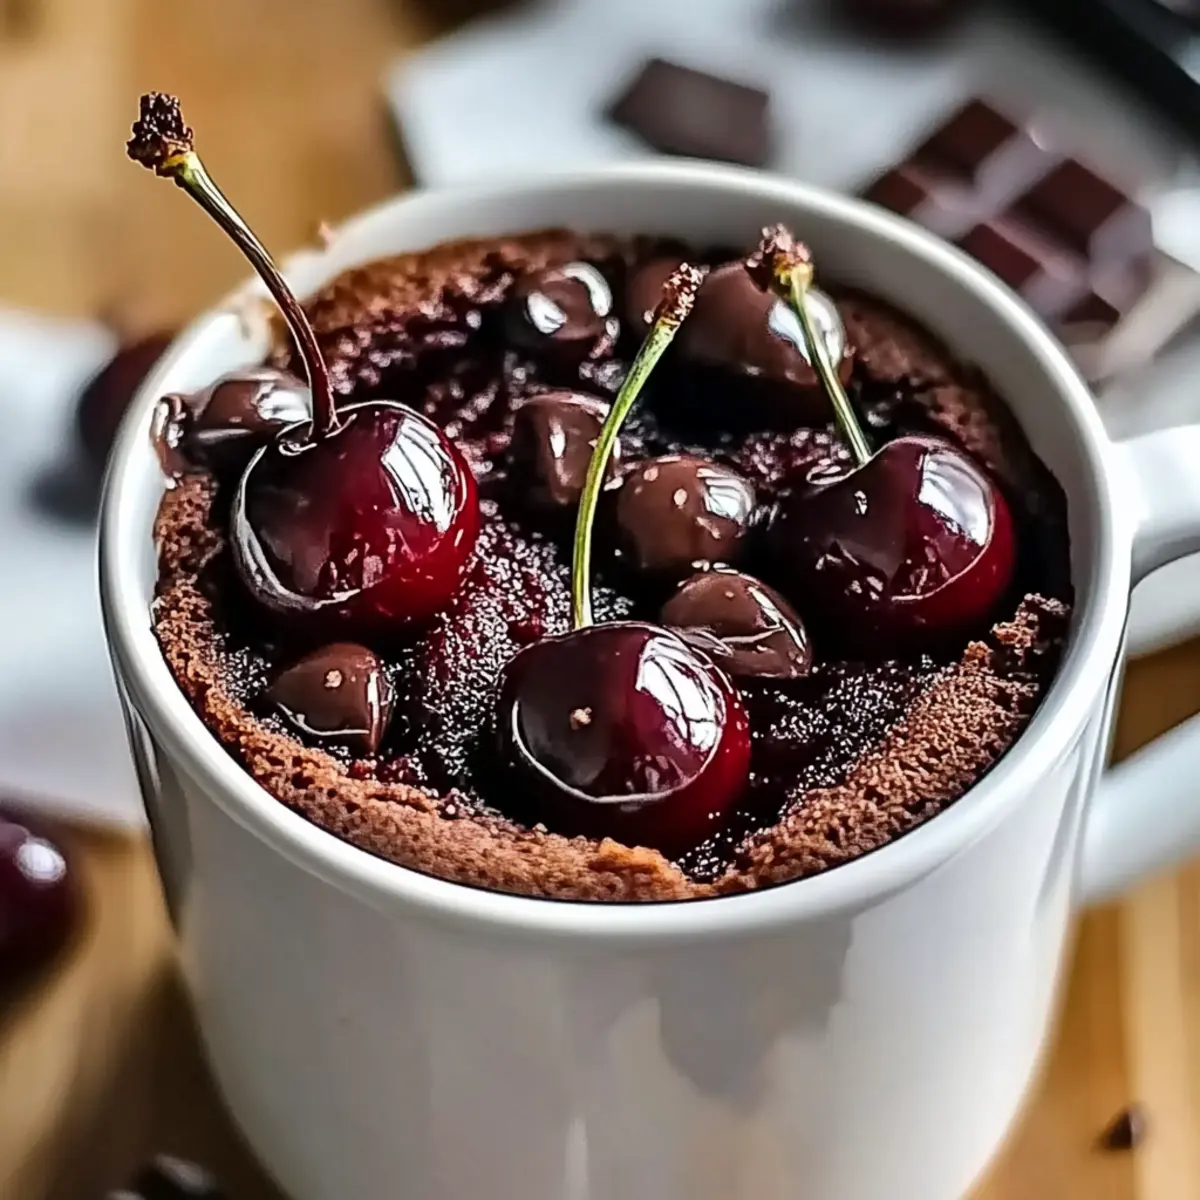
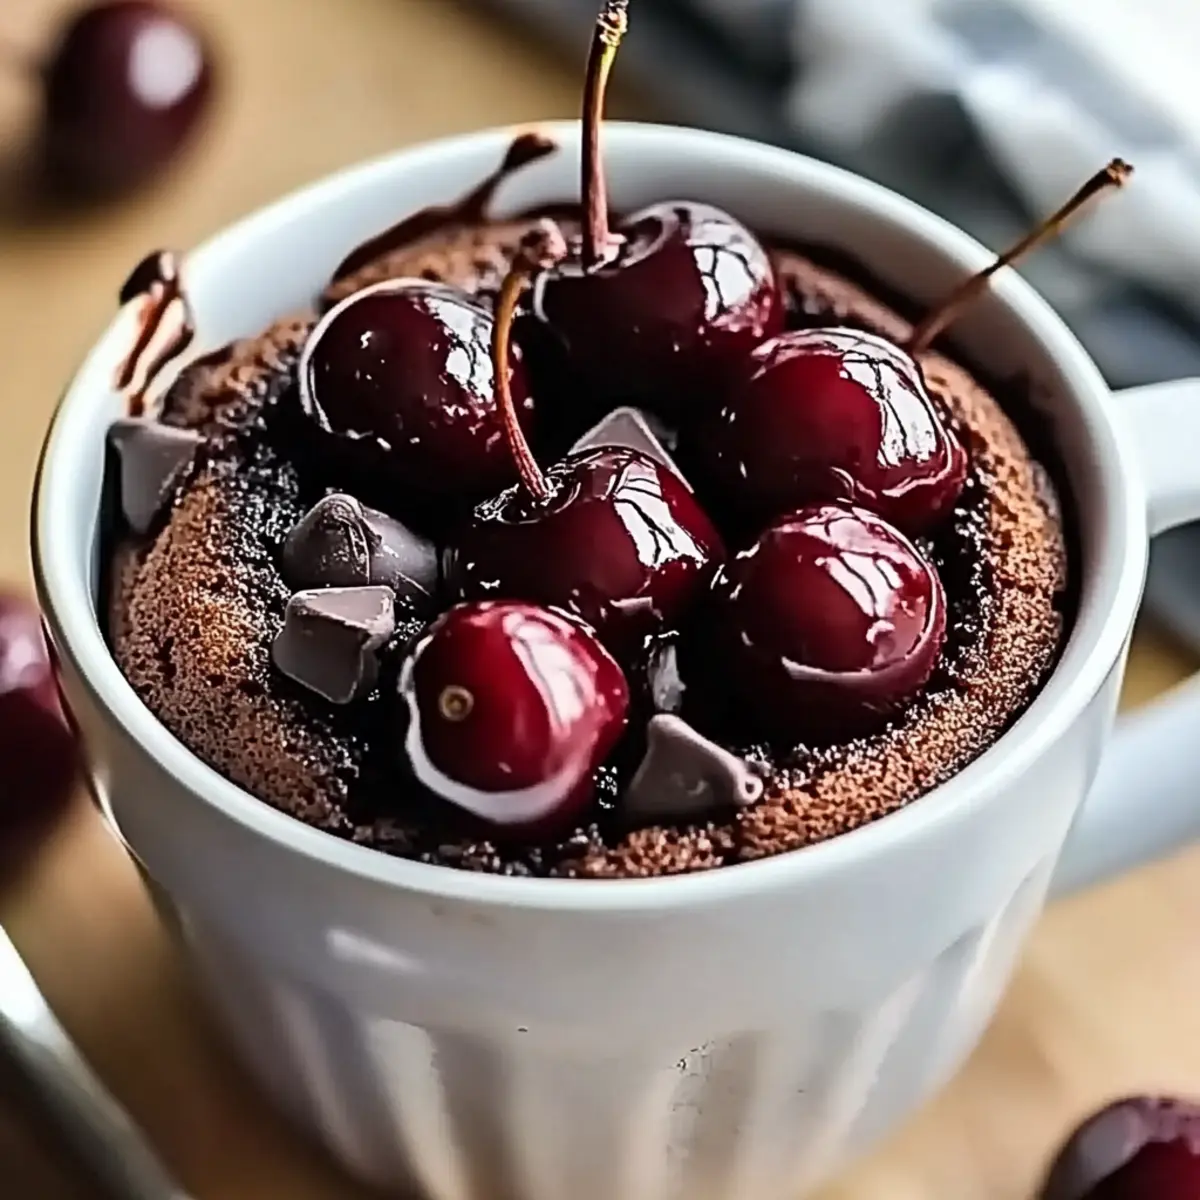
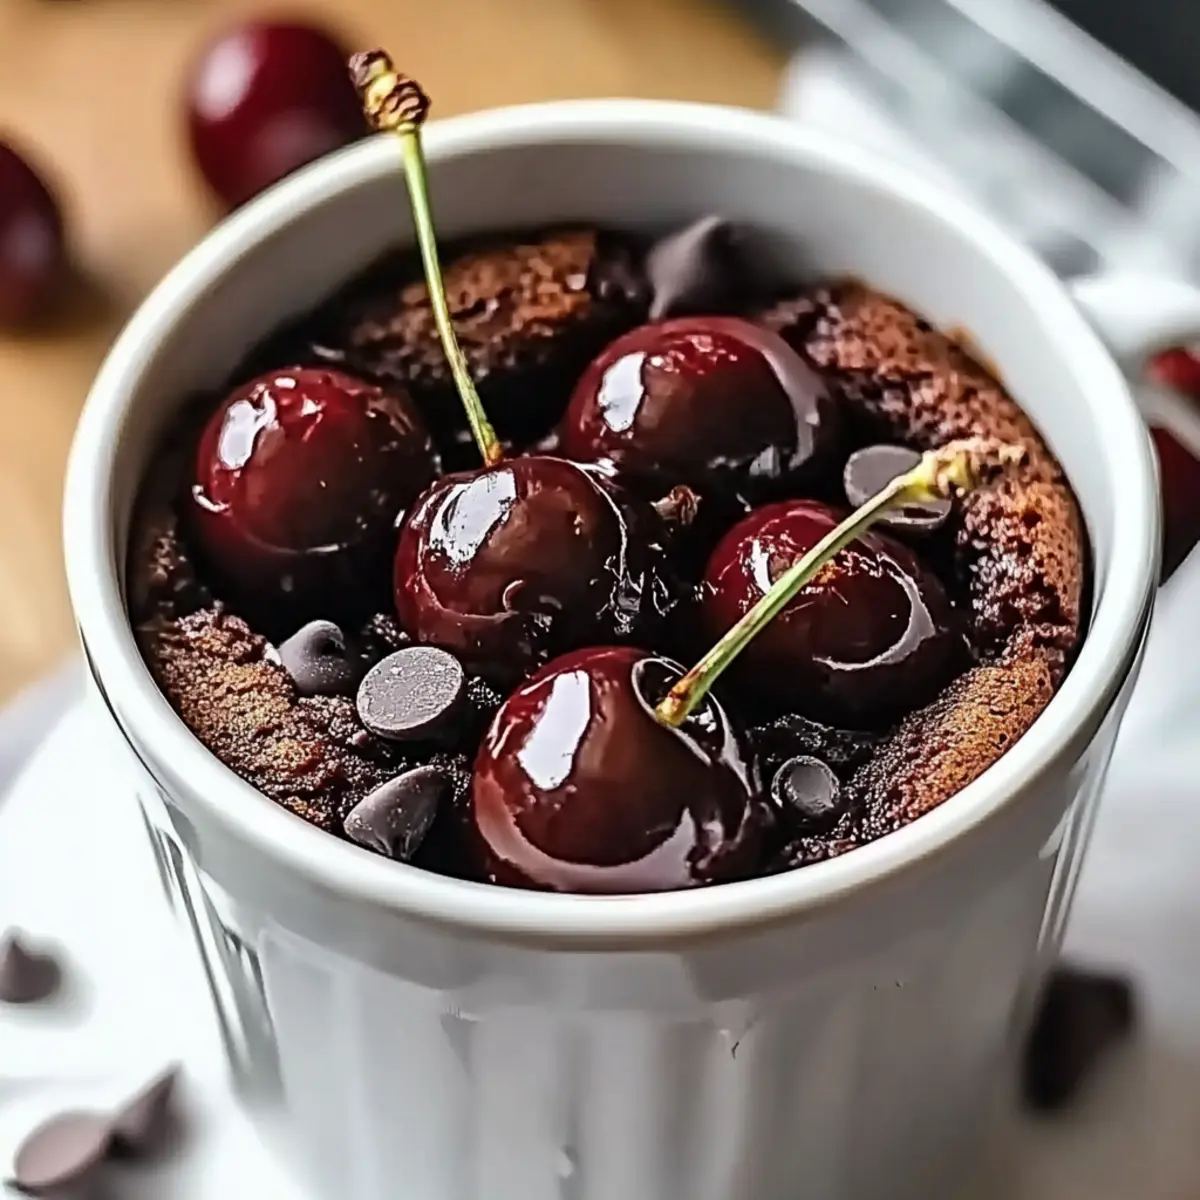
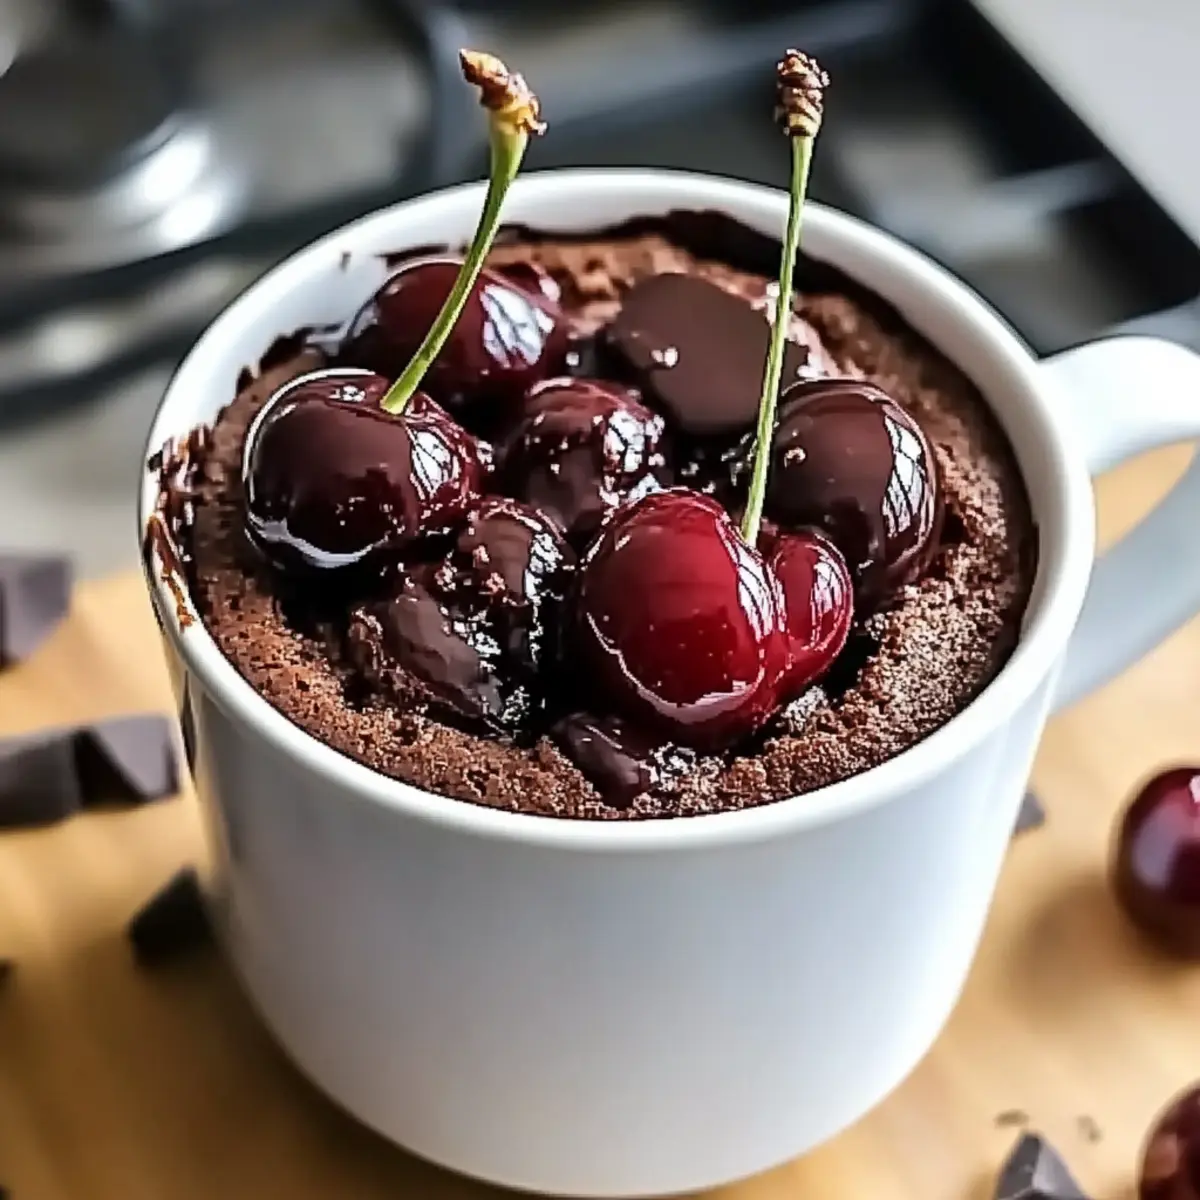
With a simple whisk and a quick zap in the microwave, a delightful transformation takes place. One moment, you’re staring at an empty mug, and the next, you have a warm, heavenly Chocolate Cherry Mug Cake ready to indulge your sweet cravings. This recipe is an absolute game-changer, combining the lusciousness of rich cocoa with the tartness of cherries, all while being ready in under 10 minutes! The best part? It’s a single-serve dessert, perfect for those nights when you just need a cozy treat without the fuss of a full-scale baking adventure. Plus, you can effortlessly swap in fresh or frozen cherries to suit your pantry, making it accessible for any home chef. Who’s ready to discover the magic of this quick and delicious Chocolate Cherry Mug Cake? Let’s dive in!
Why is this mug cake irresistible?
Easy Preparation: In just 10 minutes, you’ll transform simple ingredients into a decadent dessert.
Single-Serve Delight: This quick treat is perfect for satisfying cravings without the mess of a large cake.
Versatile Options: Feel free to customize it with Cherry Cheesecake Mug Cake for a creamy surprise or try the Cherry Lava Mug Cake for a gooey center!
Moist and Fudgy: The combination of rich cocoa and juicy cherries creates a delectable, melt-in-your-mouth experience.
No Baking Required: Skip the oven and make this delightful dessert right in your microwave for instant gratification!
With so many fantastic reasons, it’s no wonder this Chocolate Cherry Mug Cake is your next go-to recipe.
Chocolate Cherry Mug Cake Ingredients
For the Cake
• Cocoa Powder – Provides rich chocolate flavor; use Dutch-processed for a milder taste.
• Chocolate Chips – Adds gooey chocolate texture; dark or semi-sweet recommended for indulgence.
• Chopped Cherries – Contributes sweet-tart flavor and moisture; fresh or frozen work beautifully here.
• All-Purpose Flour – Gives structure to the cake; substitute with a gluten-free flour blend if needed.
• Baking Powder – Helps the cake rise; make sure it’s fresh for the best results.
• Sugar – Sweetens the cake; brown sugar adds a delightful hint of caramel flavor.
• Milk – Adds moisture and aids blending; feel free to use almond milk or oat milk for a dairy-free version.
• Vegetable Oil – Keeps the cake moist; melted coconut oil is a great substitute.
• Vanilla Extract – Enhances the overall flavor; you can omit it for simplicity.
This collection of ingredients will create your delectable Chocolate Cherry Mug Cake, perfect for a quick and cozy dessert!
Step‑by‑Step Instructions for Chocolate Cherry Mug Cake
Step 1: Combine Dry Ingredients
In a large microwave-safe mug, whisk together 2 tablespoons of cocoa powder, 4 tablespoons of all-purpose flour, 1/8 teaspoon of baking powder, and 2 tablespoons of sugar until they are well-mixed and free from clumps. This will ensure uniformity in your Chocolate Cherry Mug Cake. The mixture should appear dark and fluffy.
Step 2: Add Wet Ingredients
Pour in 3 tablespoons of milk and 2 tablespoons of vegetable oil into the dry mixture, followed by a splash of vanilla extract if desired. Use a fork to mix these ingredients until the batter is smooth and free of lumps. The batter should be thick but pourable, and well-combined to capture all the flavors from your chocolate and cherries.
Step 3: Incorporate Cherries and Chocolate
Gently fold in 2 tablespoons of chopped cherries and 2 tablespoons of chocolate chips into your batter, ensuring they are evenly distributed throughout. This step adds bursts of fruity tartness and gooey chocolate to your mug cake. You want to see a good mix of chocolate and cherries in your batter for the best flavor.
Step 4: Microwave
Place your mug in the microwave and cook the batter on high for about 1 minute and 30 seconds. Keep an eye on it to prevent any overflow, and check doneness by inserting a toothpick into the center—if it comes out with moist crumbs, your Chocolate Cherry Mug Cake is ready! Let it cool for 1 minute before enjoying this warm, delightful treat.
Make Ahead Options
These Chocolate Cherry Mug Cakes are perfect for meal prep enthusiasts! You can mix the dry ingredients (2 tablespoons of cocoa powder, 4 tablespoons of all-purpose flour, 1/8 teaspoon of baking powder, and 2 tablespoons of sugar) and store them in an airtight container up to 3 days ahead. Additionally, you can chop the cherries and keep them refrigerated for up to 24 hours to prevent browning. When you’re ready to indulge, simply add the wet ingredients (3 tablespoons of milk, 2 tablespoons of vegetable oil, and optional vanilla extract) to the dry mix, fold in the cherries and chocolate chips, and microwave for that warm, satisfying Chocolate Cherry Mug Cake experience. It’s a fantastic solution for when you need a quick dessert with minimal effort!
What to Serve with Chocolate Cherry Mug Cake
Indulging in a rich chocolate treat can be delightful, but pairing it with the right accompaniments creates a truly memorable experience.
-
Whipped Cream: A dollop of fluffy whipped cream adds a light, airy contrast to the fudgy cake, making every bite heavenly.
-
Vanilla Ice Cream: The creamy coldness of vanilla ice cream complements the warm mug cake beautifully, creating a luscious temperature contrast.
-
Fresh Berries: A handful of fresh strawberries or raspberries brings a burst of tartness, harmonizing with the sweet cocoa and cherries.
-
Chocolate Sauce: Drizzling warm chocolate sauce over your mug cake enhances the chocolate richness and adds an extra layer of indulgence.
-
Espresso or Coffee: A hot cup of espresso or coffee balances the sweetness perfectly, making for an elegant dessert experience.
-
Coconut Cream: Lightened with a spoon of coconut cream, this addition introduces a tropical flair while keeping the dish decadent.
-
Nut Brittle: For those who love crunch, sprinkle some crushed nut brittle over the cake for an unexpected texture that contrasts with the cake’s moistness.
Each option adds a unique touch to your Chocolate Cherry Mug Cake, enhancing the overall flavor and making your dessert experience even more delightful.
Expert Tips for the Best Chocolate Cherry Mug Cake
• Check Doneness: Avoid overcooking your Chocolate Cherry Mug Cake; begin checking at the 1 minute mark to keep it moist and fluffy.
• Select the Right Mug: Use a large microwave-safe mug (12 oz or more) to prevent overflow; a too-small mug can lead to a messy microwave!
• Chill Your Cherries: If using fresh cherries, consider chilling them prior for extra juiciness; this enhances the overall sweetness in the cake.
• Customize Flavors: Feel free to experiment! Adding a touch of almond extract or a sprinkle of cinnamon can elevate your Chocolate Cherry Mug Cake.
• Mixing Techniques: Ensure your batter is free from lumps to guarantee a smooth bake; using a fork will help achieve that perfect texture.
How to Store and Freeze Chocolate Cherry Mug Cake
-
Room Temperature: Enjoy your Chocolate Cherry Mug Cake fresh from the microwave. If you need to keep it longer, store it covered at room temperature for up to 1 day.
-
Fridge: To store leftovers, place the cooled mug cake in an airtight container in the refrigerator. It will stay fresh for up to 3 days; reheat in the microwave for a wonderful warm treat again.
-
Freezer: If you’d like to save your mug cake for later, wrap it tightly in plastic wrap and then in aluminum foil before placing it in the freezer. It will remain good for up to 1 month; thaw overnight in the fridge before reheating.
-
Reheating: For best results, reheat your mug cake in the microwave for 10-15 seconds. Add a splash of milk if it seems dry to keep your next Chocolate Cherry Mug Cake moist and delicious!
Chocolate Cherry Mug Cake Variations
Get ready to explore the delightful ways to customize your Chocolate Cherry Mug Cake, elevating its deliciousness even further!
-
Cherry Lava Mug Cake: Insert a chocolate truffle into the center before microwaving for a delicious oozing chocolate experience. Picture a rich lava cake bursting with melted chocolate goodness.
-
Cherry Cheesecake Mug Cake: Swirl in a mixture of cream cheese, sugar, and vanilla for a luscious, creamy center. This variation gives you the perfect balance between cheesecake and cake; it’s a delightful twist!
-
Black Forest Mug Cake: Enhance the flavor by mixing in a splash of cherry liqueur or kirsch. Top with whipped cream and chocolate shavings for that classic dessert experience.
-
Gluten-Free Mug Cake: Substitute all-purpose flour with a gluten-free blend to make this dessert accessible for those with dietary restrictions. You won’t sacrifice flavor, and it remains just as fluffy!
-
Nutty Flavor Boost: Add a tablespoon of almond or hazelnut meal to the dry ingredients for a delightful nuttiness that complements the chocolate and cherries beautifully.
-
Fruit Explosion: Mix in some chopped strawberries or raspberries alongside the cherries for a fruity medley that brightens up the dessert.
-
Spicy Kick: Sprinkle in a dash of cayenne pepper or chili powder for an unexpected heat that contrasts wonderfully with the sweetness of the cake.
-
Vegan Delight: Replace milk with almond or oat milk and use a flaxseed egg for an egg-free version that’s equally satisfying. It’s a warm hug of a dessert that caters to plant-based diets.
These variations will ensure you never tire of the comforting embrace of your Chocolate Cherry Mug Cake! If you’re feeling adventurous, you might try out some other delightful recipes like Chocolate Chip Banana Bars or Black Velvet Cupcakes to keep things exciting in the kitchen!
Chocolate Cherry Mug Cake Recipe FAQs
What type of cherries should I use?
Absolutely! You can choose fresh, frozen, or even maraschino cherries for your Chocolate Cherry Mug Cake. Fresh cherries offer a juicy burst, while frozen cherries will add a lovely tartness too. If using frozen, there’s no need to thaw them; just chop them up and fold them into the batter directly.
How should I store my mug cake?
Very good question! Your Chocolate Cherry Mug Cake is best enjoyed fresh. However, if you have leftovers, you can store them covered at room temperature for up to 1 day. For longer-lasting storage, place it in an airtight container in the refrigerator, and it will stay fresh for up to 3 days—reheat in the microwave before enjoying again!
Can I freeze my mug cake?
Absolutely! To freeze your Chocolate Cherry Mug Cake, wrap it tightly in plastic wrap and then in aluminum foil. This prevents freezer burn. It can be kept in the freezer for up to 1 month. When you’re ready to indulge, simply thaw it overnight in the fridge and then reheat in the microwave for about 10-15 seconds.
What should I do if my mug cake overflows in the microwave?
Don’t worry; this happens to the best of us! To prevent overflow, always use a large mug (at least 12 oz). If it overflows, simply pause the microwave, clean up the mess, and return the mug for the remaining time. You may also want to check doneness a bit earlier, around 1 minute.
Can I make this mug cake gluten-free?
Definitely! You can easily make your Chocolate Cherry Mug Cake gluten-free by substituting the all-purpose flour with a gluten-free flour blend. Just ensure the blend includes a binding agent, like xanthan gum, to maintain the cake’s texture and fluffiness.
Are there any dietary restrictions I should consider?
Very much! If you have nut allergies, you can opt for cow’s milk instead of almond or oat milk for dairy-free needs. Also, keep an eye on the type of chocolate you use—some may contain gluten or dairy. For an egg-free version, this recipe is naturally eggless, so you’re good to go!
Decadent Chocolate Cherry Mug Cake Ready in Just 10 Minutes
Ingredients
Equipment
Method
- In a large microwave-safe mug, whisk together cocoa powder, all-purpose flour, baking powder, and sugar until well-mixed and free from clumps.
- Pour in milk and vegetable oil into the dry mixture, followed by a splash of vanilla extract if desired. Mix until the batter is smooth and free of lumps.
- Gently fold in chopped cherries and chocolate chips, ensuring they are evenly distributed throughout.
- Place your mug in the microwave and cook the batter on high for about 1 minute and 30 seconds. Check doneness by inserting a toothpick into the center.
Leave a Reply