
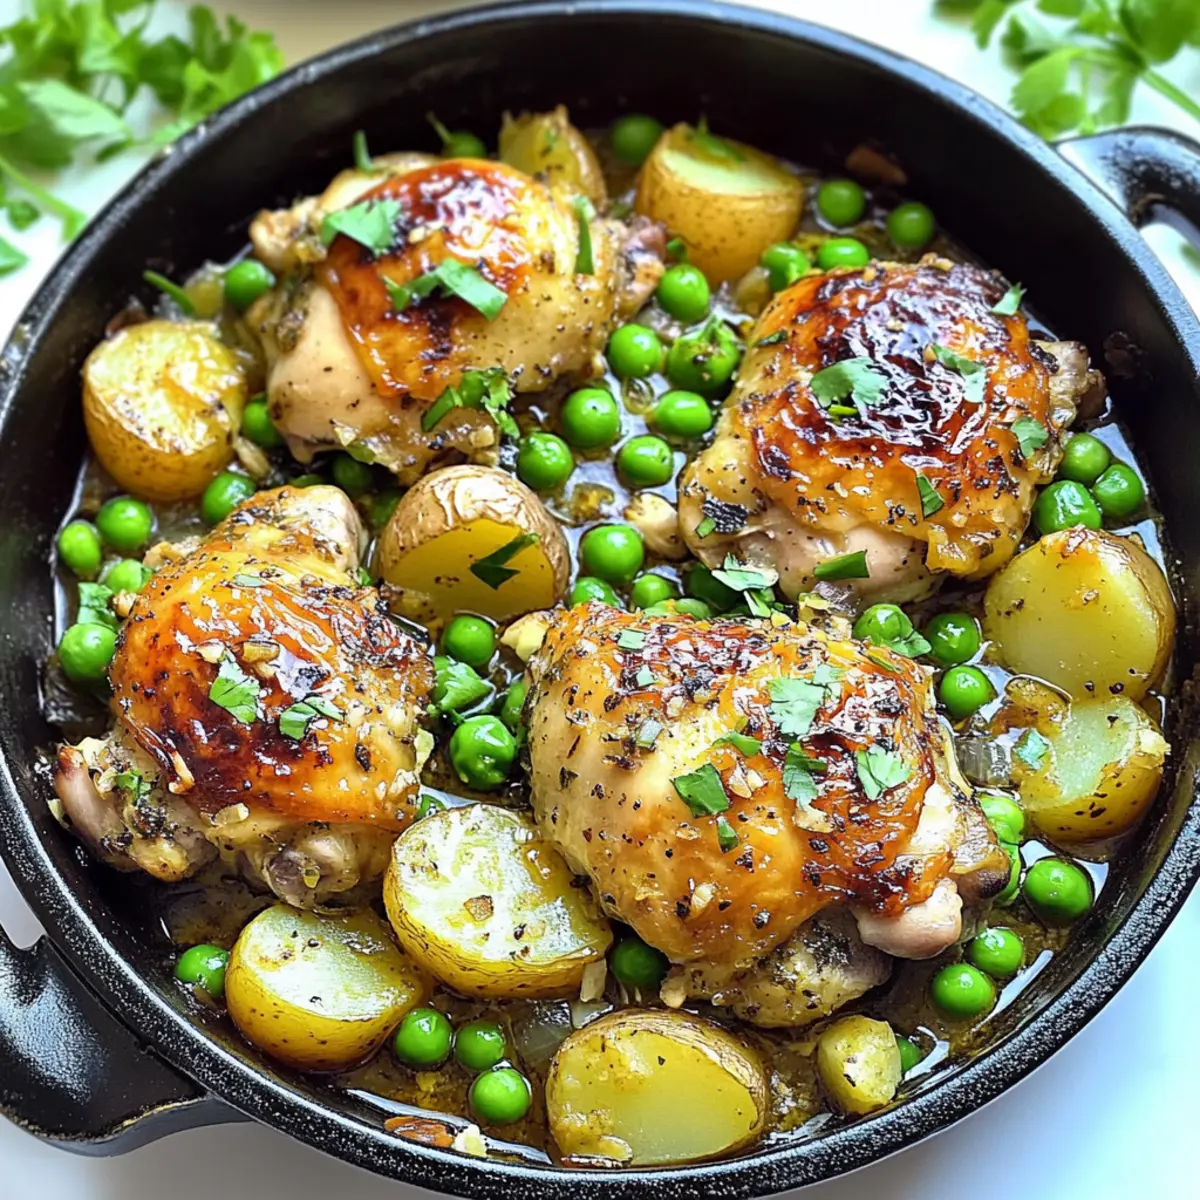
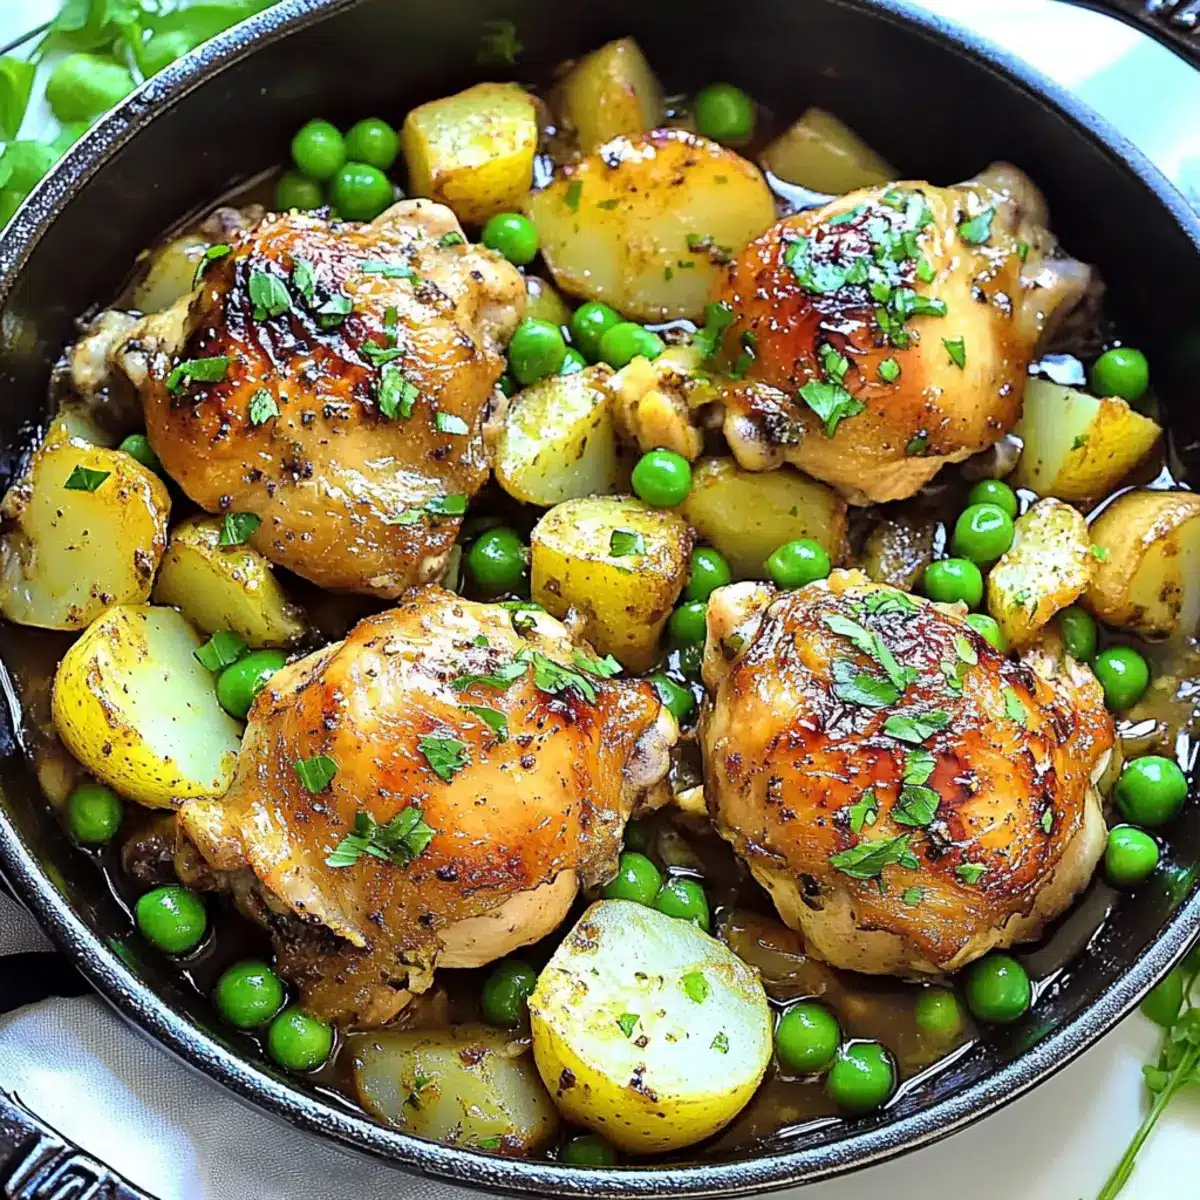
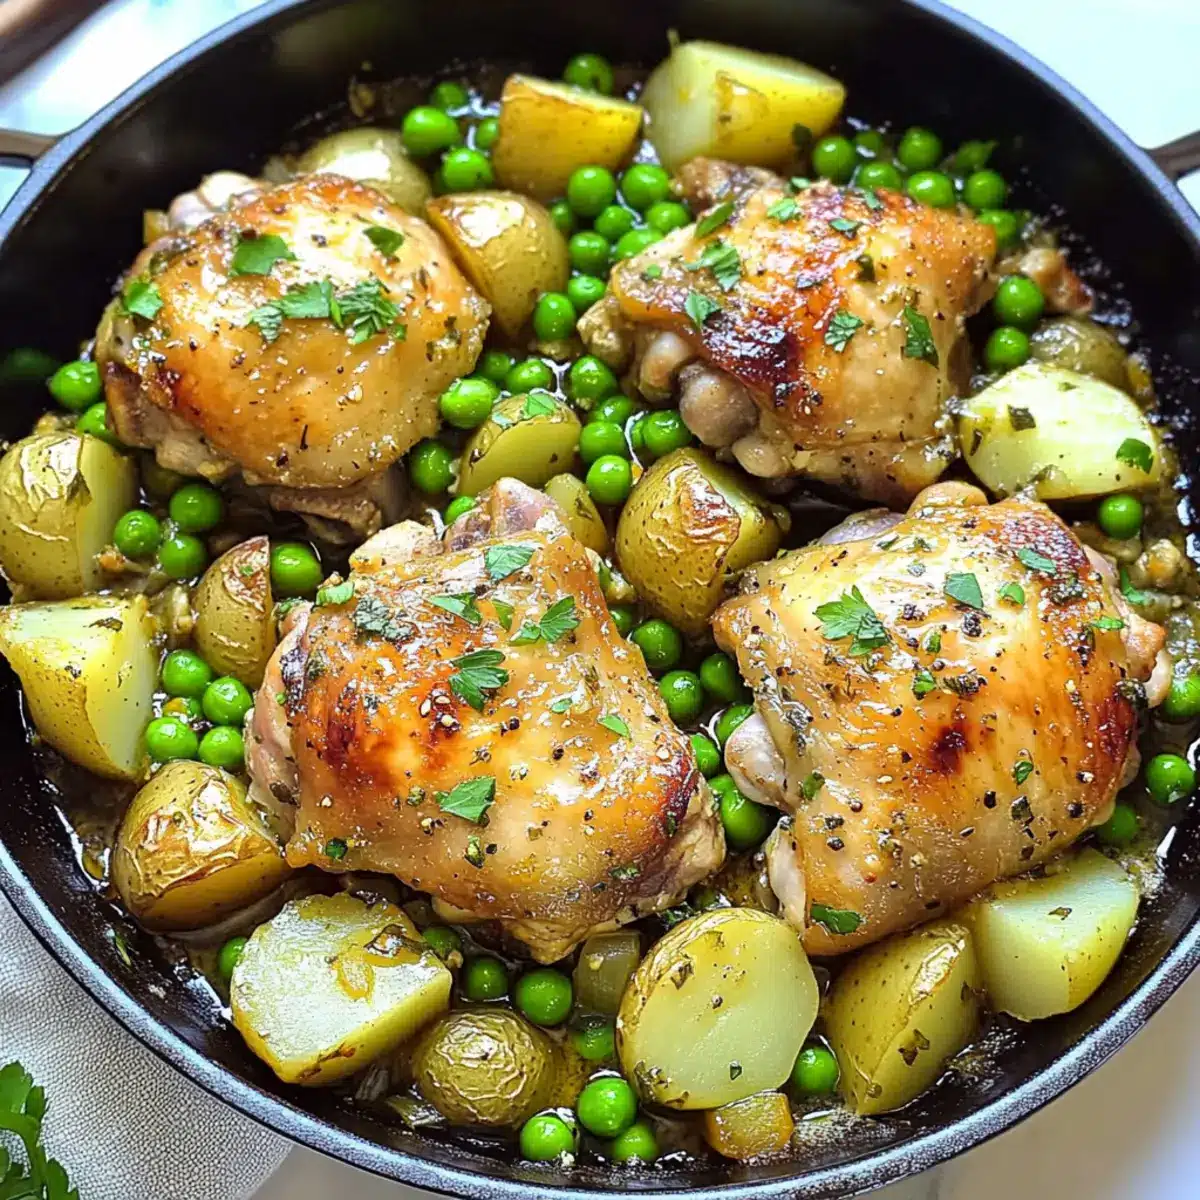
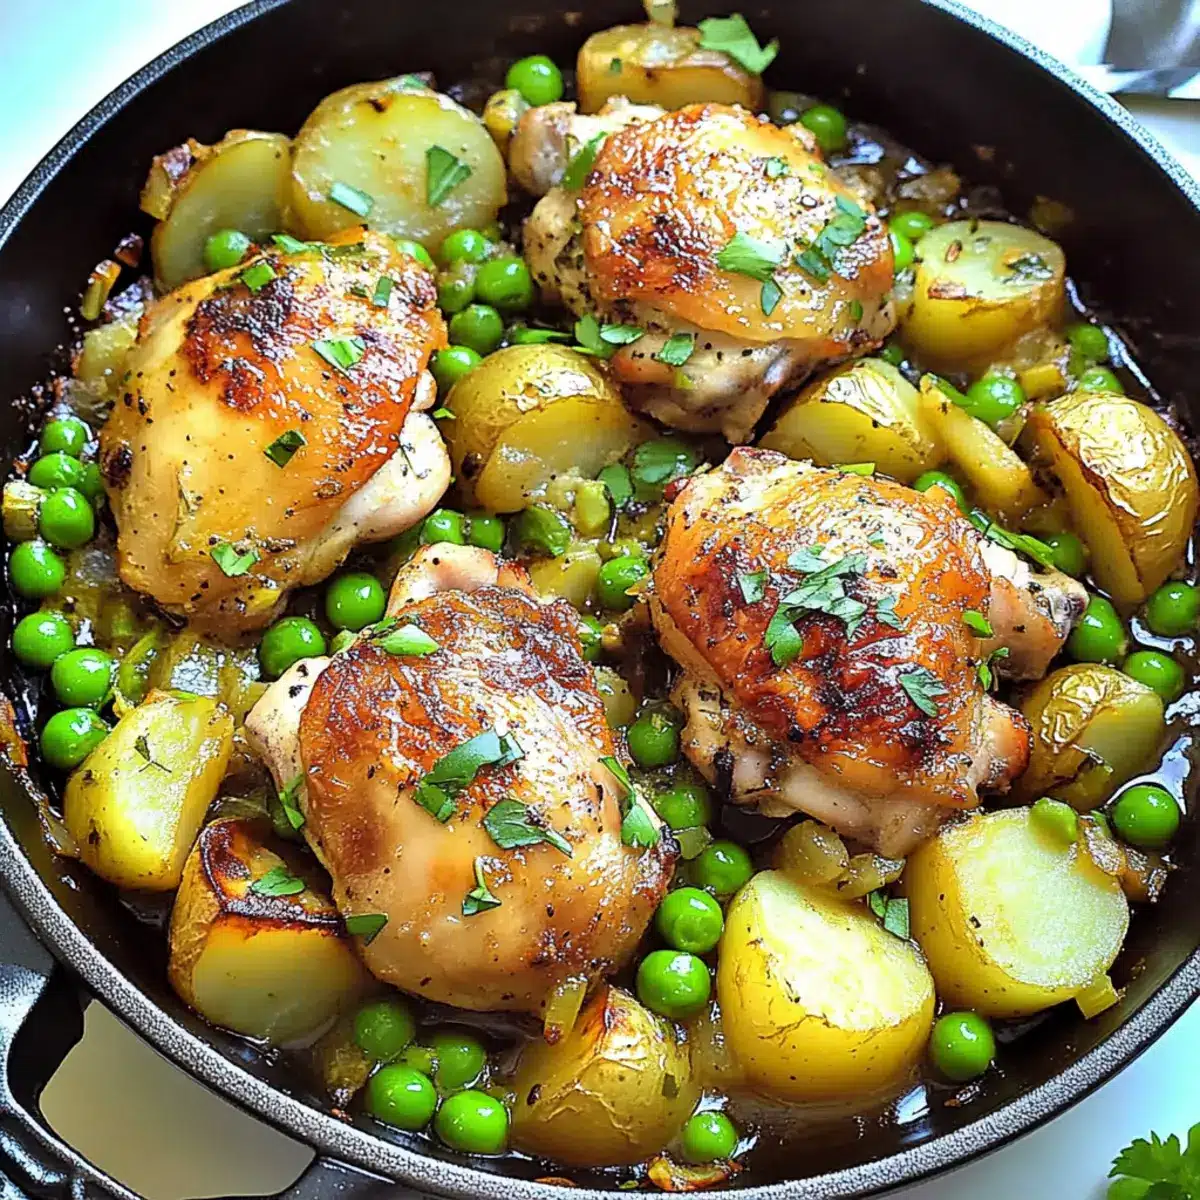
As I stood in my kitchen, the aroma of garlic and herbs wafting through the air, I felt a wave of nostalgia wash over me. That’s the magic of Chicken Vesuvio, a dish that’s quickly become a staple in my home. This one-pot wonder combines tender, roasted chicken with vibrant potatoes and sweet peas, all wrapped in a velvety white wine sauce that promises a restaurant-style experience at your dining table. Perfect for busy weeknights, it not only minimizes cleanup but also delivers a heartwarming meal that the whole family will adore. Whether you’re a seasoned chef or just looking to elevate your weeknight dinners, this customizable recipe will surely inspire creativity in your kitchen. Ready to embark on a culinary adventure together? Let’s get cooking!
Why is Chicken Vesuvio a Favorite?
Comforting, Flavorful Meal: This one-pot Chicken Vesuvio effortlessly combines tender chicken and hearty potatoes in a rich white wine sauce, creating a dish that feels like a warm hug on a plate.
Time-Saving Delight: With everything cooked in just one pan, you’ll save time on both cooking and cleanup, making it perfect for those busy weeknights when you want a homemade meal without the fuss.
Customizable for Everyone: Whether you’re catering to picky eaters or experimenting with flavors, this recipe easily adapts to your preferences. Try swapping chicken thighs for Chicken Manchurian Savory or adding fresh veggies for a nutrient boost.
Restaurant-Quality at Home: Impress your family with this cozy dinner that rivals any restaurant dish, all from the comfort of your home kitchen.
A Taste of Nostalgia: The combination of garlic, herbs, and that delicious white wine sauce will transport you back to cherished meals, making this recipe feel like a special occasion any night of the week.
Chicken Vesuvio Ingredients
For the Chicken
• Chicken Thighs – Bone-in, skin-on thighs provide the best flavor and tenderness in your Chicken Vesuvio.
For the Vegetables
• Potato Chunks – Opt for baby potatoes or Yukon Gold for a hearty texture that absorbs the delicious sauce.
• Peas – Fresh or frozen peas add a sweet pop of color and freshness to this comforting dish.
For the Sauce
• Garlic – Essential for flavor, use fresh cloves and don’t hesitate to adjust the amount for garlic lovers!
• White Wine – Adds depth to the sauce; if you prefer a non-alcoholic version, substitute with chicken broth.
• Olive Oil & Butter – Use both for sautéing, enhancing richness and flavor; adjust to fit your health preferences.
For Seasoning
• Oregano & Thyme – These herbs provide a hearty flavor; fresh herbs work wonderfully if they are available.
• Fresh Lemon Juice – A drizzle just before serving brightens the dish with zesty acidity.
Step‑by‑Step Instructions for Chicken Vesuvio
Step 1: Preheat the Oven
Begin by preheating your oven to 375°F (190°C). This ensures that your Chicken Vesuvio will bake evenly and develop the desired golden brown crust. While the oven heats up, gather all your ingredients and prepare your workspace to keep the cooking process smooth and enjoyable.
Step 2: Heat the Pan
In a large, heavy skillet, combine 2 tablespoons of olive oil and 1 tablespoon of butter over medium heat. Allow the mixture to melt and heat for about 2 minutes, until it shimmers. This combination will create a flavorful base for sautéing the chicken, enhancing the richness of the dish.
Step 3: Sear the Chicken
Carefully place the seasoned chicken thighs, skin-side down, into the hot skillet. Sear for about 5-7 minutes or until the chicken skin is a deep golden brown and crispy. Flip the thighs and brown the other side for an additional 5 minutes. This step locks in flavors and creates a beautiful crust on your Chicken Vesuvio.
Step 4: Brown the Potatoes
Remove the browned chicken from the skillet and set it aside on a plate. Add halved potato chunks to the same skillet, giving them a gentle toss. Sauté for about 4-5 minutes until they start to turn golden. The potatoes will soak up the flavorful drippings left behind from the chicken.
Step 5: Incorporate Garlic and Herbs
Stir in 4 minced garlic cloves along with 1 teaspoon of dried oregano and 1 teaspoon of dried thyme. Cook for about 1-2 minutes, until the garlic is fragrant but not browned. Then, pour in 1 cup of white wine and 1 cup of chicken broth, scraping up any browned bits from the bottom of the skillet to build a rich sauce for your Chicken Vesuvio.
Step 6: Combine and Return Chicken
Return the seared chicken thighs to the skillet, nestling them among the potatoes. Ensure everything is well-combined, then bring the mixture to a gentle simmer. This step will allow the chicken to absorb the savory flavors of the sauce while finishing its cooking process.
Step 7: Bake the Dish
Cover the skillet with a lid or aluminum foil, then transfer it to the preheated oven. Bake for about 30 minutes, or until the chicken reaches an internal temperature of 165°F (75°C) and the potatoes are tender. Enjoy the heavenly aromas filling your kitchen as the Chicken Vesuvio cooks.
Step 8: Add the Peas
With about 5 minutes left to bake, carefully remove the skillet from the oven and stir in 1 cup of peas. This addition not only brings a pop of color but also adds a sweet freshness to the dish. Cover the skillet again and return it to the oven for the final minutes of cooking.
Step 9: Serve and Enjoy
Once the Chicken Vesuvio is done baking, remove it from the oven and drizzle with fresh lemon juice if desired. Serve hot, garnished with chopped parsley for extra flavor. This delightful one-pot meal is now ready to impress your family and friends, providing a comforting and satisfying dinner.
Expert Tips for Chicken Vesuvio
-
Choose the Right Chicken: Opt for bone-in, skin-on thighs; they deliver the best flavor and texture in your Chicken Vesuvio. Avoid using skinless chicken as it can dry out.
-
Sear Properly: Don’t rush the browning process—allow the chicken to develop a deep golden crust before flipping. This creates a flavorful base for your dish.
-
Adjust Wine to Taste: Experiment with the amount of white wine in the sauce. If you prefer a milder flavor, start with half a cup and add more gradually to your Chicken Vesuvio.
-
Include Fresh Herbs: Whenever possible, use fresh oregano and thyme instead of dried for a brighter, more aromatic flavor. Fresh herbs can elevate the dish significantly.
-
Don’t Skip the Peas: Add peas in the final baking minutes to preserve their bright color and sweetness. This enhances both the visual appeal and overall flavor profile.
Storage Tips for Chicken Vesuvio
Fridge: Store leftover Chicken Vesuvio in an airtight container for up to 3 days. This helps maintain the flavors and freshness of the dish.
Freezer: For longer storage, freeze Chicken Vesuvio in a freezer-safe container for up to 3 months. Make sure to cool it completely before sealing to prevent ice crystals.
Reheating: When ready to enjoy again, thaw the Chicken Vesuvio in the fridge overnight. Reheat gently on the stovetop or in the microwave, adding a splash of broth or wine to keep it moist and flavorful.
Airtight Storage: To preserve the taste and texture, ensure your storage containers are airtight to prevent any absorption of odors from your fridge.
Chicken Vesuvio Variations & Substitutions
Embrace your culinary creativity with these delightful tweaks to the traditional Chicken Vesuvio! Each option brings a new flavor or texture to this cozy dish.
-
Dairy-Free: Replace butter with olive oil or a dairy-free margarine to accommodate a dairy-free diet without losing comfort.
-
Vegetarian: Swap chicken thighs for hearty mushrooms and toss in extra vegetables like bell peppers and zucchini for a robust plant-based version. This version still keeps that comforting essence!
-
Gluten-Free: Ensure the white wine and chicken broth are gluten-free, or simply substitute with vegetable broth for a gluten-free twist. Every bite remains just as delicious.
-
Spicy Kick: Add a pinch of red pepper flakes or sliced jalapeños to the sautéed garlic for a spicy version that will wake up your taste buds.
-
Herb Infusion: Mix in a tablespoon of fresh rosemary along with thyme and oregano for an aromatic twist that elevates the entire dish beautifully.
-
Lemon Herb: Add a zest of fresh lemon peel in your sauce along with the lemon juice for an extra burst of brightness.
-
Flavor Boost: Incorporate Italian sausage pieces while browning the chicken to deepen the flavor profile of this classic dish, making it even heartier.
-
Extra Veggies: Toss in carrots, pearl onions, or green beans to maximize nutrition and color, giving your Chicken Vesuvio a vibrant, garden-fresh touch.
Ready to explore even more family-friendly recipes? You might enjoy the comforting taste of Wonton Rotisserie Chicken or the unique flavors of Mummy Chicken Pot. Dive into your next culinary adventure!
What to Serve with One-Pot Chicken Vesuvio
A perfect meal unfolds when you pair your comforting Chicken Vesuvio with delicious sides and complementary flavors.
-
Crusty Bread: Ideal for soaking up the rich chicken sauce, creating a satisfying and complete dining experience.
-
Garlic Roasted Asparagus: Adds a fresh crunch with a hint of nuttiness that wonderfully contrasts the tender chicken and creamy potatoes. The bright green color enhances the plate’s appeal!
-
Simple Green Salad: A light mix of greens tossed with a zesty vinaigrette brings brightness and balance to the hearty main dish, refreshing the palate.
-
Creamy Risotto: Velvety and comforting, risotto pairs beautifully, absorbing any extra sauce and intensifying the flavors with each creamy bite.
-
Sautéed Spinach: This nutrient-packed vegetable is quick to prepare and provides a vibrant pop of color and flavor that complements the main dish beautifully.
-
Lemonade or Iced Tea: A refreshing beverage that cuts through the richness of the Chicken Vesuvio, enhancing the overall dining experience.
-
Panna Cotta: For dessert, this light and creamy custard provides the perfect sweet finish after your savory delight, tantalizing with its delicate flavor.
Enjoy the process of building your perfect meal, making memories as you savor every bite alongside your Chicken Vesuvio!
Make Ahead Options
Chicken Vesuvio is an excellent choice for meal prep enthusiasts looking to save time during busy weeknights! You can season and sear the chicken thighs, then refrigerate them for up to 24 hours. Additionally, you can chop the potatoes and mince the garlic in advance; just be sure to store the potatoes in water to prevent browning. When it’s time to cook, simply combine the prepped ingredients in your skillet and follow the remaining steps to bake. This way, you’ll have a comforting, restaurant-style dinner ready to impress with minimal effort, ensuring every bite is just as delicious as if you made it fresh!
Chicken Vesuvio Recipe FAQs
What kind of chicken is best for Chicken Vesuvio?
Absolutely! For the best flavor and tenderness, I recommend using bone-in, skin-on chicken thighs. They lock in moisture and create a delicious crispy skin that enhances the overall dish. If you prefer, you can also use chicken breasts or pork cutlets, but make sure to adjust the cooking time accordingly.
How can I store leftover Chicken Vesuvio?
Very simply! Store your leftovers in an airtight container in the refrigerator for up to 3 days. To keep the chicken from drying out, make sure to reheat it gently on the stovetop or in the microwave with a splash of broth or wine to retain its moisture.
Can I freeze Chicken Vesuvio, and how?
Certainly! To freeze Chicken Vesuvio, allow it to cool completely, then transfer it to a freezer-safe container. It can be stored in the freezer for up to 3 months. When it’s time to enjoy, thaw it overnight in the fridge, then reheat gently on the stovetop, adding a bit of liquid to keep it juicy.
What if my chicken isn’t cooking through?
If your Chicken Vesuvio isn’t cooking through, ensure that you’re using a meat thermometer. The internal temperature should reach 165°F (75°C). If the chicken isn’t done while the potatoes are tender, you can cover the dish and continue baking it until it reaches the proper temperature—this will prevent drying out the chicken while finishing the cooking process.
Can I use alternative vegetables in this recipe?
Absolutely! Feel free to get creative with your vegetable choices. You can substitute or add carrots, pearl onions, or even bell peppers to the dish for added nutrition and flavor. Just make sure they are cut to a size similar to the potatoes for even cooking.
Are there any dietary considerations for pets or allergies?
Yes, if you have pets around, keep in mind that cooked chicken bones can be harmful to dogs and cats. Avoid feeding them leftovers with bones. For allergies, be cautious with the wine and consult with your guests regarding any allergens present in the dish, such as herbs or gluten, if you’re using certain types of broth.
Rich and Cozy Chicken Vesuvio, Your Weeknight Winner
Ingredients
Equipment
Method
- Preheat the oven to 375°F (190°C).
- Heat 2 tablespoons of olive oil and 1 tablespoon of butter in a large skillet over medium heat for about 2 minutes until it shimmers.
- Sear the chicken thighs skin-side down for 5-7 minutes until golden brown, then flip and brown the other side for 5 minutes.
- Remove the chicken and brown potato chunks in the same skillet for 4-5 minutes.
- Stir in minced garlic, dried oregano, and dried thyme, and cook for 1-2 minutes until fragrant.
- Pour in white wine and chicken broth, scraping up browned bits from the skillet.
- Return the chicken thighs to the skillet and bring to a gentle simmer.
- Cover and transfer the skillet to the oven; bake for about 30 minutes.
- Add peas about 5 minutes before removing from the oven.
- Drizzle with fresh lemon juice before serving.
Leave a Reply