
A funny thing happened while I was digging through my pantry the other day—amidst the jars of spices and half-empty bags of flour, I stumbled upon a forgotten stash of Butterfinger candy bars. It hit me like a sweet wave of nostalgia, and I knew I had to create something special. Enter the Butterfinger Dessert—a heavenly layered delight that’s as simple to whip up as it is impressive to serve. Not only does this dessert cater to your sweet tooth with its creamy layers of ice cream, rich pudding, and, of course, crunchy Butterfingers, but it’s also a fantastic make-ahead treat perfect for gatherings or family feasts. Trust me, once you try this indulgent masterpiece, you’ll wonder how you ever celebrated without it. So, are you ready to dive into the delicious world of Butterfinger magic?
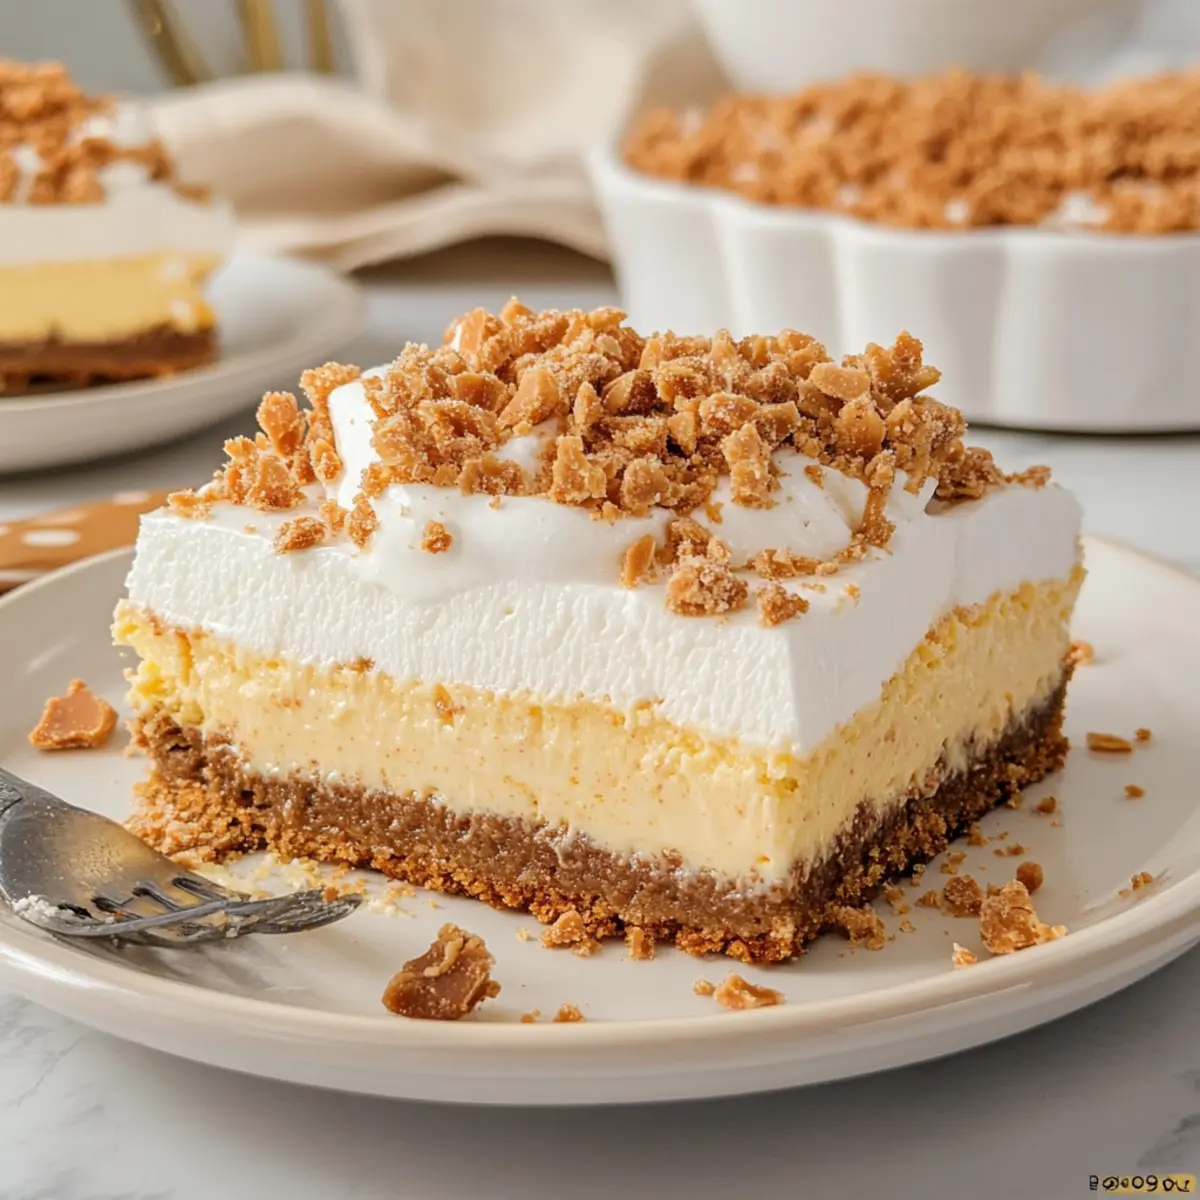
Why is Butterfinger Dessert a Must-Try?
Simplicity at Its Best: The preparation involves minimal steps that anyone can handle, making it a great choice for home cooks.
Irresistible Flavor Fusion: Each bite combines rich, creamy layers with the satisfying crunch of Butterfingers, ensuring a delightful experience.
Make-Ahead Marvel: This dessert can be prepared in advance, perfect for busy schedules or parties.
Nostalgic Appeal: Its classic ingredients evoke fond memories, making it a crowd favorite reminiscent of childhood treats.
Versatile Indulgence: Feel free to customize with your favorite candy bars or ice cream flavors, ensuring every experience is unique! For more creative twists, check out our suggestions on alternative ingredients that can elevate your dessert even further!
Butterfinger Dessert Ingredients
• Get ready to create something magical with these ingredients!
For the Crust
- Ritz Crackers – Provides a buttery, crunchy base; substitute with crushed digestive biscuits for a similar texture.
- Graham Crackers – Adds sweetness and a subtle flavor; can be replaced with vanilla wafers if desired.
- Butterfinger Candy Bars – Offers a sweet, crunchy element and nostalgic flavor; option to use other chocolate bars like Snickers for a twist.
- Butter – Binds the crust and adds richness; use margarine as a dairy-free alternative.
For the Filling
- Vanilla Ice Cream – Creates a creamy, dreamy filling; for a lighter option, substitute with low-fat or dairy-free ice cream.
- Instant Vanilla Pudding Mix – Thickens the filling and adds vanilla flavor; can use chocolate pudding mix for a different taste.
- Milk – Mixes with pudding for a creamy texture; use almond milk or another milk alternative for a dairy-free option.
For the Topping
- Whipped Topping – Provides lightness and a creamy finish; substitute with homemade whipped cream or coconut cream for a healthier alternative.
- Extra Butterfinger (optional) – Adds for garnish and extra crunch; consider using crushed Oreos or sprinkles for a fun twist.
Dive into a delightful journey with these Butterfinger Dessert ingredients and get ready to treat yourself and others to a sweet masterpiece!
Step‑by‑Step Instructions for Heavenly Layered Butterfinger Dessert
Step 1: Prepare Crust
In a mixing bowl, combine 1 cup of crushed Ritz crackers, 1 cup of graham cracker crumbs, and 3 crushed Butterfinger bars. Pour in 1 stick of melted butter and mix until the ingredients are well incorporated. Reserve 1 cup of this mixture for topping, then press the remaining crust firmly into the bottom of a 9×13 inch pan, ensuring it’s evenly distributed.
Step 2: Make Filling
In a medium-sized bowl, blend 1 quart of softened vanilla ice cream with 2 packs of instant vanilla pudding mix and 2 cups of milk. Stir this mixture vigorously until smooth and creamy, ensuring there are no lumps. Once fully blended, pour the luscious filling over the crust you’ve just prepared, spreading it evenly to create a delightful layer in your Butterfinger Dessert.
Step 3: Chill
Cover the dessert with plastic wrap or a lid and place it in the refrigerator to chill. Allow it to set for about 2-4 hours. This step is essential for firming up the layers and enhancing the flavors; the filling should be firm yet creamy when fully set.
Step 4: Top and Serve
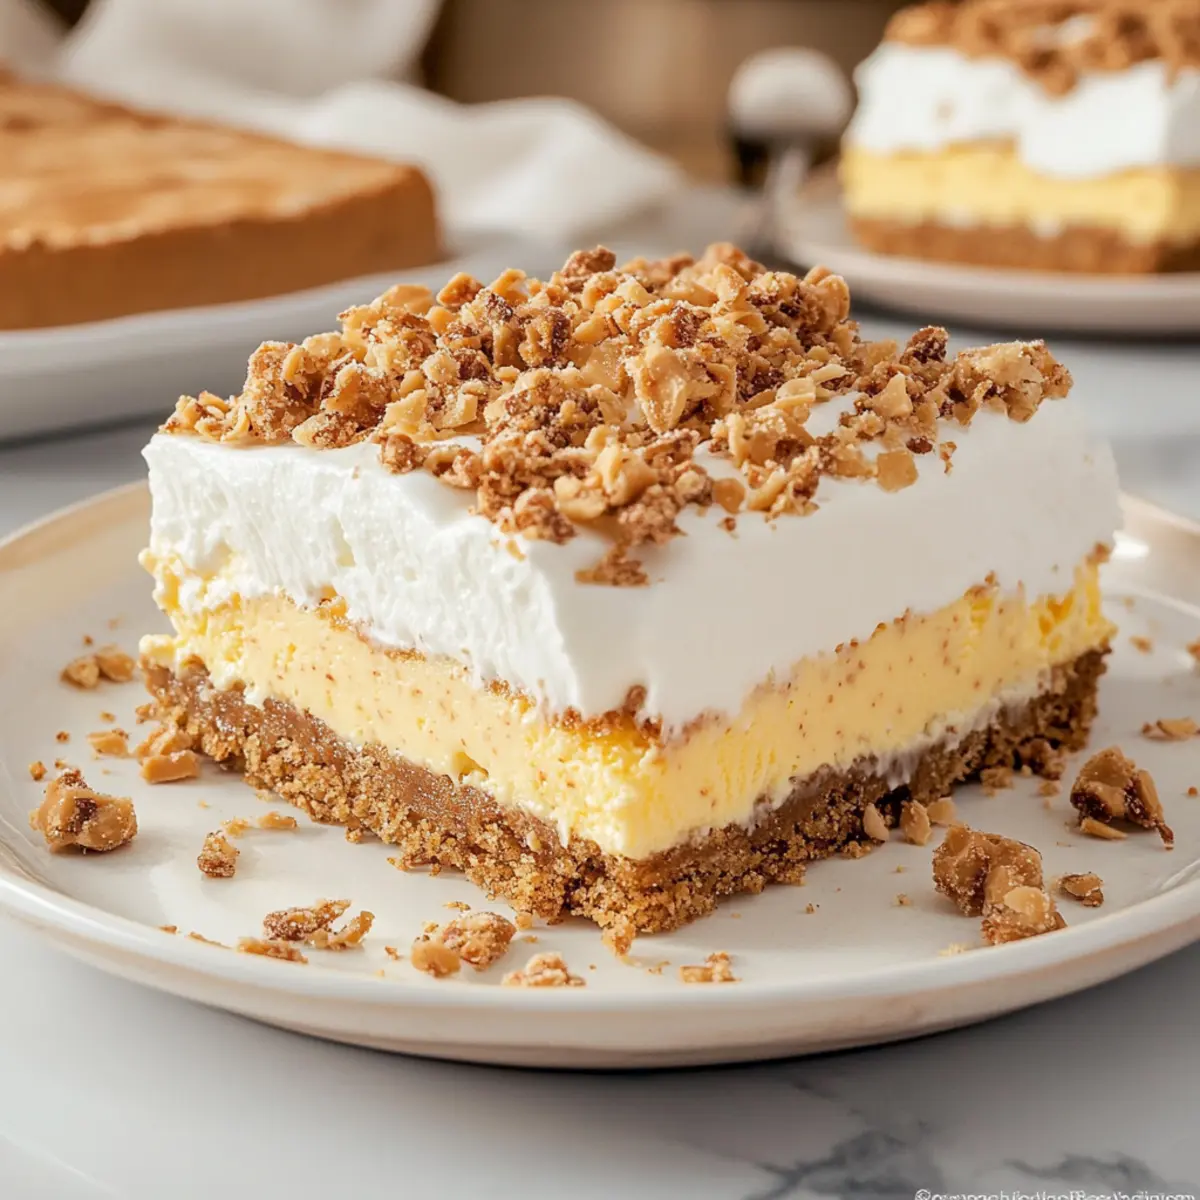
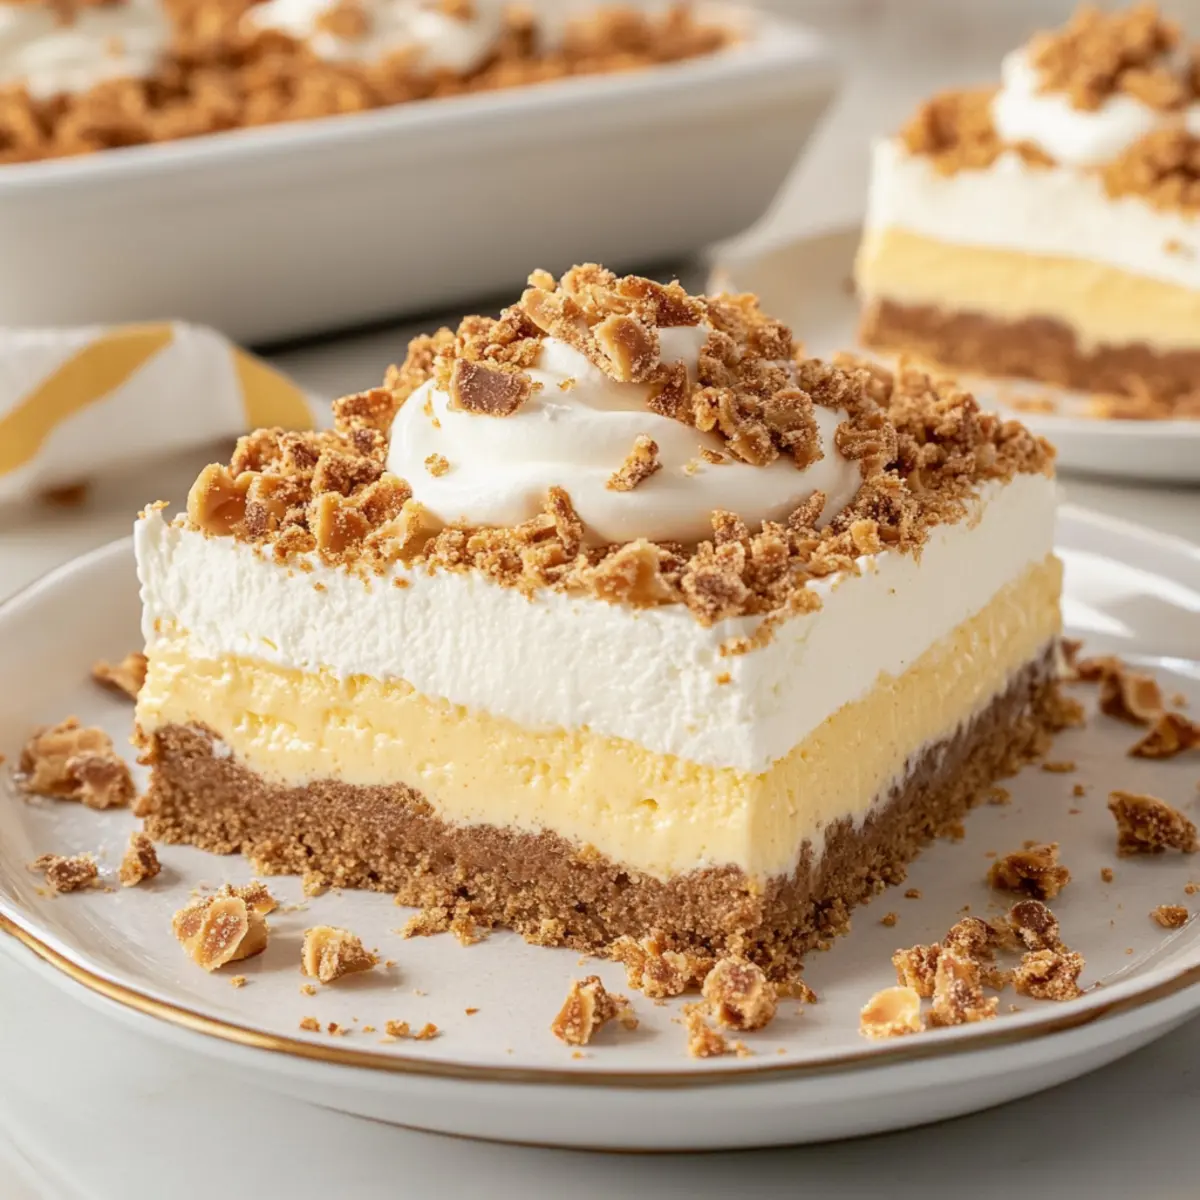
Once the layers have set beautifully, take the Butterfinger Dessert out of the refrigerator. Spread a generous layer of whipped topping over the creamy filling. Sprinkle the reserved crust mixture on top, adding texture and a charming finish. For an extra touch, you can also sprinkle additional crushed Butterfinger bars over the dessert.
Step 5: Final Chill
Return the layered dessert to the fridge for an additional 30 minutes to ensure everything melds together perfectly. This brief chill allows the topping to set slightly and enhances the overall presentation, ensuring you serve a stunning Butterfinger Dessert when it’s time to delight your guests.
Make Ahead Options
This Butterfinger Dessert is a dream for busy home cooks looking to save time! You can prepare the crust and filling up to 24 hours in advance; simply press the crust mixture into the pan and layer the filling on top. Cover with plastic wrap and refrigerate until you’re ready to serve. For optimal freshness, sprinkle the reserved crust topping and whipped topping just before serving to maintain their crunchy and creamy textures. By prepping in advance, you’ll have a delightful dessert ready to impress guests with minimal last-minute effort—this way, you can enjoy the sweet rewards without the stress!
Expert Tips for Butterfinger Dessert
- Chill Time Matters: Give your Butterfinger Dessert enough chill time—4 hours is ideal. It helps the layers set properly for the best texture and flavor.
- Sharp Knife Cuts: Use a sharp knife to cut clean squares when serving. Dull knives can squish the layers together, ruining the dessert’s beautiful presentation.
- Softened Ice Cream: Ensure your vanilla ice cream is slightly softened before mixing with the pudding. This makes blending smooth and easy, preventing lumps.
- Storage Precautions: Keep leftovers covered in the fridge for up to 3 days. If you’re freezing, do so before adding the whipped topping to maintain freshness.
- Customize Flavors: Feel free to experiment with different candy bars or ice cream flavors for a unique twist in your Butterfinger Dessert, personalizing it to suit your taste!
What to Serve with Heavenly Layered Butterfinger Dessert
A decadent indulgence deserves delightful companions that will elevate your dessert experience.
-
Crispy Fruit Salad: Fresh fruits like strawberries and blueberries offer a refreshing contrast to the rich layers of your Butterfinger Dessert, balancing sweetness perfectly.
-
Rich Coffee: A steaming cup of coffee enhances the dessert’s flavors, making each bite feel even more luxurious while providing a nice contrast to the dessert’s textures.
-
Chocolate Sauce Drizzle: Pour some warm chocolate sauce over each slice for an enticingly rich experience, taking the chocolatey goodness of Butterfinger to new heights.
-
Vanilla Ice Cream Scoop: A classic pairing, a scoop of vanilla ice cream complements the creamy layers beautifully, adding velvety smoothness and a touch of nostalgia.
-
Chocolate Milkshake: Offering creamy, icy goodness, a thick chocolate milkshake can turn this dessert into a decadent shake float, perfect for any sweet tooth!
-
Caramel Drizzle: Drizzling rich caramel over the top of your dessert creates a sweet contrast, adding an additional layer of flavor that enhances the overall experience.
-
Sparkling Lemonade: A bubbly, refreshing beverage cuts through the sweetness, helping to cleanse the palate and prepare you for the next heavenly bite.
How to Store and Freeze Butterfinger Dessert
- Fridge: Store leftovers covered in an airtight container for up to 3 days to maintain freshness and flavor.
- Freezer: If you need to freeze your Butterfinger Dessert, do so before adding the whipped topping. It can be kept in the freezer for up to 2 months.
- Thawing: When ready to enjoy, transfer the dessert to the fridge and allow it to thaw overnight.
- Serving after Freezing: Once thawed, you can add the whipped topping, garnish with crushed Butterfinger, and serve immediately for a delightful treat!
Butterfinger Dessert Variations to Try
Feel free to unleash your creativity and make this Butterfinger Dessert your own with these delightful twists!
-
Dairy-Free: Swap the vanilla ice cream for coconut or almond milk ice cream to create a creamy yet dairy-free version that everyone can enjoy.
-
Chocolate Lover’s Delight: Use chocolate pudding mix instead of vanilla for a richer, more chocolatey filling. The combination of Butterfinger with chocolate is simply heavenly!
-
Nutty Crunch: Add chopped nuts like pecans or almonds to the crust for an extra layer of texture. It adds a delightful crunch that complements the buttery base beautifully.
-
Seasonal Flavors: Substitute Butterfinger with pumpkin spice or peppermint bark during the holidays for an exciting seasonal twist. These flavors add a festive touch to your dessert!
-
Fruit Fusion: Mix in some fresh or frozen berries into the ice cream filling for a fruity surprise. This balances the sweetness with a refreshing zing that’s sure to brighten your dessert.
-
Peanut Butter Bliss: Drizzle melted peanut butter over the layers for a rich, nutty flavor boost. It pairs perfectly with the Butterfinger pieces and creates an indulgent treat!
-
Ice Cream Variations: Experiment with different ice cream flavors, like cookies and cream or butter pecan. Each flavor adds its unique flair, transforming the dessert into something special each time.
-
Sugar-Free Twist: Use sugar-free pudding mix and ice cream to cut down on sugar without sacrificing the deliciousness. It’s a guilt-free way to enjoy a classic dessert!
For even more inspiration in the kitchen, consider exploring alternative ingredients that can elevate your baking game!
Butterfinger Dessert Recipe FAQs
How do I know if my ingredients are ripe or fresh?
Absolutely! For this Butterfinger Dessert, ensure your Butterfinger candy bars are intact and unbroken for the best crunchy texture. Check that your ice cream is fresh with no ice crystals; this means it should be creamy and soft, and not too hard or icy.
How should I store leftover Butterfinger Dessert?
Very! Keep your leftover dessert covered in an airtight container in the refrigerator for up to 3 days. This will help retain its creamy texture and delicious flavors. Just remember that storing it without topping will yield the best results.
Can I freeze Butterfinger Dessert?
You can! To freeze your Butterfinger Dessert, make it up to the step just before adding the whipped topping. Wrap it tightly in plastic wrap and then aluminum foil, and it can stay frozen for up to 2 months. When you’re ready to enjoy, thaw it in the fridge overnight.
What if my layers aren’t setting correctly?
If your dessert isn’t setting after chilling, try leaving it in the refrigerator for a little longer—aim for an additional hour or two, if possible. Ensure that your ice cream was softened just enough for blending; it should have been creamy but not completely melted before mixing. If the problem persists, consider checking your pudding mix’s expiration date.
Is this Butterfinger Dessert safe for pets or has any common allergens?
I recommend not sharing this particular treat with pets, as it contains chocolate, which is toxic to dogs. Additionally, this dessert includes dairy and sugar, so check for allergies to those ingredients prior to serving. For those with dairy allergies, substituting ice cream and whipped topping with dairy-free alternatives is a perfect option!
How do I serve the dessert after freezing?
When ready to serve your frozen Butterfinger Dessert, transfer it to the fridge to thaw overnight. Once thawed, add your whipped topping and sprinkle on some crushed Butterfinger for that delightful crunch. Serve it chilled and enjoy the smiles it brings!
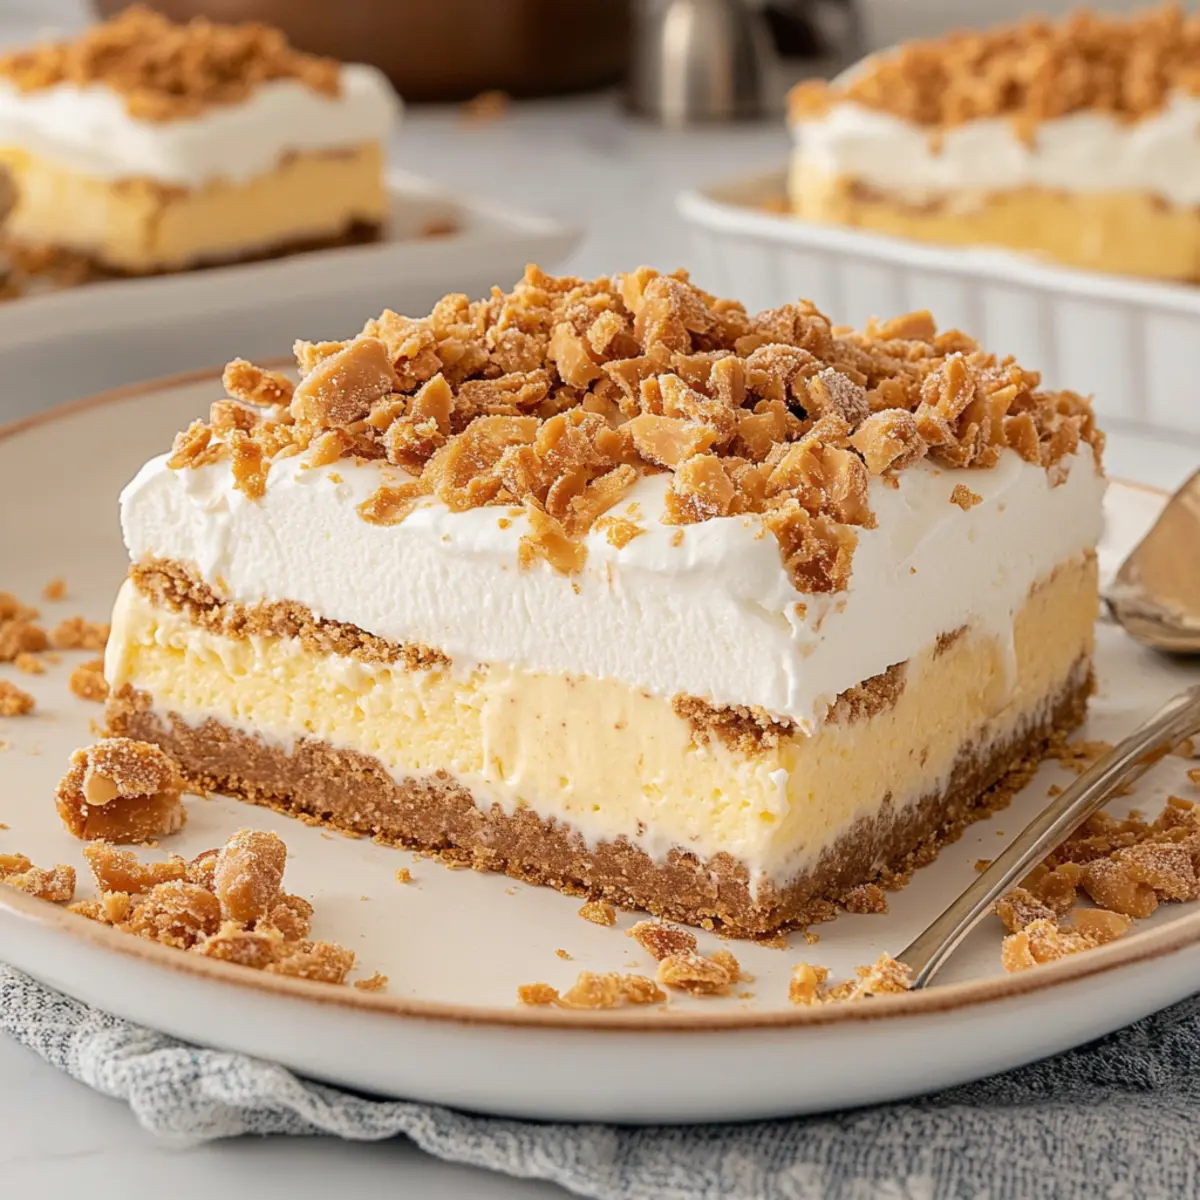
Indulge in Easy Butterfinger Dessert Layers of Bliss
Ingredients
Equipment
Method
- In a mixing bowl, combine crushed Ritz crackers, graham cracker crumbs, and crushed Butterfinger bars. Pour in melted butter and mix until well incorporated. Reserve 1 cup for topping, then press the remaining mixture into the bottom of a 9x13 inch pan.
- Blend softened vanilla ice cream with instant vanilla pudding mix and milk in a medium bowl until smooth and creamy. Pour over the crust and spread evenly.
- Cover with plastic wrap and chill in the refrigerator for 2-4 hours until firm yet creamy.
- Spread whipped topping over the filling. Sprinkle reserved crust mixture on top and optionally add crushed Butterfinger bars.
- Return to the fridge for an additional 30 minutes to set the topping.
Leave a Reply