
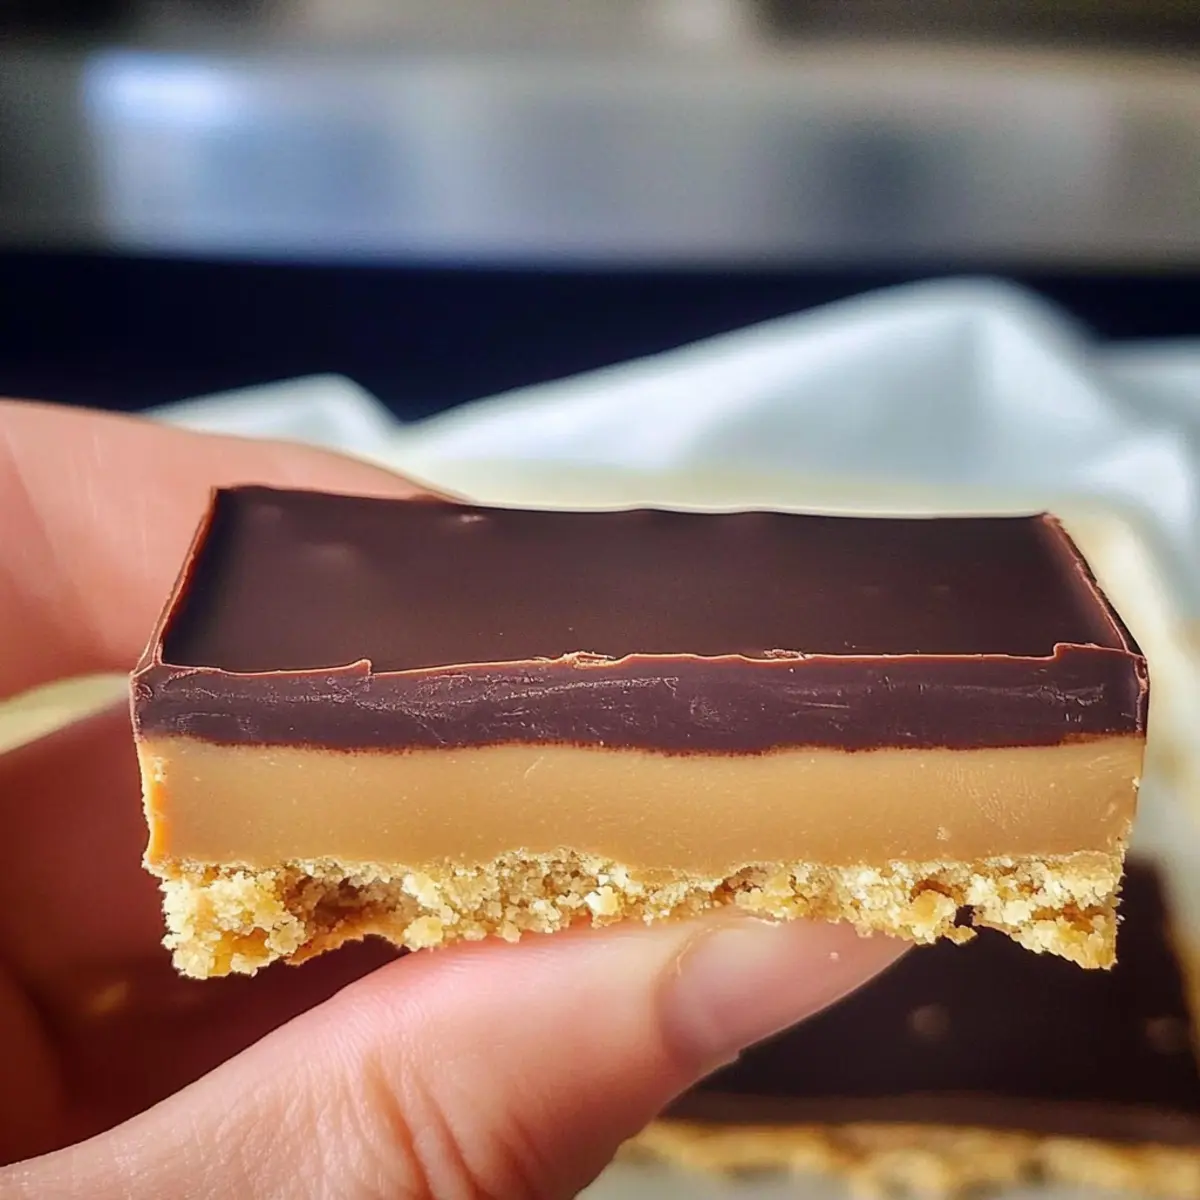
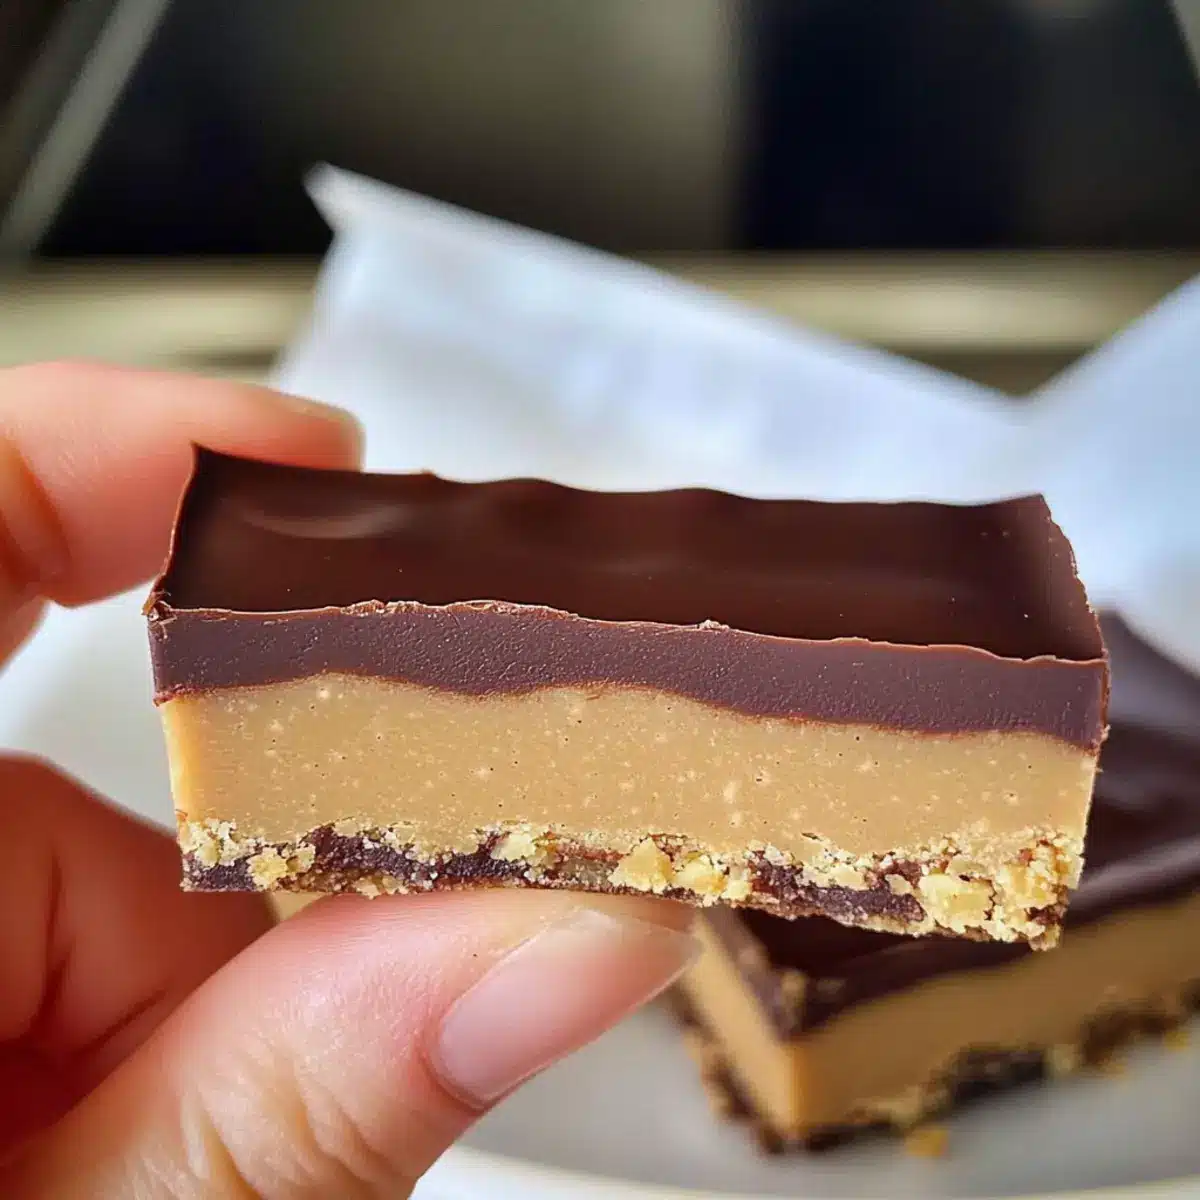
As I rummaged through my kitchen cupboards, I stumbled upon a treasure trove of ingredients just waiting to be transformed into something special. That’s how these Gluten-Free Chocolate Peanut Butter No Bake Bars came to life—a delightful solution for satisfying my sweet tooth without the guilt! With only five simple ingredients and ready in a mere 15 minutes, this recipe is perfect for anyone seeking a quick, healthy dessert. They’re not only vegan and gluten-free, but they also blend the rich creaminess of peanut butter with luscious chocolate, making them an irresistible treat. Whether you need a grab-and-go snack, a school lunch surprise, or a comforting evening delight, these bars will certainly become a favorite in your kitchen. Ready to whip up something delicious and easy? Let’s dive into this scrumptious recipe!
Why are No-Bake Bars a Must-Try?
Simplicity: Just five ingredients come together for a quick and easy dessert that requires no baking, saving you time and effort.
Health-Conscious: These bars are gluten-free and vegan, making them a guilt-free indulgence perfect for various dietary needs.
Irresistible Flavor: The rich combination of creamy peanut butter and decadent chocolate creates a delightful taste experience that’s hard to resist.
Versatility: Feel free to mix in some crunchy snack options like puffed rice or nuts, or try swapping for sunflower seed butter for a nut-free treat!
Crowd-Pleaser: Whether it’s a party or a simple movie night, these bars are sure to impress family and friends alike.
Storage Friendly: Prepare a batch and keep them in the fridge for up to two weeks, or freeze for a convenient sweet treat anytime!
Chocolate Peanut Butter Bars Ingredients
For the Base
- Natural Peanut Butter – Provides the creamy base and flavor; feel free to substitute with any nut or seed butter for alternative tastes.
- Oat Flour – Acts as the binder giving structure; you can make your own by blending gluten-free oats, or opt for almond flour for a grain-free version.
- Maple Syrup – Adds natural sweetness; honey can be used instead if desired.
For the Topping
- Chocolate Chips – Offers a sweet, chocolatey touch; don’t forget to use dairy-free chocolate chips if you want a vegan option.
- Coconut Oil – Helps melt the chocolate smoothly and creates a glossy finish; omit if there are coconut allergies but this may alter the texture slightly.
These Chocolate Peanut Butter Bars are simple yet incredibly satisfying, making them a go-to recipe for the busy and health-conscious alike!
Step‑by‑Step Instructions for Chocolate Peanut Butter Bars
Step 1: Prepare Pan
Start by lining an 8×8 inch square pan with parchment paper, allowing some overhang for easy removal later. This step is crucial for ensuring your Chocolate Peanut Butter Bars come out easily and maintain their shape. Set the prepared pan aside while you work on the base mixture.
Step 2: Base Mixture
In a saucepan over low heat, combine 1 cup of natural peanut butter with 1/3 cup of maple syrup. Stir gently for about 2 minutes until the mixture is smooth and well combined. It’s important to keep the heat low to prevent burning. Once smooth, remove the saucepan from heat and stir in 1 cup of oat flour until everything is evenly mixed.
Step 3: Press Base
Transfer the peanut butter and oat flour mixture into the prepared pan, using a spatula to spread it into an even layer. Press firmly to pack the mixture down tightly into the bottom of the pan, ensuring there are no gaps. The base should be smooth and level, providing a sturdy foundation for your Chocolate Peanut Butter Bars.
Step 4: Chocolate Topping
Clean the saucepan and set it back on low heat. Add 1 cup of chocolate chips along with 2 tablespoons of coconut oil. Stir continuously for about 2-3 minutes until the chocolate is completely melted and glossy. Once smooth, pour the melted chocolate over the pressed peanut butter base, and use a spatula to spread it evenly across the surface.
Step 5: Set
Place your pan in the refrigerator and allow the bars to set for 2-3 hours, or ideally overnight. This chilling time helps the Chocolate Peanut Butter Bars firm up, making them easy to slice later on. Aim for a firm texture that holds its shape when removed from the pan.
Step 6: Slice Bars
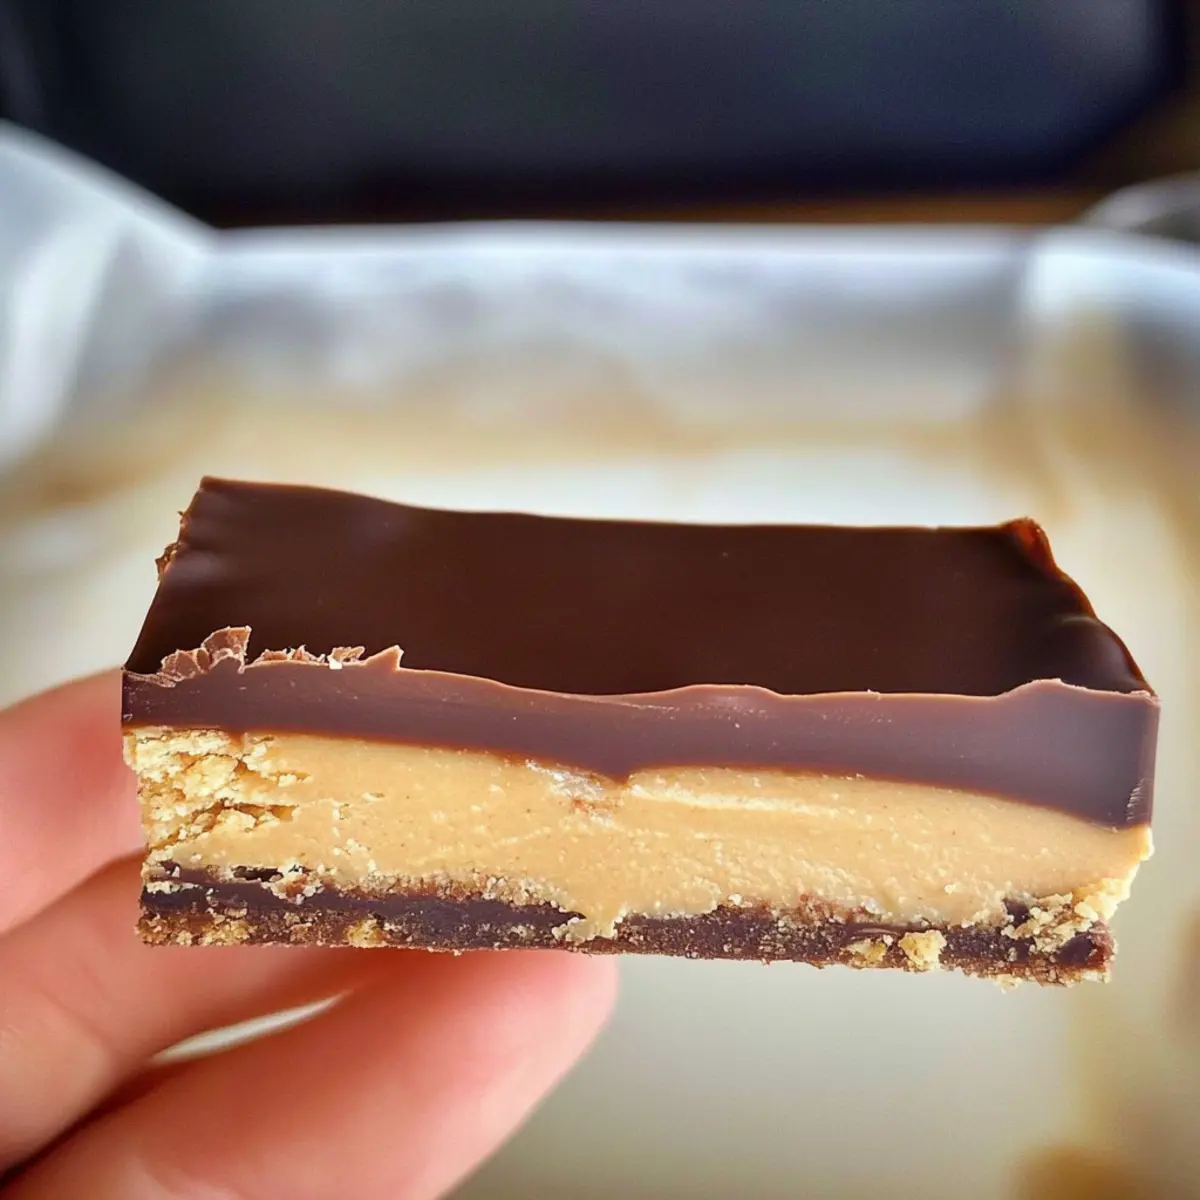
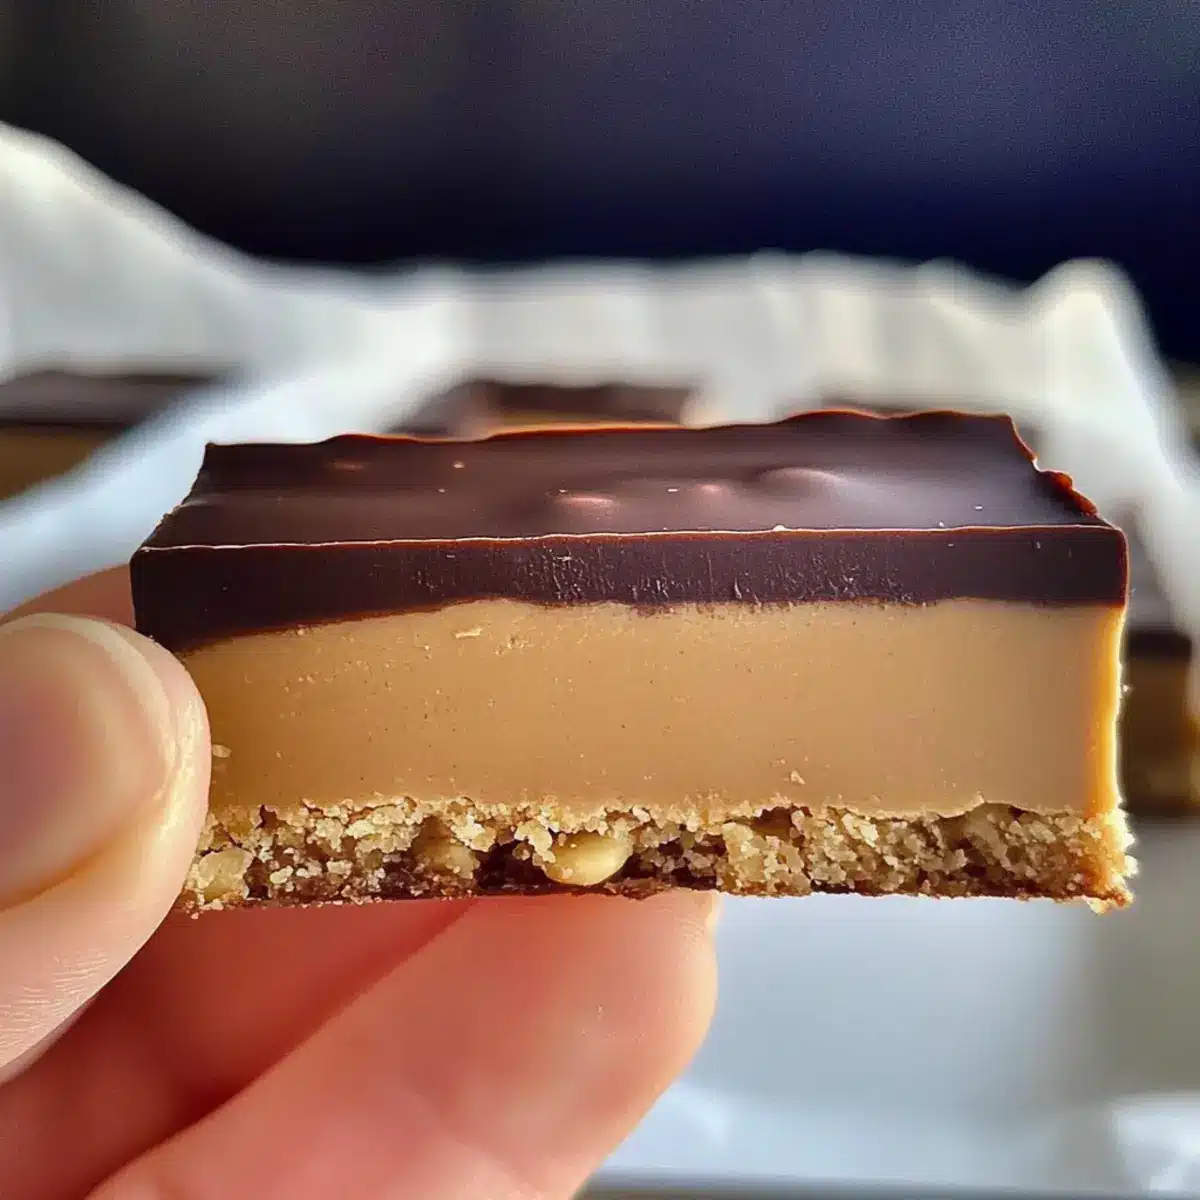
Once the bars are fully set, take them out of the refrigerator and let them sit at room temperature for about 10 minutes. This will help soften them slightly for a cleaner slice. Use the parchment overhang to lift the bars out of the pan, then slice them into squares or rectangles to serve, revealing the delectable layers inside.
Expert Tips for Chocolate Peanut Butter Bars
Clean Cuts: Allow bars to sit at room temperature for about 10 minutes before slicing to achieve neat, clean edges.
Substitutions: If using almond flour instead of oat flour, expect a slightly different texture. Both are delicious!
Chilling Time: Patience is key—letting the bars chill overnight yields the best results for a firm texture.
Storage Solution: Keep in an airtight container in the refrigerator for up to two weeks or freeze for longer-lasting enjoyment!
Ingredient Quality: Use high-quality peanut butter and chocolate chips for the richest flavor in your Chocolate Peanut Butter Bars.
How to Store and Freeze Chocolate Peanut Butter Bars
Fridge: Store your Chocolate Peanut Butter Bars in an airtight container in the refrigerator, where they’ll stay fresh for up to two weeks.
Freezer: For longer storage, wrap each bar tightly in plastic wrap and place them in a freezer-safe container. They can be frozen for up to 3 months.
Reheating: When you’re ready to enjoy, simply remove the bars from the freezer and let them thaw at room temperature for about 15 minutes. Enjoy them chilled or slightly soft!
Pro Tip: To maintain their delicious flavor and texture, avoid storing them in a damp environment; moisture can affect the quality.
Chocolate Peanut Butter Bars Variations
Feel free to explore these exciting twists to make your Chocolate Peanut Butter Bars uniquely yours!
- Nut-Free Delight: Use sunflower seed butter instead of peanut butter for a tasty, nut-free version. Perfect for school lunches or nut-free environments!
- Grain-Free Option: Switch oat flour for almond flour for a delightful grain-free alternative that stays true to the flavor. You’ll still enjoy the same creamy texture!
- Crunchy Extras: Try adding crunchy cereals like puffed rice or chopped nuts to your base mixture for an extra texture boost. These provide a delightful contrast to the smoothness of the peanut butter.
- Flavor Fusion: Mix in a pinch of sea salt or a sprinkle of cinnamon to enhance the richness of the chocolate and peanut butter, adding a lovely warm undertone.
- Creative Toppings: After pouring the chocolate topping, consider adding coconut flakes or chopped dried fruits for extra flavor and visual appeal. These toppings turn your bars into a tropical delight!
- Spicy Kick: For a hint of warmth, add a dash of cayenne pepper to the chocolate topping. It’s a bold and surprising combination that chocolate lovers will adore!
- Protein Boost: Incorporate protein powder into your base mixture for an added health boost. This not only enhances the nutritional profile but also makes these bars a perfect post-workout snack.
- Mini Bars: For a fun twist, use a mini muffin tin to create bite-sized bars. These are perfect for parties or as a snack on-the-go, just the right size for a quick treat!
Each of these variations brings its own unique flavor and texture to your Chocolate Peanut Butter Bars, ensuring your sweet treats are continually exciting. Enjoy experimenting with these ideas while discovering more delicious recipes, like Garlic Butter Lobster for an indulgent dinner or Dark Chocolate Coffin Mousse for a rich dessert!
What to Serve with Chocolate Peanut Butter No Bake Bars
Indulging in these heavenly treats is even better when paired with delightful accompaniments that enhance their flavors.
-
Fresh Berries: Juicy strawberries or raspberries add a refreshing burst of flavor, balancing the richness of the bars beautifully. Their acidity cuts through the creaminess, making each bite even more enjoyable.
-
Vanilla Coconut Whipped Cream: This light and airy whip adds a dreamy touch that complements the chocolate and peanut butter, elevating your dessert experience. It’s the perfect finishing touch for those special occasions!
-
Creamy Almond Milk: A glass of almond milk brings a nutty undertone that pairs harmoniously with the bars. Sip it while enjoying your treat for a delightful flavor combination that keeps things light.
-
Chia Seed Pudding: The creamy texture of chia seed pudding provides a perfect contrast to the chewy bars. Flavored with vanilla or cocoa, they create an enticing dessert duo that feels indulgent yet healthy.
-
Nutty Trail Mix: The crunchy elements of a trail mix, especially with almonds or cashews, offer a satisfying texture variation. Toss in a few dried fruits for added sweetness and chewiness to complement your bars.
-
Iced Herbal Tea: Served chilled, this refreshing drink can cleanse the palate between bites, enhancing the experience of enjoying the rich flavors of the Chocolate Peanut Butter No Bake Bars.
-
Enjoy with Friends: For a warming experience, gather around with good company and share stories over these delightful treats. The laughter and joy will only make them taste sweeter!
Make Ahead Options
These Chocolate Peanut Butter Bars are perfect for meal prep enthusiasts! You can prepare the base mixture and press it into the pan up to 24 hours in advance, making it easier to whip up this delicious treat during busy weeknights. Just remember to cover the pan with plastic wrap to maintain freshness. Additionally, you can melt the chocolate topping and store it in the fridge for a quick reheat before finishing the bars. When you’re ready to serve, simply spread the melted chocolate over the set base, refrigerate for another 30 minutes to firm up, and enjoy your delightful, homemade dessert, just as delicious as when freshly made!
Chocolate Peanut Butter Bars Recipe FAQs
How can I tell if my peanut butter is fresh?
Absolutely! Fresh peanut butter should have a nice, creamy texture and a pleasant, nutty smell. If it has an off odor or shows signs of separation that cannot be stirred back in, it may be time to replace it.
How should I store the bars for optimal freshness?
Very! Store your Chocolate Peanut Butter Bars in an airtight container in the refrigerator where they’ll stay fresh for up to two weeks. Just make sure to place a piece of parchment paper between layers to prevent sticking.
Can I freeze these bars?
Definitely! To freeze your bars for longer storage, wrap each one tightly in plastic wrap and place them in a freezer-safe container or bag. They can be frozen for up to 3 months. When you’re ready to enjoy, just let them thaw at room temperature for about 15 minutes.
What if the bars are too crumbly after setting?
No worries! If your bars are crumbly, it’s often because the mixture wasn’t pressed firmly enough into the pan. Next time, make sure to press down on the mixture with a spatula or your hands. If they’re still crumbly, you can drizzle a little extra melted peanut butter over them to help bind them together, allowing them to set again.
Are these bars suitable for those with nut allergies?
The more the merrier! If you’re looking for a nut-free option, simply swap the natural peanut butter for sunflower seed butter. This keeps the delicious flavor while making it safe for those with nut allergies.
Can I substitute the maple syrup for another sweetener?
Sure! You can substitute maple syrup with honey for a non-vegan option, or try agave syrup if you want to keep it vegan. Just remember that different sweeteners can change the flavor and consistency slightly, so adjust to your taste as you mix the base ingredients.
Indulge Healthily with No-Bake Chocolate Peanut Butter Bars
Ingredients
Equipment
Method
- Start by lining an 8x8 inch square pan with parchment paper, allowing some overhang for easy removal later.
- In a saucepan over low heat, combine 1 cup of natural peanut butter with 1/3 cup of maple syrup. Stir gently for about 2 minutes until the mixture is smooth and well combined.
- Transfer the peanut butter and oat flour mixture into the prepared pan, using a spatula to spread it into an even layer.
- Clean the saucepan and set it back on low heat. Add 1 cup of chocolate chips along with 2 tablespoons of coconut oil. Stir continuously for about 2-3 minutes until the chocolate is completely melted and glossy.
- Place your pan in the refrigerator and allow the bars to set for 2-3 hours, or ideally overnight.
- Once the bars are fully set, take them out of the refrigerator and let them sit at room temperature for about 10 minutes before slicing.
Leave a Reply