
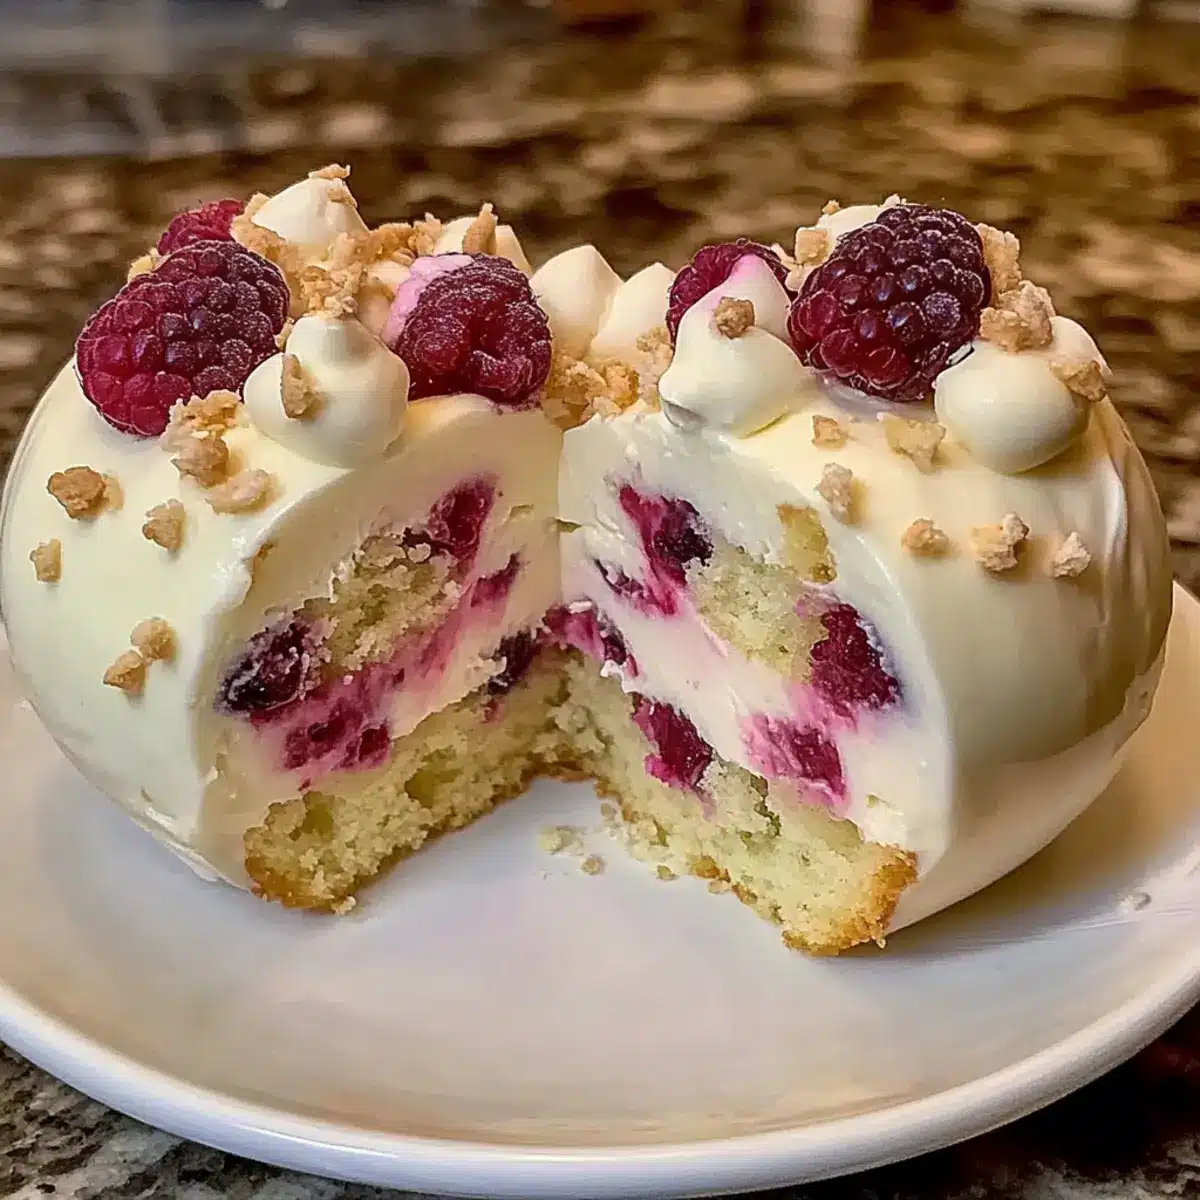
As I flipped through my recipe box, a delightful memory washed over me—sunshine-soaked afternoons spent with family around the dining table, sharing laughter and stories. Among those cherished moments, our Easter celebrations always featured a show-stopping dessert: the No-Bake Easter Trifle Dessert. This light and creamy four-layer delight is a dream come true for those of us who adore homemade treats without the fuss. With silky vanilla pudding, moist cake bites, fluffy whipped cream, and a burst of vibrant berries, it’s perfect for spring gatherings. Plus, its no-bake nature means more time to enjoy the festivities and less time in the kitchen! Are you ready to impress your loved ones with this colorful centerpiece? Let’s dive into this easy recipe that captures the spirit of the season.

Why is this dessert a show-stopper?
Simplicity at Its Finest: This no-bake Easter Trifle Dessert is effortlessly assembled with minimal prep, so you can spend more time enjoying your festivities.
Rich, Creamy Layers: The combination of silky vanilla pudding, fluffy whipped cream, and moist cake creates a luxurious texture that melts in your mouth.
Colorful Freshness: Vibrant mixed berries not only add stunning visuals but also provide a refreshing contrast that balances the sweetness beautifully.
Crowd-Pleasing Appeal: Perfect for any gathering, this dessert is sure to impress guests, making it an ideal centerpiece for your Easter brunch or spring celebrations.
Make-Ahead Convenience: Prepare this delightful trifle a day in advance to alleviate last-minute stress and ensure a stress-free hosting experience. If you’re on the lookout for other crowd favorites, why not check out our delicious Pumpkin Fluff Trifle for even more inspiration?
Easter Trifle Dessert Ingredients
For the Pudding Layer
• Vanilla Pudding Mix – Provides a creamy layer; you can substitute with real vanilla pudding or mousse for a richer taste.
• Cold Milk – Activates the pudding mix and ensures a smooth texture; non-dairy milk alternatives work well for a vegan option.
• Vanilla Extract – Enhances flavor with a cozy aroma that elevates the dessert experience.
For the Cake Layer
• Pound Cake (or Vanilla Sponge) – Acts as the dessert’s base layer, adding structure; store-bought cake is a convenient substitute if you’re short on time.
For the Whipped Cream Layer
• Whipped Cream – Offers a light, fluffy layer; coconut whipped cream can be a delightful dairy-free choice.
For the Berry Topping
• Mixed Berries (strawberries, blueberries, raspberries) – Adds flavor, color, and freshness; feel free to substitute with seasonal fruits for variety.
• Pastel Sprinkles – Optional decoration that adds a festive touch, making your Easter Trifle Dessert visually stunning.
Step‑by‑Step Instructions for Easter Trifle Dessert
Step 1: Prepare Pudding
In a mixing bowl, whisk together the vanilla pudding mix and 2 cups of cold milk for about 2-3 minutes until the mixture thickens and becomes smooth. Make sure there are no lumps and it has a creamy consistency. Stir in 1 teaspoon of vanilla extract to enhance the flavor. Set the bowl aside so the pudding can gel while you prepare the other layers.
Step 2: Prep Cake
Take your pound cake or store-bought vanilla sponge and cut it into bite-sized cubes, about 1-inch in size. This should yield around 4 cups of cake cubes. The cubes will act as the base layer in your Easter Trifle Dessert, providing a delicious structure that complements the creamy layers above.
Step 3: Layering
In a large glass trifle bowl or another clear serving dish, start by spreading a layer of the cake cubes at the bottom. Ensure an even layer of about half the cake cubes covers the base. Next, spoon half of the prepared vanilla pudding over the cake, smoothing it out with a spatula for an even layer.
Step 4: Repeat Layers
Add another layer of cake cubes on top of the pudding, using the remaining cake. Follow this with the second half of the vanilla pudding, smoothing it out nicely again. Use a spatula to ensure that the pudding layer is flat and filled into the corners, giving that beautiful layered effect typical of an Easter Trifle Dessert.
Step 5: Add Whipped Cream
Spread a generous layer of whipped cream over the top of the final pudding layer, creating a fluffy cap for your trifle. Use the spatula to make it smooth and even, leaving a little height for presentation. This fluffy layer adds a lightness that perfectly balances the creaminess of the pudding and cake below.
Step 6: Top with Berries
Scatter a generous amount of mixed berries—strawberries, blueberries, and raspberries—over the whipped cream layer. Gently press some berries into the cream for an attractive look while leaving others on top for decoration. This colorful burst of fruit gives your Easter Trifle Dessert a fresh, vibrant appeal.
Step 7: Chill
Cover the trifle with plastic wrap and refrigerate for at least 2 hours to allow the layers to set and flavors to meld together. Chilling helps the dessert hold its shape when served while allowing the creamy layers to blend beautifully. This step is crucial for the ideal Easter Trifle Dessert experience.
Step 8: Serve
When ready to serve, remove the trifle from the refrigerator. Using a large spoon, gently scoop into bowls to display the beautiful layers. Each spoonful should reveal the delightful contrast of fluffy whipped cream, creamy vanilla pudding, and juicy berries. Serve cold and let your loved ones enjoy the festive flavors of this incredible dessert!
Make Ahead Options
These Easter Trifle Desserts are perfect for busy home cooks looking to streamline their meal planning! You can prepare the vanilla pudding layer up to 24 hours in advance; simply whisk it together and store it in an airtight container in the refrigerator. Additionally, you can cut the pound cake into cubes and refrigerate them for up to 3 days before assembling. When you’re ready to serve, layer the cake and pudding as instructed, then top with whipped cream and berries right before serving to maintain freshness and color. This make-ahead approach ensures your Easter Trifle Dessert stays just as delicious, allowing you to enjoy your celebration without last-minute stress!
Expert Tips for Easter Trifle Dessert
Make Ahead Magic: Prepare your Easter Trifle Dessert a day in advance. This gives the flavors time to meld and makes hosting stress-free.
Keep It Colorful: To prevent your berries from losing their vibrancy, sprinkle them and add decorations just before serving.
Avoid Sogginess: Layer your cake cubes and whipped cream carefully. Too much pudding can make the cake soggy, so balance is key!
Storage Savvy: Cover your trifle tightly in the refrigerator. This helps maintain moisture and prevents any drying out of the dessert.
Customize Layers: Feel free to swap out different fruits or flavored puddings to add a personal touch to your Easter Trifle Dessert.
Easter Trifle Dessert Variations & Substitutions
Feel free to get creative with your Easter Trifle Dessert—these variations will add a personal touch to your sweet masterpiece!
-
Gluten-Free: Swap the pound cake with gluten-free sponge cake or ladyfingers for a delightful gluten-free treat that everyone can enjoy.
-
Vegan Delight: Use plant-based milk and coconut whipped cream for a vegan version without sacrificing that creamy, dreamy taste.
-
Flavor Twists: Change up the vanilla pudding for chocolate or strawberry pudding to switch things up and keep your guests guessing!
-
Berry Bonanza: Experiment with different fruits according to the season, such as peaches or cherries, for a unique spin on the classic berry layer.
-
Nutty Crunch: Add a layer of crushed nuts or granola between the pudding and whipped cream layers for an unexpected texture and delightful crunch.
-
Caramel Drizzle: Drizzle some caramel sauce over the whipped cream to add a rich, sweet note that pairs perfectly with the berries’ tartness.
-
Lemon Zest: For an added zing, mix lemon zest into the vanilla pudding—this will brighten up the flavor and give a fresh spring vibe!
-
Festive Sprinkles: Get creative with seasonal sprinkles! Swap pastel for themed sprinkles like bunny or egg shapes for a fun twist that kids will adore.
Exploring these variations can take your trifle from traditional to extraordinary! And for more delicious ideas, check out our delightful Dubai Chocolate Kataifi or the festive Pumpkin Fluff Trifle. Enjoy customizing your dessert!
How to Store and Freeze Easter Trifle Dessert
Fridge: Keep your Easter Trifle Dessert covered tightly in the refrigerator for up to 3-4 days. This will help maintain its creamy texture and prevent drying out.
Freezer: While it’s best enjoyed fresh, you can freeze individual portions of the trifle without toppings for up to 1 month. Thaw in the fridge before serving and add the whipped cream and berries right before presentation.
Serving: For the best taste and texture, serve chilled, placing a scoop into a bowl to showcase those lovely layers. Add the fresh berries just before serving to keep them vibrant and appealing.
Make-Ahead Tip: This dessert can be prepared a day in advance, making it a perfect option for busy holidays. Just remember to layer the berries and sprinkles right before serving to maintain freshness!
What to Serve with Easter Trifle Dessert
Bring your festive gathering to life with these delightful pairings that harmonize perfectly with this enchanting spring treat.
-
Fresh Mint Tea: This aromatic beverage offers a refreshing contrast to the rich layers of the trifle, enhancing the fruity notes. Its light essence complements the dessert’s sweetness beautifully.
-
Lemon Meringue Pie: The zesty flavors of lemon create a lively balance, making for a delightful dessert duo that captures the essence of spring.
-
Mini Quiches: These savory bites provide a satisfying contrast to the trifle. Their buttery crust and flavorful fillings make for a delightful appetizer before diving into dessert.
-
Garlic Butter Breadsticks: Irresistibly crispy and buttery, they create a unique texture that sings alongside the creamy trifle layers. The savory embrace of garlic complements the dessert’s sweetness.
-
Fruit Salad: A colorful mix of seasonal fruits adds brightness and freshness to your spread. It not only enhances the flavors of the trifle but also brings a healthy balance to the meal.
-
Prosecco or Sparkling Wine: The bubbly nature elevates any celebration. Its lightness and effervescence make it the perfect companion to this layered dessert, enhancing every bite.
-
Chocolate-Covered Strawberries: Indulge in decadence with these bite-sized delights. Their sweet and rich flavors create an irresistible contrast to the creamy, fruity trifle.
-
Carrot Cake: Bringing a spice-infused charm, this classic cake adds warmth and nostalgia to your dessert table, perfectly complementing the lightness of the trifle.
Easter Trifle Dessert Recipe FAQs
How do I choose the right berries for my trifle?
Absolutely! Look for berries that are vibrant in color and firm to the touch. Strawberries should be bright red, blueberries should be plump and dark blue, and raspberries should be bright and fragrant. Avoid berries with mold or dark spots, as they will not be as fresh or tasty.
How should I store leftovers of the trifle?
Very simply, cover your Easter Trifle Dessert tightly with plastic wrap or transfer it to an airtight container. It will keep well in the fridge for up to 3-4 days. Just remember to add fresh berries and any embellishments before serving to keep the presentation appealing!
Can I freeze my Easter Trifle Dessert?
The more the merrier! While it’s best enjoyed fresh, you can freeze individual portions without the toppings. To freeze, simply scoop out servings and place them in an airtight container for up to 1 month. When ready to enjoy, transfer them to the fridge to thaw overnight. Add whipped cream and berries just before serving for optimal freshness.
What to do if my pudding layer is lumpy?
Don’t worry! If you end up with lumps in your pudding, use an immersion blender to whip it until smooth. Alternatively, you can strain the pudding through a fine-mesh sieve to remove any lumps. Make sure to whisk thoroughly for 2-3 minutes when preparing it to ensure a creamy texture from the start.
Are there any dietary considerations for this recipe?
Yes! This Easter Trifle Dessert can easily be adapted for various dietary needs. Use dairy-free milk and coconut whipped cream for a vegan option. Additionally, always check the labels of your pudding mix for any allergens if you’re serving guests with food sensitivities. You can also swap the cake layer for gluten-free options if necessary.
Can I make the trifle days in advance?
Absolutely! I often prepare my Easter Trifle Dessert a day ahead. This allows the flavors to meld beautifully. Just ensure to keep it covered in the fridge and add the berries and sprinkles right before you’re ready to serve to keep them fresh and vibrant.
Easter Trifle Dessert: A Festive No-Bake Delight to Impress
Ingredients
Equipment
Method
- Prepare Pudding: Whisk together the vanilla pudding mix and 2 cups of cold milk for about 2-3 minutes until thick and smooth. Stir in 1 teaspoon vanilla extract.
- Prep Cake: Cut pound cake into 1-inch cubes yielding about 4 cups. This becomes the base layer.
- Layering: In a trifle bowl, start with a layer of half the cake cubes covering the bottom.
- Repeat Layers: Add another layer of cake cubes followed by the second half of the vanilla pudding. Ensure even layers.
- Add Whipped Cream: Spread whipped cream over the top of the final pudding layer.
- Top with Berries: Scatter mixed berries over the whipped cream layer.
- Chill: Cover with plastic wrap and refrigerate for at least 2 hours.
- Serve: Gently scoop into bowls and serve cold.
Leave a Reply