
Spring is just around the corner, and with it comes the joy of celebrating Easter with family and friends. I can almost feel the excitement in the air as we gather for festive meals and sweet treats. Enter my Easy Easter Bunny Bark—a delightful, no-bake recipe that strikes the perfect balance between fun and deliciousness. This colorful treat is incredibly customizable, allowing you to mix and match your favorite candies while making it a wonderful project to tackle with loved ones. Plus, it requires minimal prep time, so you can focus on the moments that matter most during this cheerful season. Are you ready to create a festive masterpiece that brings joy to every gathering?
Why is this Easter Bunny Bark a must-try?
Simplicity: This no-bake recipe is easy enough for anyone to whip up, even if you’re new to the kitchen.
Customizable: Get creative! Use any seasonal candies you love—think chocolate eggs or pastel sprinkles for flair.
Fun Activity: It’s a perfect project to share with kids, adding a sprinkle of joy to your holiday preparations.
Crowd-Pleaser: With its vibrant colors and sweet flavors, this treat is guaranteed to delight your family and friends at Easter gatherings.
Effortlessly Festive: It doubles as a beautiful centerpiece for your dessert table, making your celebrations even more special.
Plus, if you’re a fan of quick recipes, check out my Easy Thai Shrimp Curry for another delightful dish!
Easy Easter Bunny Bark Ingredients
• Get ready to make your treat!
For the Bark
- White chocolate or candy melts (12 oz) – This sweet base creates a creamy texture that’s perfect for your Easy Easter Bunny Bark.
- Pastel-colored M&M’s or chocolate eggs (1 cup) – Adds vibrant color and delightful crunch; feel free to swap in any seasonal favorites!
- Easter-themed sprinkles (1/2 cup) – Use these for a festive touch—just check they’re nut-free if needed.
Optional Color Enhancement
- Gel food coloring (optional, 2-3 drops) – Spruce up your bark with colorful swirls; remember that liquid coloring can cause chocolate to seize!
This delightful combination will ensure your Easter celebrations are sweet and unforgettable!
Step‑by‑Step Instructions for Easy Easter Bunny Bark
Step 1: Prepare the Baking Sheet
Begin by lining a baking sheet with parchment paper or a silicone mat. This will provide a non-stick surface for your Easy Easter Bunny Bark, making it easy to remove once set. Make sure the sheet is large enough to hold the chocolate layer spread out to about ¼ inch thick. Set it aside while you work on melting the chocolate.
Step 2: Melt the Chocolate
In a microwave-safe bowl, add 12 ounces of white chocolate or candy melts. Microwave in 30-second intervals, stirring after each, until the chocolate is completely smooth and melted. This process typically takes about 1-2 minutes. Avoid overheating to prevent burning; the chocolate should have a glossy appearance when fully melted.
Step 3: Add Color If Desired
If you want to add some color to your Easy Easter Bunny Bark, divide a small portion of melted chocolate into separate bowls. Add 2-3 drops of gel food coloring to each bowl and mix well. These vibrant colors will create beautiful swirls when you combine them with the main white chocolate layer. Set aside the colored chocolate once it’s ready.
Step 4: Spread the Chocolate
Carefully pour the main batch of melted white chocolate onto the prepared baking sheet. Using a spatula, spread the chocolate evenly to form a layer about ¼ inch thick. Work quickly, as you want to ensure that the chocolate remains fluid for the next steps. Look for a smooth and even surface before moving on.
Step 5: Swirl in Colors
Now it’s time to add the fun! Drop spoonfuls of the colored chocolate onto the white chocolate base. Use a toothpick to gently swirl the colors together, creating a lovely marbled effect. Be careful not to over-mix; the goal is to maintain distinct streaks of color throughout your Easy Easter Bunny Bark.
Step 6: Add Candies and Sprinkles
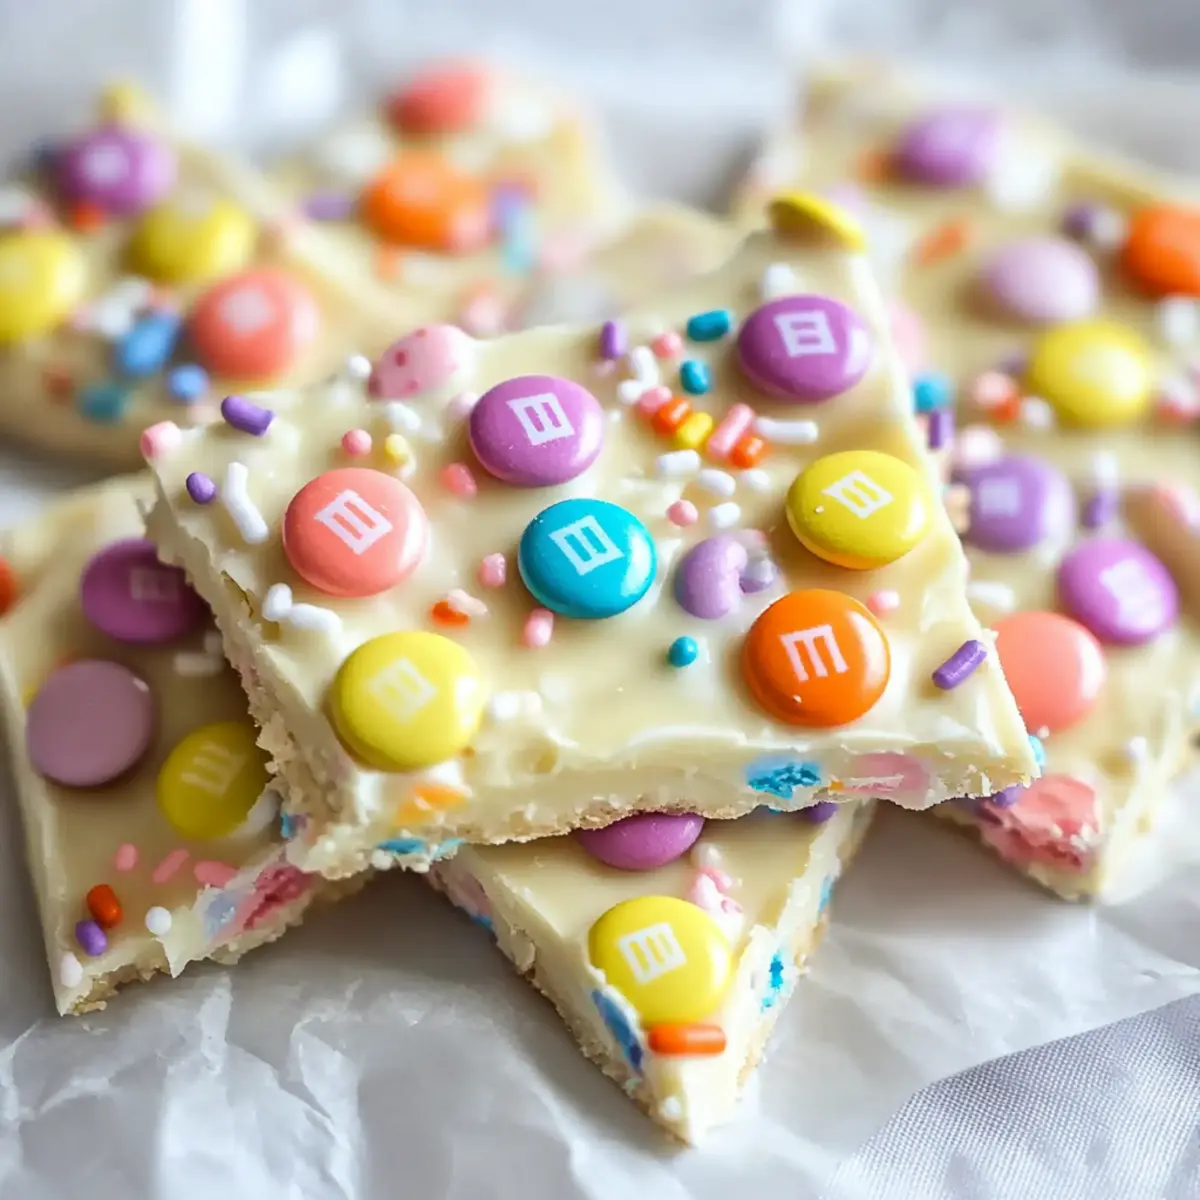
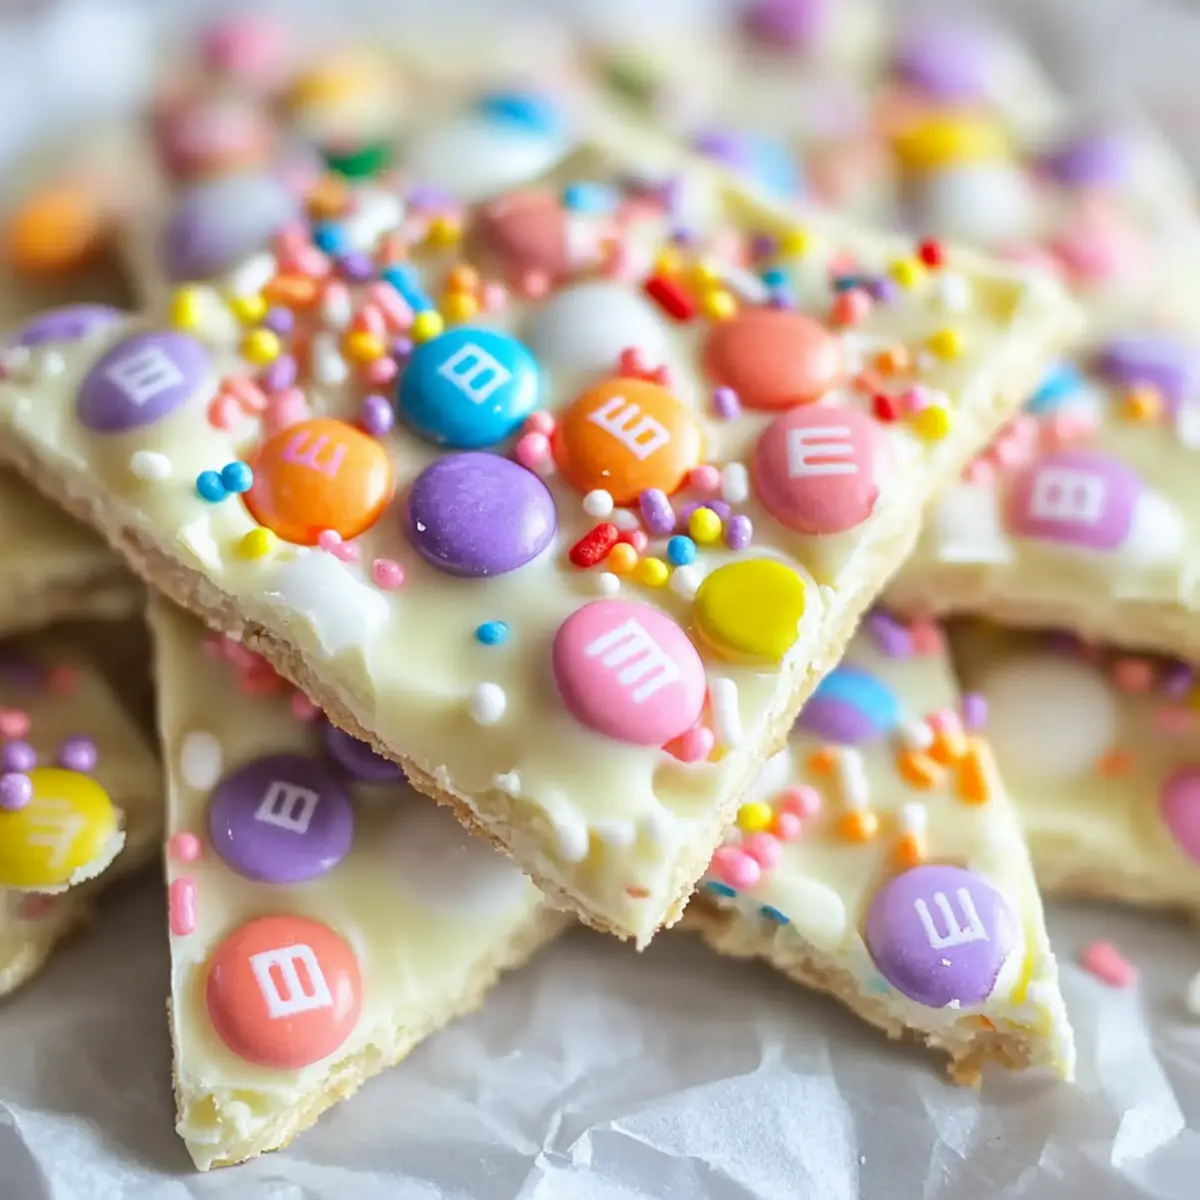
Sprinkle 1 cup of pastel M&M’s and ½ cup of Easter-themed sprinkles over the wet chocolate layer. Press them down lightly to ensure they adhere well to the chocolate. This will not only add color but also delightful crunchy textures to each piece of bark. Be generous, and don’t hold back on the festive toppings!
Step 7: Set the Bark
Let your Easy Easter Bunny Bark set at room temperature for about 1-2 hours, or you can place it in the refrigerator for about 20 minutes for a quicker set. Your goal is for the chocolate to be hard enough to break into pieces without sticking. You’ll know it’s ready when it’s firm to the touch and you see a glossy finish.
Step 8: Break and Serve
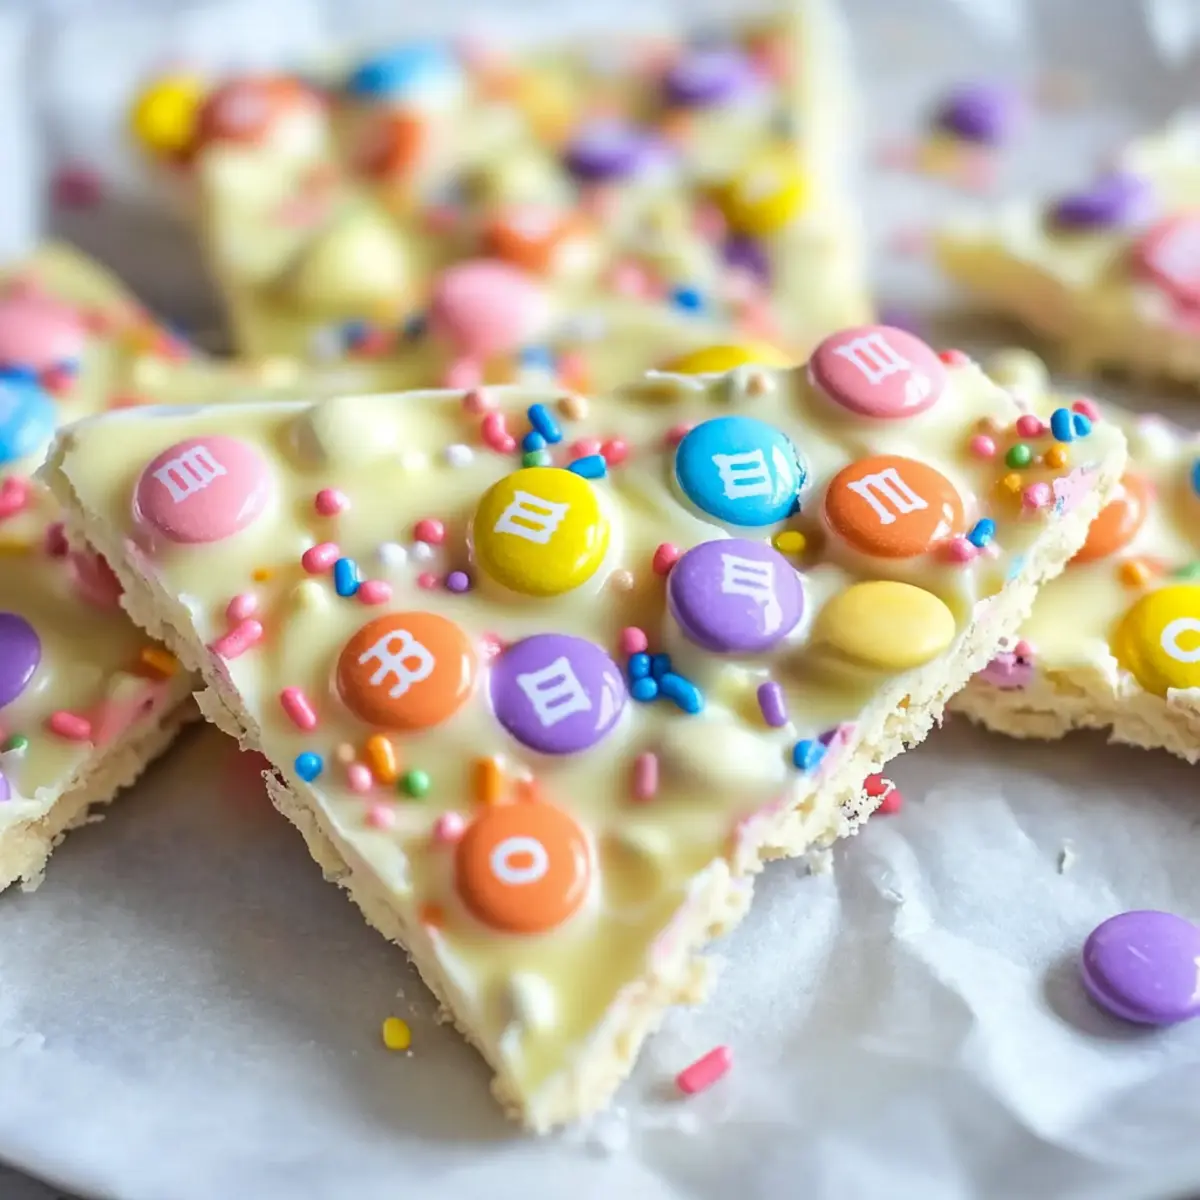
Once set, remove the bark from the baking sheet and place it on a cutting board. Use your hands to break the bark into irregular pieces, creating a rustic look. The colorful chunks of chocolate and candies will be inviting and delicious. Serve them on a platter or package them in clear bags for a cheerful spring gift!
Expert Tips for Easy Easter Bunny Bark
- Perfectly Melt Chocolate: Always melt chocolate in short intervals to avoid burning. Stirring regularly ensures smooth consistency for your Easy Easter Bunny Bark.
- Avoid Seizing: Make sure all utensils are clean and dry before melting chocolate, as moisture can cause it to seize up unexpectedly.
- Coloring Caution: Use gel food coloring sparingly and only in small bowls to maintain vibrant swirls! Liquid coloring may ruin your chocolate texture, so skip that.
- Layer Thickness: Ensure your chocolate layer is about ¼ inch thick for the best balance of flavor and firmness. If too thin, it may break easily; if too thick, it may take longer to set.
- Storage Matters: Store your Easy Easter Bunny Bark in an airtight container to keep it fresh. This treat lasts up to two weeks at room temperature!
What to Serve with Easy Easter Bunny Bark?
As you prepare to delight in this colorful spring treat, consider these scrumptious pairings to elevate your festive gatherings.
-
Creamy Vanilla Ice Cream: The cool, smooth ice cream beautifully contrasts the crunchy bark, creating a delightful mouthfeel you won’t forget.
-
Fresh Fruit Salad: A mix of vibrant berries and citrus provides a refreshing balance to the sweetness of the bark, enhancing its celebratory flair.
-
Sparkling Lemonade: This crisp drink adds a zesty kick that complements the rich chocolate, making it a perfect thirst-quencher for springtime festivities.
-
Nutty Trail Mix: The crunch of nuts and seeds adds an earthy texture, creating a satisfying contrast to the sweet bark while bringing a wholesome element to the table.
-
Chocolate Dipped Strawberries: For the ultimate indulgence, these luscious berries harmonize beautifully with the Easter Bunny Bark, enhancing its festive charm.
-
Mini Cheesecakes: These creamy desserts can offer a rich yet tangy contrast, rounding out your dessert spread beautifully while keeping everyone coming back for another taste.
Let these pairings inspire a joyful dessert table, making your Easter celebration even more special and delightful!
Make Ahead Options
These Easy Easter Bunny Bark treats are perfect for saving time during busy holiday preparations! You can melt the white chocolate and mix in the gel food coloring up to 24 hours in advance, storing each in an airtight container in the refrigerator to maintain freshness. Additionally, prepare the sprinkles and candies by having them ready to go whenever you’re set to finish the bark. When you’re ready to assemble, simply pour the melted white chocolate onto the baking sheet, swirl in the colors, add the candies, and let it set. You’ll have a fun and festive treat ready to impress with minimal last-minute effort!
Easy Easter Bunny Bark Variations
Get ready to put your own spin on this delectable treat and make it uniquely yours!
-
Milk or Dark Chocolate: Swap the white chocolate for milk or dark chocolate for a richer flavor. This change adds depth, perfect for chocolate lovers!
-
Seasonal Candies: Use your favorite festive candy, like jelly beans or seasonal chocolate eggs, to customize this treat. Mixing different textures will amaze everyone’s taste buds!
-
Nut-Free Sprinkles: Choose sprinkles that fit your dietary needs. There are great nut-free options available; these will ensure your bark is safe for everyone!
-
Crushed Pretzels: Add a sprinkle of crushed pretzels for that sweet-salty combination. The texture will give an incredible twist to your bark, enhancing each bite!
-
Zesty Citrus: Mix in some finely grated orange or lemon zest for a refreshing flavor boost. The citrus balances the sweetness wonderfully, creating a lovely springtime vibe.
-
Coconut Flakes: Sprinkle some unsweetened coconut flakes into the mixture for a tropical flair. It’ll add a delightful chewiness that pairs beautifully with the creaminess of the chocolate.
-
Add Heat: For those who love a kick, sprinkle in a pinch of cayenne pepper or chili powder to elevate your bark’s flavor profile. This unexpected twist will intrigue adventurous taste buds!
-
Decorative Touch: Finish your Easter Bunny Bark with edible flowers or themed candy decorations. This will not only heighten the aesthetic appeal but also make your treat look stunning at gatherings.
Baking is all about having fun and exploring flavors, so experiment with these variations to create a truly unforgettable Easter treat! If you’re in the mood for more delightful recipes, be sure to check out my Easy Swiss Steak and Monster Bark Candy for additional joy in your kitchen.
Storage Tips for Easy Easter Bunny Bark
- Room Temperature: Store your Easy Easter Bunny Bark in an airtight container at room temperature for up to two weeks, keeping it fresh and delicious.
- Refrigeration: If the weather is warm, refrigerate your bark for a short period to prevent melting; make sure it’s in an airtight container to avoid moisture.
- Freezer: You can freeze your bark for up to three months. Wrap it tightly in plastic wrap and place it in an airtight container. Thaw at room temperature before serving.
- Chocolate Bloom: Beware of chocolate bloom if stored in the fridge for too long; it may develop a white film, but the taste will remain unaffected.

Easy Easter Bunny Bark Recipe FAQs
How should I select the right chocolates or candy melts for this recipe?
Absolutely! When choosing your white chocolate or candy melts, look for high-quality brands as they tend to melt more smoothly. Aim for chocolate that has a glossy finish and a balanced sweetness. If using candy melts, check the packaging for recommendations on melting. If opting for milk or dark chocolate, be aware that while the taste will vary, the structure remains deliciously intact!
What’s the best way to store leftover Easter Bunny Bark?
I recommend storing your Easy Easter Bunny Bark in an airtight container at room temperature for up to two weeks, ensuring it remains crunchy and tasty. If the weather gets warm, consider refrigerating it to prevent any melting. Just be mindful of potential chocolate bloom—a harmless white film that can appear but won’t impact flavor!
Can I freeze the Easter Bunny Bark, and how do I do it correctly?
Definitely! You can freeze your Easy Easter Bunny Bark for up to three months. To freeze, wrap the bark tightly in plastic wrap and place it in an airtight container. When you’re ready to enjoy, simply remove it from the freezer and let it thaw at room temperature for about 30 minutes before serving. This method preserves its delightful texture!
What if my chocolate seizes up while melting?
Very! If your chocolate seizes up, don’t worry; it happens to the best of us. If this occurs, try adding a teaspoon of vegetable shortening or coconut oil and stir it in gradually while reheating. This can help restore the chocolate’s smooth texture. Always remember to use clean, dry utensils to prevent this issue in the first place!
Are there any dietary considerations for this recipe, such as allergies?
Certainly! Ensure your Easter-themed sprinkles are nut-free if you’re catering to allergies. Moreover, if you’re making this for a gluten-sensitive crowd, all the ingredients listed (when choosing certified gluten-free candy) can fit the bill! Always check labels and feel free to replace any candies with gluten-free options to accommodate various dietary needs.
Delightful Easy Easter Bunny Bark: No-Bake Spring Fun
Ingredients
Equipment
Method
- Line a baking sheet with parchment paper or a silicone mat.
- In a microwave-safe bowl, add 12 ounces of white chocolate or candy melts and microwave in 30-second intervals until smooth.
- Divide melted chocolate into bowls and add gel food coloring if desired.
- Pour the main batch of melted white chocolate onto the prepared baking sheet and spread it evenly.
- Drop spoonfuls of colored chocolate onto the white chocolate base and swirl gently with a toothpick.
- Sprinkle pastel M&M's and Easter-themed sprinkles over the wet chocolate layer.
- Let set at room temperature for 1-2 hours or refrigerate for 20 minutes.
- Once set, break the bark into pieces and serve.
Leave a Reply