
As I stood in my kitchen with a trusty whisk in one hand and a yearning for something sweet, I realized that nothing satisfies the soul quite like a bowl of homemade chocolate ice cream. This recipe for Ultimate Homemade Chocolate Ice Cream is perfect for anyone—whether you own an ice cream machine or prefer a no-fuss method. With simple ingredients, this dessert not only boasts a rich, creamy texture but also serves as a delightful antidote for those tired of fast food indulgences. And the best part? It’s flexible enough to transform into various delicious flavors! Ready to uncover the secret to the creamiest chocolate bliss? Let’s get started!
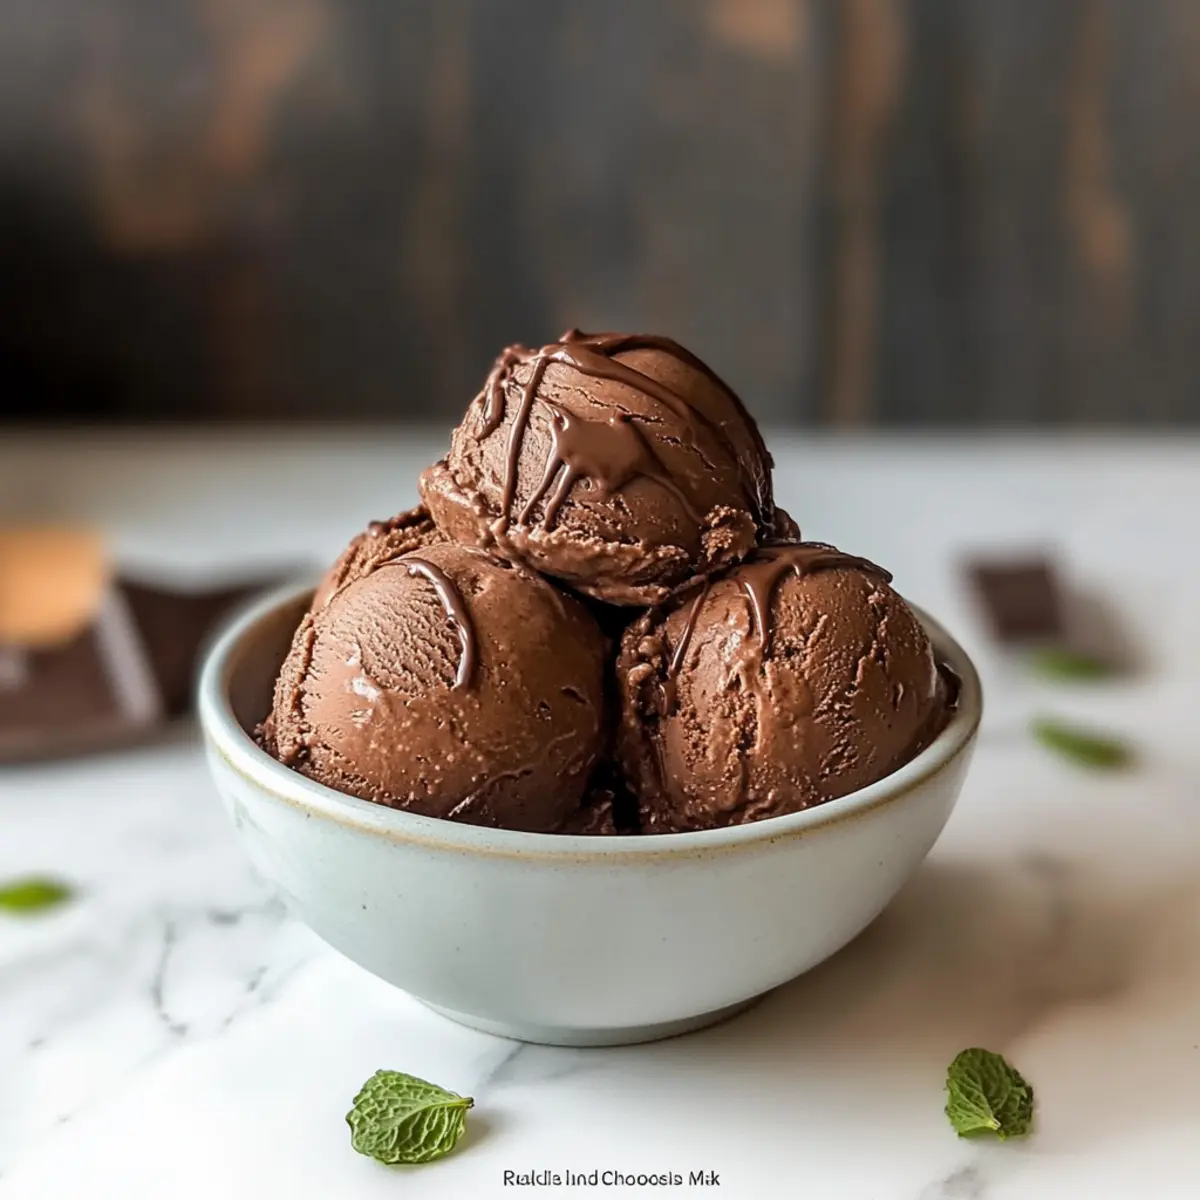
Why is Homemade Chocolate Ice Cream Amazing?
Simplicity: This recipe is straightforward, making sweet homemade indulgence accessible to everyone.
Rich Flavor: Using high-quality Dutch-process cocoa ensures a deep chocolate essence that elevates every scoop.
Versatile: Easily adaptable to create flavors like Mint Chocolate or Nutty Chocolate for a unique twist; the possibilities are endless!
No Ice Cream Machine Required: Don’t have a machine? No problem! This recipe offers a no-machine method that yields creamy results every time.
Crowd-Pleaser: Perfect for gatherings, this chocolate ice cream will impress family and friends, making it a must-try for any dessert lover.
Make-Ahead Friendly: Prepare the base in advance and enjoy a rich treat whenever the craving strikes. Pair it with warm brownies, like those in my Chocolate Chip Banana Bars, for a decadent experience!
Homemade Chocolate Ice Cream Ingredients
• Everything you need for creamy bliss!
For the Ice Cream Base
- Heavy Cream – Provides a rich and creamy base for the ice cream. Substitution: Coconut cream for a dairy-free option, although it adds a coconut flavor.
- Whole Milk – Adds moisture and creaminess. Preparation Note: Can be swapped with low-fat milk for a lighter version, but results in less creaminess.
- Granulated Sugar – Offers sweetness and helps create a smooth texture. Substitution: Honey or agave syrup, adjusting quantity for sweetness level.
- Dutch-process Cocoa Powder – The key ingredient for deep chocolate flavor. Note: High-quality cocoa is recommended for the best flavor.
- Egg Yolks – Contribute richness and a custard base for texture. Note: Using only egg yolks creates a smoother consistency than whole eggs.
- Salt – Enhances flavor and balance. Substitution: Can be omitted for those avoiding sodium.
- Pure Vanilla Extract – Adds depth of flavor. Note: Use fresh vanilla for a more robust taste.
For No-Machine Option
- Ice Cubes – Help chill the mixture faster. Tip: Blend the ice cubes into the initial mixture for a quicker freeze time.
With these ingredients at hand, you’re on your way to crafting a delightful Homemade Chocolate Ice Cream that will satisfy any sweet tooth!
Step‑by‑Step Instructions for Homemade Chocolate Ice Cream
Step 1: Combine Ingredients for Base
In a medium saucepan, whisk together 1 cup of heavy cream, 1 cup of whole milk, ¾ cup of granulated sugar, ⅔ cup of Dutch-process cocoa powder, and a pinch of salt. Heat the mixture over medium-low heat, stirring gently, until it becomes hot but not boiling, about 5-7 minutes. You’ll know it’s ready when steam starts to rise and the sugar is fully dissolved.
Step 2: Temper Egg Yolks
While the cream mixture is heating, whisk 4 egg yolks in a separate bowl until they’re smooth and slightly thickened. Gradually pour a small amount of the hot cream mixture into the yolks while whisking constantly. This step, known as tempering, prevents the yolks from scrambling. Continue to slowly add the cream until fully incorporated.
Step 3: Cook the Custard
Return the combined mixture back to the saucepan over low heat. Stir continuously with a wooden spoon for about 5-7 minutes, or until the custard thickens and coats the back of the spoon. You’ll know it’s done when it leaves a gentle trail when you run your finger through it.
Step 4: Strain and Chill
Once thickened, strain the custard through a fine-mesh sieve into a clean bowl to remove any cooked bits of egg. Stir in the remaining 1 cup of heavy cream and 1 tablespoon of pure vanilla extract. Cover the bowl with plastic wrap, pressing it directly onto the surface of the mixture to prevent a skin from forming, and refrigerate for at least 4 hours or overnight.
Step 5: Churn
Once the custard is completely chilled, pour it into your ice cream maker. Churn according to the manufacturer’s instructions, typically 20-30 minutes, until it reaches a soft-serve consistency. The mixture should thicken and start to look creamy and silky as it churns, a sign that your Homemade Chocolate Ice Cream is on its way!
Step 6: Freeze
Transfer the churned ice cream into an airtight container, smoothing the top with a spatula. Press a piece of plastic wrap directly against the surface to minimize air exposure, then seal the container with a lid. Freeze for at least 4 hours, or until firm. The ice cream will become rich and creamy as it freezes, ready to be savored in scoops!
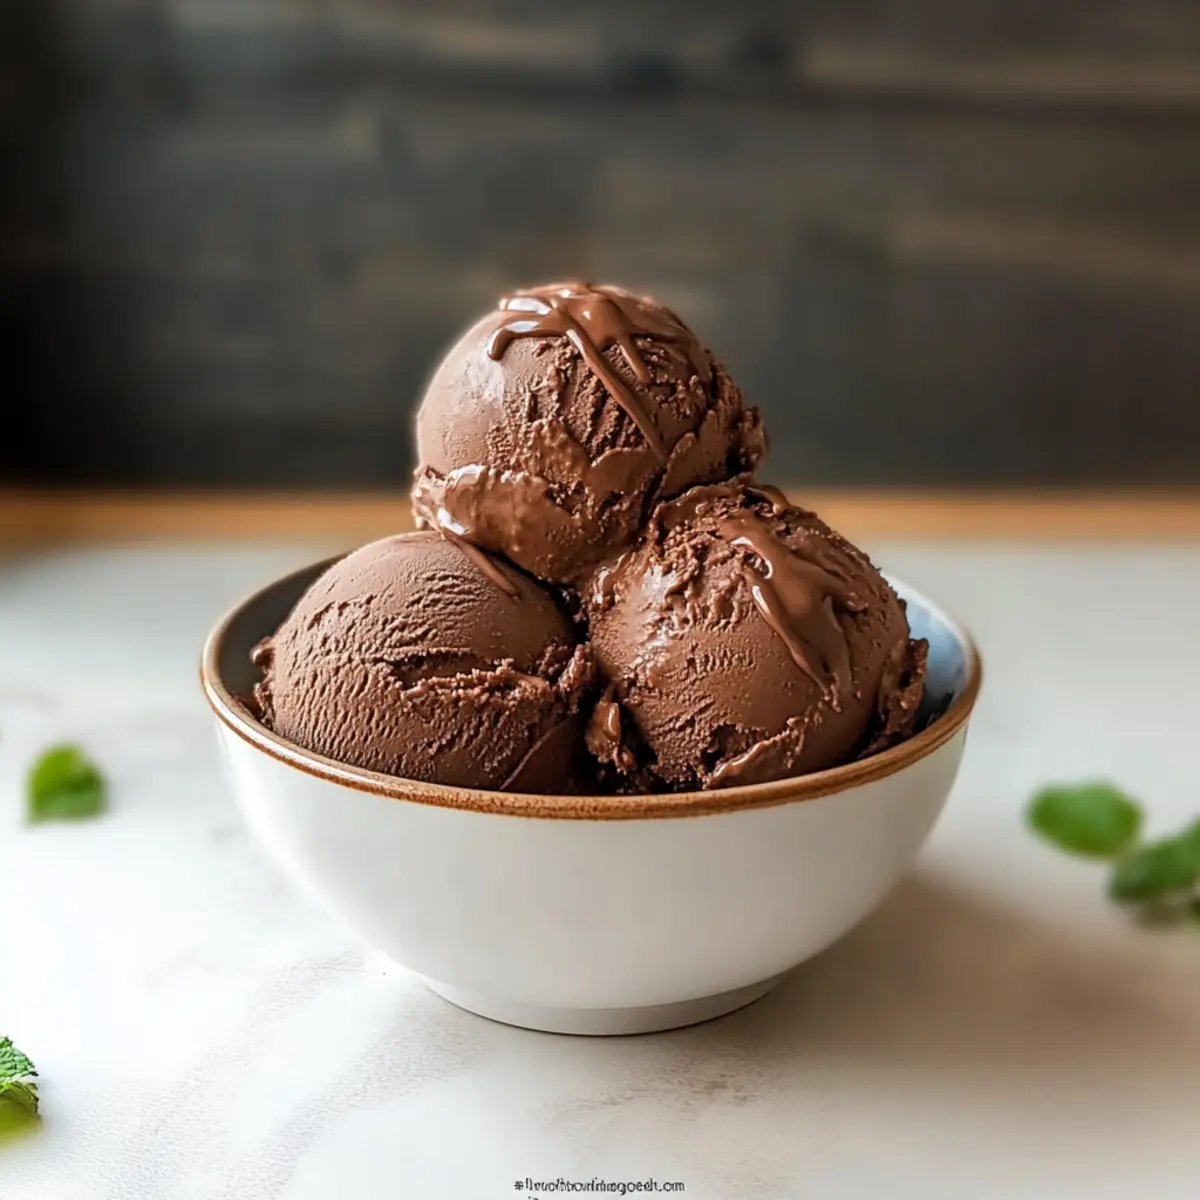
Expert Tips for Homemade Chocolate Ice Cream
- Chill the Bowl: Ensure your ice cream maker bowl is chilled beforehand for the best texture and consistency.
- Cool Completely: Allow the custard to cool fully in the refrigerator before churning; it leads to a creamier homemade chocolate ice cream.
- No Rushing: Take your time with the chilling process; rushing may create larger ice crystals that affect the texture.
- Softening Tip: Before scooping, let the ice cream sit at room temperature for a few minutes for easier serving.
- Flavor Enhancer: For a smoother texture and less ice crystal formation, add a tablespoon of vodka to the mixture before churning.
What to Serve with Ultimate Homemade Chocolate Ice Cream
As you prepare to scoop out luscious bowls of rich chocolate delight, think about what sides could elevate your dessert experience even further!
- Warm Brownies: The fudgy, chocolatey texture perfectly complements the creaminess of homemade chocolate ice cream, creating a heavenly duo.
- Fresh Strawberries: Juicy, sweet strawberries add a refreshing contrast, balancing the richness and offering vibrant color to your dessert plate.
- Peanut Butter Sauce: A drizzle of warm peanut butter sauce adds salty sweetness, enhancing the chocolate flavor and taking your scoops to new heights.
- Hot Fudge Sauce: For a chocolate lover’s dream, drizzle hot fudge over your ice cream, intensifying the cocoa experience and adding delightful warmth.
- Banana Slices: Creamy banana slices bring a touch of fruitiness while harmonizing beautifully with the decadent chocolate.
- Crunchy Wafer Cookies: Offering a satisfying crunch, these cookies create delightful textures against the velvety ice cream, making each bite a treat.
Imagine serving this homemade chocolate ice cream alongside these delightful pairings—it’s a sweet reminder of life’s simple pleasures!
How to Store and Freeze Homemade Chocolate Ice Cream
Fridge: Store your homemade chocolate ice cream in the refrigerator for up to 3 days for the best quality. Ensure it’s in an airtight container to maintain its creamy texture.
Freezer: For long-term storage, freeze the ice cream in an airtight container for up to 2-3 weeks. Press plastic wrap against the surface before sealing to prevent freezer burn.
Reheating: If the ice cream is too hard to scoop, let it sit at room temperature for 5-10 minutes before serving, making it easier to enjoy that rich, velvety homemade chocolate ice cream.
Make-Ahead Tip: The custard base can be prepared and chilled up to 2 days in advance, allowing for quick churning and freezing when cravings strike!
Homemade Chocolate Ice Cream Variations
Feel free to explore these delightful twists on your homemade chocolate ice cream for a personalized touch that excites the taste buds!
-
Dairy-Free: Substitute heavy cream and milk with coconut cream and almond milk for a luscious, dairy-free delight. The coconut adds a refreshing layer of flavor!
-
Minty Freshness: Stir in 1 teaspoon of peppermint extract and a handful of chocolate chips during the last few minutes of churning for a cooling mint chocolate experience. Imagine enjoying this while savoring the summer breeze!
-
Nutty Chocolate: Fold in ½ cup of toasted pecans or walnuts before the final freeze for a crunchy surprise that complements the creamy texture excellently. The combination of flavors creates a harmonious bite!
-
Fruity Fusion: Add 1 tablespoon of orange zest and a teaspoon of orange extract to the base mix for a bright and zesty chocolate ice cream that’s bursting with citrus flavor. Treat yourself to this unique twist!
-
Chili Chocolate: Add a pinch of cayenne pepper or ground chipotle to the mixture for a warm, spicy kick that beautifully contrasts with the sweetness. It’s perfect for adventurous palates!
-
Mix In Fun: Think of adding crushed cookies (like Oreos) or candied ginger in the last minutes of churning for added flavor complexities that intrigue with every scoop. Your guests will love discovering these hidden gems!
-
Chocolate-Fudge Swirl: Drizzle warm fudge into the ice cream during the last stages of churning for a decadent ripple effect that satisfies any chocolate lover’s dream. Each spoonful will be pure bliss!
-
Sea Salt Caramel: Pour in ½ cup of prepared caramel sauce at the end of churning for delightful contrasts in salty-sweet flavor. The creamy texture melds beautifully, embodying a decadent dessert experience!
These variations will keep your homemade chocolate ice cream exciting and fresh. For more inspiration on delightful treats, check out my Dark Chocolate Coffin or the wonderfully colorful Pineapple Carrot Cream that can bring a whole new delight to your dessert table!
Make Ahead Options
These decadent Homemade Chocolate Ice Cream preparations are perfect for busy weeknights! You can prepare the custard base up to 2 days in advance by following steps 1 through 4, then simply cover it tightly and refrigerate. This not only enhances the flavor but also saves precious time when you’re ready to churn and freeze. Make sure to strain the custard well to avoid any lumps that could affect texture. When you’re set to enjoy your ice cream, just churn and freeze the mixture, and you’ll have a luxurious dessert ready with minimal effort. This makes it perfect for those unexpected cravings or last-minute gatherings!
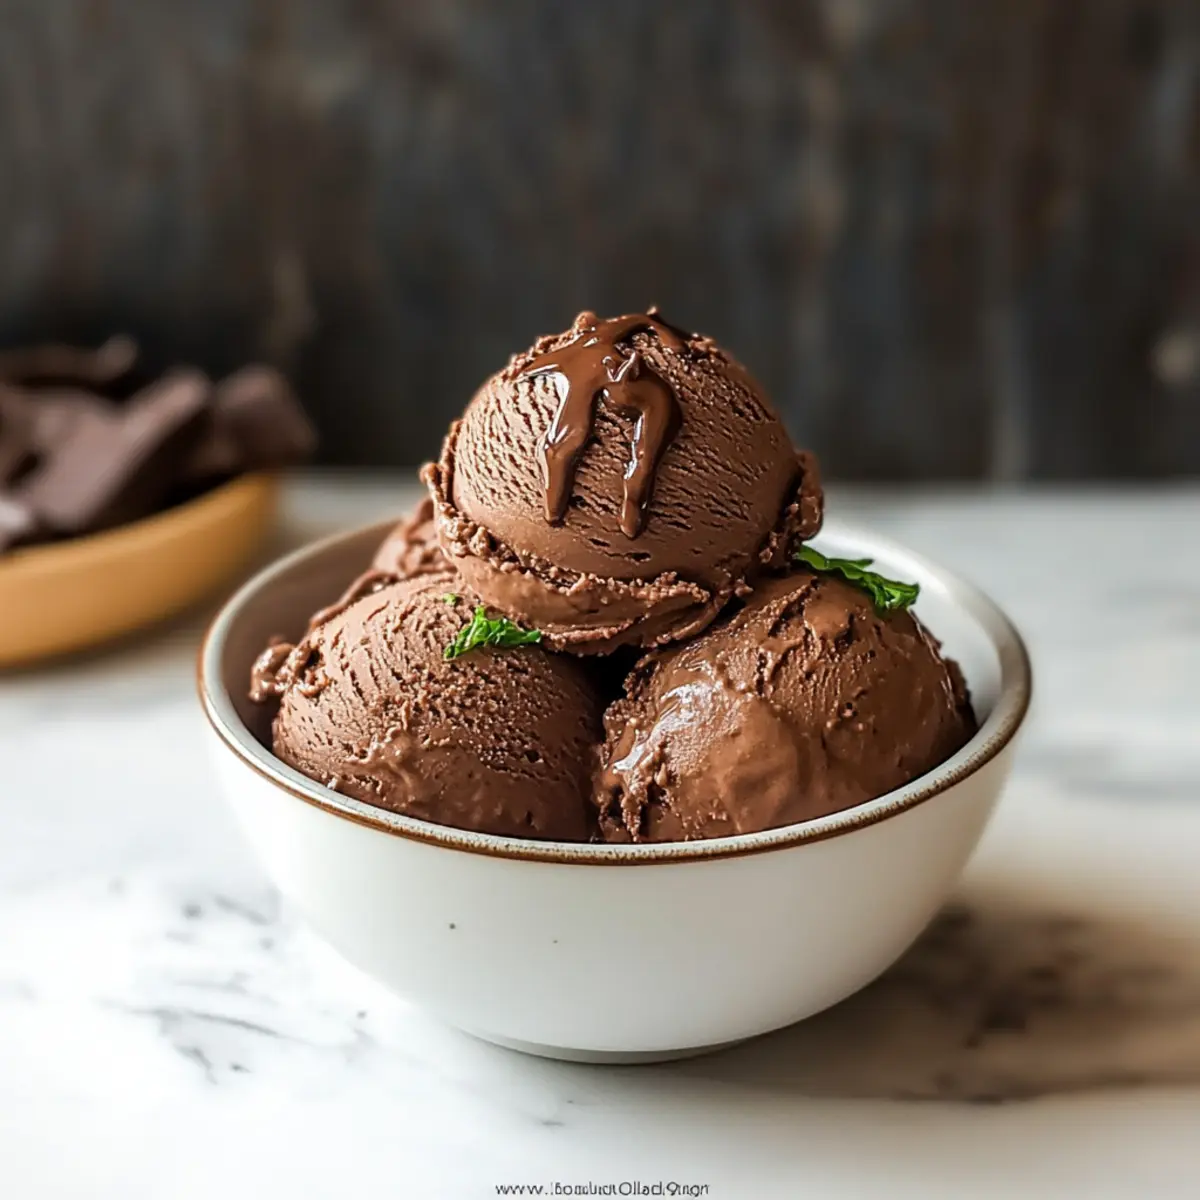
Homemade Chocolate Ice Cream Recipe FAQs
What type of cocoa powder is best for this recipe?
Using high-quality Dutch-process cocoa powder is recommended for the best flavor. This type of cocoa provides a rich, deep chocolate essence that truly elevates the taste of your homemade chocolate ice cream. Look for brands that are labeled as Dutch-processed, as they undergo a special treatment to neutralize the acidity and enhance the chocolate flavor.
How should I store my homemade chocolate ice cream?
For optimal freshness, keep your homemade chocolate ice cream in an airtight container in the freezer. It can last for about 2-3 weeks without a significant loss of quality. To prevent freezer burn, press a piece of plastic wrap against the surface of the ice cream before sealing the container. This step helps maintain its creamy texture and rich flavor.
Can I freeze homemade chocolate ice cream for longer periods?
Yes, you can freeze your homemade chocolate ice cream, but it’s best enjoyed within 2-3 weeks. If you need to store it for longer, it’s important to make sure it’s well-sealed in an airtight container. When ready to serve, let it sit at room temperature for 5-10 minutes to soften, making scooping easier and enhancing the overall experience.
What should I do if the ice cream is too hard to scoop?
If your homemade chocolate ice cream is stubborn and too hard to scoop, don’t worry! Simply let it sit at room temperature for about 5-10 minutes before serving. This brief period allows it to soften slightly, creating that luscious, creamy texture that melts in your mouth. Enjoy each delicious scoop without any struggle!
Is this recipe suitable for dietary restrictions?
Absolutely! This homemade chocolate ice cream recipe can be adapted for various dietary needs. For a dairy-free option, swap the heavy cream with coconut cream. If you need it to be egg-free, you can use a simple banana blend or a store-bought egg substitute. Be mindful of any specific allergies, especially concerning chocolate or other additives.
How can I make this without an ice cream machine?
No ice cream machine? No problem! For a no-machine method, follow these steps: After completing the custard and chilling it, pour the mixture into a shallow dish. Place it in the freezer and stir every 30 minutes for about 3-4 hours, scraping down the sides to incorporate the solidifying bits until it reaches your desired ice cream texture. This method may take a bit longer, but the results will be equally delightful!
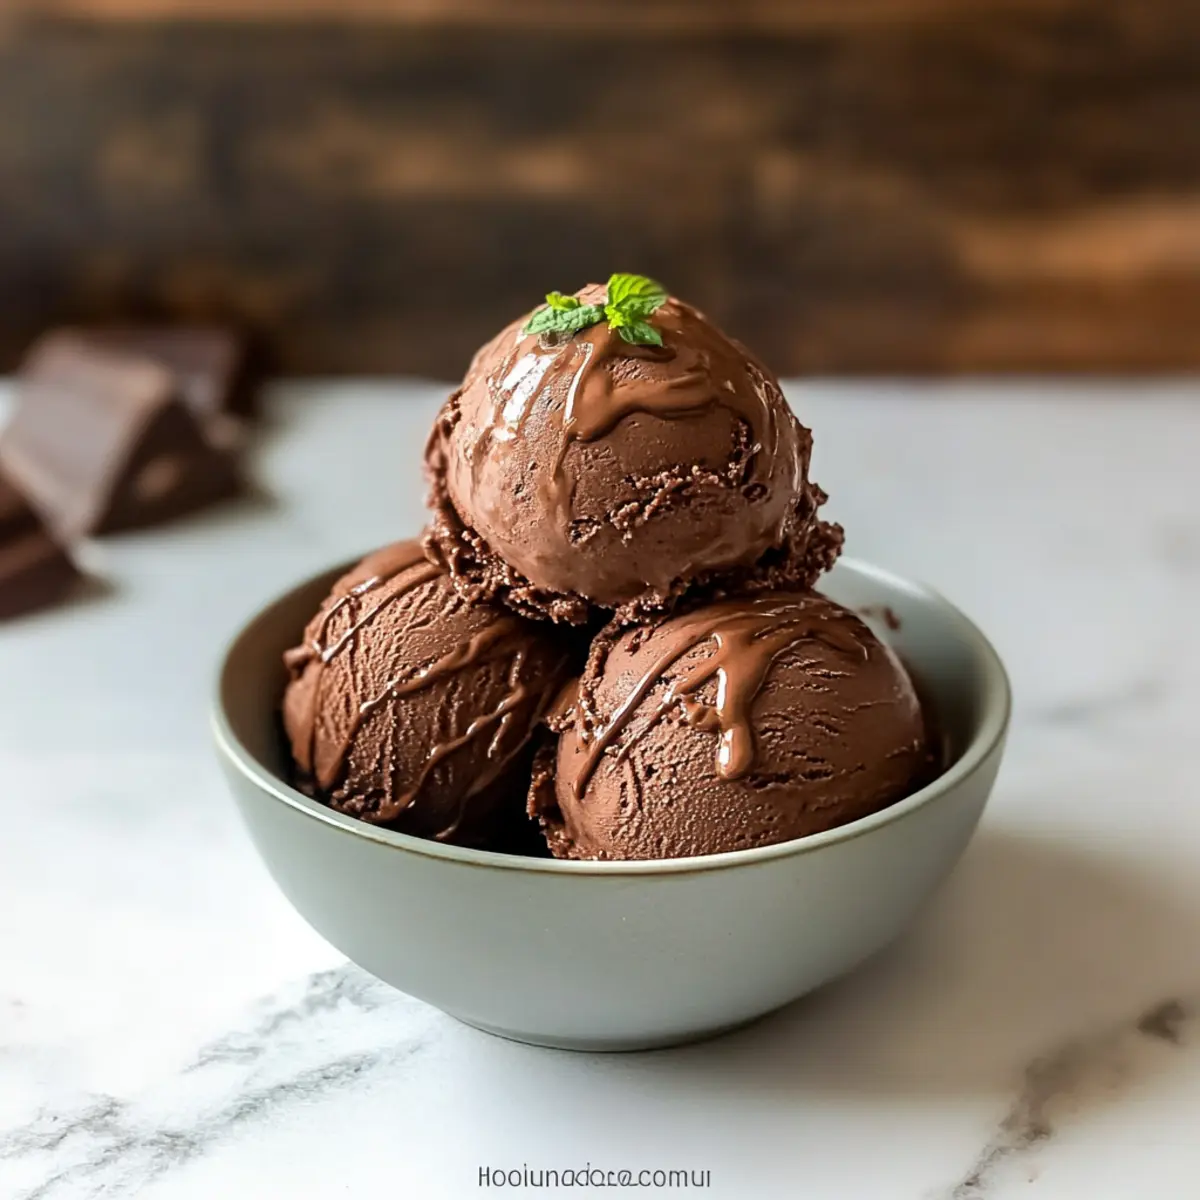
Decadent Homemade Chocolate Ice Cream – Rich and Creamy Delight
Ingredients
Equipment
Method
- Combine Ingredients for Base: In a medium saucepan, whisk together 1 cup of heavy cream, 1 cup of whole milk, ¾ cup of granulated sugar, ⅔ cup of Dutch-process cocoa powder, and a pinch of salt. Heat over medium-low heat for 5-7 minutes until hot but not boiling.
- Temper Egg Yolks: Whisk 4 egg yolks in a bowl until smooth. Gradually pour in the hot cream mixture while whisking constantly to prevent scrambling. Continue adding until fully incorporated.
- Cook the Custard: Return the mixture to the saucepan, stirring continuously on low heat for 5-7 minutes until thickened.
- Strain and Chill: Strain the custard into a bowl to remove cooked bits. Stir in 1 cup of heavy cream and 1 tablespoon of vanilla extract. Cover and refrigerate for at least 4 hours.
- Churn: Pour the chilled custard into the ice cream maker and churn for 20-30 minutes until it reaches a soft-serve consistency.
- Freeze: Transfer the churned ice cream to an airtight container, press plastic wrap against the surface, and freeze for at least 4 hours until firm.
Leave a Reply