
As I stood in my kitchen, the cozy aroma of oats and chocolate filled the air, pulling me back to carefree days of school lunches and homemade snacks. These 4-Ingredient No-Bake Chocolate Oat Cookies are my go-to solution for when I crave something sweet yet wholesome. Perfect for those busy weekdays, they come together in a flash and require no baking, making them an effortless treat you can whip up in minutes. Plus, they’re gluten-free—ideal for anyone looking to enjoy a guilt-free indulgence without compromising on flavor. Wouldn’t you love to discover how easy it is to satisfy your sweet tooth while keeping things healthy?
Why Choose These Chocolate Oat Cookies?
Simplicity at Its Best: With only four ingredients, these cookies come together in no time!
Health-Conscious Indulgence: Gluten-free and packed with nutrients, they provide a wholesome treat everyone will love.
Flavorful Variety: Mix in nuts, chocolate chips, or dried fruit for a personalized twist.
No Baking Required: Perfect for busy lifestyles, satisfying cravings without the oven hassle.
Nostalgic Texture: Soft, chewy, and reminiscent of childhood snacks, they create warm memories with every bite.
Indulge without guilt and try pairing these with a warm cup of coffee or as a quick pick-me-up after a workout! If you’re looking for more creative combinations, don’t miss out on Iced Blueberry Cheesecake or Thai Baked Chicken for delicious ideas that everyone in your family will enjoy!
4-Ingredient No-Bake Chocolate Oat Cookie Ingredients
Whip up these delightful cookies in no time!
For the Cookies
- Old-Fashioned Oats – Provide texture and structure; you can substitute with gluten-free oats for a gluten-free version.
- Nut Butter (e.g., Peanut or Almond) – Acts as a binder and adds creaminess; feel free to use sunbutter for a nut-free option.
- Honey or Maple Syrup – Sweetens the cookies naturally; use agave syrup as a vegan alternative.
- Cocoa Powder – Adds rich chocolate flavor and color; adjust the amount to taste for deeper cocoa intensity.
These ingredients come together to create a delicious indulgence that’s perfect for a busy day or any sweet craving!
Step‑by‑Step Instructions for 4-Ingredient No-Bake Chocolate Oat Cookies
Step 1: Mix Ingredients
In a medium bowl, combine 1 cup of old-fashioned oats, 1/2 cup of nut butter, 1/4 cup of honey (or maple syrup), and 1/4 cup of cocoa powder. Use a sturdy spoon or spatula to mix until fully integrated, ensuring all oats are well coated and the mixture appears cohesive. This should take about 2-3 minutes of mixing to achieve a thick, sticky consistency.
Step 2: Form Cookies
Prepare a baking sheet by lining it with parchment paper. Use a spoon to scoop out equal amounts of the chocolate oat mixture—about 2 tablespoons each. Drop the scoops onto the lined sheet and gently press them down with your fingers to flatten slightly, creating distinct cookie shapes. Aim for about 12-15 cookies on your sheet, making sure they are spaced apart to allow even chilling.
Step 3: Chill
Place the baking sheet filled with cookies into the refrigerator and chill for about 30 minutes. This step is crucial for firming up the cookies, so they hold their shape. After the chilling time, check that they feel firm to the touch. If they need more time, let them chill an additional 10-15 minutes until set.
Step 4: Serve & Enjoy
Once the cookies are adequately chilled and firm, they are ready to be enjoyed! Serve them straight from the refrigerator for a cool treat, or pack a few for a sweet snack on the go. These no-bake chocolate oat cookies can be stored in an airtight container in the fridge for up to a week, making them a convenient and delicious homemade indulgence whenever cravings strike.
Storage Tips for No-Bake Chocolate Oat Cookies
Fridge: Store the cookies in an airtight container in the refrigerator for up to one week to maintain their fresh flavor and chewy texture.
Freezer: For longer storage, freeze the cookies in a single layer on a baking sheet, then transfer them to an airtight container once solid. They can last up to 3 months in the freezer.
Reheating: Enjoy the cookies chilled straight from the fridge or thaw them at room temperature if frozen. A quick pop in the microwave (about 10-15 seconds) can give them a warm, gooey texture if you prefer!
Serving Freshness: For the best experience, consume the cookies within the first few days for optimal freshness, but they’ll still be delicious even after freezing!
Expert Tips for No-Bake Chocolate Oat Cookies
• Room Temperature Nut Butter: Ensure your nut butter is at room temperature for easier mixing; cold nut butter can be difficult to blend smoothly.
• Chewy Texture: Avoid over-mixing your ingredients. This keeps the cookies soft and chewy, enhancing that delightful texture you’re after.
• Flavor Boost: Experiment by adding a splash of vanilla extract or a pinch of sea salt for an extra layer of flavor in your no-bake chocolate oat cookies.
• Chilling Time: Don’t skip the chilling step! It’s essential for the cookies to firm up properly, ensuring they hold their shape when served.
• Creative Add-Ins: Feel free to personalize your cookies by folding in chocolate chips, dried fruit, or nuts for added texture and taste.
No-Bake Chocolate Oat Cookies Variations
Feel free to get creative with these cookies and let your taste buds lead the way!
-
Nut-Free: Swap nut butter for sunflower seed butter to keep it delicious and allergen-friendly.
Enjoy the same wonderful texture without compromising on flavor! -
Vegan: Substitute honey with agave syrup to keep it entirely plant-based.
Now everyone can indulge without any reservations! -
Boosted Flavor: Add a teaspoon of vanilla extract or a pinch of cinnamon for an extra flavor dimension.
These tiny additions can make a world of difference! -
Crunchy Contrast: Mix in some chopped nuts or seeds for a delightful crunch.
The added texture brings an exciting contrast to every chewy bite, making your cookies ever more satisfying! -
Sweet Fruit: Incorporate dried fruits like cranberries or apricots for a fruity surprise in each cookie.
The natural sweetness complements the chocolate beautifully, making each bite a delightful adventure. -
Chocolate Lovers: Fold in chocolate chips or chunks to amplify the chocolate flavor.
For those who crave a rich chocolate experience, this is the ultimate indulgence! -
Flavor with Spice: For a hint of heat, add a sprinkle of cayenne pepper or chili powder.
It might sound unusual, but the warmth enhances the chocolate remarkably, turning these into a showstopper! -
Different Oats: Swap old-fashioned oats with quick oats for a softer texture.
They’ll still hold together well, making your cookies easy to chew and enjoy.
Pair these customized cookies with a cozy cup of coffee or try them alongside a piece of Berry Peach Cheesecake for a delightful treat!
What to Serve with 4-Ingredient No-Bake Chocolate Oat Cookies
For a delightful dining experience that transforms your sweet treat into a full meal, consider these perfect pairings to elevate your chocolate oat cookie enjoyment.
-
Fresh Fruit Salad: Bright, juicy fruits contrast beautifully with the rich cookies, adding a refreshing touch that elevates your dessert table. Crisp apples, juicy berries, and zesty citrus will provide a vibrant splash of color.
-
Creamy Yogurt Dip: A dollop of Greek yogurt mixed with honey and vanilla creates a creamy dip that balances the sweetness of the cookies. The tanginess of yogurt enhances the chocolate flavor, making each bite even more indulgent.
-
Nutty Granola: Sprinkle some homemade or store-bought granola for a delightful crunch. The textures complement the soft cookies and add extra fiber to your snack.
-
Iced Coffee: Enjoy these cookies with a chilled glass of iced coffee. The smooth coffee flavor beautifully offsets the sweetness and creates a wonderful afternoon pick-me-up experience.
-
Silky Smooth Chocolate Milk: Indulge your chocolate cravings further by pairing these cookies with a glass of rich chocolate milk. The creamy, dreamy drink creates a complete chocolate experience, perfect for kids and adults alike.
-
Vanilla Ice Cream: Serve a small scoop of vanilla ice cream on the side for a dessert that’s truly decadent. The cold, creamy goodness paired with chewy cookies makes for a delightful treat that feels like a special occasion.
-
Herbal Tea: For a lighter option, enjoy your cookies with a cup of soothing herbal tea. The herbal notes will cleanse the palate and provide a calming, warm complement to the rich chocolate flavors.
-
Dark Hot Chocolate: Pair with a rich cup of dark hot chocolate for a cozy, comforting experience. The warm chocolate drink ties beautifully with the cookies, making it the ultimate sweet escape.
Make your snacking not just delicious, but an enchanting experience by trying out these delectable pairings!
Make Ahead Options
These 4-Ingredient No-Bake Chocolate Oat Cookies are perfect for meal prep enthusiasts! You can mix the ingredients and form the cookies up to 24 hours in advance, then refrigerate them to maintain their delicious chewy texture. To do this, prepare the cookie mixture, scoop it onto a parchment-lined sheet, and chill them for about 30 minutes. Once set, store them in an airtight container in the refrigerator for up to a week. When you’re ready to serve, simply enjoy them straight from the fridge or let them sit at room temperature for a few minutes for added softness. Prepping ahead ensures you have a tasty and wholesome treat ready whenever cravings hit!

4-Ingredient No-Bake Chocolate Oat Cookies Recipe FAQs
How do I choose ripe ingredients for these cookies?
Absolutely! When selecting old-fashioned oats, look for a package that’s well-sealed without any moisture. For nut butter, ensure it’s fresh and without any dark, off-putting spots, which can indicate rancidity. Honey or maple syrup should be pure and free from additives for the best flavor!
How should I store the cookies and how long do they last?
Store your 4-Ingredient No-Bake Chocolate Oat Cookies in an airtight container in the refrigerator for up to one week. This will help maintain their chewy texture and rich flavor. When storing, place parchment paper between layers if stacking to prevent sticking!
Can I freeze these cookies, and how do I do it?
Certainly! To freeze the cookies, lay them in a single layer on a baking sheet lined with parchment paper. Place them in the freezer until solid—about 2 hours. Once firm, transfer the cookies to an airtight container or a freezer-safe bag. They can last up to 3 months in the freezer. To enjoy, simply thaw them at room temperature or give them a slight warm-up in the microwave for 10-15 seconds!
What if my cookies are too crumbly?
If you find your cookies are crumbly, it may be because the nut butter is too firm or the mixture isn’t well combined. Simply add a touch more honey or nut butter to the mixture for moisture. Mix thoroughly until you achieve a sticky consistency. Avoid over-mixing to keep that perfect chewy texture!
Are there any dietary considerations I should keep in mind?
Very! These cookies can easily cater to various dietary needs. For nut allergies, substitute the nut butter with sunflower seed butter (sunbutter). You can also use agave syrup instead of honey or maple syrup for a vegan-friendly option. Keep an eye on any allergies related to oats, as cross-contamination can occur—make sure to choose certified gluten-free oats if you’re gluten-sensitive!
Can I use substitutions for any of the ingredients?
Definitely! If you don’t have cocoa powder on hand, try using carob powder for a different flavor. If honey isn’t in your pantry, maple syrup or agave syrup makes for a wonderful alternative. Moreover, you can enhance your cookies with flavor by adding in ingredients like vanilla extract or a pinch of sea salt!
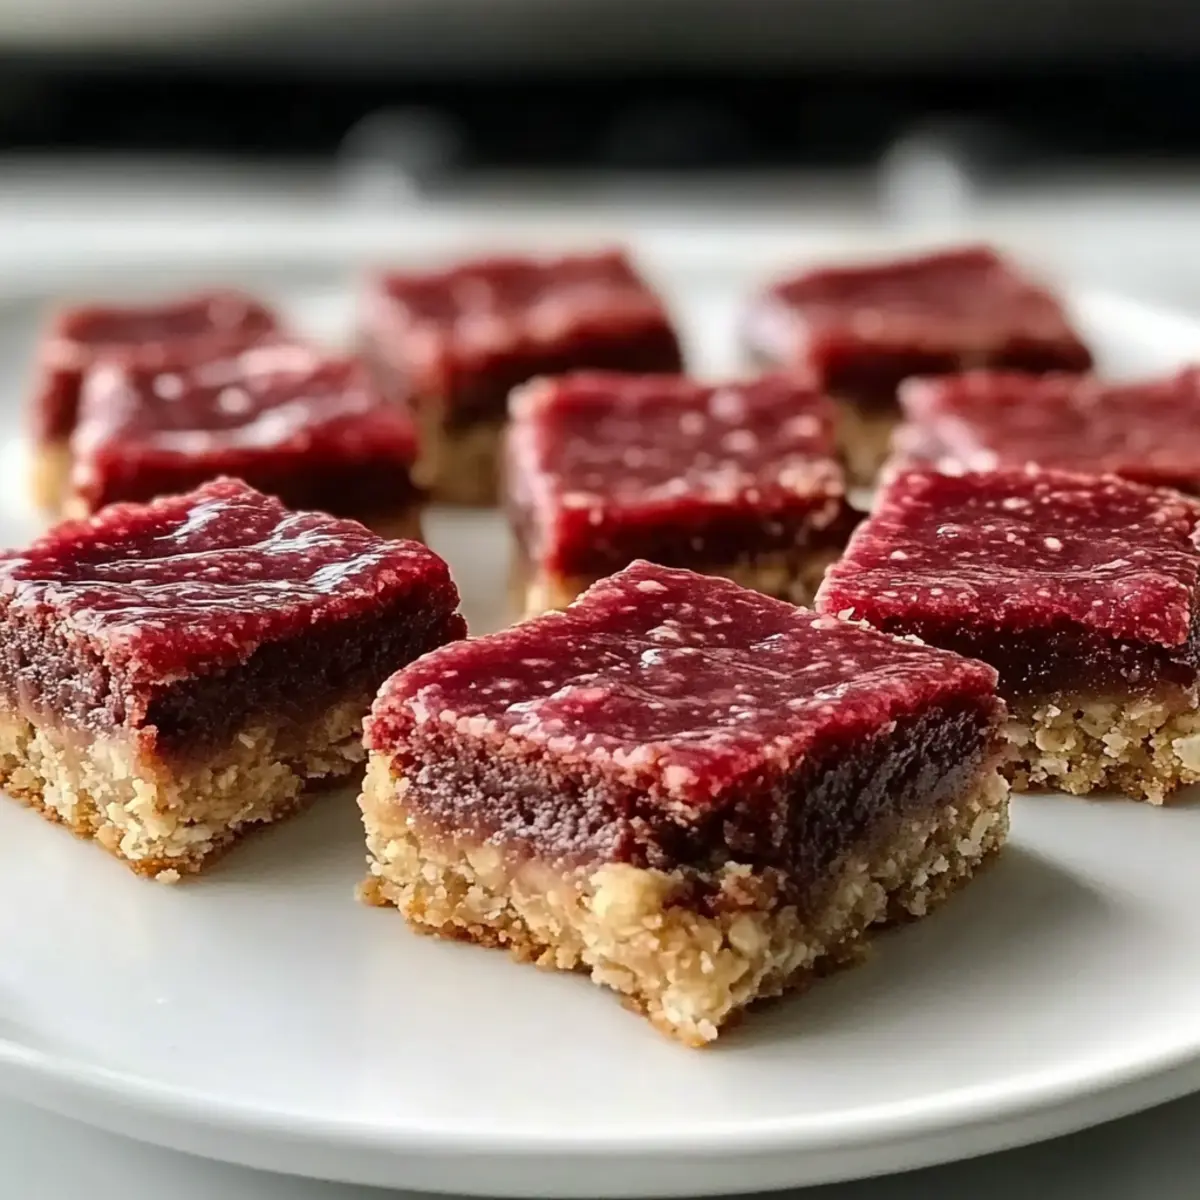
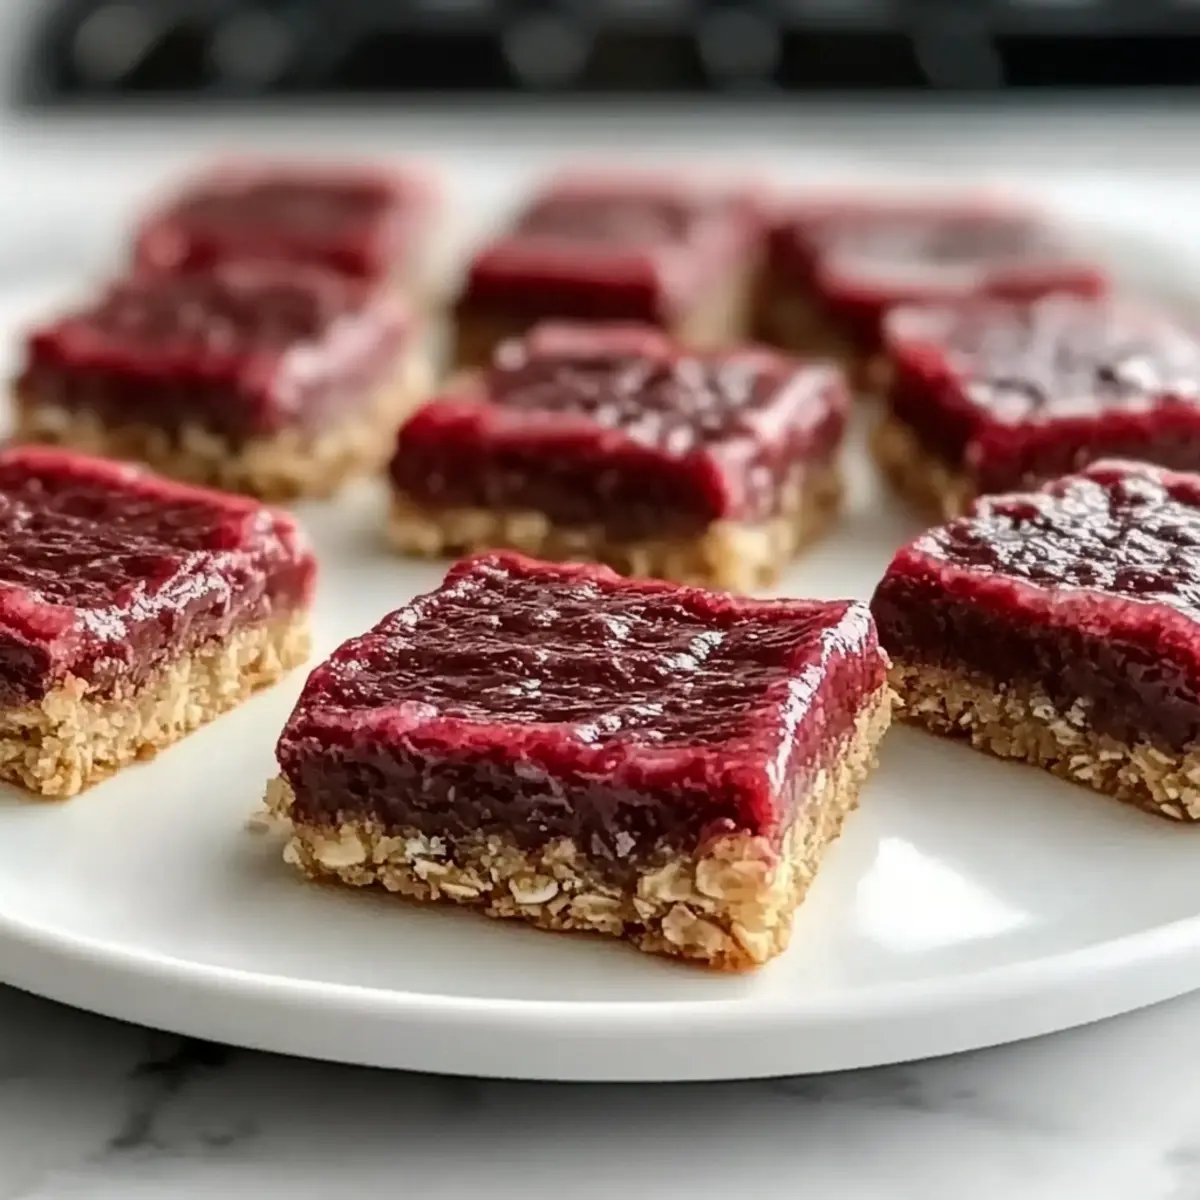
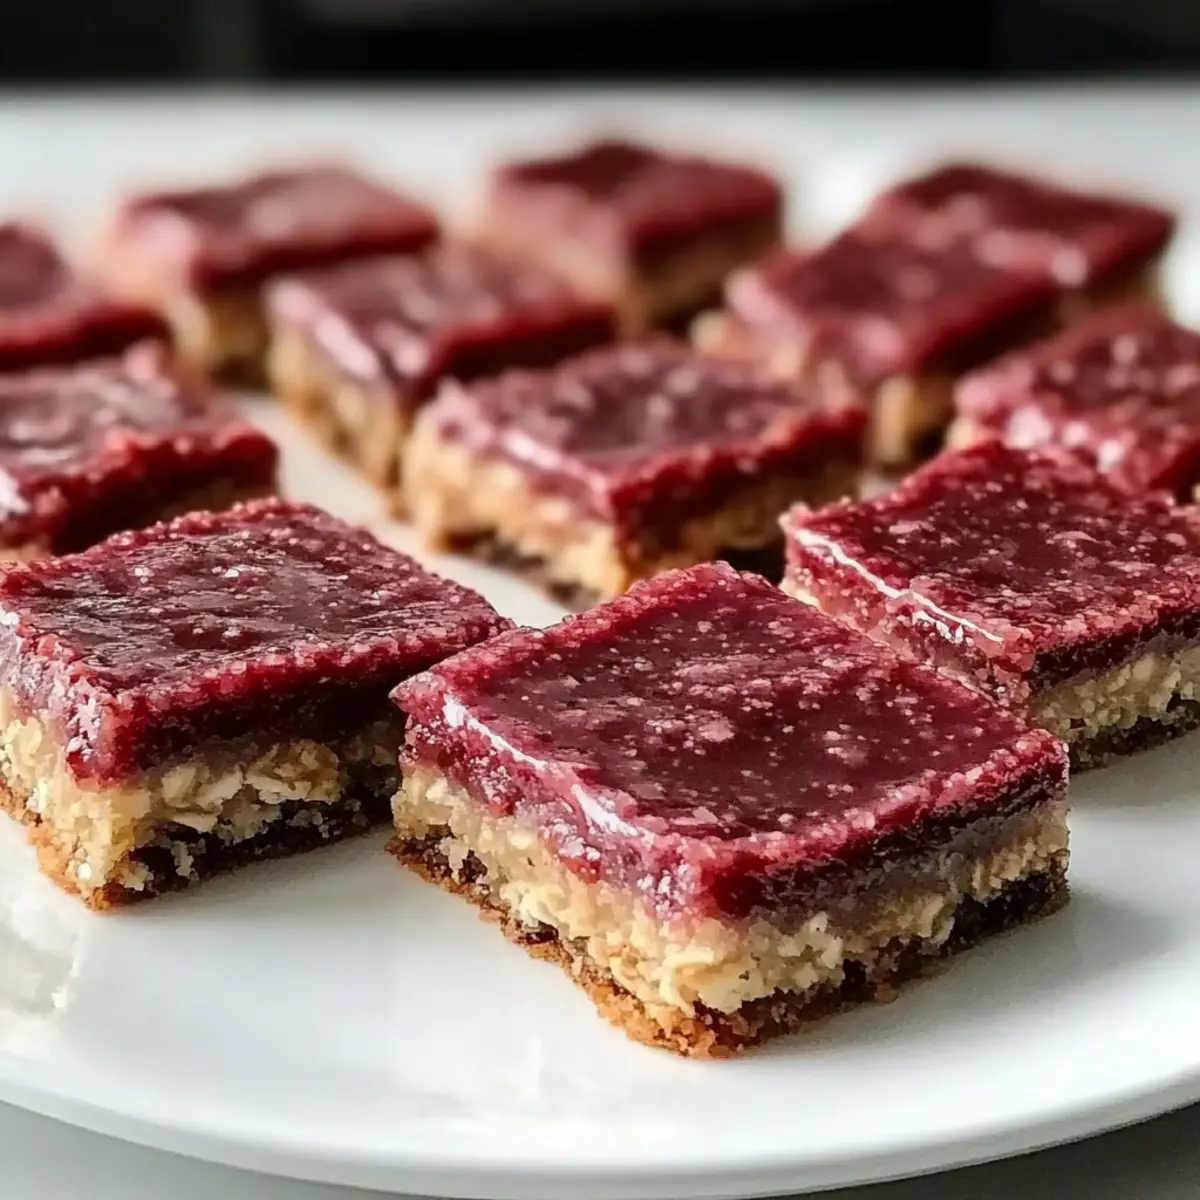
No Bake Rhubarb Cheesecake Squares for Effortless Indulgence
Ingredients
Equipment
Method
- In a medium bowl, combine the oats, nut butter, honey (or maple syrup), and cocoa powder. Mix until fully integrated.
- Prepare a baking sheet by lining it with parchment paper. Scoop out the mixture and shape it into cookies.
- Place the baking sheet in the refrigerator and chill the cookies for about 30 minutes.
- Once chilled and firm, serve the cookies chilled or pack some for a snack on the go.
Leave a Reply