
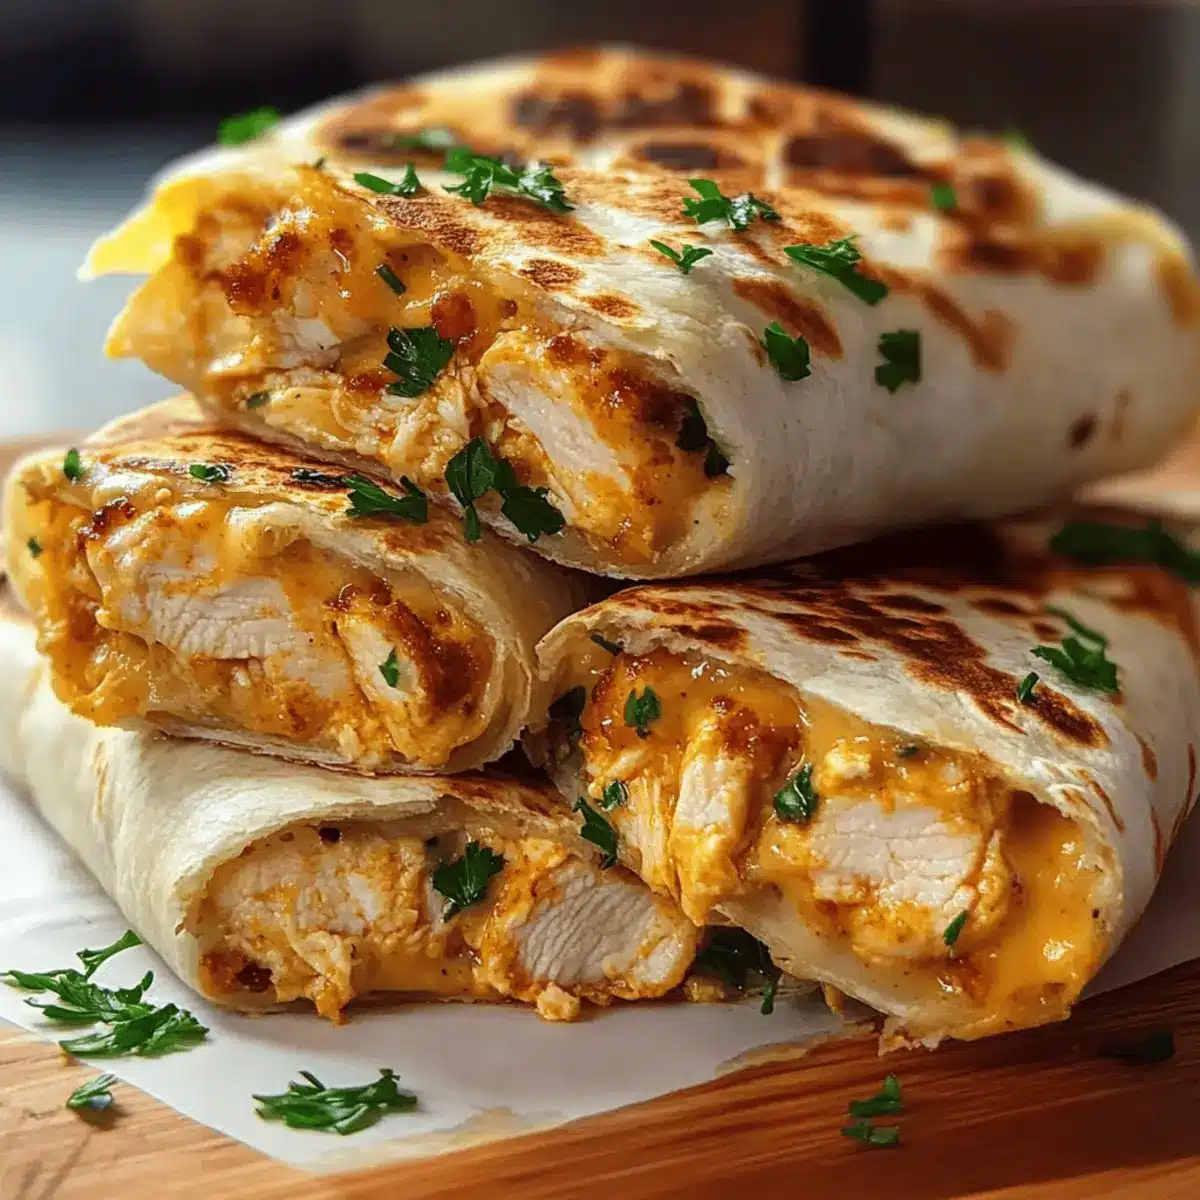
As I stood in my kitchen, the enticing aroma of sizzling garlic filled the air, instantly transporting me to a cozy, memory-laden family diner. That’s when I knew—tonight’s dinner had to be my Ooey-Gooey Cheesy Garlic Chicken Wraps. Combining juicy chicken, melty cheese, and savory garlic, this recipe is a go-to for a quick meal or a casual get-together. Trust me, the best part lies in its adaptability: swap in your favorite cheese or toss in some greens for a fresh twist! Plus, these wraps come together in no time, making them perfect for busy weeknights or unexpected guests. Are you ready to turn your ordinary dinners into something extraordinary?
Why Are These Wraps So Irresistible?
Simplicity: With just a few ingredients, you can whip up these wraps in no time, making them perfect for busy weeknights.
Flavor Explosion: The combination of melty cheese, juicy chicken, and aromatic garlic creates a satisfyingly rich flavor profile that everyone will love.
Versatile: Customize the fillings to your liking—try swapping cheddar for pepper jack or adding spinach for a nutrition boost.
Crowd-Pleaser: These wraps are ideal for casual gatherings or family dinners, pleasing both kids and adults alike. Looking for more delicious chicken ideas? Check out my Sticky Garlic Chicken or Chicken Vesuvio Cozy recipes!
Ooey-Gooey Cheesy Garlic Chicken Wraps Ingredients
Get ready to create the ultimate comfort dish that will have everyone asking for seconds!
For the Filling
- Chicken (diced) – Provides protein and substance; using rotisserie chicken saves time and effort.
- Garlic (minced) – Adds aromatic depth and savory flavor, elevating the wrap experience.
- Cheddar Cheese (shredded) – Offers sharpness and gooey texture; feel free to swap for pepper jack for an extra kick!
For the Wraps
- Tortillas – Encases the delicious filling; gluten-free or low-carb tortillas can cater to dietary needs.
- Olive oil – Used for sautéing the garlic and chicken, imparting a rich, savory taste.
- Butter – Perfect for crisping up the wraps in the skillet, enhancing flavor and texture.
For the Garnish
- Parsley (chopped) – Adds a fresh finish, brightening up the dish and making it visually appealing.
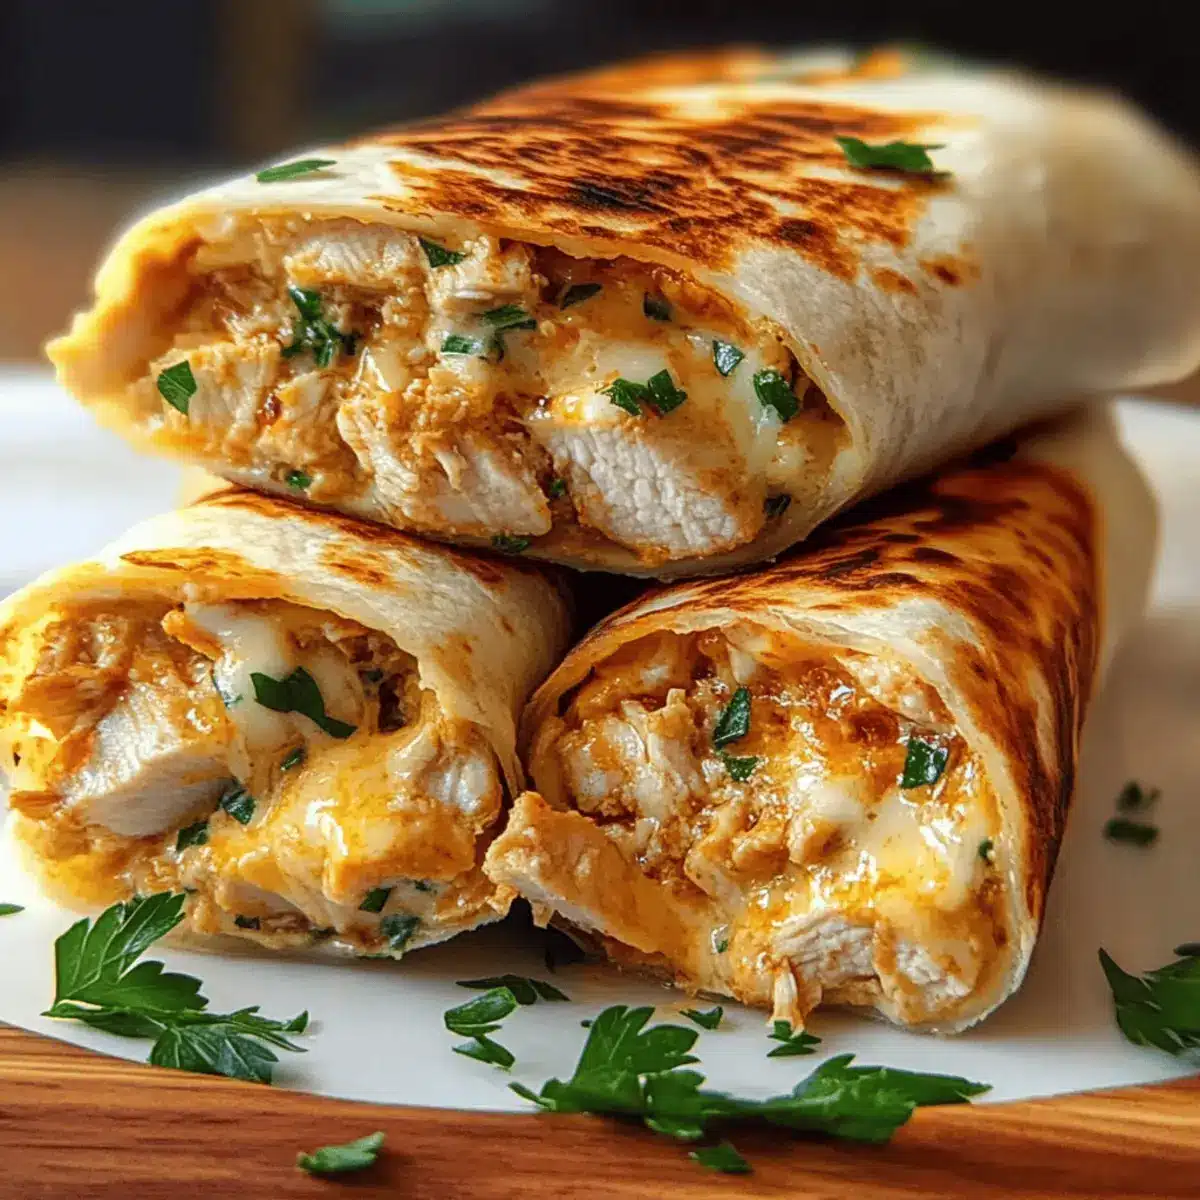
These Ooey-Gooey Cheesy Garlic Chicken Wraps are not just a meal; they’re a delightful experience waiting to happen!
Step‑by‑Step Instructions for Ooey-Gooey Cheesy Garlic Chicken Wraps
Step 1: Prepare the Chicken
Start by cooking your diced chicken in a pan over medium heat for about 5–7 minutes, seasoning with salt and pepper to taste. If you’re short on time, using pre-cooked rotisserie chicken can save you effort. Once the chicken is fully cooked and no longer pink, remove it from the heat and set it aside.
Step 2: Sauté the Garlic
In the same skillet, add a splash of olive oil over medium heat and wait until it shimmers. Add the minced garlic, stirring constantly for about 30 seconds to 1 minute, until it turns golden and fragrant. This step is crucial as it enhances the flavor of your Ooey-Gooey Cheesy Garlic Chicken Wraps, giving them that delightful garlic aroma.
Step 3: Combine Chicken and Garlic
Once the garlic is ready, add the cooked chicken back into the skillet, mixing it well to combine with the sautéed garlic. Remove the skillet from the heat after 1-2 minutes; this will ensure the chicken absorbs all the garlicky goodness while keeping it warm for the next step.
Step 4: Add the Cheese
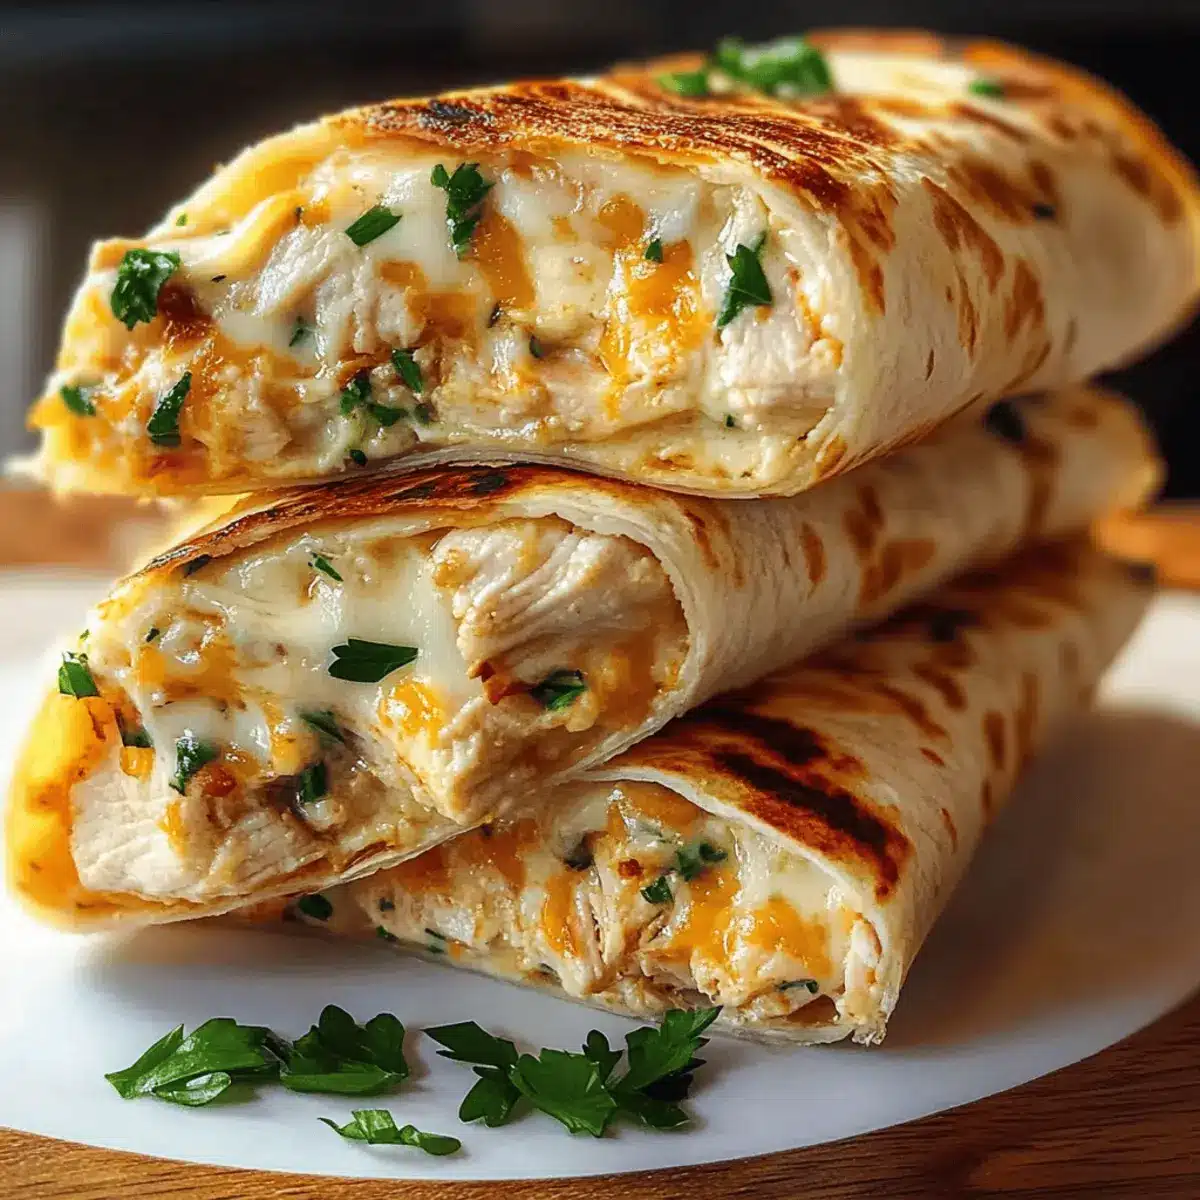
With the chicken still warm, sprinkle your shredded cheddar cheese into the mixture. Stir gently until the cheese starts to melt and envelop the chicken, creating a luscious filling. The warmth helps the cheese blend seamlessly, enhancing the ooey-gooey nature of your cheesy garlic chicken wraps.
Step 5: Fill the Tortillas
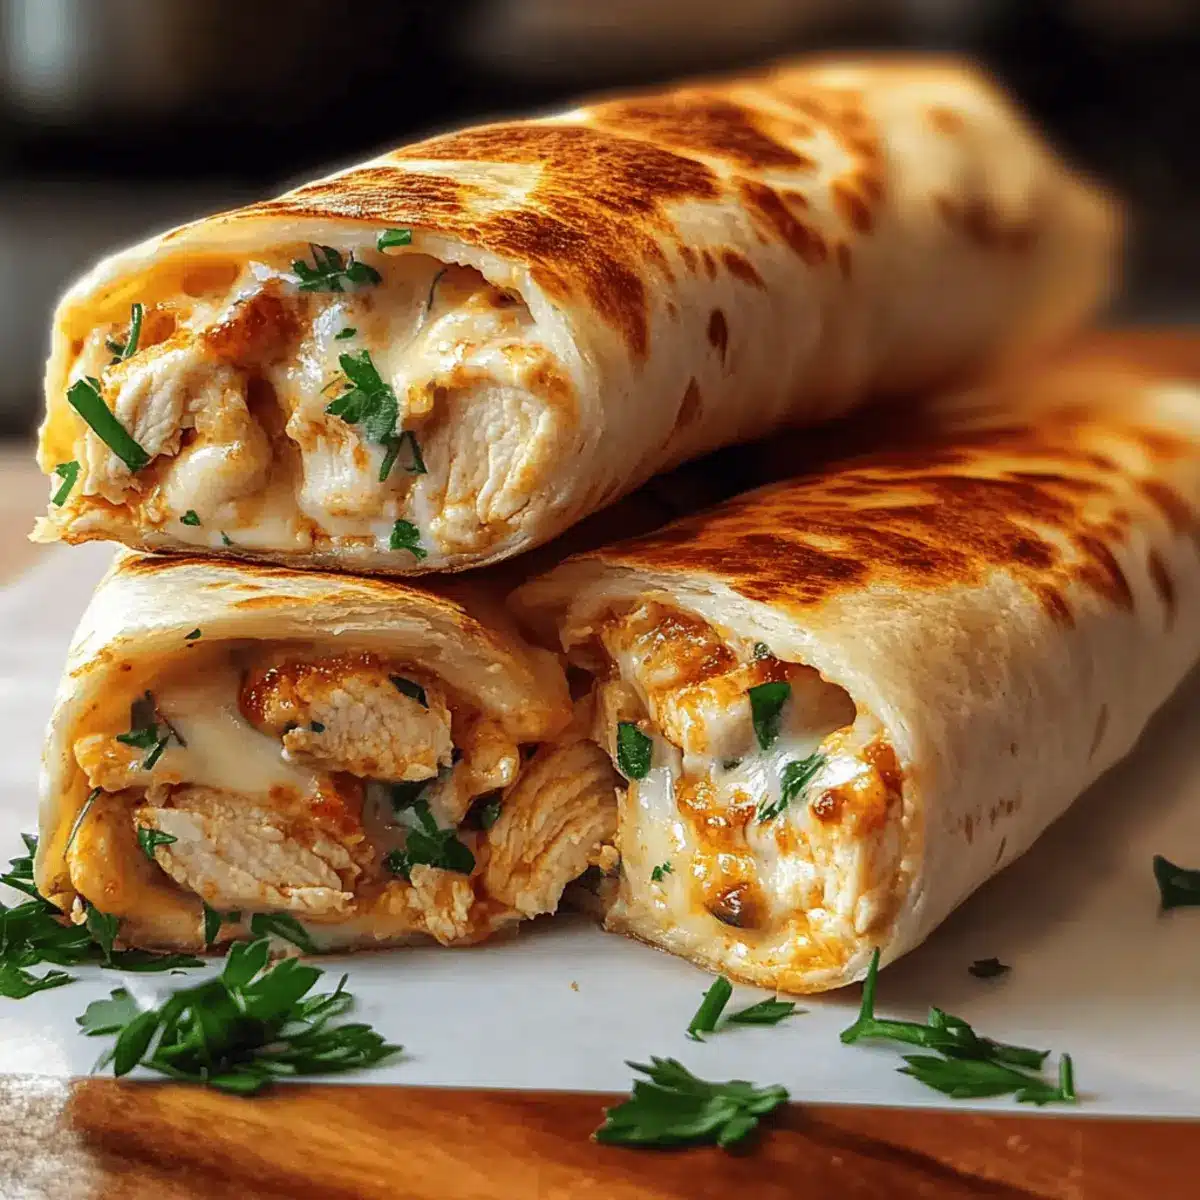
Lay out your tortillas on a flat surface, placing a generous amount of the cheesy chicken filling in the center of each one. Fold the sides inwards, then roll tightly from the bottom up to secure the filling, ensuring no cheesy goodness escapes. The tortillas act as a cozy blanket for the flavorful filling, making each bite a treat.
Step 6: Toast the Wraps
In a clean skillet, melt a small amount of butter over medium heat. Once melted and bubbling, place the wrapped tortillas seam-side down in the skillet. Toast for about 2–3 minutes on each side until they’re golden brown and crispy. This step ensures a satisfying crunch that complements the gooey filling of your Ooey-Gooey Cheesy Garlic Chicken Wraps.
Step 7: Cool and Garnish
After toasting, remove the wraps from the skillet and allow them to cool for a minute. This will make them easier to slice. If desired, sprinkle with freshly chopped parsley for a burst of color and flavor. Your Ooey-Gooey Cheesy Garlic Chicken Wraps are now ready to be enjoyed—slice and serve them fresh!
Ooey-Gooey Cheesy Garlic Chicken Wraps Variations
Feel free to get creative with these wraps and make them your own, tantalizing your taste buds with delicious twists!
-
Cheese Swap: Use pepper jack for extra heat or gouda for creaminess—each brings a unique flavor profile to the dish.
-
Veggie Boost: Include sautéed spinach, bell peppers, or mushrooms for a nutritious twist. Adding greens brightens the taste and texture!
-
Ground Chicken: Substitute diced chicken with cooked ground chicken for a different texture and flavor. This change adds a savory richness to your wraps.
-
Tortilla Variety: Use whole wheat tortillas for a healthier option or opt for corn tortillas for a gluten-free alternative. It’s all about catering to your dietary needs!
-
Spicy Twist: Add crushed red pepper flakes or jalapeños for a spicy kick that elevates the flavor. Feel the warmth with every bite.
-
Garlic Lover’s Delight: For more garlic flavor, infuse the olive oil with garlic or add roasted garlic to the filling. It’s a garlic lover’s dream come true!
-
Creamy Touch: Stir in a dollop of cream cheese or sour cream into the filling before rolling for added creaminess and a tangy flavor.
These adaptable wraps are perfect for customizing, just like my delicious Wonton Rotisserie Chicken or lovely Chicken Shawarma Garlic dishes!
Expert Tips for Ooey-Gooey Cheesy Garlic Chicken Wraps
-
Chicken Perfection: Ensure your chicken is thoroughly cooked, and cut it into small, even pieces for consistent distribution in the wraps.
-
Garlicky Goodness: For an extra garlic punch, consider brushing your tortillas with garlic-infused butter before toasting them.
-
Melt Wisely: Combine the cheeses with the warm chicken and garlic mixture to promote melting; this creates that signature ooey-gooey texture.
-
Crispy Reheating: To keep your wraps crispy when reheating, avoid the microwave. Instead, use a skillet or toaster oven for the best results.
-
Customizable Fillings: Don’t hesitate to experiment with different cheese varieties or add veggies like spinach or bell peppers for a tasty twist in your cheesy garlic chicken wraps.
Make Ahead Options
These Ooey-Gooey Cheesy Garlic Chicken Wraps are perfect for busy weeknights when meal prep is key! You can easily prepare the chicken and garlic mixture up to 24 hours in advance. Simply cook and combine the diced chicken with sautéed garlic and let it cool before storing in an airtight container in the refrigerator. To maintain the wraps’ deliciousness, assemble them right before cooking; this will ensure they stay crispy when toasted. When you’re ready to serve, just fill the tortillas, toast them in a skillet for about 2-3 minutes on each side, and you’ll enjoy restaurant-quality results with minimal effort!
What to Serve with Ooey-Gooey Cheesy Garlic Chicken Wraps
The perfect meal awaits you, ready to tantalize your taste buds with delightful flavors and satisfying textures.
-
Fresh Green Salad: A crisp and refreshing accompaniment that balances the richness of the wraps while adding a vibrant pop of color.
-
Seasoned Potato Wedges: Crunchy and flavorful, these golden wedges provide a comforting touch that pairs wonderfully with the moist chicken and melty cheese.
-
Tomato Soup: This classic combo creates a cozy, nostalgic vibe, where the soup’s acidity beautifully cuts through the creaminess of the wraps.
-
Coleslaw: A zesty, crunchy slaw makes a fantastic palate cleanser, adding a touch of brightness and texture alongside the warm wraps.
-
Roasted Vegetables: Earthy and tender, roasted vegetables like zucchini and bell peppers enhance the meal’s nutritional profile while complementing the savory filling.
-
Garlic Bread: For those who can’t get enough garlic, serve crispy garlic bread to amp up the flavor and soak up any delicious wrap drippings.
-
Sparkling Lemonade: Refreshing and lightly sweet, this drink adds a delightful effervescence that will elevate your dining experience.
-
Chocolate Chip Cookies: For dessert, these sweet treats are a nostalgic finish that leaves everyone with warm memories and happy hearts after a savory meal!
How to Store and Freeze Ooey-Gooey Cheesy Garlic Chicken Wraps
- Room Temperature: Store wraps at room temperature for up to 2 hours if you plan to enjoy them soon; otherwise, refrigerate to prevent spoilage.
- Fridge: Keep the cheesy garlic chicken wraps in an airtight container in the fridge for up to 3 days. Reheat in a skillet for best results.
- Freezer: For longer storage, freeze the wraps individually wrapped in plastic wrap and then placed in a freezer bag for up to 2 months.
- Reheating: To maintain that irresistible crispiness, reheat frozen wraps in a skillet over medium heat for 5–7 minutes, flipping halfway through. Enjoy your ooey-gooey cheesy garlic chicken wraps!
Ooey-Gooey Cheesy Garlic Chicken Wraps Recipe FAQs
How do I choose the best garlic for this recipe?
Absolutely! Look for fresh garlic bulbs that are firm and feel heavy for their size. Avoid bulbs with dark spots or any signs of sprouting as these can affect the flavor. When you peel the cloves, they should be plump and juicy, infusing your wraps with maximum aromatic depth.
What’s the best way to store leftover wraps?
Store your Ooey-Gooey Cheesy Garlic Chicken Wraps in an airtight container in the fridge for up to 3 days. If you plan to eat them later, I recommend reheating them in a skillet to bring back that crispy texture instead of using a microwave, which can make them soggy.
Can I freeze these wraps?
Certainly! To freeze, first, let the wraps cool completely. Then, wrap each one tightly in plastic wrap to prevent freezer burn, and place them in a freezer bag. They can be frozen for up to 2 months. When you’re ready to enjoy them, simply reheat them in a skillet over medium heat for about 5–7 minutes—flipping midway for even crispiness.
What if my wraps aren’t crispy when I cook them?
If your wraps are turning out soggy, try increasing the heat slightly while toasting them in the skillet. Ensure that you don’t overcrowd the pan; toast only a few wraps at a time. The butter should be bubbling before you add the wraps for that perfect golden-brown finish. Also, make sure to allow them enough time to toast on each side—2-3 minutes should do the trick!
Are these wraps safe for my allergies?
Always a great question! This recipe contains common allergens like dairy and gluten based on the use of cheese and tortillas. For those with gluten intolerances, I recommend using gluten-free tortillas. Always check the labels on your cheese and other ingredients to ensure they meet your dietary needs. If you’re preparing these for someone with allergies, feel free to swap in alternative fillings or cheeses that cater to their diet.
Can I make these wraps vegetarian-friendly?
Very much so! To make Ooey-Gooey Cheesy Garlic Chicken Wraps vegetarian, simply replace the chicken with cooked vegetables like zucchini, bell peppers, or mushrooms. You can also include plant-based proteins like tofu or chickpeas for added substance. The key is to ensure your fillings are well-seasoned and cooked to enhance the overall flavors. Enjoy the flexibility of customization!
Ultimate Ooey-Gooey Cheesy Garlic Chicken Wraps Everyone Loves
Ingredients
Equipment
Method
- Cook the diced chicken in a pan over medium heat for 5–7 minutes, seasoning with salt and pepper. Set aside once fully cooked.
- Add olive oil to the skillet and sauté minced garlic for 30 seconds to 1 minute until golden and fragrant.
- Mix the cooked chicken with the sautéed garlic in the skillet and heat for 1-2 minutes.
- Sprinkle shredded cheddar cheese into the mixture and stir until melted.
- Lay tortillas flat and place a generous amount of the chicken filling in the center. Fold sides and roll tightly.
- Melt butter in a skillet over medium heat and toast the wraps seam-side down for 2–3 minutes on each side until golden brown.
- Allow the wraps to cool for a minute, then slice and garnish with chopped parsley before serving.
Leave a Reply