
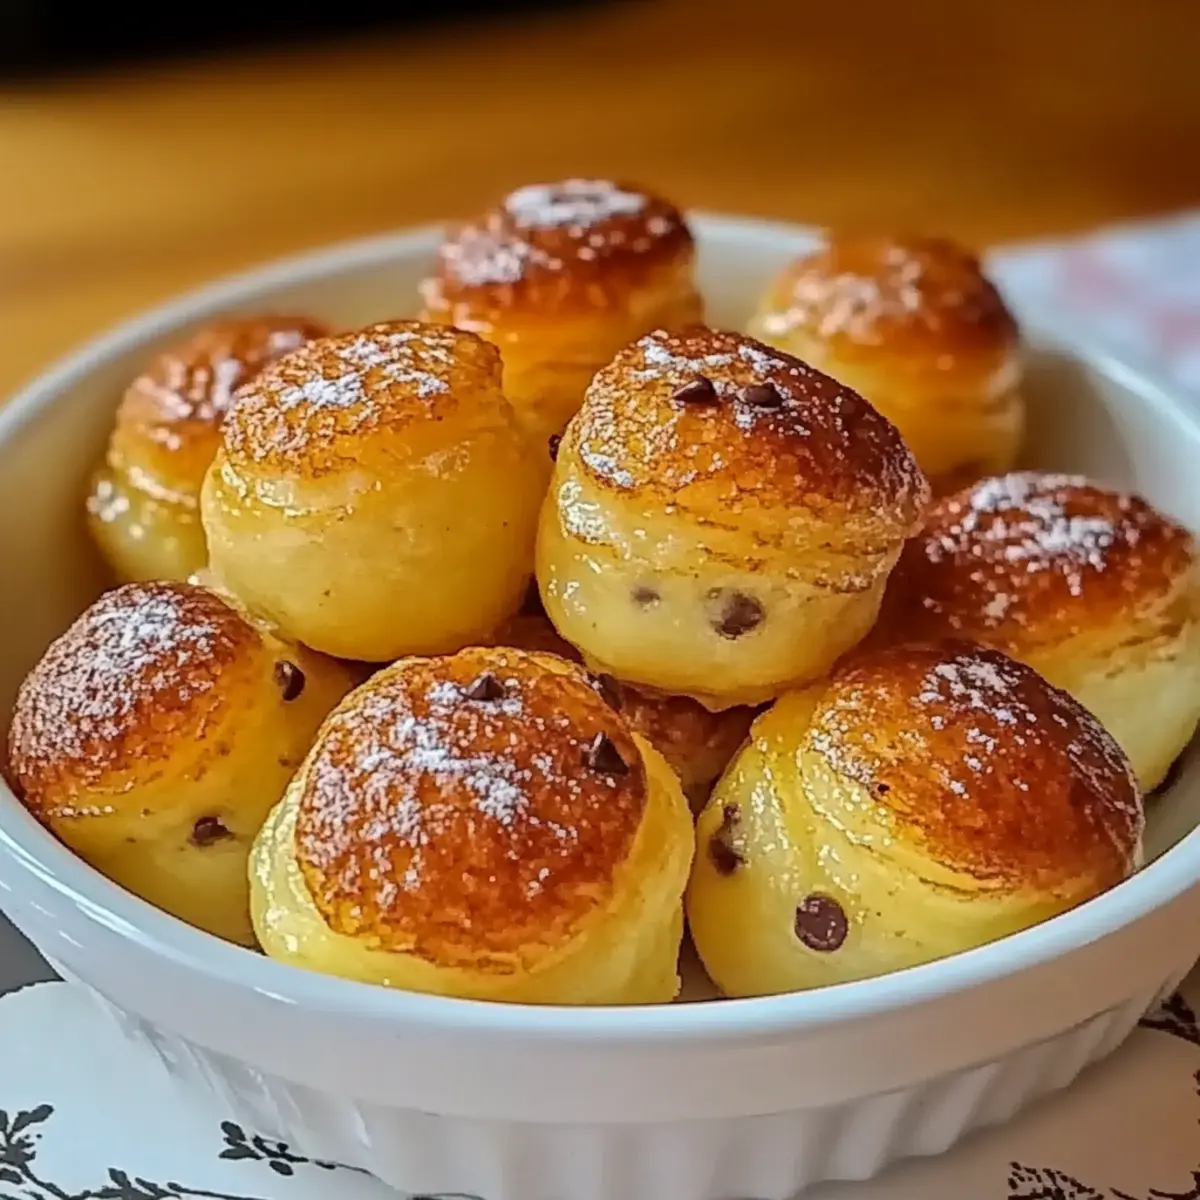
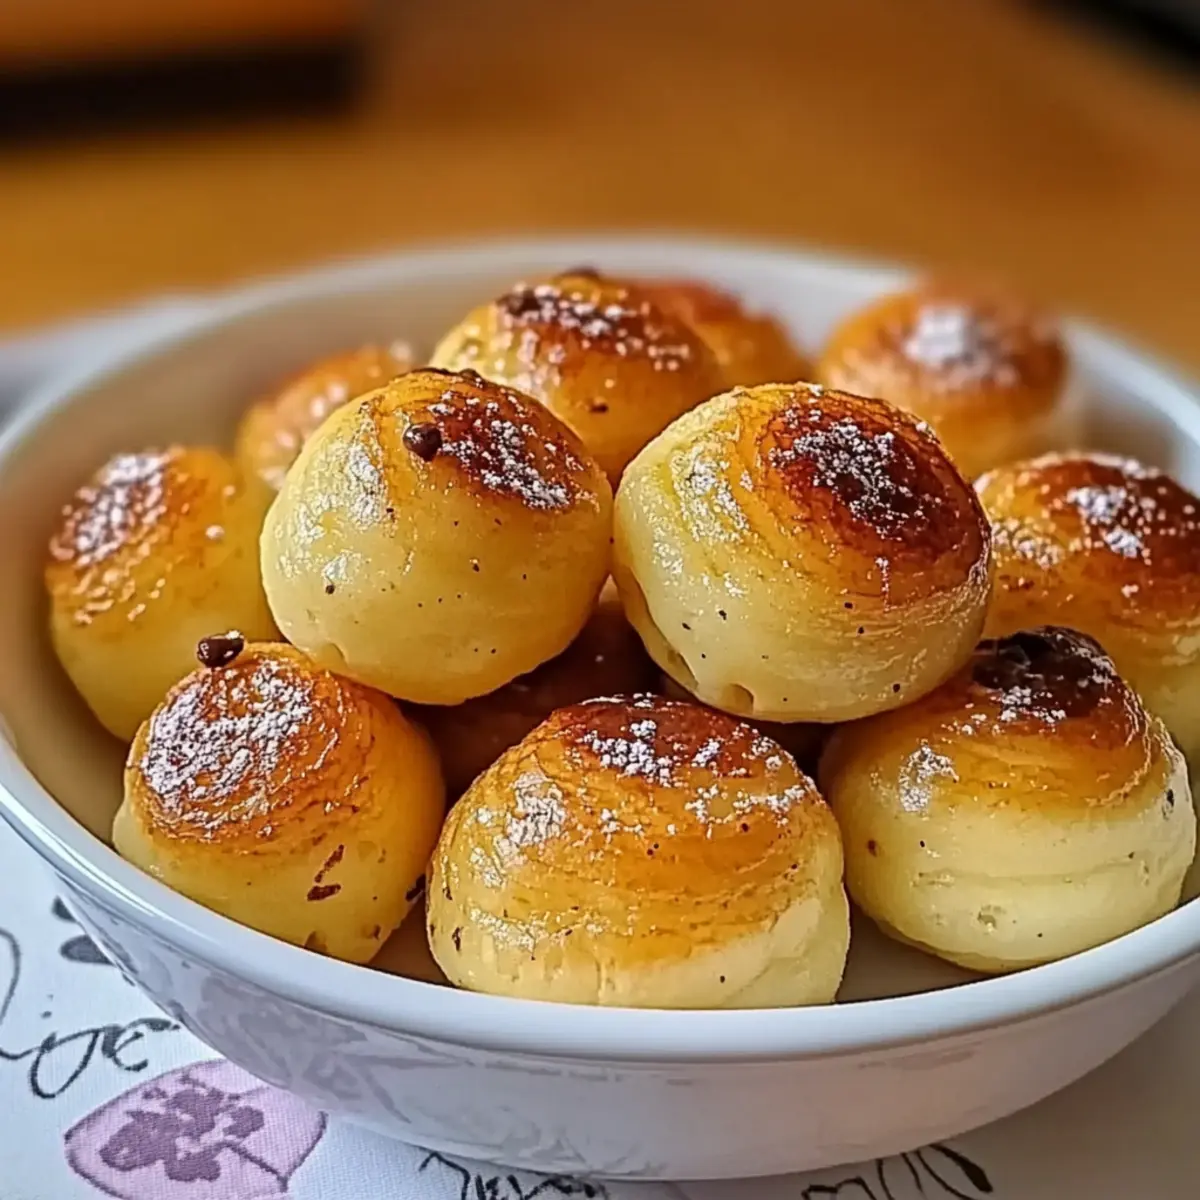
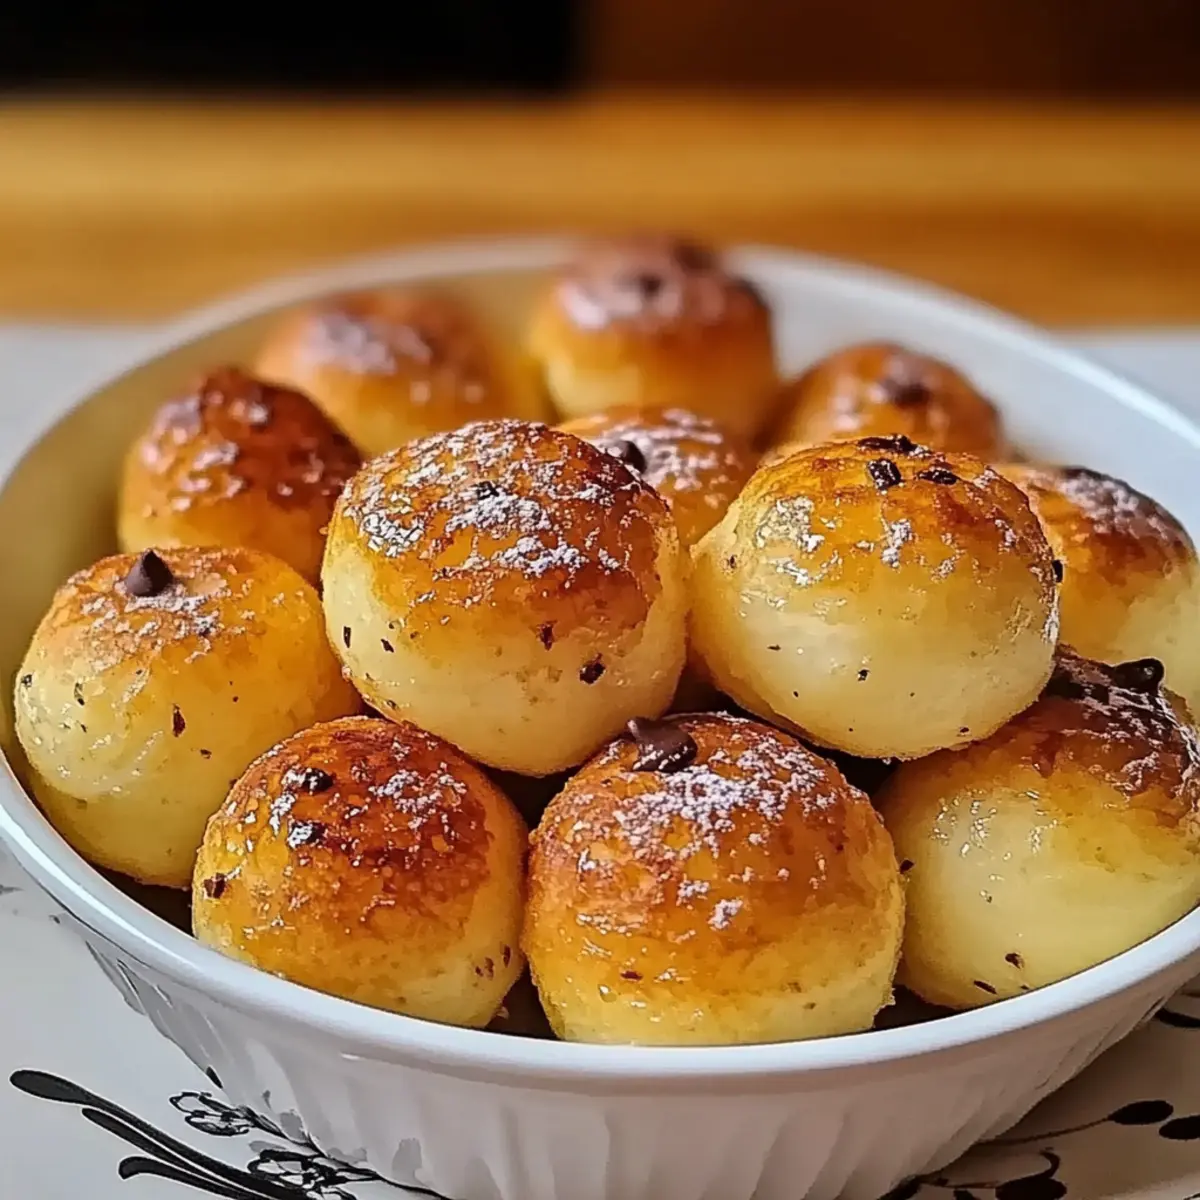
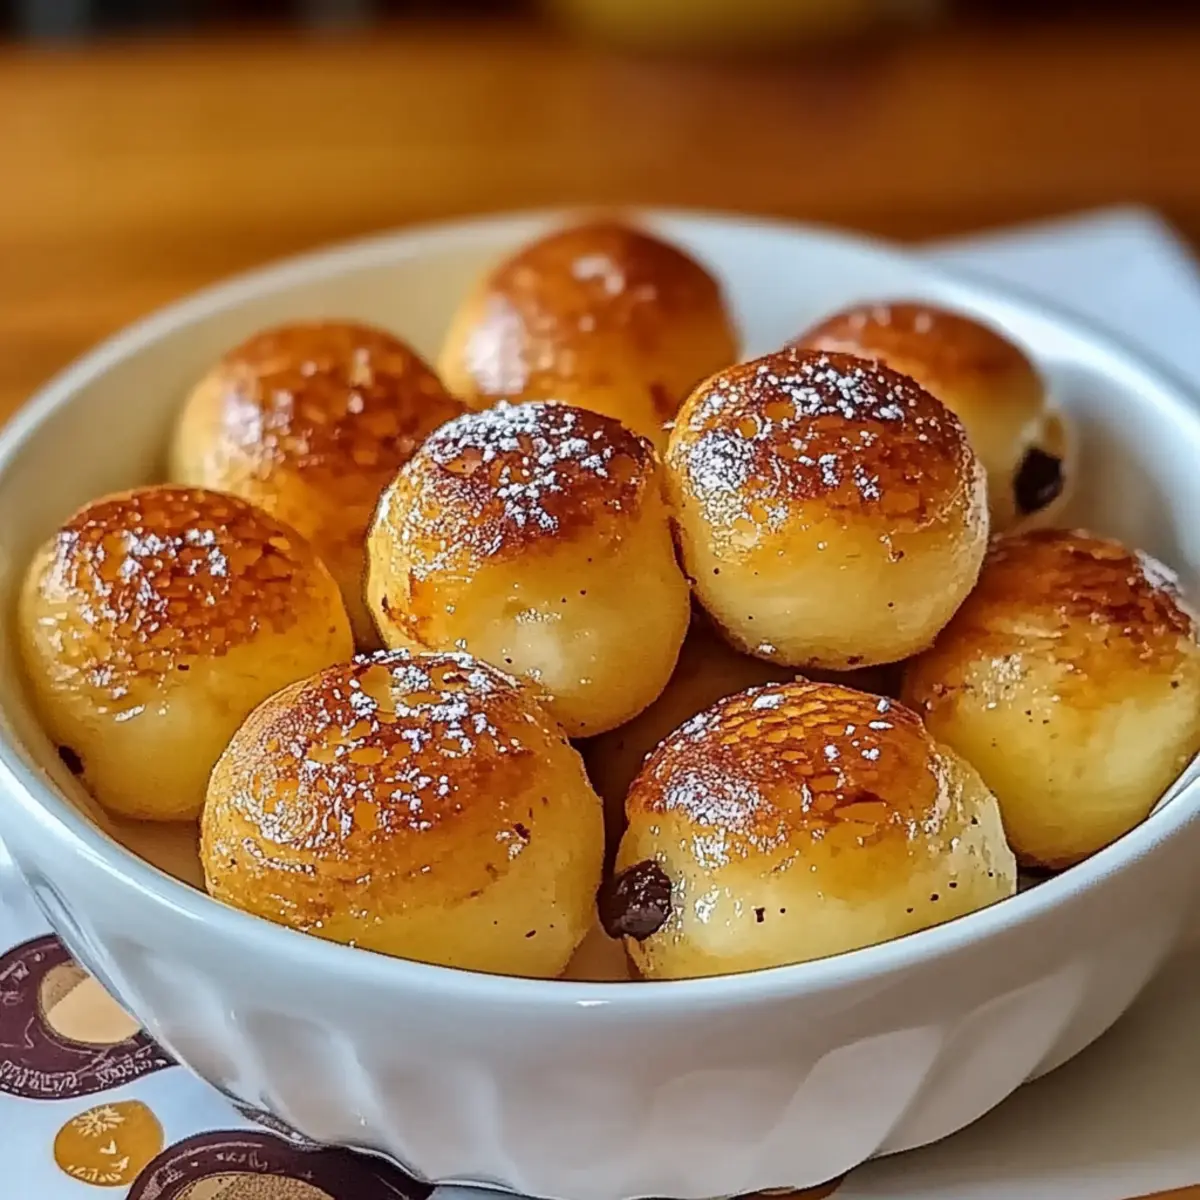
Have you ever found yourself torn between wanting a hearty breakfast and the need for a quick, on-the-go option? Fluffy Baked Pancake Poppers are here to save the day! These delightful bite-sized treats combine the classic comfort of pancakes with the ease of baking—no flipping required. Perfectly fluffy on the inside and slightly crisp on the outside, they lend themselves to endless customization, making them a favorite for both kids and adults alike. Plus, they’re freezer-friendly, so you can whip up a batch and enjoy them anytime! Whether you choose to load them with berries, chocolate chips, or even a savory twist, these pancake poppers bring joy to your table. Are you ready to discover your new breakfast obsession?
Why You’ll Love These Pancake Poppers
Convenience: These pancake poppers are baked, eliminating the need for flipping, making breakfast a breeze.
Ultimate Customization: Mix in your favorite ingredients, from chocolate chips to seasonal fruit, ensuring no two batches are ever the same!
Kid-Friendly: Their bite-sized nature captures kids’ attention, turning breakfast into a fun and interactive experience.
Make Ahead: Batch prep is a dream! Freeze them for a quick meal solution anytime, perfect for busy mornings.
Nutritional Boost: Easily adapt with healthier options like whole wheat flour or natural sweeteners.
Check out more delightful recipes like Southern Style Poppers for more kid-approved meals!
Pancake Poppers Ingredients
-
For the Batter
-
Flour – Provides structure and creates a tender crumb; for gluten-free options, use a gluten-free flour blend.
-
Sugar – Adds sweetness; consider honey or maple syrup as a natural substitute for refined sugar.
-
Baking Powder & Baking Soda – Essential leavening agents that contribute to the fluffiness of your pancake poppers.
-
Salt – Enhances flavor and balances sweetness.
-
Buttermilk – Activates leaveners, ensuring a fluffy texture; substitute regular milk mixed with vinegar or lemon juice if needed.
-
Egg – Adds richness and binds ingredients together; a flax egg is a great egg-free substitution.
-
Melted Butter – Contributes moisture and flavor; coconut oil can be used for a dairy-free alternative.
-
Optional Mix-ins
-
Chocolate Chips – For a sweet surprise in every bite; kids love them!
-
Berries – Add fresh or frozen berries for bursts of flavor; they also provide a nutritional boost.
-
Nut Butter – A delicious option for added richness and protein.
Unlock the joy of making your own Pancake Poppers with these simple ingredients and customizable possibilities!
Step‑by‑Step Instructions for Pancake Poppers
Step 1: Preheat the Oven
Begin by preheating your oven to 375°F (190°C). While the oven is heating, take a mini muffin tin and lightly grease each cup with butter or non-stick spray to ensure your pancake poppers release easily after baking. This step is crucial for achieving that delightful, slightly crispy exterior.
Step 2: Mix Dry Ingredients
In a large mixing bowl, combine the dry ingredients: flour, sugar, baking powder, baking soda, and salt. Whisk them together thoroughly to ensure they are evenly mixed. This will create a well-blended base and contribute to the fluffiness of your pancake poppers. Set this bowl aside while you prepare the wet ingredients.
Step 3: Prepare Wet Ingredients
In a separate bowl, whisk together the wet ingredients: buttermilk, egg, vanilla extract, and melted butter until the mixture is smooth and well combined. Make sure there are no lumps of butter, as evenly blended wet ingredients help contribute to the light and airy texture of the pancake poppers.
Step 4: Combine Mixtures
Gently pour the wet mixture into the bowl of dry ingredients. Using a spatula, fold the ingredients together until just combined; some lumps should still remain, as overmixing can lead to dense pancake poppers. This careful mixing technique ensures that your pancake poppers remain fluffy once baked.
Step 5: Add Mix-ins
If you’d like to customize your pancake poppers, fold in your chosen mix-ins gently at this stage. Whether it’s chocolate chips, berries, or nut butter, mix them evenly throughout the batter, ensuring that every bite will be a delightful surprise. This is where the fun begins with your pancake poppers!
Step 6: Fill the Muffin Tin
Using a spoon or a small ice cream scoop, fill each mini muffin cup about three-quarters full with the batter. This will allow room for the batter to rise and create a lovely dome shape as they bake. Shortcut the mess by using a piping bag for more precise filling!
Step 7: Bake the Pancake Poppers
Place the filled muffin tin in the preheated oven and bake for 12-15 minutes. Keep an eye on them after the 12-minute mark; they are ready when they turn golden brown and a toothpick inserted into the center comes out clean. The aroma of these baking pancake poppers will surely make your kitchen feel inviting!
Step 8: Cool and Serve
Once baked, remove the muffin tin from the oven and let it cool for a few minutes. Carefully run a knife around the edges of each popper to help release them from the tin. Serve the pancake poppers warm, enjoying them on their own or with your favorite syrup or dipping sauce.
How to Store and Freeze Pancake Poppers
Fridge: Store pancake poppers in an airtight container for up to 4 days. Allow them to cool completely before sealing to prevent moisture buildup.
Freezer: For longer storage, freeze pancake poppers in a single layer on a baking sheet. Once frozen, transfer them to a freezer-safe container or bag for up to 3 months.
Reheating: Reheat frozen pancake poppers in the microwave for 30-60 seconds or in a toaster oven until warm and slightly crispy. Enjoy these delightful snacks any time!
What to Serve with Fluffy Baked Pancake Poppers
Elevate your Pancake Poppers experience with delightful accompaniments that bring textures and flavors to the forefront.
-
Maple Syrup: The perfect sweet companion, this classic pairing adds a drizzle of warmth and sweetness to every bite.
-
Fresh Berries: Bursting with flavor and color, strawberries, blueberries, or raspberries provide a refreshing contrast to the fluffy poppers.
-
Whipped Cream: Light and airy, whipped cream transforms these poppers into a decadent treat, perfect for brunch or special occasions.
-
Yogurt Dip: Creamy and tangy, a yogurt dip not only enhances flavor but adds protein, turning your poppers into a more substantial snack.
-
Chocolate Sauce: For those with a sweet tooth, a decadent drizzle of chocolate sauce promises to turn breakfast into dessert.
For a delightful twist, consider serving a fruit compote on the side. It introduces a warm, fruity note that dances on your palate. These pairings make every bite of the pancake poppers an adventure, ensuring you can enjoy them any time of the day!
Expert Tips for Pancake Poppers
-
Avoid Overmixing: Gently mix the batter until just combined. Overmixing can lead to dense pancake poppers; a few small lumps are perfectly fine.
-
Proper Greasing: Ensure your muffin tin is well-greased to prevent sticking. This helps achieve that desired crispy exterior on each popper.
-
Let the Batter Rest: Allow the batter to sit for about 5 minutes before baking. This resting time enhances the texture of your pancake poppers.
-
Use Fresh Ingredients: Check the expiration dates on your baking powder and baking soda. Using fresh leavening agents is crucial for fluffy results.
-
Experiment with Mix-ins: Don’t be afraid to get creative! Try different mix-ins like nuts or spices for unique flavors in your pancake poppers.
Pancake Poppers Variations & Substitutions
Get ready to bring out your inner culinary artist; these pancake poppers are a canvas for your imagination and flavor!
-
Gluten-Free: Use a gluten-free flour blend instead of regular flour for a light and fluffy texture. It’s perfect for those with dietary restrictions without sacrificing flavor!
-
Sweeten Naturally: Substitute sugar with honey or maple syrup, providing a warm, rich sweetness that pairs beautifully with your morning coffee.
-
Richness Without Eggs: For an egg-free version, replace the egg with a flax egg (1 tablespoon of flaxseed meal mixed with 2.5 tablespoons of water). This swap not only adds depth but also is a fantastic way to enhance nutrition!
-
Dairy-Free Delight: Replace buttermilk with almond or oat milk mixed with a splash of vinegar for a delicious, dairy-free alternative. You won’t even miss the creaminess!
-
Flavor Boost: Add a teaspoon of vanilla extract or almond extract for an aromatic twist that makes each bite even more enchanting. These pancake poppers will feel like a warm hug on a plate!
-
Savory Spin: Skip the sugar and fold in grated cheese and herbs like rosemary or thyme for a savory twist. These savory poppers make for a sophisticated brunch item!
-
Fruit Fusions: Add seasonal fruits like mashed bananas or diced apples right into the batter for a naturally sweet and fruity flavor explosion with every popper.
-
Dipping Options: Consider serving with a variety of dips like yogurt, flavored cream cheese, or even a spicy maple dipping sauce for a fun and interactive experience! For more creative interactions at your table, try serving alongside some Southern Style Poppers for a delightful brunch spread.
Embrace the possibilities, and make these pancake poppers a family favorite that will never get old!
Make Ahead Options
These Pancake Poppers are perfect for meal prep, saving you time on hectic mornings! You can easily prepare the batter up to 24 hours in advance; simply mix the dry ingredients and wet ingredients separately, then combine just before baking. For an even more convenient option, scoop the batter into the greased mini muffin tin and cover it with plastic wrap; refrigerate overnight and bake fresh when you’re ready. To maintain their fluffy texture, be sure to follow the filling guidelines, allowing the batter to rest before baking. When you’re set to serve, bake them straight from the fridge, and enjoy delicious, warm pancake poppers with minimal effort!
Pancake Poppers Recipe FAQs
What type of flour should I use for Pancake Poppers?
Absolutely, the best flour for your pancake poppers is all-purpose flour, which provides a tender crumb. However, if you’re looking for a healthier option, you can substitute with whole wheat flour. For a gluten-free version, a gluten-free flour blend works perfectly; just ensure to follow the instructions on the package for the best results.
How should I store leftover pancake poppers?
When it comes to storage, place your pancake poppers in an airtight container and keep them in the refrigerator for up to 4 days. Make sure they are completely cool before sealing the container to keep them fresh and avoid sogginess.
Can I freeze pancake poppers, and how do I reheat them?
Yes, you can freeze pancake poppers! Lay them out in a single layer on a baking sheet until they are frozen solid, which usually takes about 1-2 hours. After that, transfer them to a freezer-safe container or bag where they can be stored for up to 3 months. To reheat, simply pop them in the microwave for 30-60 seconds or use a toaster oven until they are warming through and slightly crispy.
What can I do if my pancake poppers come out flat?
If you find your poppers are not as fluffy as you’d like, it might be due to expired baking powder or soda. Ensure you check those ingredients’ freshness. Additionally, avoid overmixing the batter as it can lead to a denser texture. Lumps are a-okay, and letting the batter rest for about 5 minutes can also improve fluffiness.
Are there any dietary considerations for pancake poppers?
Yes, absolutely! If egg-free, try substituting a flax egg, which is made by mixing 1 tablespoon of ground flaxseed with 2.5 tablespoons of water; let sit until it thickens. For dairy-free options, use almond milk mixed with a little vinegar or lemon juice in place of buttermilk as well as coconut oil instead of butter. Always keep in mind any allergies to ingredients like nuts or gluten when selecting mix-ins or substitutes!
Fluffy Pancake Poppers: Quick Bites for Family Fun
Ingredients
Equipment
Method
- Preheat the oven to 375°F (190°C) and grease a mini muffin tin.
- Mix dry ingredients: whisk together flour, sugar, baking powder, baking soda, and salt.
- In a separate bowl, whisk together buttermilk, egg, vanilla extract, and melted butter until smooth.
- Combine wet mixture with dry ingredients, folding until just combined.
- Add your chosen mix-ins gently into the batter.
- Fill mini muffin cups about three-quarters full with batter.
- Bake for 12-15 minutes or until golden brown. Check doneness with a toothpick.
- Cool for a few minutes, then run a knife around edges to release the poppers.
- Serve warm, optionally with syrup or dipping sauce.
Leave a Reply