
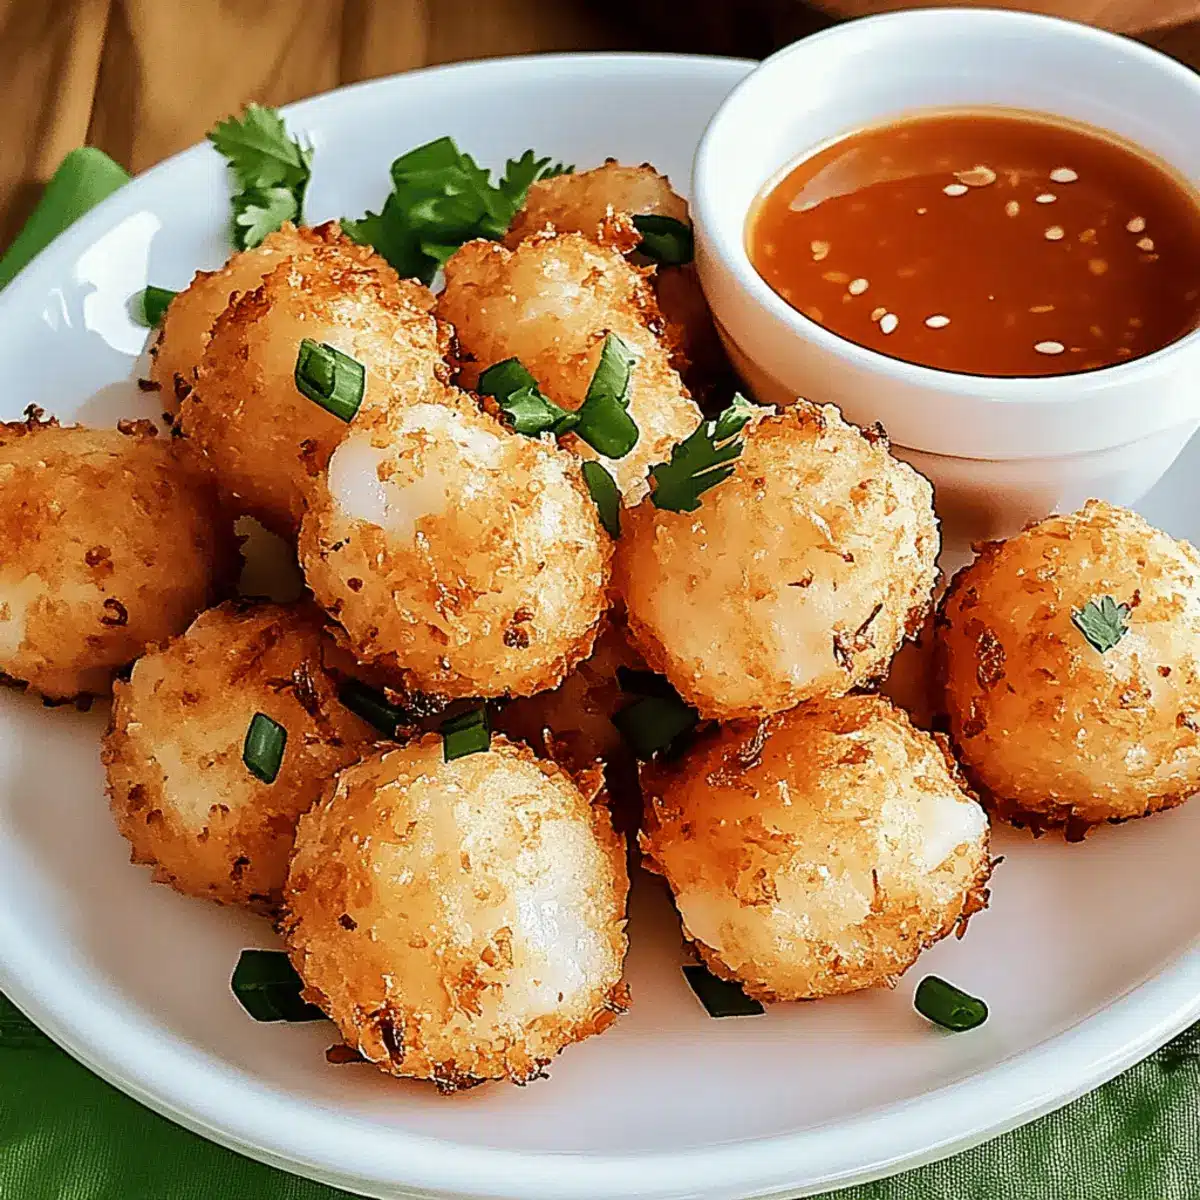
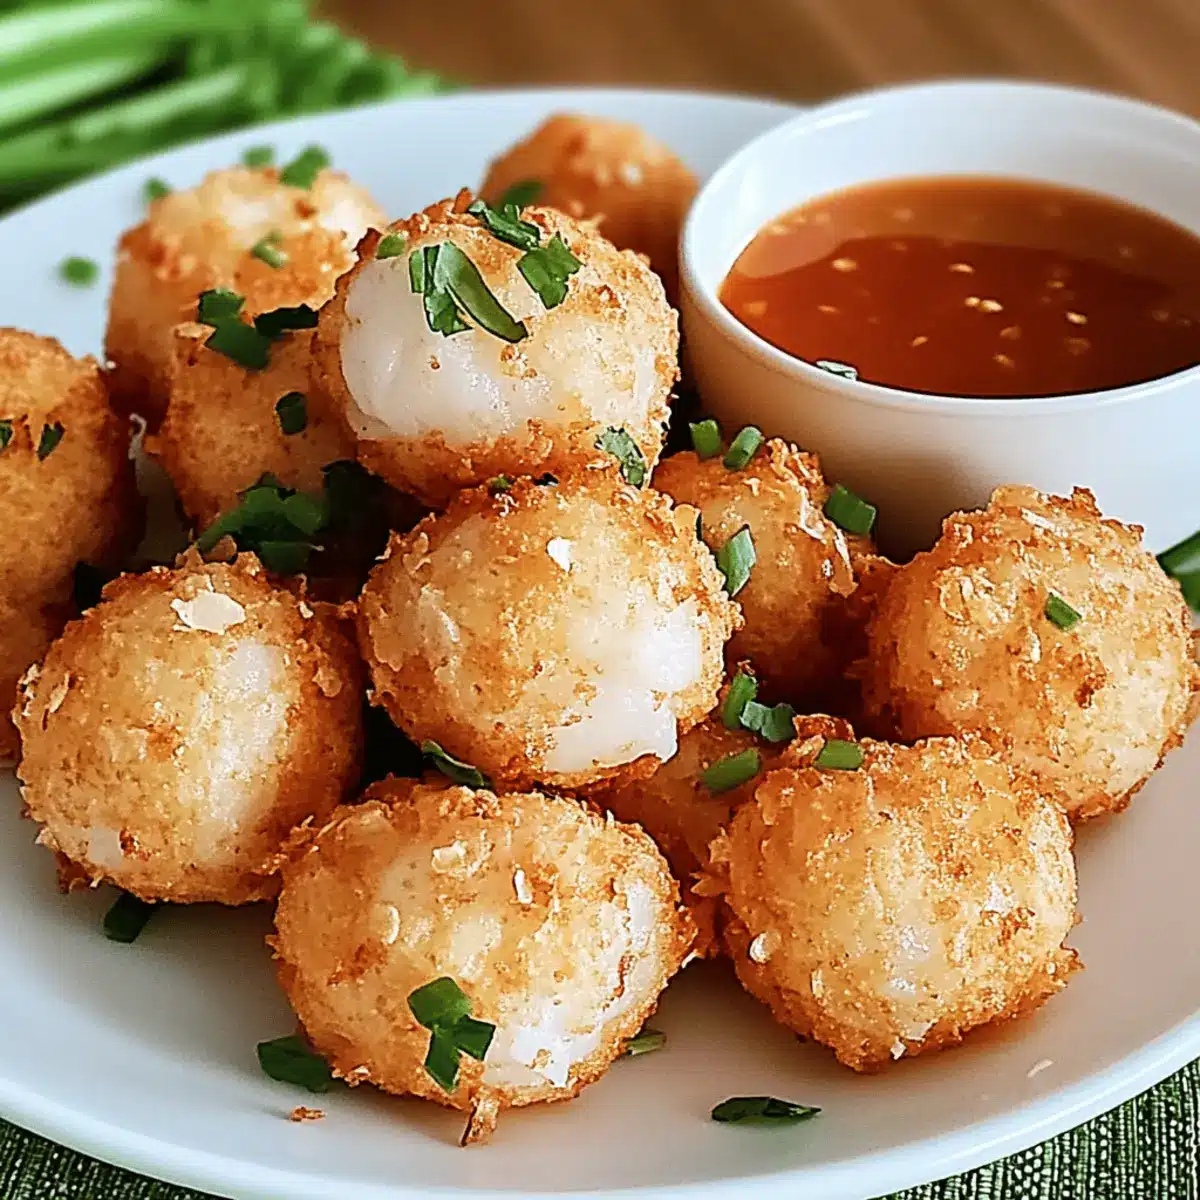
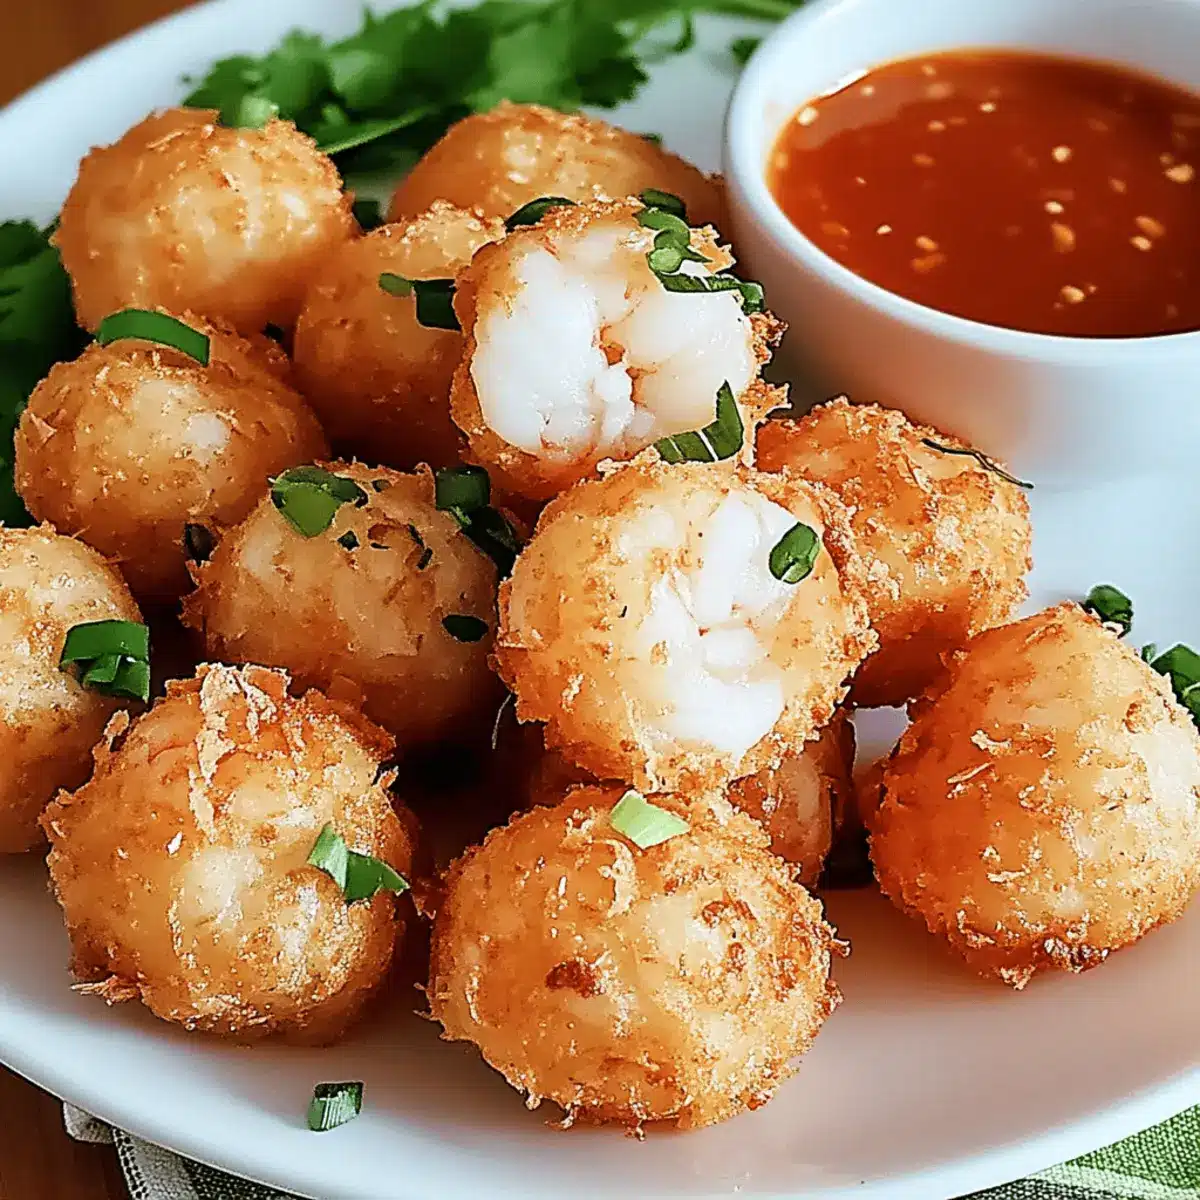
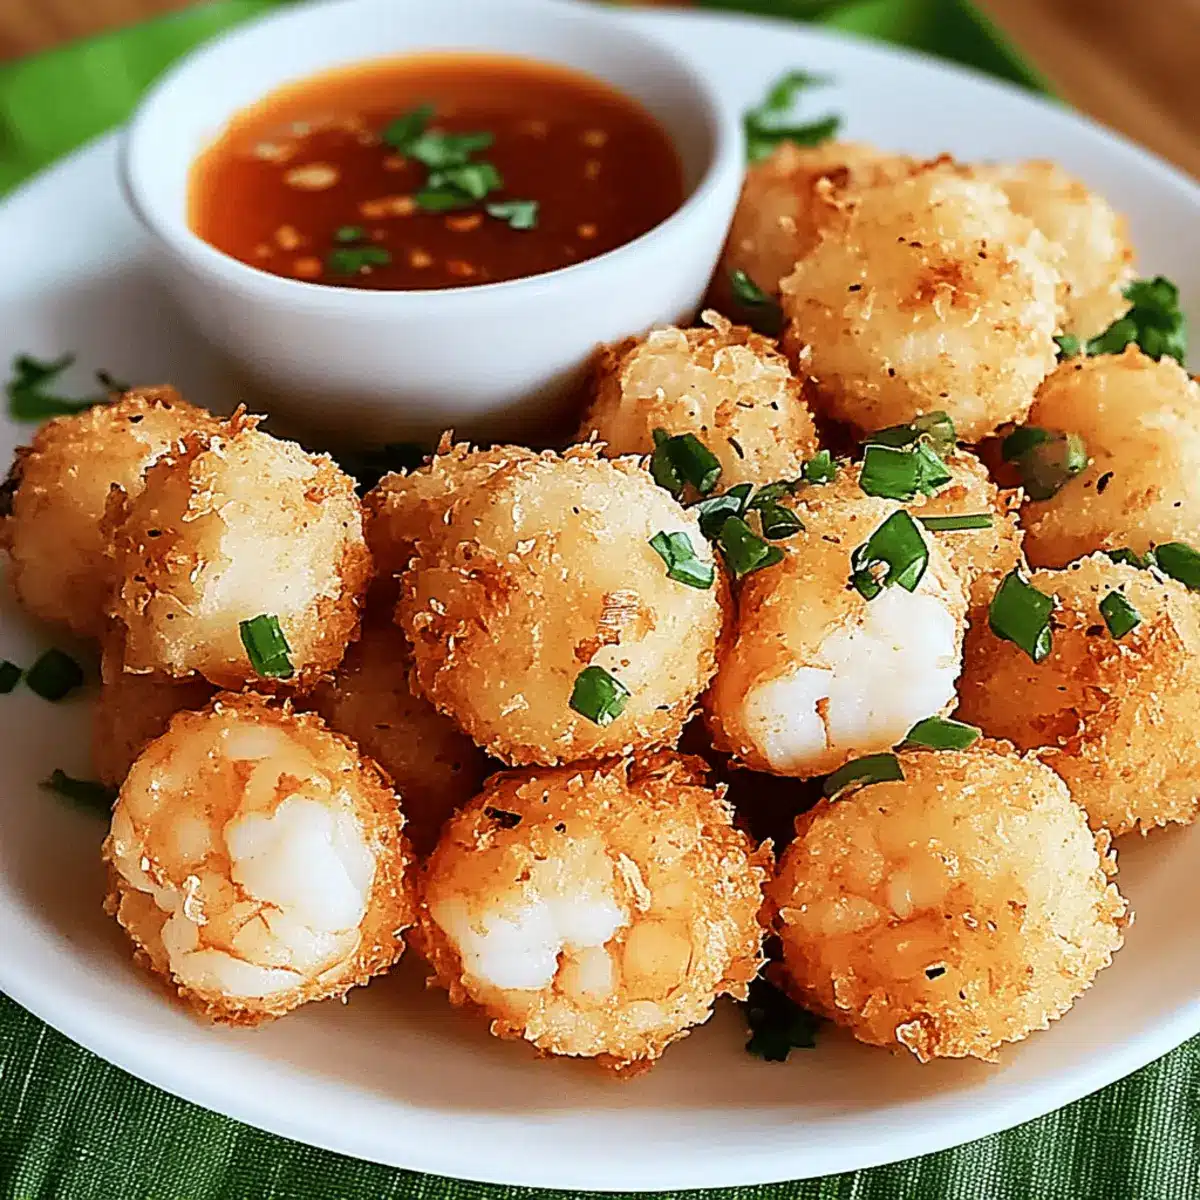
As the oil sizzles in the pan, the air fills with an irresistible, savory smell that instantly brings back memories of family gatherings and celebrations. Today, I’m excited to share my go-to Shrimp Balls Recipe that brings together the juicy sweetness of shrimp and a crispy exterior that’s just plain delightful. These little bites are not only quick to whip up but are also incredibly versatile—perfect for serving as a crowd-pleasing appetizer or a satisfying snack. Imagine your guests savoring the satisfying crunch with each bite, eager for more! So, are you ready to dive into a delicious adventure and make your kitchen the star of your next gathering?
Why are Shrimp Balls a must-try?
Irresistible Flavor: Each bite of these Shrimp Balls is packed with a savory, juicy shrimp taste complemented by delicious seasonings, ensuring that every mouthful is bursting with flavor.
Quick and Easy: This recipe is ideal for busy weeknights or last-minute gatherings—prepping and frying takes minimal time, leaving you more moments to enjoy with loved ones.
Customizable: Whether you want to spice things up with jalapeños or keep it classic, the recipe easily adapts to your flavor preferences for endless creativity.
Crowd-Pleasing Snack: Perfectly crispy on the outside and tender inside, these bite-sized gems are sure to impress at your next party—just like my popular Garlic Butter Lobster rolls!
Perfect Pairing: Serve them with your favorite dipping sauce for an enhanced experience—sweet chili or spicy mayo make for irresistible accompaniments.
Shrimp Balls Recipe Ingredients
• Here’s everything you need to create these crispy delights.
For the Shrimp Balls
- Shrimp – Freshness is key for flavor and texture; if you’re feeling adventurous, substitute with scallops or crab for a different twist.
- Breadcrumbs – These add a crispy exterior; opt for panko for extra crunch or go gluten-free if needed.
- Egg – Acts as a binder to hold everything together; for an egg-free version, try using a flaxseed meal slurry.
- Green Onions – Provides a gentle onion flavor and a fresh touch; feel free to swap in shallots or chives.
- Garlic Powder – Enhances the savory profile; if you prefer a stronger flavor, fresh minced garlic works wonders.
- Salt – Essential for balancing flavors; adjust according to your dietary needs and taste preferences.
- Pepper – Adds a hint of heat; modify the spice level or skip it entirely to suit your palate.
Step‑by‑Step Instructions for Shrimp Balls Recipe
Step 1: Prep Shrimp
Start by cleaning and deveining the shrimp to ensure they are fresh and delicious. Finely chop the shrimp into small pieces—this will ensure they blend well with the other ingredients. Aim for about ½ inch pieces, which will help the Shrimp Balls maintain their shape while cooking. Set the chopped shrimp aside in a mixing bowl once prepared.
Step 2: Combine Ingredients
In the mixing bowl with the chopped shrimp, add breadcrumbs, the beaten egg, finely sliced green onions, garlic powder, salt, and pepper. Mix all ingredients together gently until well combined, ensuring that the shrimp is evenly coated and all flavors meld together. This mixture should feel cohesive and slightly sticky, perfect for shaping into balls.
Step 3: Shape Balls
Using your hands, take small portions of the shrimp mixture and roll them into balls about 1-2 inches in diameter. Ensure they are compact to prevent them from falling apart while frying. Place the formed Shrimp Balls on a plate in a single layer, leaving space between each one so they don’t stick together as you prepare to fry them.
Step 4: Heat Oil
In a frying pan, heat about an inch of cooking oil over medium-high heat. To test if the oil is hot enough, drop a small piece of the shrimp mixture into the oil; it should sizzle upon contact. Aim for an oil temperature of around 350°F (175°C) to achieve that perfect crispy exterior without overcooking.
Step 5: Fry Balls
Carefully add the shrimp balls to the hot oil, making sure not to overcrowd the pan, which can lead to uneven cooking. Fry the Shrimp Balls for about 3-4 minutes on each side, or until they are golden brown and crispy. Use a slotted spoon to turn them midway for even frying, and keep an eye on their color for that perfect crunch.
Step 6: Drain
Once the Shrimp Balls are beautifully golden and cooked through, remove them from the oil and place them on a plate lined with paper towels. This will help drain excess oil and keep them nice and crispy. Allow them to cool for a few moments, and then serve warm for the best flavor and texture.
Make Ahead Options
Preparing your Shrimp Balls Recipe ahead of time is a fantastic way to save time during busy weeknights or last-minute gatherings! You can shape the shrimp mixture into balls up to 24 hours in advance and refrigerate them, which helps to consolidate the flavors. To maintain their quality, ensure the shrimp balls are tightly covered to prevent drying out. When you’re ready to enjoy them, simply heat the oil and fry the balls as directed; they will be just as crispy and flavorful! If you prefer to freeze them, place in a single layer on a baking sheet before transferring to an airtight container for up to 3 months—no need to thaw before frying!
What to Serve with Crispy Golden Shrimp Balls?
Enhance your seafood feast with delightful accompaniments that elevate the flavor of these crispy gems.
-
Tangy Dipping Sauce: A zesty sweet chili or spicy mayo helps cut through the richness of the shrimp, providing a delightful contrast.
-
Crispy Asian Slaw: The refreshing crunch of cabbage, carrots, and sesame gives a bright, tangy finish that complements shrimp balls beautifully.
-
Coconut Rice: This subtly sweet and fluffy side balances the savory shrimp, making each bite even more satisfying.
-
Spicy Mango Salsa: Sweet and spicy salsa adds a tropical flair and refreshing juiciness, perfect for contrasting the crispy texture of the balls.
-
Garlic Butter Noodles: Silky noodles tossed in aromatic garlic butter create a comforting base that pairs exceptionally well with the shrimp.
-
Chilled Cucumber Salad: The cool, crisp cucumbers provide a light, refreshing contrast that will brighten your dish and cleanse the palate.
-
Herbed Quinoa Pilaf: Nutty quinoa mixed with fresh herbs adds a wholesome touch, enhancing the overall presentation and nutrition of your meal.
-
Lemonade or Sparkling Water: Pair with a refreshing drink for a light and zesty complement that keeps flavors bright and lively.
Shrimp Balls Recipe Variations
Customize your Shrimp Balls for a delightful twist on the classic recipe that will tantalize your taste buds!
-
Herb Infusions: Mix in fresh parsley or cilantro for an aromatic boost, brightening the flavor profile beautifully.
-
Stuffing Option: Add a cube of cream cheese or goat cheese in the center before shaping; the melty surprise will elevate every bite. Your guests will enjoy the richness that brings a new dimension to your Shrimp Balls.
-
Spicy Twist: Incorporate diced jalapeños or a sprinkle of cayenne for those who enjoy a spicy kick. This will excite your palate while keeping the delicious shrimp flavor intact.
-
Zesty Citrus: Enhance the flavor by adding a splash of lime or lemon juice to the mixture for a refreshing zing that dances on the tongue.
-
Alternative Proteins: Swap shrimp with finely chopped scallops or crab meat for a luxurious seafood twist. Each option has its own unique texture and taste that can make the dish even more enticing.
-
Different Breading: For a crunchier exterior, try using crushed tortilla chips or seasoned cornflakes instead of traditional breadcrumbs.
-
Dipping Sauce Variations: Experiment with a variety of sauces! Try serving your Shrimp Balls with a zesty mango salsa, spicy sriracha mayo, or a light tangy yogurt dip for different flavor experiences.
Loving the idea of pairing these with something special? Don’t forget to check out my irresistible Garlic Butter Lobster rolls for a delicious complement to your spread!
How to Store and Freeze Shrimp Balls
Fridge: Store leftover Shrimp Balls in an airtight container for up to 2 days. Reheat in the oven to maintain crispiness, warming at 350°F (175°C) for about 10 minutes.
Freezer: For longer storage, freeze the uncooked Shrimp Balls on a baking sheet until firm, then transfer to a freezer bag. They can be frozen for up to 3 months.
Reheating: When ready to enjoy, fry frozen Shrimp Balls directly from the freezer for 4-5 minutes each side until golden brown.
Room Temperature: If serving at a gathering, keep Shrimp Balls on a warming tray or cover them to maintain warmth, consuming them within 2 hours for best quality.
Expert Tips for Shrimp Balls Recipe
- Freshness Matters: Use fresh shrimp for the best flavor and texture. If they’re not fresh, your Shrimp Balls may end up tasting subpar.
- Right Oil Temperature: Ensure the oil is hot enough before frying; too cool oil leads to greasy, soggy balls instead of crispy ones.
- Don’t Overcrowd: Fry in batches to prevent overcrowding the pan, which can drop the oil temperature and ruin the desired crispiness.
- Shape Evenly: Make sure all your balls are roughly the same size to achieve even cooking, ensuring that they finish frying at the same time.
- Cooking Time Check: Keep an eye on the frying time—golden brown means they’re ready! An opaque interior indicates they’re fully cooked.
Shrimp Balls Recipe FAQs
What kind of shrimp should I use for the Shrimp Balls?
Fresh shrimp is crucial for the best flavor and texture. Look for shrimp that is firm and has a clean, ocean-like scent. If you want to switch things up, you can substitute it with scallops or crab for a delightful twist!
How should I store leftover Shrimp Balls?
Store your leftover Shrimp Balls in an airtight container in the fridge for up to 2 days. To reheat, I recommend placing them in an oven preheated to 350°F (175°C) for about 10 minutes. This will help them regain their crispy exterior—absolutely delicious!
Can I freeze Shrimp Balls, and if so, how?
Absolutely! To freeze uncooked Shrimp Balls, first place them on a baking sheet lined with parchment paper and freeze until they’re firm. Once they’re firm, transfer them to a freezer bag. They can be frozen for up to 3 months. When you’re ready to cook, just fry them straight from the freezer for 4-5 minutes on each side until golden brown!
What if my Shrimp Balls are falling apart while cooking?
If your Shrimp Balls are falling apart, it’s likely due to a couple of factors. First, ensure that the mixture is well combined, and the shrimp is finely chopped. Also, make sure the oil is hot enough (around 350°F or 175°C) before adding them; cold oil will cause the balls to break apart. If they still crumble, you can consider adding a touch more breadcrumb or an additional egg to help bind them together.
Are Shrimp Balls safe for people with shellfish allergies?
Shrimp Balls contain shrimp, which is not safe for individuals with shellfish allergies. You can create a different version by substituting shrimp with a combination of vegetables or fish that are safe for those allergies. Preparations such as crab cakes or fish balls can be delightful alternatives!
Crispy Shrimp Balls Recipe: A Tasty Twist on Seafood Apps
Ingredients
Equipment
Method
- Start by cleaning and deveining the shrimp to ensure they are fresh and delicious. Finely chop the shrimp into small pieces and set aside.
- In a mixing bowl with the chopped shrimp, add breadcrumbs, beaten egg, green onions, garlic powder, salt, and pepper. Mix gently until well combined.
- Using your hands, take portions of the shrimp mixture and roll them into balls about 1-2 inches in diameter.
- In a frying pan, heat about an inch of cooking oil over medium-high heat. Test the oil with a small piece of shrimp mixture; it should sizzle.
- Carefully add the shrimp balls to the hot oil, frying them for about 3-4 minutes on each side, or until golden brown and crispy.
- Once cooked, remove the shrimp balls from the oil and place them on paper towels to drain excess oil. Serve warm.
Leave a Reply