
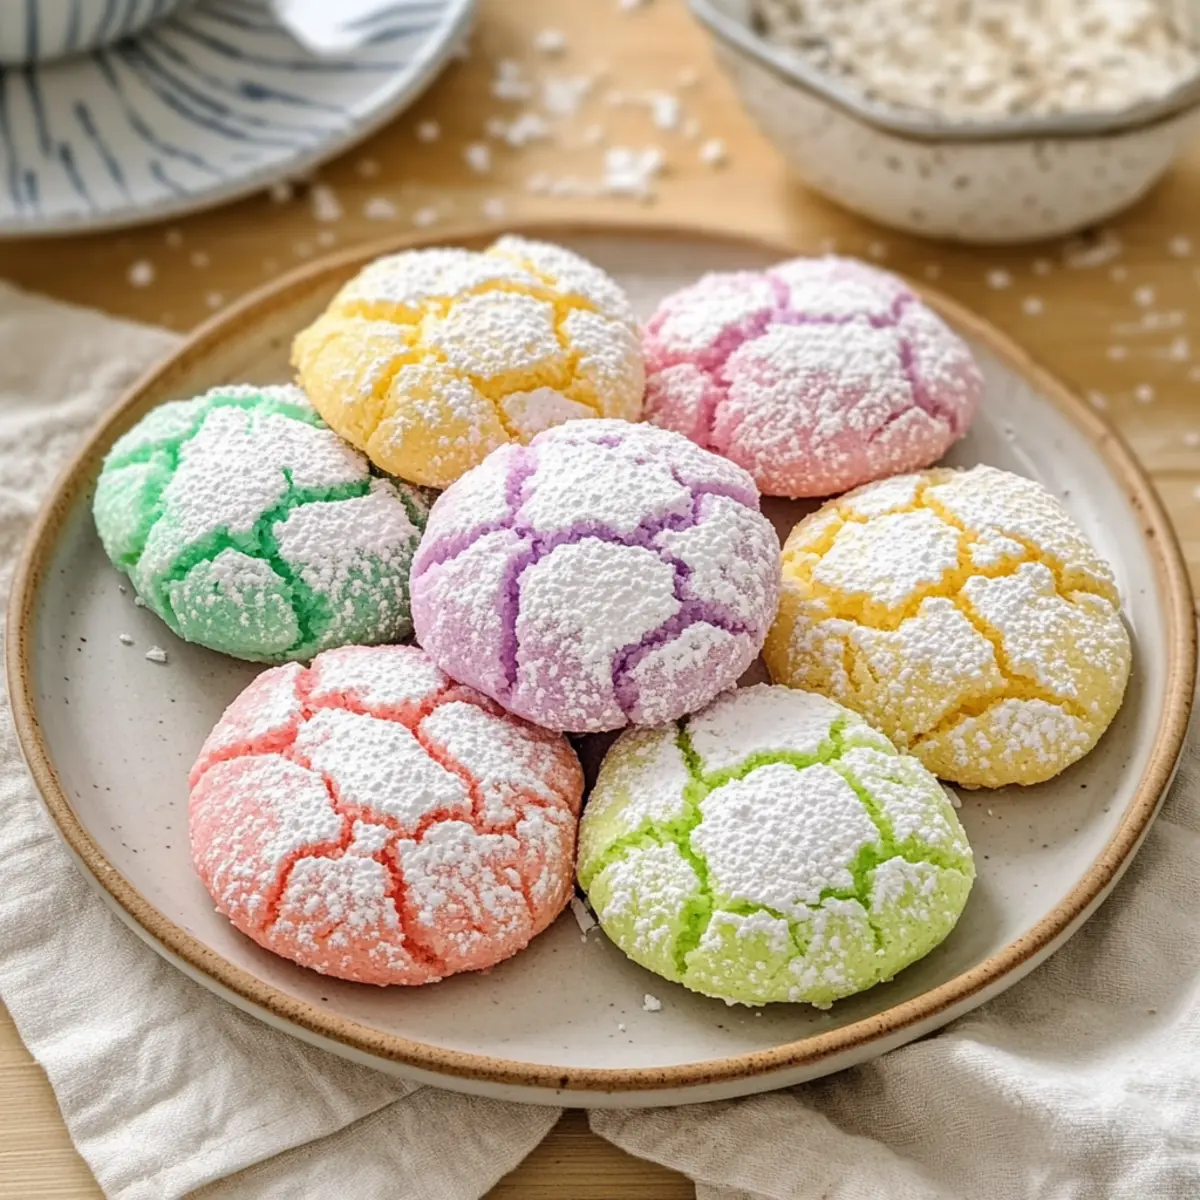
As the days grow warmer and the flowers begin to bloom, my kitchen transforms into a cheerful haven filled with the sweet scent of baking. That’s when I reach for my favorite recipe: Springtime Crinkle Cookies. These pastel-hued delights not only bring a playful spirit to any gathering, from Easter brunch to baby showers, but they’re also incredibly easy to whip up — perfect for both novice bakers and seasoned pros alike. With just a handful of pantry staples, you can create a delightful dessert that’s both visually stunning and irresistibly chewy. Whether enjoyed solo or shared with loved ones, these cookies are sure to brighten your day. Are you ready to bring a touch of spring into your kitchen?
Why Are Springtime Crinkle Cookies Special?
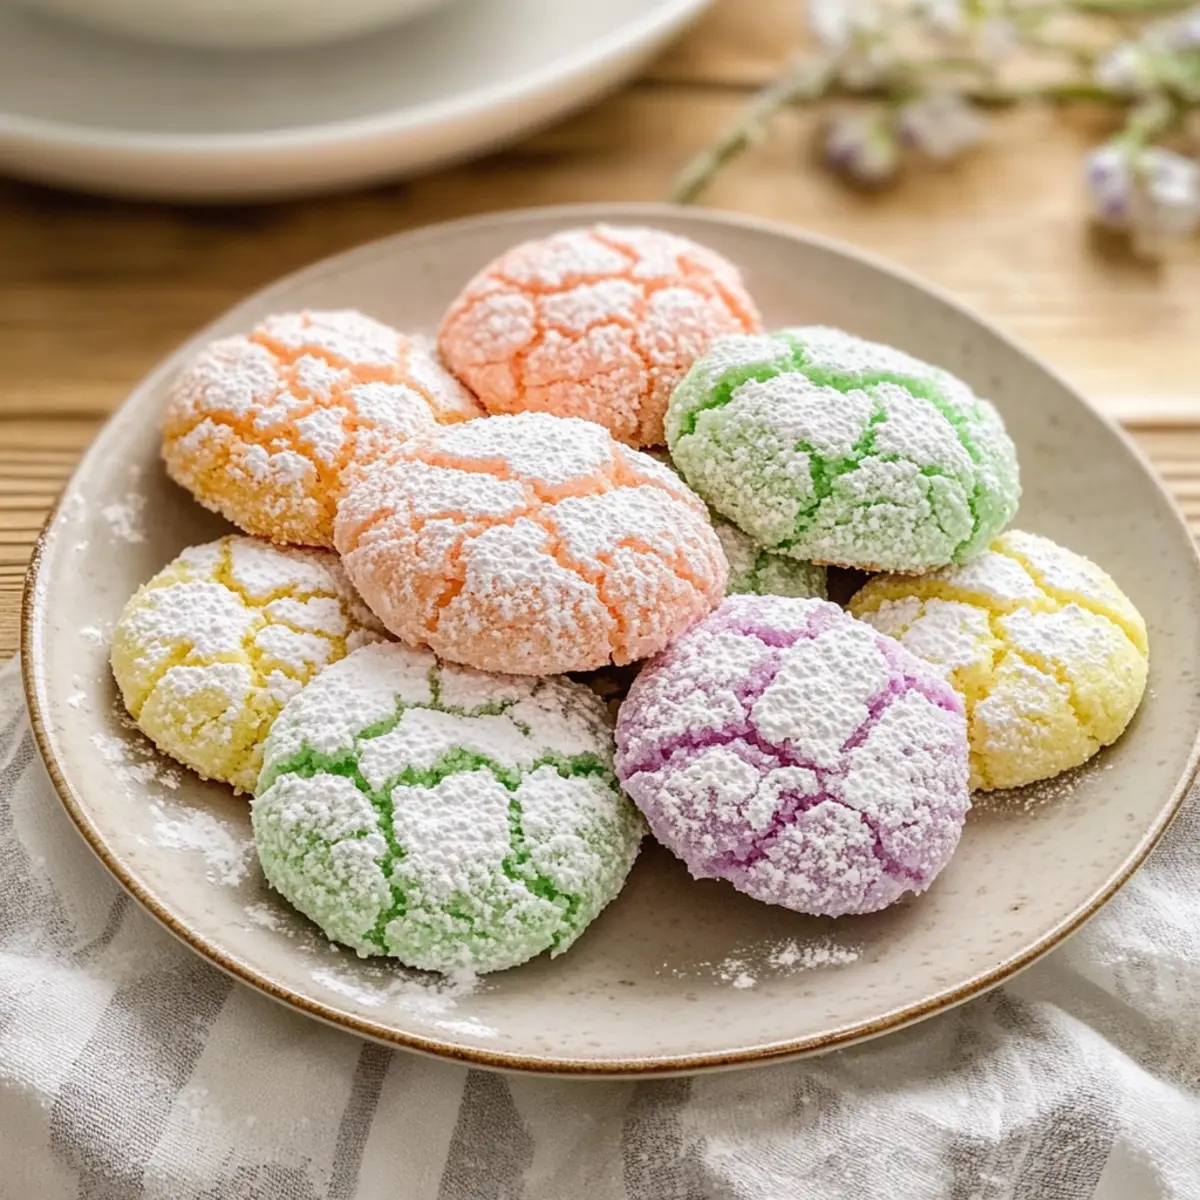
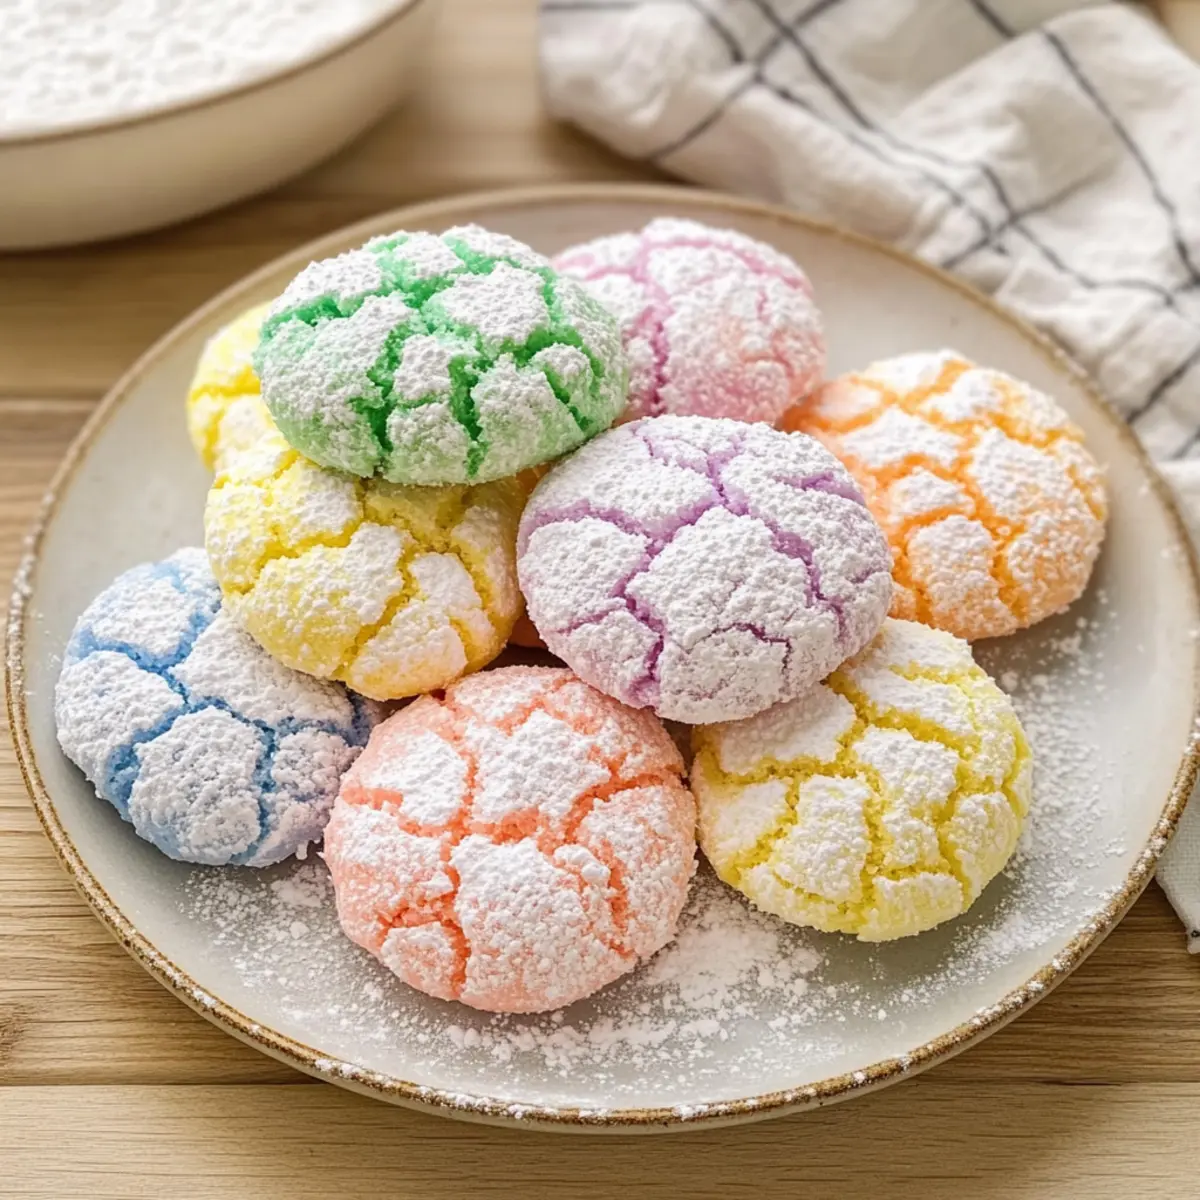
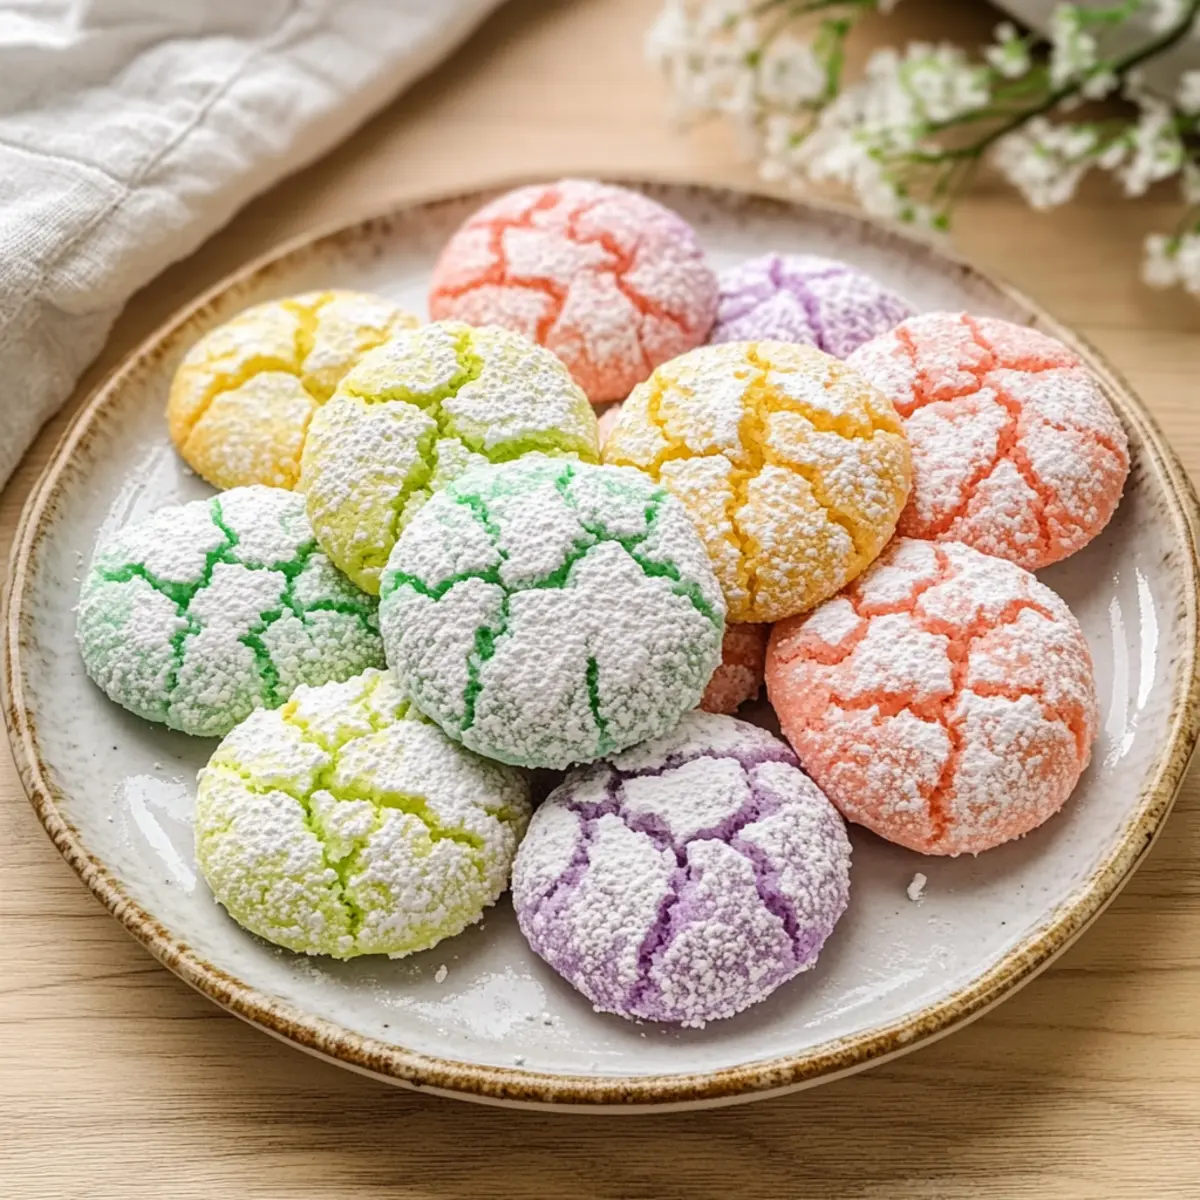
Vibrant Visuals: These Springtime Crinkle Cookies are adorned with charming pastel cracks, making them an eye-catching treat for any occasion.
Easy to Make: With just a few simple steps and basic pantry ingredients, this recipe is especially beginner-friendly, allowing anyone to create a delightful dessert without fuss.
Chewy Delight: The combination of tender centers and a powdered sugar crust creates a perfectly balanced texture that will keep you coming back for more.
Versatile Fun: Whether you’re planning an Easter celebration or a cheerful afternoon gathering, these cookies add a festive touch to any event.
Kid-Friendly: Encourage little ones to join in the fun of coloring the dough or rolling it in powdered sugar for an engaging baking experience!
Ready to dive into baking? Check out my baking tips to make your Springtime Crinkle Cookies even better!
Springtime Crinkle Cookies Ingredients
For the Cookie Dough
- All-Purpose Flour – Provides structure; ensure accurate measurement to avoid excessively dry dough.
- Baking Powder – Leavening agent that adds lift; essential for that chewy texture.
- Salt – Enhances flavor; a pinch goes a long way.
- Unsalted Butter – Adds richness and moisture; make sure it’s softened for easier mixing.
- Granulated Sugar – Sweetens the cookies; can be replaced with brown sugar for a deeper flavor.
- Large Eggs – Binds ingredients and adds moisture; remember to bring them to room temperature first!
- Vanilla Extract – Infuses that classic cookie aroma and flavor; don’t skip this essential ingredient!
- Almond Extract (optional) – Introduces a delightful nutty flavor; omit it if you prefer.
For the Coating
- Powdered Sugar – Creates the signature crinkle effect; coat dough balls generously with it before baking.
- Gel Food Coloring (pastel shades) – Adds vibrant colors without thinning the dough; avoid using liquid food coloring for best results.
Step‑by‑Step Instructions for Springtime Crinkle Cookies
Step 1: Preheat the Oven
Begin by preheating your oven to 350°F (175°C) to ensure it’s hot and ready for baking. While the oven heats up, line a baking sheet with parchment paper to prevent sticking and make cleanup a breeze. This step sets the stage for your delightful Springtime Crinkle Cookies to come out perfectly.
Step 2: Mix the Dry Ingredients
In a medium bowl, whisk together the all-purpose flour, baking powder, and salt until well combined. This blend of dry ingredients is essential for achieving the chewy texture of your Springtime Crinkle Cookies. Set this mixture aside while you focus on preparing the wet components.
Step 3: Prepare the Wet Ingredients
In a large mixing bowl, beat the softened unsalted butter and granulated sugar together until creamy and fluffy, approximately 3 to 5 minutes. Add the large eggs one at a time, blending thoroughly after each addition. Stir in the vanilla extract, and almond extract if using, to create a rich, aromatic base for your cookie dough.
Step 4: Combine Mixtures
Gradually fold the dry ingredient mixture into the wet ingredients, using a spatula to combine them gently. Continue mixing until a thick, cohesive dough forms. The dough should be slightly sticky but manageable; this texture is crucial for achieving the perfect crinkle effect in your Springtime Crinkle Cookies.
Step 5: Color the Dough
Once your dough is mixed, divide it into several equal portions and add a few drops of gel food coloring to each section. Mix until the color is evenly distributed throughout the dough. After coloring, chill your dough in the refrigerator for at least 30 minutes. This chilling process helps prevent excessive spreading while baking.
Step 6: Shape & Coat
After chilling, scoop tablespoon-sized portions of dough and roll them into balls. Roll each ball in powdered sugar until fully coated, creating a beautiful, sugary crust. Arrange the coated dough balls on your prepared baking sheet with about two inches of space between each one to allow for expansion while baking.
Step 7: Bake the Cookies
Bake the cookies in your preheated oven for 10 to 12 minutes. Look for the tops to crack and the edges to set, while the centers remain soft and slightly underbaked. This is crucial for that chewy texture! Once baked, let them cool on the baking sheet for a few minutes before transferring them to a wire rack to cool completely.
Springtime Crinkle Cookies Variations
Feel free to get creative with these Springtime Crinkle Cookies and make them your own with delightful twists and substitutions!
-
Citrus Zest: Add a teaspoon of lemon or orange zest for a refreshing flavor boost that brightens the cookie’s natural sweetness. The zing from the citrus will complement the vanilla beautifully.
-
Gluten-Free: Swap all-purpose flour with a 1:1 gluten-free baking blend to make these cookies suitable for gluten-sensitive friends. The cookies will still be chewy and delightful!
-
Brown Sugar: Use brown sugar instead of granulated sugar for a deeper, caramel-like flavor. Its moisture will enhance the chewiness!
-
Nutty Flour: Incorporate almond flour for part of the all-purpose flour to introduce a nutty richness. This adds an interesting texture and flavor harmony.
-
Chocolate Dip: After baking, dip half of each cookie in melted chocolate for a decadent twist. Let them cool on parchment lined baking sheets to set.
-
Flavor Extracts: Replace almond extract with coconut or a hint of mint extract for a refreshing change. Each variation brings a unique twist to the classic flavor profile.
-
Spice It Up: Add a dash of cinnamon or nutmeg to the dry mixture for a warm, cozy flavor that’s perfect for any season.
-
Mini Chocolate Chips: Fold in some mini chocolate chips for a delightful surprise in every bite, adding both sweetness and texture. They pair wonderfully with the vanilla flavor of the cookies.
Experiment as you see fit; there are endless possibilities! For additional tips on customizing your bakes, don’t forget to check out my expert baking tips or try making some sweet treats to share with your loved ones.
How to Store and Freeze Springtime Crinkle Cookies
Room Temperature: Store your cookies in an airtight container at room temperature for up to 5 days to maintain their delightful chewy texture.
Fridge: If you’d like to keep them fresher for longer, place the container in the fridge, where they’ll last up to a week, but allow them to come to room temperature before enjoying.
Freezer: For longer storage, freeze the cookies in a single layer on a baking sheet, then transfer to an airtight container or freezer bag for up to 3 months.
Dough Storage: The dough can be refrigerated overnight. Before baking, let it sit for a few minutes at room temperature for easier handling, then shape and coat as directed.
Make Ahead Options
These Springtime Crinkle Cookies are a fantastic option for meal prep, saving you time during busy days! You can prepare the dough up to 24 hours in advance by chilling it in the refrigerator. Simply roll the dough into balls, coat them in powdered sugar, and place them in an airtight container. To ensure the cookies remain just as delightful, avoid coating the dough balls in powdered sugar until you’re ready to bake them—this keeps that lovely crinkle effect intact. When you’re ready to bake, simply preheat your oven and bake straight from the fridge for a fresh cookie experience. Enjoy sweet moments without the last-minute rush!
What to Serve with Springtime Crinkle Cookies?
Add a splash of joy to your dessert table with these cheerful cookies, pairing them with delightful sides and treats.
- Refreshing Lemonade: A zesty lemonade complements the sweetness of the cookies, bringing a refreshing brightness that feels just like spring.
- Chocolate Dipped Strawberries: The richness of chocolate contrasts beautifully with the soft, chewy texture, creating a delightful flavor duo that’s irresistible.
- Fresh Fruit Salad: A medley of berries and citrus adds a vibrant touch and lightens up your dessert spread, enhancing the springtime theme.
- Vanilla Ice Cream: Serving these cookies alongside a scoop of creamy vanilla ice cream elevates the dessert experience, balancing textures and flavors perfectly.
- Herbal Tea: Pair with a warm cup of chamomile or mint tea for a cozy afternoon treat; the tea’s herbal notes work wonderfully with the cookies’ vanilla sweetness.
- Mini Cheesecakes: Individual cheesecakes add elegance to your spread, with their creamy filling contrasting the crinkly cookies, making for a delightful combination.
Add these suggestions to your dessert table, creating a warm celebration of flavors that everyone will love!
Expert Tips for Springtime Crinkle Cookies
-
Use Gel Coloring: Opt for gel food coloring instead of liquid, as it keeps the texture intact while providing vivid hues for your Springtime Crinkle Cookies.
-
Chill the Dough: Do not skip chilling the dough! This step is vital to prevent excessive spreading during baking, ensuring your cookies maintain their shape.
-
Coat Generously: Roll the dough balls in powdered sugar until fully covered. This creates the signature crinkle effect and adds sweetness to each bite.
-
Don’t Overbake: Keep an eye on the cookies while they bake; they should be set at the edges but still slightly soft in the center for that perfect chewy texture.
-
Room Temperature Eggs: Make sure your eggs are at room temperature before mixing. This helps them incorporate better into the dough, contributing to a smoother texture.
Springtime Crinkle Cookies Recipe FAQs
How do I choose the right ingredients for Springtime Crinkle Cookies?
Absolutely! When selecting your ingredients, it’s important to use high-quality, fresh items. For the eggs, opt for those that are at room temperature; they incorporate better into the dough. Make sure your unsalted butter is softened for easy mixing and consider using gel food coloring for vibrant hues without affecting the dough’s consistency.
How should I store my Springtime Crinkle Cookies?
I recommend storing your cookies in an airtight container at room temperature for up to 5 days. This helps maintain their chewy texture. If you want to extend their shelf life, you can refrigerate them for up to a week. Just remember to let them return to room temperature before diving in!
Can I freeze Springtime Crinkle Cookies?
Very much so! To freeze these delightful cookies, first place them in a single layer on a baking sheet and freeze until solid. Then, transfer them to an airtight container or freezer bag, where they can last for up to 3 months. When you’re ready to enjoy, simply thaw them at room temperature for a few minutes.
What should I do if my cookie dough is too sticky?
If you find your dough is too sticky, chill it in the refrigerator for about 30 minutes. This will make it easier to handle. If you need to make it less sticky right away, you can dust your hands with powdered sugar while shaping the balls. Dashing in a little extra flour—just a tablespoon at a time—can also help if needed, but be cautious not to overdo it!
Are there any dietary considerations I should keep in mind?
Definitely! If you’re making these Springtime Crinkle Cookies for someone with allergies, be cautious of common allergens such as eggs, butter, and nuts (if using almond extract). For a dairy-free option, substitute the unsalted butter with a plant-based alternative. And if gluten is a concern, you can experiment with gluten-free all-purpose flour—just look for brands developed specifically for baking.
What should I do if my cookies spread too much while baking?
To prevent the cookies from spreading excessively, ensure the dough is chilled before baking. Additionally, make sure your baking powder is fresh, as old leavening agents can cause cookies to behave unpredictably. Keeping the oven temperature accurate is crucial too! An oven thermometer can help if you suspect your oven runs hot or cold.
Springtime Crinkle Cookies That Bring Joy to Your Table
Ingredients
Equipment
Method
- Preheat the oven to 350°F (175°C) and line a baking sheet with parchment paper.
- Whisk together the all-purpose flour, baking powder, and salt in a medium bowl.
- Beat the softened unsalted butter and granulated sugar together until creamy. Add eggs one at a time and mix in vanilla and almond extract.
- Fold the dry ingredient mixture into the wet ingredients until a thick dough forms.
- Divide the dough, add gel food coloring, and mix until evenly distributed. Chill in the refrigerator for at least 30 minutes.
- Scoop tablespoon-sized portions of dough, roll them into balls, and coat in powdered sugar.
- Bake in the preheated oven for 10 to 12 minutes, then cool on a wire rack.
Leave a Reply