
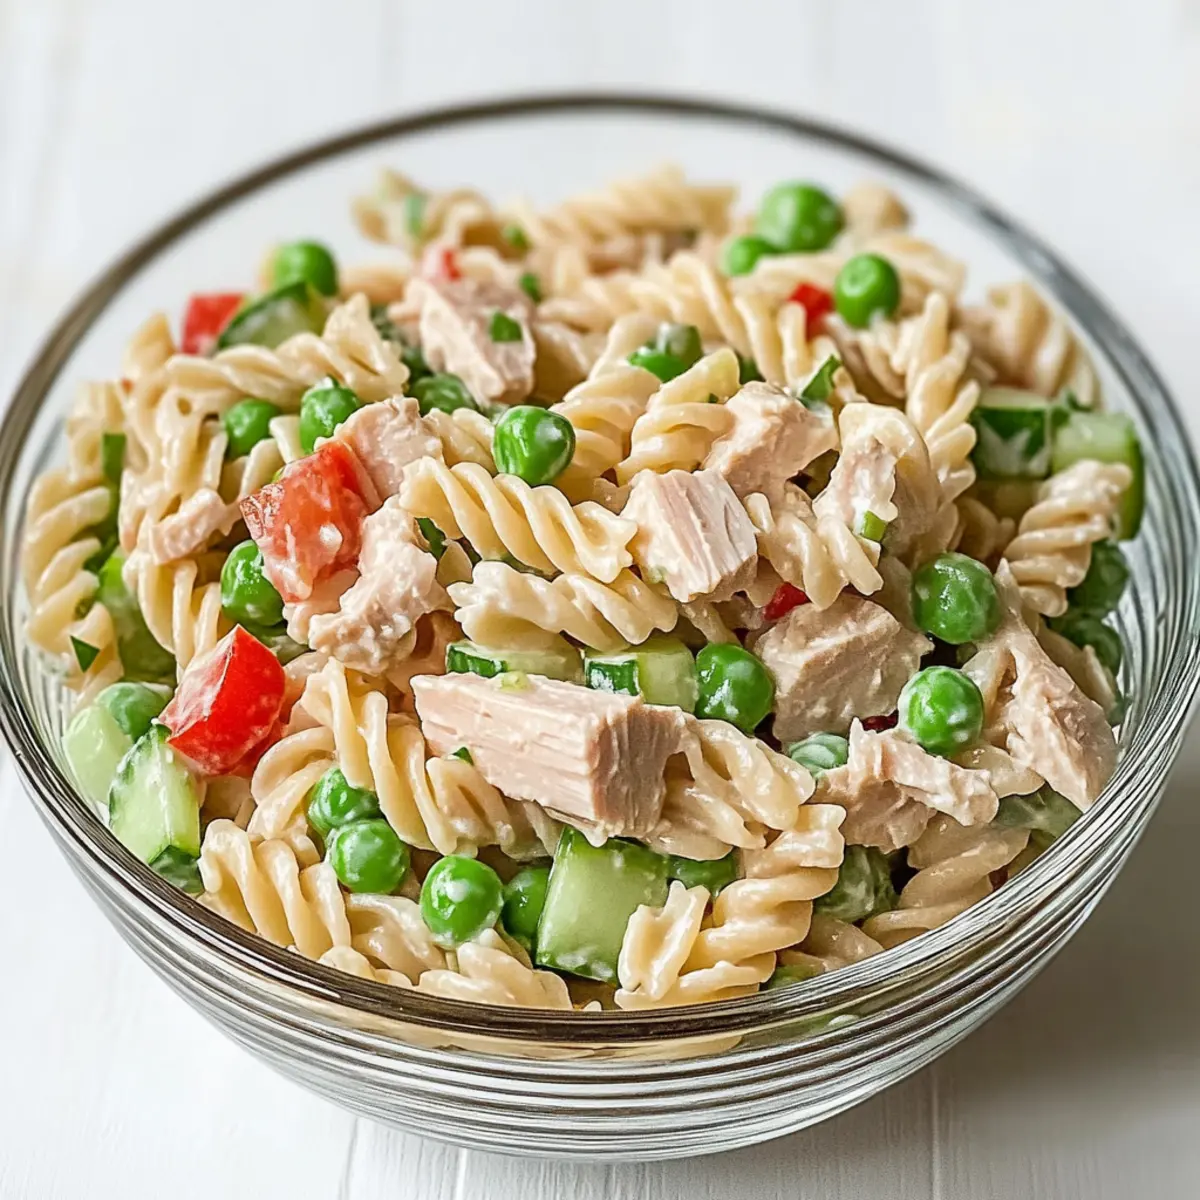
Summer days often call for something light yet satisfying, and that’s where my Healthy Tuna Pasta Salad with Peas comes in! With its vibrant blend of colorful veggies and creamy Greek yogurt dressing, this dish is perfect for those moments when you crave a nutritious meal without the fuss. It’s quick to whip up in just 20 minutes and can easily be tailored to fit your personal taste—what’s not to love? Packed with protein and fresh flavors, this salad is not just a quick fix, but also a fantastic crowd-pleaser for picnics and potlucks. So, whether you’re looking for a healthy lunch or a breezy dinner option, this Tuna Pasta Salad will surely delight your taste buds. Are you ready to dive into a bowl of freshness?
Why is Tuna Pasta Salad a Must-Try?
Quick and Easy: This recipe comes together in just 20 minutes, making it perfect for busy weeknights or spontaneous gatherings.
Nutritious Delight: Packed with protein from tuna and the creamy goodness of Greek yogurt, each bite is not only satisfying but also guilt-free.
Customizable: Feel free to swap in your favorite veggies or proteins; whether you prefer crunchy bell peppers or tender chickpeas, the options are endless!
Crowd-Pleaser: It’s a hit at picnics and potlucks, easily feeding a hungry group while impressing everyone with its vibrant colors!
Light Yet Filling: This isn’t your average salad—its combination of textures and flavors will leave you feeling refreshed but content.
Pair this dish with a side of crispy garlic bread for a delightful meal that’s as versatile as it is delicious!
Tuna Pasta Salad Ingredients
For the Pasta:
• Whole Wheat Rotini Pasta – Provides structure and a hearty base; can substitute with fusilli or penne.
For the Veggies:
• Chopped Cucumber – Adds crunch and freshness; substitute with chopped zucchini or diced bell peppers if preferred.
• Chopped Celery – Offers a soft texture; optional for those preferring less crunch.
• Chopped Red Bell Pepper – Brings sweetness and color; can substitute with cherry tomatoes.
• Cooked Frozen Peas – Adds sweetness and nutrients; fresh peas can be used as an alternative.
For the Tuna:
• Flaked White Tuna – Provides protein; use light or skipjack tuna for a healthier option in this Tuna Pasta Salad.
For the Dressing:
• Plain Greek Yogurt – Acts as a creamy base for the dressing; do not substitute with regular yogurt for best results.
• Light Mayonnaise – Enhances creaminess; regular mayonnaise can be used for a richer flavor.
• Lemon Juice – Adds tanginess; fresh lemon juice is preferred.
• Dijon Mustard – Gives flavor depth; substitute with yellow mustard for a milder taste.
• Chopped Fresh Dill – Provides herbal notes; dried dill can be used, but adjust the quantity.
• Garlic Powder – Offers subtle flavor; fresh garlic can be substituted for a stronger taste.
• Salt & Pepper – For seasoning to taste.
Step‑by‑Step Instructions for Tuna Pasta Salad
Step 1: Cook the Pasta
Bring a large pot of salted water to a rolling boil over high heat. Add the whole wheat rotini pasta and cook for 8–10 minutes, or until al dente, stirring occasionally. Once done, drain the pasta in a colander and briefly rinse it under cool water to stop the cooking process, preventing sticky noodles in your Tuna Pasta Salad.
Step 2: Mix the Salad
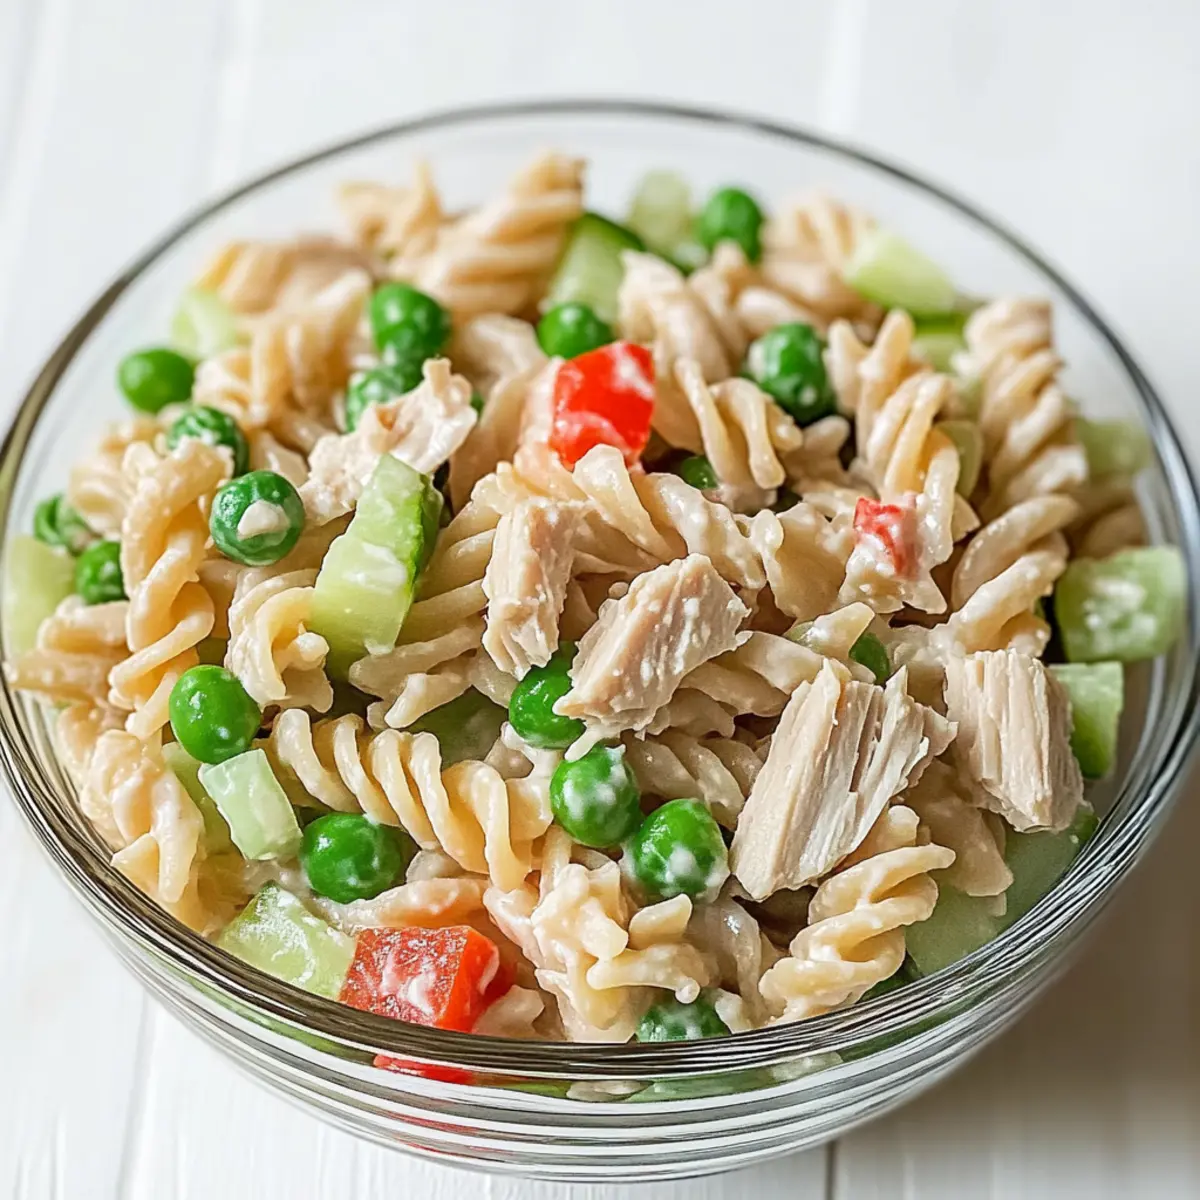
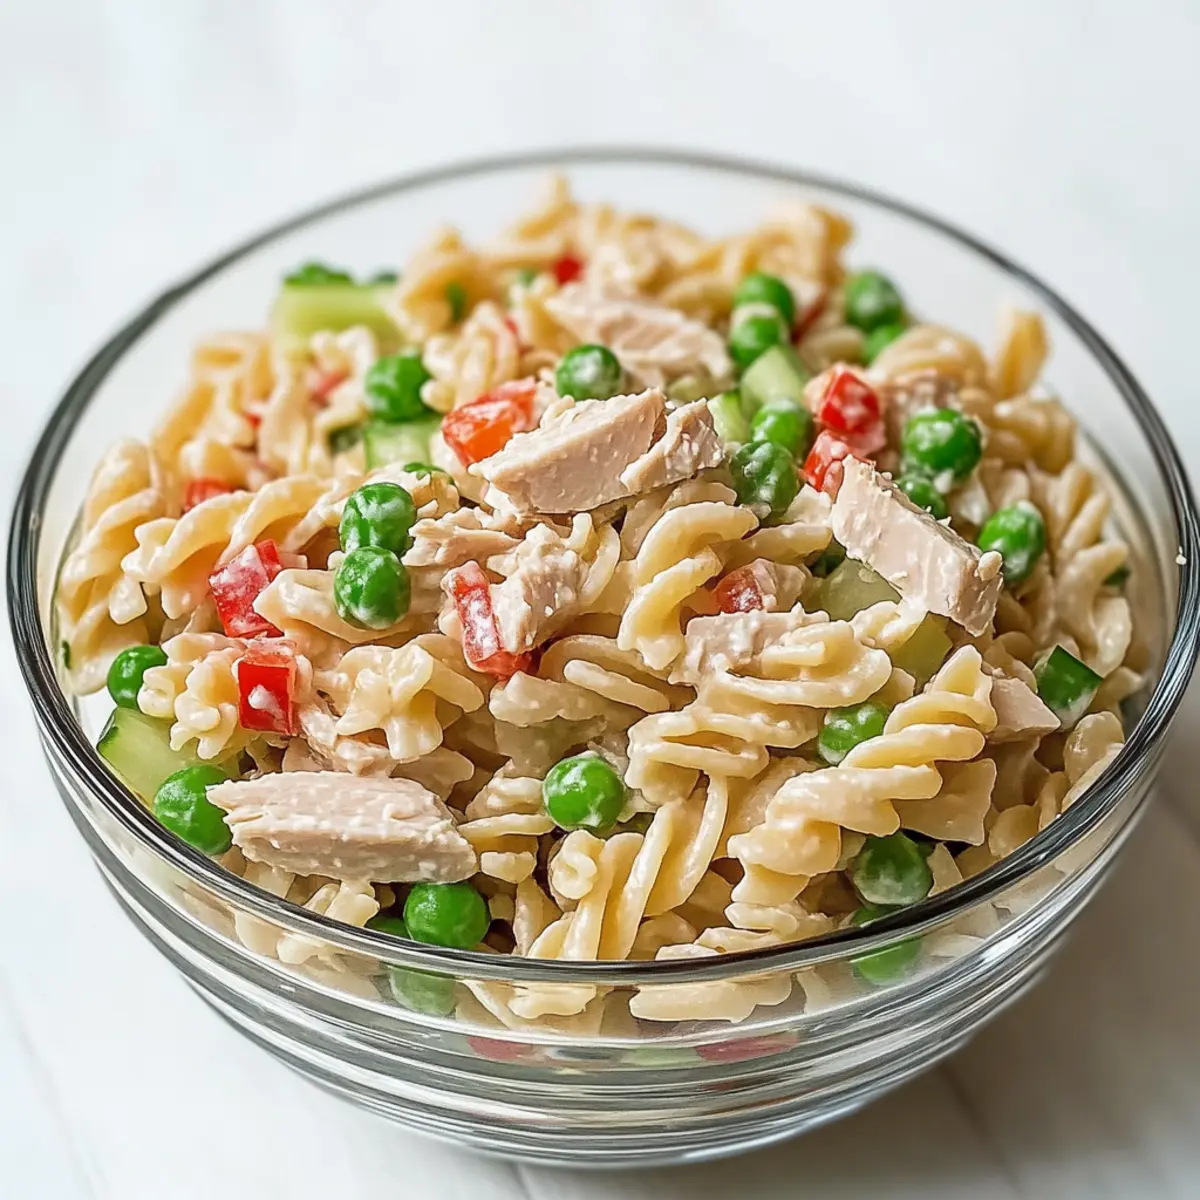
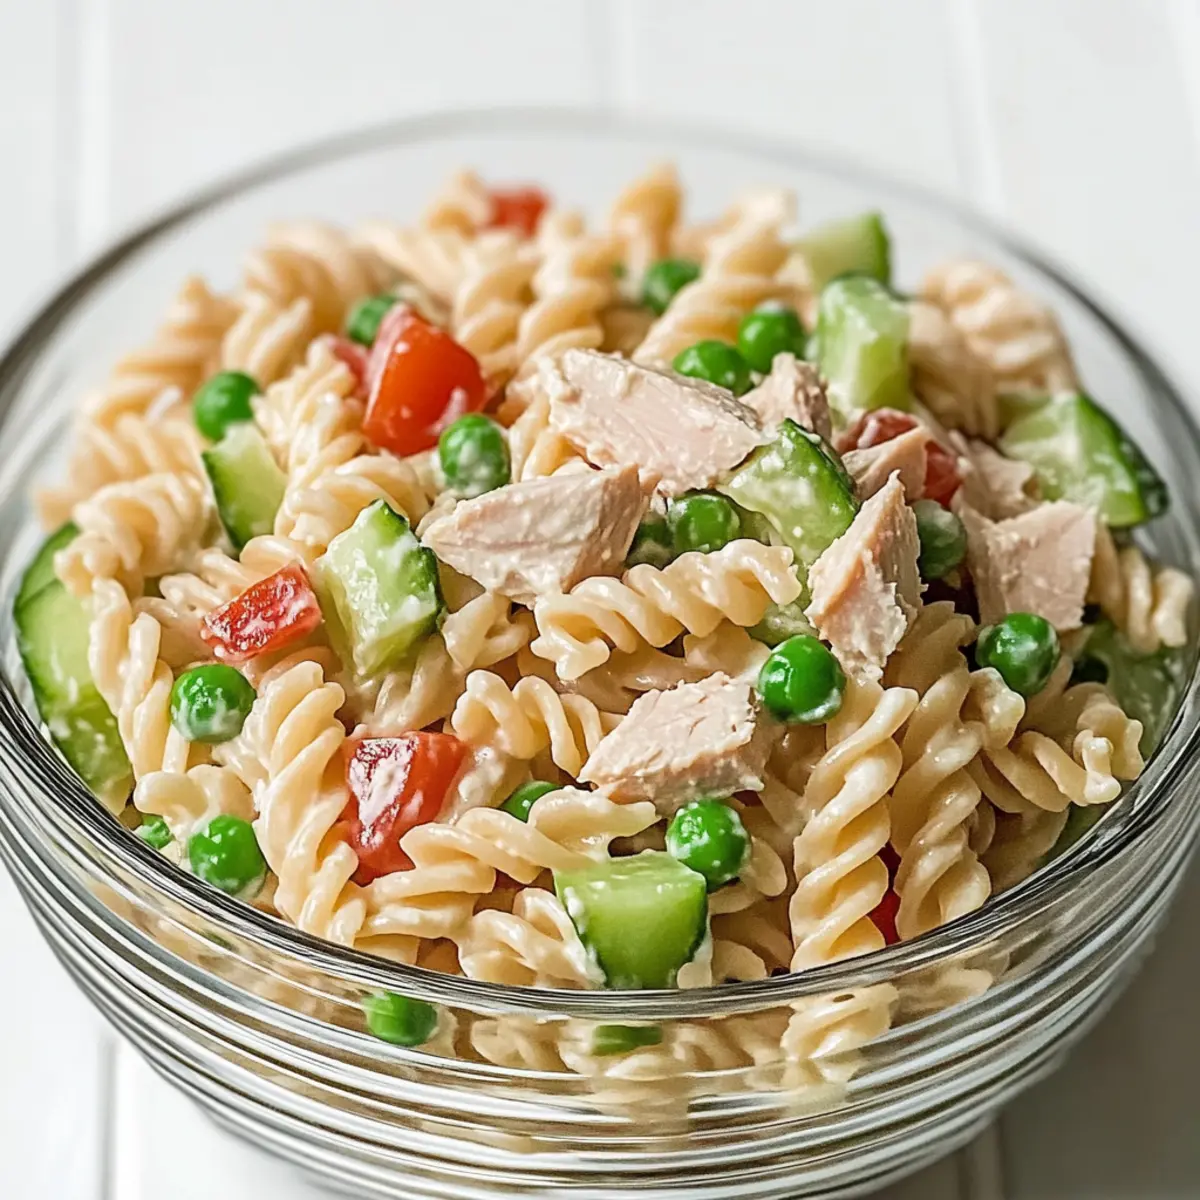
In a large mixing bowl, combine the cooled pasta with chopped cucumber, celery, red bell pepper, cooked frozen peas, and flaked white tuna. Use a spatula to gently fold the ingredients together until they are evenly combined, taking care to keep the tuna flakes intact. This vibrant mixture will provide a delightful crunch and heartiness to your Tuna Pasta Salad.
Step 3: Prepare the Dressing
In a separate medium-sized bowl, whisk together the plain Greek yogurt, light mayonnaise, fresh lemon juice, Dijon mustard, chopped fresh dill, garlic powder, salt, and pepper until the mixture is smooth and well blended. Ensure the dressing is creamy and consistent, as it will coat your salad beautifully and enhance all those fresh flavors.
Step 4: Combine
Pour the creamy dressing over the salad mixture and gently stir with a spatula until everything is thoroughly coated. Be careful not to mash the ingredients, allowing each component of the Tuna Pasta Salad to shine through. Taste the mixture and adjust the seasoning with additional salt and pepper as needed to suit your palate.
Step 5: Chill
Cover the bowl with plastic wrap or a lid and place the Tuna Pasta Salad in the refrigerator to chill for 20-30 minutes. This step is key to allowing the flavors to meld together, creating a tastier dish. If you can, let it chill a bit longer for an even more refreshing result that’s perfect for those warm days!
Tuna Pasta Salad Variations & Substitutions
Feel free to take my Tuna Pasta Salad to new heights with these exciting and delicious variations!
-
Chickpea Protein: Swap out the tuna for canned chickpeas to create a plant-based, protein-packed alternative that’s equally satisfying!
-
Dairy-Free Option: Use avocado or silken tofu in place of Greek yogurt for a creamy, dairy-free dressing that keeps it light and fresh.
-
Zesty Citrus: Add zest from a lemon or lime for an extra burst of citrus that enhances the freshness and flavor of the salad.
-
Spicy Kick: Stir in some diced jalapeños or a dash of hot sauce for a heat twist that adds excitement to each bite. It’s a fun way to cater to spice lovers!
-
Grilled Veggies: Incorporate grilled zucchini or roasted eggplant to introduce smokiness and deepen the flavor profile of your Tuna Pasta Salad.
-
Seasonal Greens: Toss in fresh spinach or arugula for an added crunch and a boost of nutrients—plus, they’re perfect for those summer salads!
-
Sweet Gold: Try adding sun-dried tomatoes for a tangy and sweet twist that brings a Mediterranean vibe to your dish.
-
Herbal Infusion: Swap out dill for fresh basil or cilantro, which will give your salad a fresh twist while providing vibrant flavors.
Don’t forget that these variations can seamlessly harmonize with a side of Roasted Pear Salad or even serve alongside some Macaroni Salad Summer for a delightful spread at your next gathering. Enjoy customizing your cooking adventure!
What to Serve with Healthy Tuna Pasta Salad with Peas
Looking to elevate your meal? Here are some delightful pairings that will complement the refreshing flavors and textures of your dish.
-
Crispy Garlic Bread: Perfect for mopping up any leftover dressing, this buttery, crunchy bread adds a satisfying crunch to your table.
-
Mixed Green Salad: A simple side of mixed greens tossed in a light vinaigrette creates a refreshing contrast, enhancing the meal’s overall brightness.
-
Fruit Salad: A medley of seasonal fruits offers a sweet and juicy balance to the savory notes of the tuna pasta salad. Refreshing and colorful, it makes your meal feel festive!
-
Roasted Veggies: Seasonal roasted vegetables bring a warm, savory component that compliments the coolness of your salad while providing additional nutrients.
-
Chilled White Wine: A crisp, chilled Sauvignon Blanc or Pinot Grigio serves as a perfect pairing, enhancing the meal’s light essence while refreshing your palate.
-
Potato Wedges: Oven-baked potato wedges seasoned with herbs add a delightful crunch next to the creamy tuna salad, ensuring every bite is satisfying.
-
Quinoa Pilaf: A protein-packed quinoa pilaf with fresh herbs can elevate your salad into a complete, nutrient-rich meal, boosting texture and heartiness.
-
Cheese Platter: A selection of mild cheeses paired with whole grain crackers offers a delightful contrast to the salad’s freshness, perfect for nibbling between bites.
Enjoy exploring these delicious pairings to create a well-rounded meal experience with your Healthy Tuna Pasta Salad with Peas!
Expert Tips for Tuna Pasta Salad
-
Rinse the Pasta: After cooking, rinse your pasta under cool water to prevent clumping—this keeps your Tuna Pasta Salad fluffy and delightful!
-
Chill for Flavor: Allow the salad to chill for at least 30 minutes before serving. This enhances flavors, making every bite more delicious and refreshing.
-
Customize Veggies: Don’t hesitate to experiment with your favorite vegetables! Adding ingredients like cherry tomatoes or grilled zucchini can elevate your Tuna Pasta Salad to new heights.
-
Adjust the Dressing: If you prefer a richer flavor, feel free to swap light mayonnaise for regular mayonnaise in the dressing—just remember to adjust the calories accordingly.
-
Fresh Ingredients Matter: Whenever possible, opt for fresh veggies and herbs. They not only improve taste but also add vibrant colors to your Tuna Pasta Salad!
Make Ahead Options
These Healthy Tuna Pasta Salad with Peas are a fantastic choice for meal prep! You can prepare the salad ingredients up to 3 days in advance; just chop the cucumber, celery, bell pepper, and cook the pasta, storing everything in an airtight container in the refrigerator. Keep the flaked tuna separate until ready to serve to maintain its freshness. The creamy dressing can be made up to 24 hours ahead—store it in a sealed jar or container. When you’re ready to enjoy your Tuna Pasta Salad, simply combine all components and chill for 20-30 minutes to enhance the flavors. This way, you’ll have a delicious, satisfying meal ready with minimal effort!
How to Store and Freeze Tuna Pasta Salad
Fridge: Store leftovers in an airtight container for up to 5 days. Always ensure your Tuna Pasta Salad is cooled completely before refrigerating to maintain freshness.
Make-Ahead: You can prepare salad ingredients up to 3 days in advance and keep them in a sealed container. Just combine with the dressing before serving for optimal flavor.
Freezer: While freezing is possible, the texture may change. Store in a freezer-safe container for up to 2 months. Thaw and mix well before serving.
Reheating: If you do freeze your Tuna Pasta Salad, it’s best to eat it cold once thawed. Enjoy it straight from the fridge or let it sit at room temperature for 15 minutes to take off the chill.
Tuna Pasta Salad Recipe FAQs
What type of pasta should I use for Tuna Pasta Salad?
Absolutely, I recommend using whole wheat rotini for a hearty base, as it holds the dressing well. However, feel free to swap it for fusilli or penne based on your preferences or dietary needs!
How should I store leftovers of Tuna Pasta Salad?
Leftovers can be stored in an airtight container in the refrigerator for up to 5 days. Always let the salad cool completely before sealing it to maintain freshness. If you have mixed in the dressing, make sure to give it a quick stir before serving again!
Can I freeze Tuna Pasta Salad?
While it’s possible to freeze Tuna Pasta Salad, keep in mind that the texture may change upon thawing. For best results, store it in a freezer-safe container for up to 2 months. When you’re ready to enjoy, thaw it in the refrigerator overnight, and give it a good stir before serving, ideally enjoying it cold.
What can I substitute if I have allergies?
If you have allergies, you can customize the recipe to fit your dietary needs easily! For instance, substitute tuna with chickpeas or cooked chicken for a different protein. To keep it gluten-free, use a gluten-free pasta alternative. Always check ingredient labels to ensure they align with your dietary restrictions!
How ripe should the veggies be?
For a crunchy texture, choose cucumbers, bell peppers, and celery that are firm and free from dark spots or blemishes. If you prefer, you can also opt for firmer alternatives like diced zucchini. Fresh, vibrant vegetables will enhance the flavors and presentation of your Tuna Pasta Salad beautifully!
Tuna Pasta Salad: A Quick & Refreshing Weeknight Delight
Ingredients
Equipment
Method
- Bring a large pot of salted water to a rolling boil. Add the pasta and cook for 8–10 minutes until al dente. Drain and rinse under cool water.
- In a large mixing bowl, combine the cooled pasta with chopped cucumber, celery, red bell pepper, cooked peas, and tuna. Gently fold to mix.
- In a medium bowl, whisk together yogurt, mayonnaise, lemon juice, mustard, dill, garlic powder, salt, and pepper until smooth.
- Pour the dressing over the salad mixture and gently stir until everything is coated. Adjust seasoning as needed.
- Cover and chill in the refrigerator for 20-30 minutes before serving.
Leave a Reply