
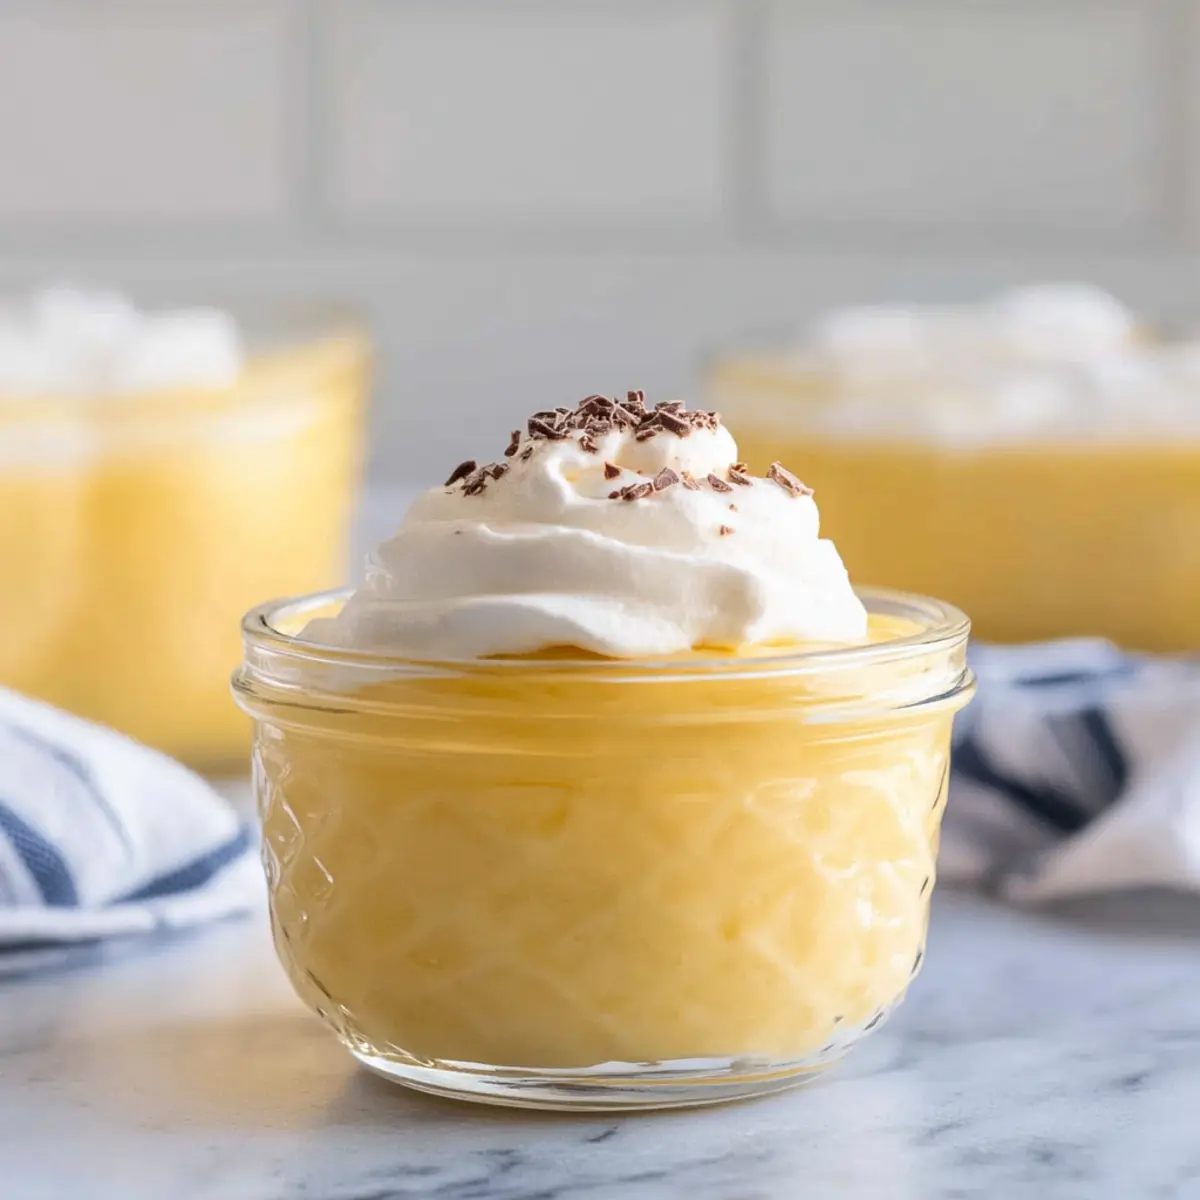
In just about ten minutes, you can whip up a comforting bowl of smooth, creamy goodness: Classic Vanilla Pudding From Scratch. There’s something magical about making dessert from scratch—it instantly elevates the ordinary into an experience filled with warmth and nostalgia. This quick recipe is not only a delightful treat that the whole family will love, but it’s also a chance to show off your culinary skills without spending hours in the kitchen. Imagine the satisfaction of stirring a rich, velvety pudding that evokes memories of simpler times. Plus, with just a handful of everyday ingredients, you can easily impress your loved ones while steering clear of artificial additives. Are you ready to discover the joys of homemade vanilla pudding? Let’s dive in!
Why Make Vanilla Pudding from Scratch?
Simplicity, this recipe requires just a handful of everyday ingredients and 10 minutes of your time, making it accessible for everyone, even busy home cooks. Rich Flavor, using real maple syrup and pure vanilla extract ensures a taste that’s far superior to store-bought versions. Versatile Base, enjoy it plain or elevate it with toppings like whipped cream or chocolate shavings for extra flair. Family-Friendly Fun, it’s a treat that both kids and adults will adore, perfect for any gathering. Experience the joy of creating a classic dessert that evokes cherished memories, and make a delightful impression without the fuss!
Vanilla Pudding From Scratch Ingredients
For the Pudding Base
- Cornstarch – A vital thickener delivering that creamy texture; if needed, try potato starch, but be aware it will firm up faster.
- Sea Salt – Enhances the dessert’s flavor; kosher salt works well if you don’t have sea salt on hand.
- Real Maple Syrup – Adds natural sweetness and a rich flavor; steer clear of pancake syrup for an authentic taste.
- Milk – Creates a creamy base; whole milk gives a richer flavor, but low-fat milk is a great lighter option.
- Egg Yolks – Contributes to that lovely richness; ensure they are well blended for a silky consistency.
- Unsalted Butter – Adds creaminess and a velvety finish; omit for a dairy-free option if necessary.
- Vanilla Extract – The star flavor; always opt for pure extract to elevate your dessert.
For the Serving
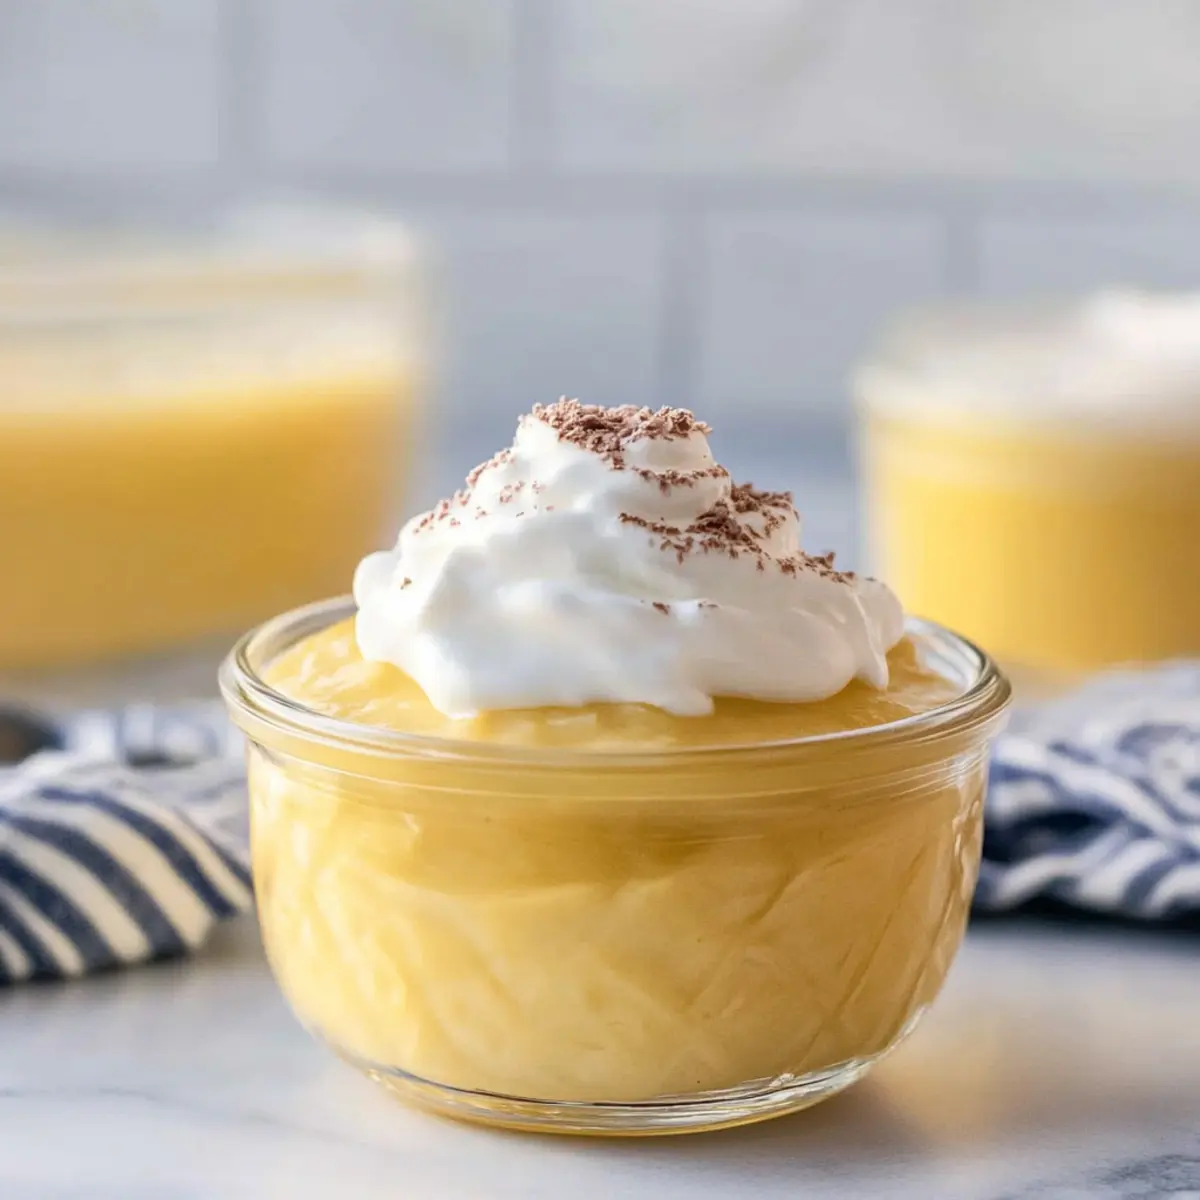
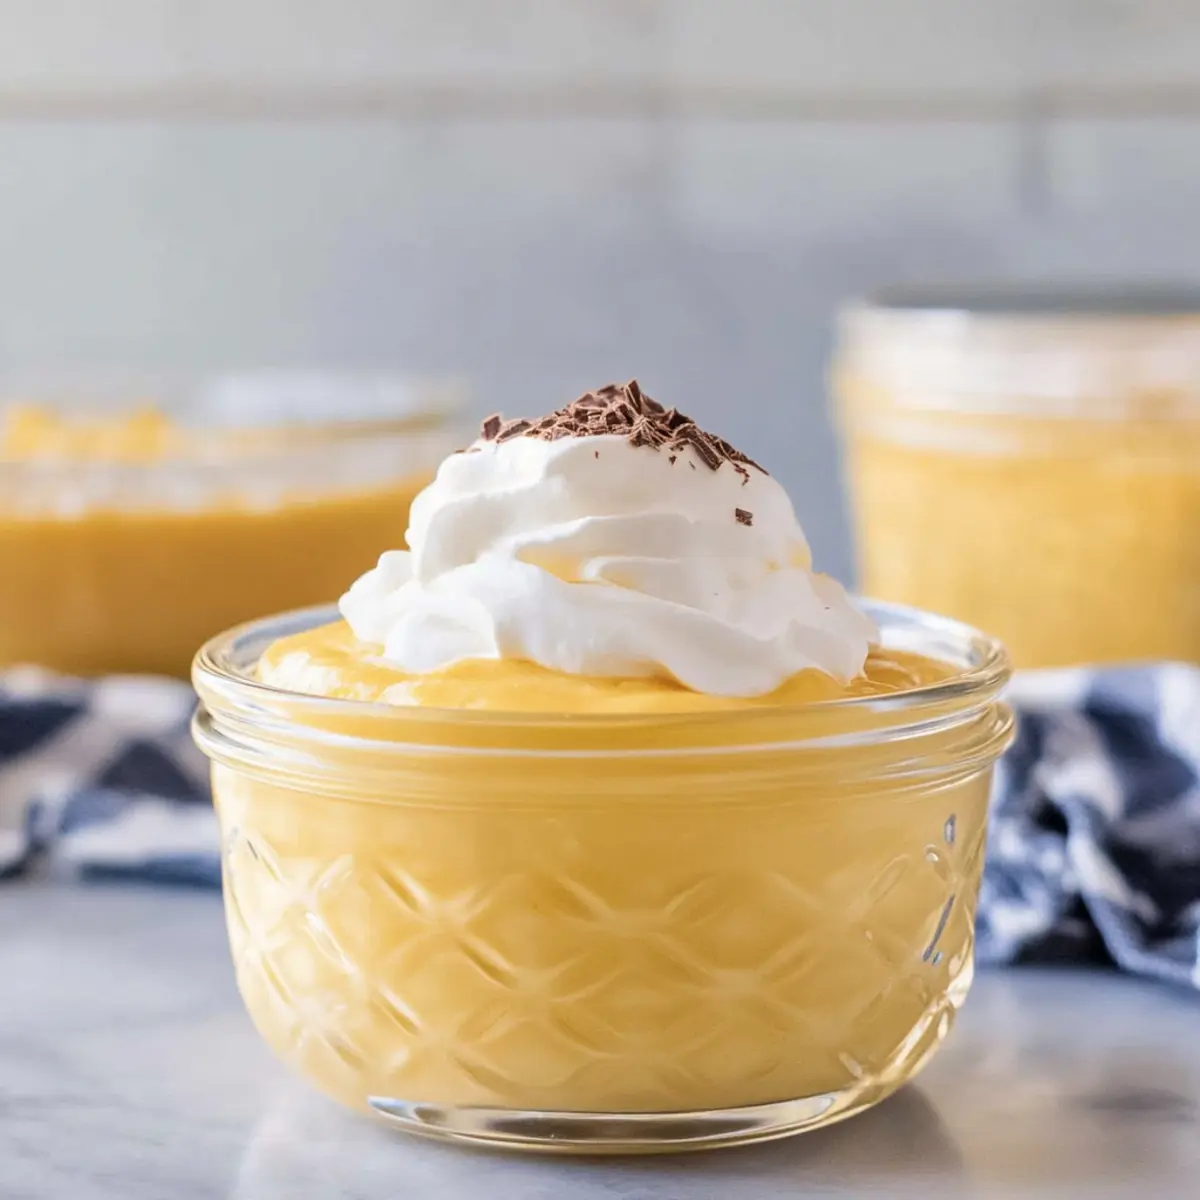
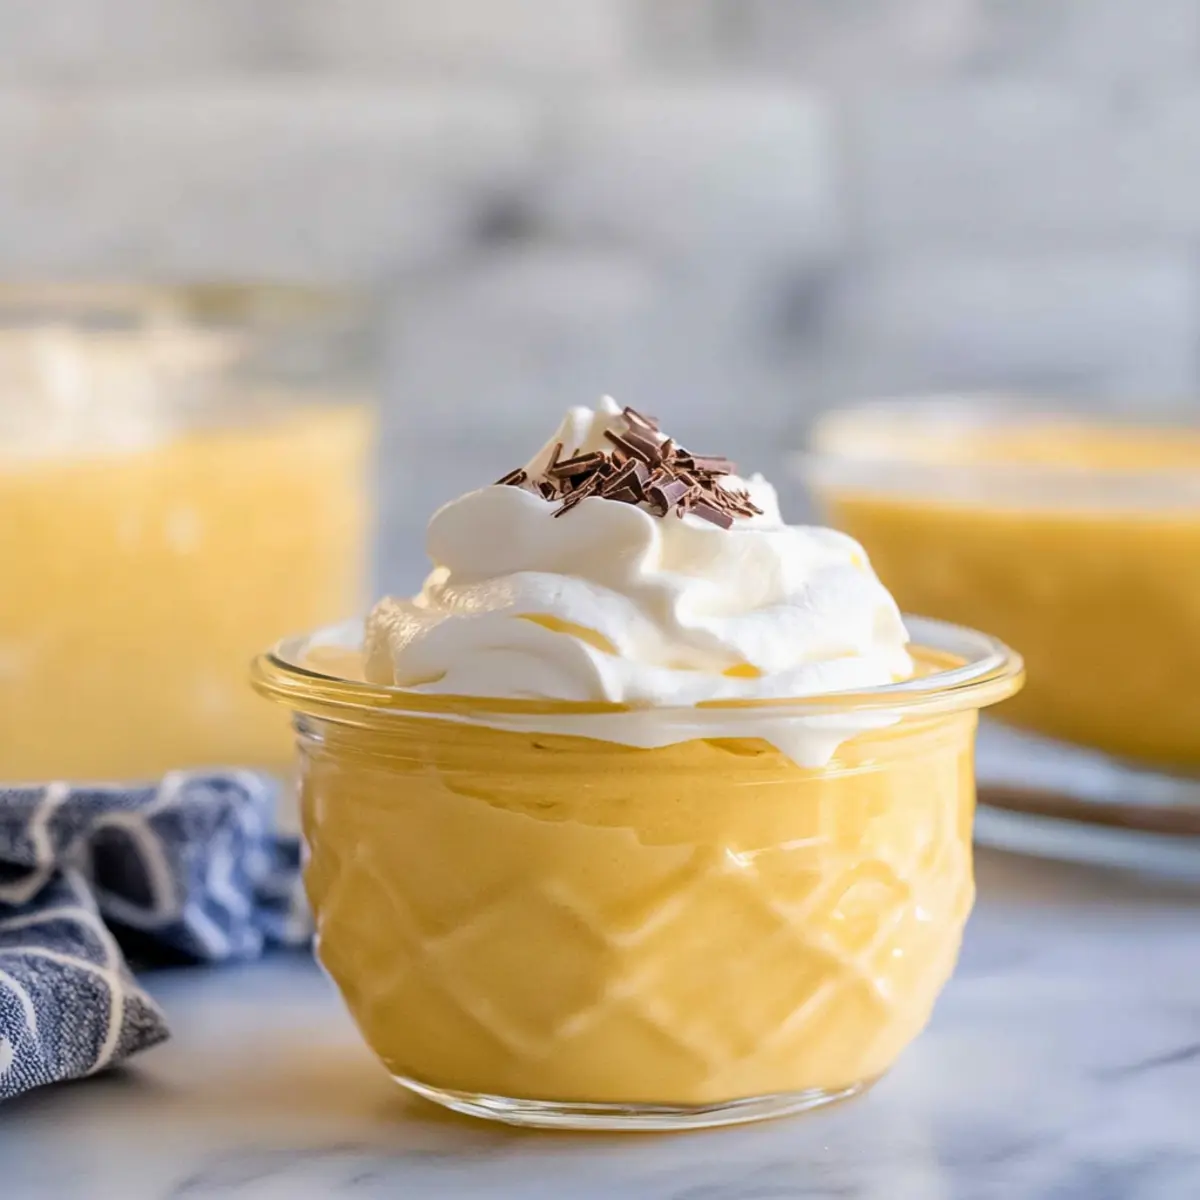
- Whipped Cream – A delightful topping that adds lightness and sweetness, perfect for finishing touches!
- Fresh Fruit – Slices of strawberries or berries can provide a refreshing contrast to the creamy pudding.
- Chocolate Shavings – Sprinkle some on top for a touch of elegance and an extra flavor boost.
Indulge in this Vanilla Pudding From Scratch made with love—it’s sure to become a family favorite!
Step‑by‑Step Instructions for Vanilla Pudding From Scratch
Step 1: Prepare Ingredients
Start by measuring out your ingredients. In a small bowl, whisk together the cornstarch and sea salt until it’s lump-free; this ensures a smooth texture for your Vanilla Pudding From Scratch. Gather a medium saucepan, a whisk, and a larger mixing bowl for the next steps.
Step 2: Mix Wet Ingredients
In a larger bowl, whisk together the whole milk, real maple syrup, and egg yolks until fully combined and smooth—this should take about 1-2 minutes. The mixture should be glossy and unified, with no visible egg yolk bits. This beautiful blend will form the creamy base for your pudding.
Step 3: Combine Mixtures
Gradually add the cornstarch mixture to the wet ingredients while continuously whisking. Make sure to whisk vigorously for about a minute to ensure there’s no clumping. The mixture should have a silky texture as you incorporate all the ingredients, creating the perfect foundation for your Vanilla Pudding.
Step 4: Heat Mixture
Pour the combined mixture into a medium saucepan over medium heat. Whisk continuously for about 4-5 minutes as it heats up. Pay attention to the consistency—once it thickens and coats the back of your whisk, you’ll know it’s ready to be removed from the heat. This step is crucial for achieving that luscious pudding texture.
Step 5: Finish Pudding
Once your mixture has thickened, remove it from the heat. Stir in the unsalted butter and vanilla extract until they are completely melted and combined, creating a velvety finish to your Vanilla Pudding From Scratch. The pudding should be smooth and glossy, inviting you to take a taste!
Step 6: Cool
Transfer the pudding into a bowl, making sure to press plastic wrap directly onto the surface to prevent a skin from forming. Allow it to chill in the refrigerator for at least 1 hour. This cooling time is essential for the pudding to set perfectly, leaving you with a deliciously creamy dessert.
Vanilla Pudding From Scratch Variations
Get ready to unleash your creativity in the kitchen with delightful twists on this classic recipe!
-
Dairy-Free: Substitute milk with almond or oat milk for a creamy dairy-free option, keeping the deliciousness intact.
Blend up your favorite dairy alternative and enjoy the same comforting taste without the lactose. -
Chocolate Twist: Add 2 tablespoons of cocoa powder to the cornstarch mixture for a decadent chocolate pudding.
This rich addition will satisfy any chocolate lover and offers a fun alternative when you’re craving something different. -
Fruit-Infused: Mix in 1/2 cup of your favorite fruit puree—like strawberry or banana—after removing from heat.
This fruity twist not only brightens up the flavor but also adds a vibrant burst of color to your dessert. -
Nutty Flavor: Stir in a spoonful of almond or hazelnut extract along with the vanilla for an aromatic twist.
The nutty notes will bring warmth and depth, elevating your vanilla pudding to gourmet status with minimal effort. -
Spiced Delight: Add a pinch of cinnamon or nutmeg to the cornstarch mixture for a comforting spice note.
A subtle spice twist can transform this classic dessert into a cozy treat, perfect for sharing during chilly evenings. -
Maple Cream Topping: Whip some heavy cream with pure maple syrup for a delightful topping that marries perfectly with the pudding.
This flavorful addition gives a homemade touch and a hint of sweetness that pairs beautifully with the smooth pudding beneath. -
Coconut Variation: Use coconut milk instead of regular milk and add shredded coconut for a tropical flavor.
The creamy coconut enhances this classic dessert and transports you to a sunny getaway with each spoonful. -
Layered Parfait: Create a gorgeous parfait by layering the pudding with whipped cream and fresh berries in a glass.
Not only does this make for a stunning presentation, but the variety of textures ensures every bite is a delightful experience.
Feel free to explore these options while preparing your Vanilla Pudding From Scratch! Each variation offers a unique way to enjoy this family favorite, proving that homemade desserts can be as versatile as they are comforting.
Expert Tips for Vanilla Pudding from Scratch
• Whisk Consistency: Continuous whisking while heating is essential to avoid lumps; a smooth pudding relies on this technique.
• Temperature Control: Remove the pudding from heat as soon as it thickens; overcooking can lead to a grainy texture you want to avoid.
• Preventing Skins: Cover the surface of the pudding with plastic wrap to avoid that unwanted skin formation as it cools in the fridge.
• Quality Ingredients: Opt for real maple syrup and pure vanilla extract to ensure a rich flavor; these make all the difference in your vanilla pudding from scratch.
• Cooling Time: Be patient and allow at least one hour for the pudding to chill; this setting period is crucial for the perfect creamy texture.
Make Ahead Options
These Vanilla Pudding From Scratch are perfect for busy home cooks looking to save time! You can prepare the pudding base up to 24 hours in advance and refrigerate it in an airtight container. Just remember to press plastic wrap directly onto the surface to prevent a skin from forming, ensuring the pudding stays smooth and creamy. When you’re ready to enjoy, simply whisk it gently to restore its texture, then serve with your favorite toppings like whipped cream or fresh fruit. This way, you can enjoy a homemade dessert without the last-minute hassle, elevating your weeknight meals into delightful sweet experiences!
How to Store and Freeze Vanilla Pudding
Fridge: Keep your vanilla pudding in an airtight container in the refrigerator for up to 5 days. Covering it helps maintain its creamy texture.
Freezer: This vanilla pudding does not freeze well, as the texture can become grainy and unpleasant. It’s best enjoyed fresh!
Reheating: If you have leftover pudding, gently reheat it on the stove over low heat, whisking continuously until warmed through while adding a splash of milk for smoothness.
What to Serve with Classic Vanilla Pudding from Scratch
Who can resist the allure of a silky-smooth dessert that transports you back to your childhood with each delicious scoop?
-
Fresh Berries: The tartness of strawberries or raspberries contrasts beautifully with the creamy sweetness, adding a refreshing bite. A sprinkle of powdered sugar can elevate the presentation, making it perfect for gatherings.
-
Chocolate Shavings: These delicate curls not only enhance the visual appeal but also provide a rich chocolate flavor that complements the vanilla effortlessly. A light dusting on top transforms your pudding into a chic dessert.
-
Whipped Cream: This classic topping adds a fluffy, airy texture that harmonizes perfectly with the pudding. A dollop on top creates a delightful creaminess that feels indulgent yet comforting.
-
Homemade Shortbread Cookies: Pairing your pudding with buttery shortbread introduces a delightful crunch. Dip the cookies into the pudding for a fun, interactive dessert experience.
-
Caramel Sauce: A drizzle of warm caramel over the pudding adds another layer of sweetness and a hint of saltiness. This luscious addition creates an indulgent treat that truly satisfies.
-
Toasted Coconut Flakes: Adding a sprinkle of toasted coconut provides a chewy element and a subtle nuttiness that beautifully enhances the vanilla flavor. It invites a tropical flair to your dessert table.
-
Sparkling Lemonade: This refreshing drink cuts through the richness of the pudding, creating a delightful beverage pairing that’s perfect for warm days or festive gatherings.
-
Coffee: A rich, bold cup of coffee serves as a wonderful balance to the sweet pudding, creating a sophisticated pairing that appeals to adults.
Transform your classic vanilla pudding into a spectacular dessert experience by exploring these complementary sides and toppings!
Vanilla Pudding From Scratch Recipe FAQs
What kind of milk should I use for vanilla pudding?
You can use whole milk for a richer flavor, but low-fat milk works fine if you prefer a lighter option. Almond or oat milk can be used for a dairy-free version, although the creaminess may be slightly different.
How long can I store vanilla pudding in the refrigerator?
Your delicious vanilla pudding can be stored in the fridge for up to 5 days. Just make sure to cover it well to prevent it from absorbing any odors from other foods and to keep its creamy texture intact.
Can I freeze vanilla pudding?
Unfortunately, vanilla pudding does not freeze well. If frozen, it can become grainy and separate upon thawing. It’s best to enjoy this treat fresh for the creamiest experience!
What do I do if my pudding becomes lumpy?
If your pudding has lumps, don’t worry too much! Simply pass it through a fine-mesh sieve or blender for a smoother texture. Remember, continuous whisking during heating is key to preventing lumps in the first place!
Is vanilla pudding safe for people with dietary restrictions?
Absolutely! If you’re making it for someone with allergies or dietary restrictions, consider using almond milk for a dairy-free version and substituting the butter with a vegan alternative. Always check for allergies to any specific ingredient like egg yolks or maple syrup.
How do I prevent a skin from forming on my pudding?
To prevent that unwanted skin, press a piece of plastic wrap directly onto the surface of the pudding as it cools. This traps moisture and keeps the surface smooth and luscious, leaving you with the perfect creamy vanilla pudding from scratch!
Creamy Vanilla Pudding From Scratch in Just 10 Minutes
Ingredients
Equipment
Method
- Start by measuring out your ingredients. In a small bowl, whisk together the cornstarch and sea salt until lump-free.
- In a larger bowl, whisk together the whole milk, real maple syrup, and egg yolks until fully combined and smooth.
- Gradually add the cornstarch mixture to the wet ingredients while continuously whisking for about a minute.
- Pour the combined mixture into a medium saucepan over medium heat. Whisk continuously for about 4-5 minutes.
- Once thickened, remove from heat and stir in the unsalted butter and vanilla extract until melted.
- Transfer the pudding into a bowl and press plastic wrap directly onto the surface. Chill in the refrigerator for at least 1 hour.
Leave a Reply