
On a busy weeknight, I found myself staring at an abundant stash of zucchini, pondering how to turn the beloved veggie into a family-friendly feast. That’s when I unearthed my recipe for Easy Cheesy Zucchini Breadsticks. These little gems are not only a delightful way to use up fresh zucchini, but they are also a quick-prep marvel that pairs perfectly with your favorite dips. There’s something magical about the combination of gooey mozzarella and nutty parmesan, creating a crispy exterior and a soft, cheesy center that beckons for a second (or third) helping. Plus, they’re gluten-free adaptable, ensuring that everyone at the table can indulge without worry. Curious to discover how to whip up these irresistible treats that vanish faster than I can put them on the table? Keep reading!
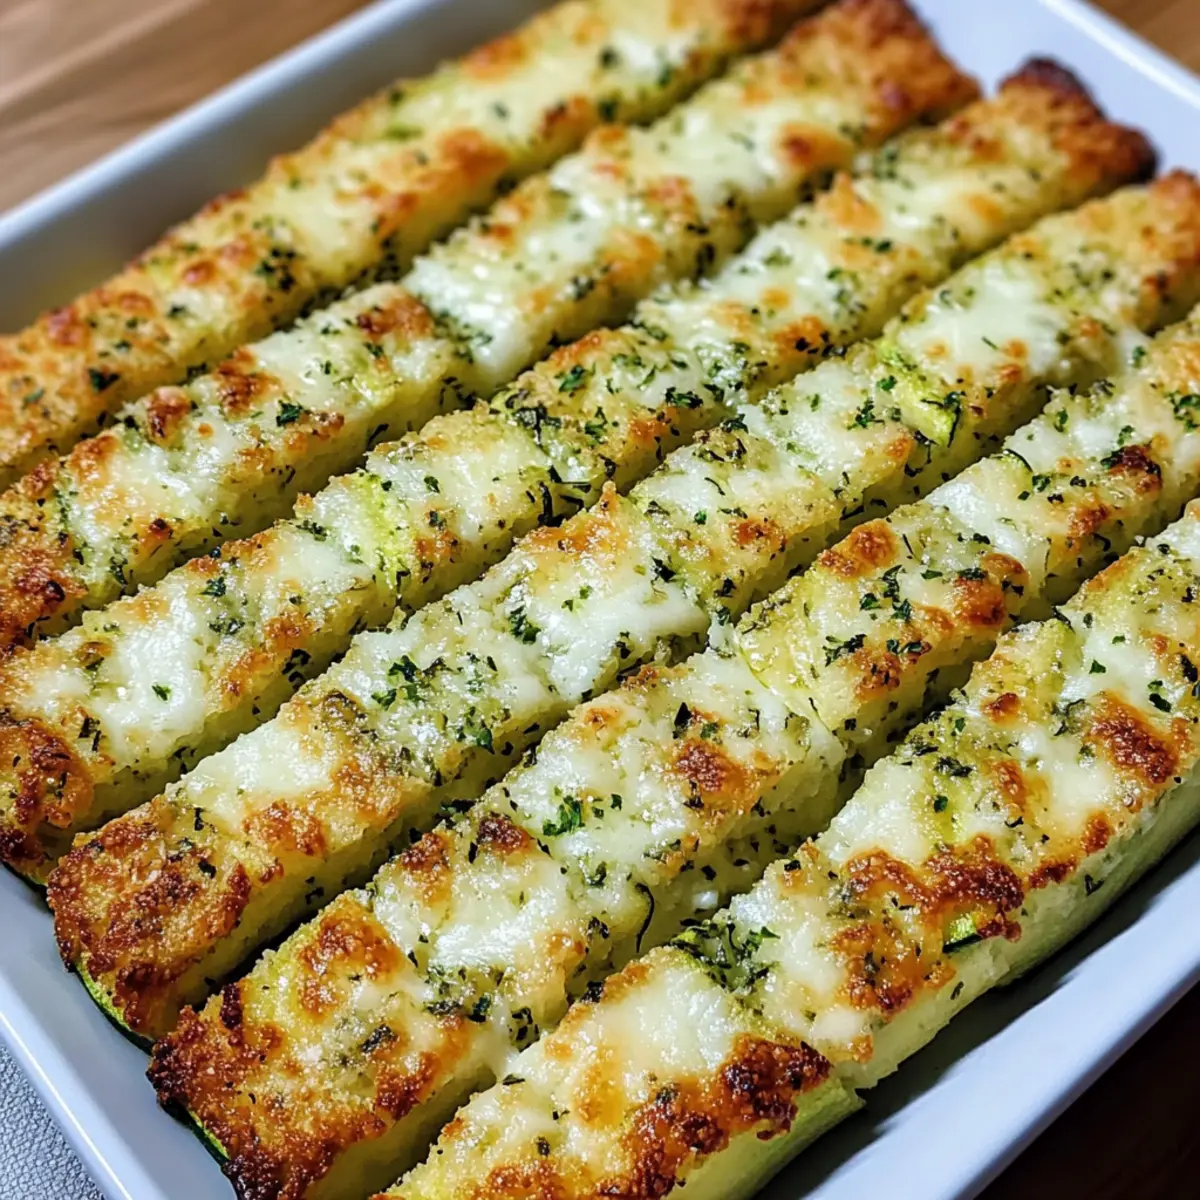
Why You’ll Love These Cheesy Zucchini Breadsticks
Irresistible Flavor: Crispy, cheesy, and downright addictive, these breadsticks deliver a medley of deliciousness that will have your taste buds dancing.
Quick and Easy: Perfect for busy nights, the straightforward prep allows you to whip these up in no time—making them a family favorite for snacks or sides.
Kid-Approved: Packed with veggies, these delicious sticks make sneaking zucchini into your children’s meals a breeze!
Versatile Delight: Customizable options let you add your favorite herbs and spices, adapting the flavors to suit your family’s tastes.
Gluten-Free Possibilities: Worried about gluten? No problem! You can adjust the recipe easily using almond or coconut flour for a tasty alternative.
Serve these delightful creations warm with your favorite dip, and you’ll find they disappear as quickly as a batch of Cheesy Halloween Breadstick or Baked Ravioli Casserole.
Cheesy Zucchini Breadsticks Ingredients
For the Breadsticks
• Zucchini – Fresh, firm zucchini is key for the best texture; you can substitute yellow squash if needed.
• Mozzarella Cheese – Adds that gooey meltiness; for different flavors, swap it with cheddar or dairy-free cheese.
• Parmesan Cheese – Delivers a salty, nutty flavor; consider mixing in nutritional yeast or pecorino cheese as a substitute.
• Flour – All-purpose flour is standard, but for gluten-free options, reach for almond or coconut flour and adjust the amounts for moisture.
• Egg – Helps bind the mixture together for perfect breadsticks.
• Garlic Powder – Infuses a lovely depth of flavor; use fresh garlic for an even more intense aroma.
• Italian Seasoning – Adds herby goodness; feel free to substitute with fresh herbs for a brighter taste.
• Chopped Parsley (optional) – Brings fresh color and flavor; omit if not available.
Have fun experimenting with these versatile and healthy Cheesy Zucchini Breadsticks!
Step‑by‑Step Instructions for Cheesy Zucchini Breadsticks
Step 1: Preheat Oven
Preheat your oven to 400°F (200°C) and get your 9×13-inch baking pan ready by greasing it or lining it with parchment paper. This preparation will ensure that the Cheesy Zucchini Breadsticks don’t stick and bake evenly, allowing for that perfect crispy texture.
Step 2: Prepare Zucchini
Grate the fresh zucchini into a fine mesh sieve, sprinkling it lightly with salt. Let it sit for about 10 minutes to draw out excess moisture. This step is crucial as it prevents your breadsticks from becoming soggy, ensuring a delightful bite when baked.
Step 3: Drain Zucchini
Once the zucchini has rested, use your hands or a clean cloth to squeeze out as much moisture as possible from the grated zucchini. You’ll want it to be as dry as possible, which will help your cheesy mixture adhere well and achieve that crisp finish on your zucchini breadsticks.
Step 4: Mix Ingredients
In a large bowl, combine the drained zucchini with shredded mozzarella, grated parmesan, egg, garlic powder, Italian seasoning, parsley (if using), and flour. Stir thoroughly until the mixture is evenly combined. This mixture is the heart of your Cheesy Zucchini Breadsticks, so ensure everything is well-integrated for flavor and texture.
Step 5: Spread Mixture
Transfer the cheesy mixture into your prepared baking pan. Use a spatula to evenly spread and press it down, ensuring it reaches all corners of the pan. This even layer is essential for consistent baking, giving your breadsticks a uniform shape and cook.
Step 6: Cheese Topping
For an extra melty experience, sprinkle additional mozzarella cheese evenly over the top of the mixture before baking. This layer will create a golden, bubbly crust that enhances the flavor of your Cheesy Zucchini Breadsticks.
Step 7: Bake
Place the baking pan in the preheated oven and bake for 20-25 minutes. Keep a close eye on them, and look for a golden-brown color on the top, which indicates that they’ve cooked perfectly. The aroma will be irresistible!
Step 8: Cool and Slice
Once baked, remove the pan from the oven and allow your Cheesy Zucchini Breadsticks to cool for a few minutes. After they have settled, slice them into breadstick shapes using a sharp knife. This makes them easy to pick up and enjoy with your favorite dip!
Make Ahead Options
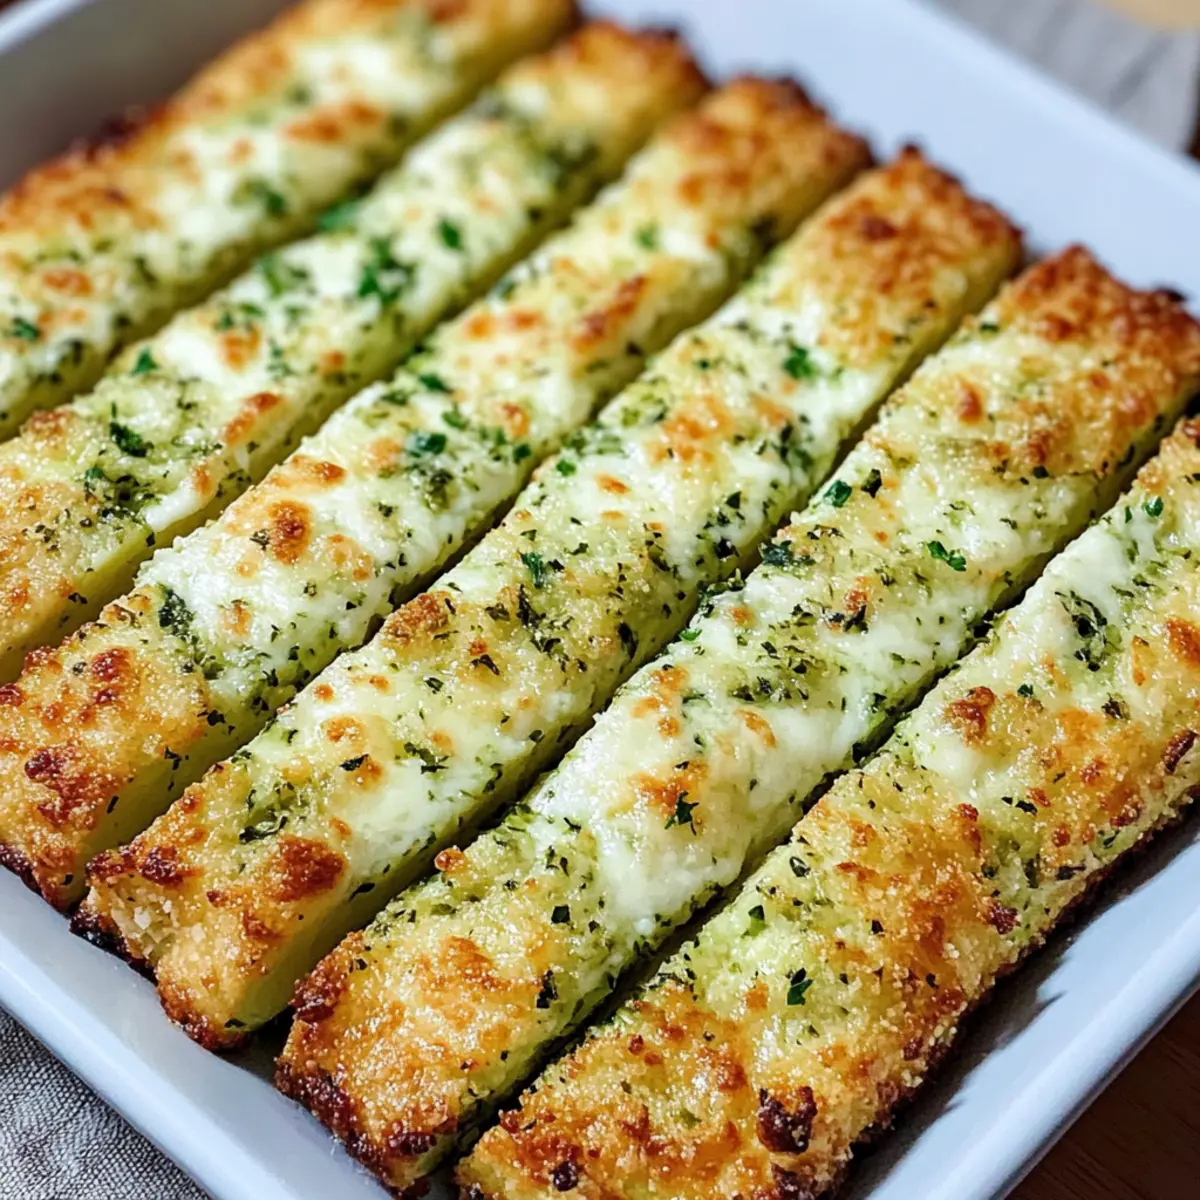
These Easy Cheesy Zucchini Breadsticks are a fantastic option for meal prep, saving you precious time on busy weeknights! You can prepare the zucchini mixture—combining grated zucchini, cheeses, egg, and flour—up to 24 hours in advance. Simply store it in an airtight container in the refrigerator to keep it fresh. For best results, mix the ingredients just before spreading into the baking pan to maintain optimal texture. When you’re ready to cook, spread the mixture in the pan, sprinkle additional cheese on top, and bake as directed. You’ll have delicious, crispy breadsticks that are just as delightful as when made fresh, allowing you to enjoy time with family while still serving up a warm, homemade treat!
How to Store and Freeze Cheesy Zucchini Breadsticks
Fridge: Store leftovers in an airtight container in the refrigerator for up to 3 days. This helps keep your tasty Cheesy Zucchini Breadsticks fresh and ready to enjoy!
Freezer: If you have extras, freeze the breadsticks in a single layer on a baking sheet, then transfer to an airtight container or freezer bag, where they can stay for up to 2 months.
Reheating: To reheat, place the Cheesy Zucchini Breadsticks in a preheated oven at 350°F (175°C) for about 10 minutes. This restores their crispiness and cheesy goodness.
Serving from Frozen: If reheating from frozen, you may need to add an extra 5 minutes to ensure they’re heated through perfectly.
What to Serve with Easy Cheesy Zucchini Breadsticks
Looking to create a delightful spread that pairs perfectly with your warm, cheesy adventures?
- Marinara Sauce: Classic and tangy, this rich dip enhances the cheesy flavors while adding a delightful freshness.
- Ranch Dressing: Creamy with a zesty kick, ranch dressing is a kid-favorite and a cool balance for warm breadsticks.
- Garlic Aioli: Velvety and garlicky, this aioli enriches the experience with its savory profile that complements the zucchini beautifully.
- Fresh Salad: A light, crisp salad offers refreshing crunch, making a tasty contrast to the cheesy warmth of the breadsticks.
- Stuffed Peppers: Colorful and hearty, stuffed peppers add a comforting touch while providing an extra veggie boost.
- Olive Tapenade: This spread brings a Mediterranean flair to your table and its briny flavor pairs magnificently with cheesy zucchini breadsticks.
- Glazed Carrots: Sweet and tender, glazed carrots offer bright color and flavor, balancing the rich cheddar experience perfectly.
- Sparkling Lemonade: Refreshingly tart, this drink quenches thirst and lightens up the richness of the snack.
Cheesy Zucchini Breadsticks: Fun Variations
Feel free to get creative with your Cheesy Zucchini Breadsticks, making them uniquely yours with these exciting twists!
-
Gluten-Free: Substitute all-purpose flour with almond or coconut flour for a tasty gluten-free treat. Just make sure to adjust the moisture level accordingly!
-
Herb-Infused: Add fresh basil or oregano for an aromatic flavor boost. This simple change makes each bite a little garden-fresh wonder.
-
Spicy Kick: Mix in some crushed red pepper flakes for a touch of heat. If your family loves bold flavors, this could become their new favorite!
-
Extra Veggies: Incorporate chopped spinach or bell peppers into the mixture for a nutritious upgrade. Not only does this add flavor, but it also sneaks in more veggies for the kids!
-
Cheese Variations: Try using a combination of mozzarella and provolone for a melty, slightly tangy twist. Your taste buds will thank you for the delightful surprise.
-
Sausage Option: For meat lovers, add cooked ground sausage to the mix. Keep an eye out for moisture—it’s crucial so that your breadsticks remain crispy and delicious.
-
Baking Dish: Experiment with a muffin tin for mini breadsticks! Perfectly portioned, they make a fun, kid-friendly snack or party appetizer.
-
Dips & Spreads: Serve these breadsticks with a variety of dips, such as marinara or garlic aioli, to create a versatile snack spread. Each bite becomes an adventure in flavor!
By exploring these variations, your Cheesy Zucchini Breadsticks can easily transition from a simple side to a sought-after snack for any occasion. Whether you’re serving them alongside a classic Baked Ravioli Casserole or just enjoying them on their own, these customized treats will surely impress!
Expert Tips for Cheesy Zucchini Breadsticks
-
Squeeze Thoroughly: Ensure you squeeze out as much liquid from the zucchini as possible. This prevents soggy Cheesy Zucchini Breadsticks that don’t hold their shape.
-
Even Layering: Spread the mixture evenly in your baking pan. Uneven layers can lead to inconsistent cooking, where some parts may burn while others remain undercooked.
-
Watch the Clock: Keep an eye on the baking time! Ovens vary, so check for that golden brown color around the 20-minute mark to achieve perfectly crispy edges.
-
Experiment with Cheese: Feel free to mix different types of cheese! Adding sharp cheddar or spicy pepper jack can elevate the flavor profiles of your Cheesy Zucchini Breadsticks.
-
Cool Before Slicing: Let your breadsticks cool for a few minutes in the pan before slicing. This helps them firm up for cleaner cuts and easier handling.
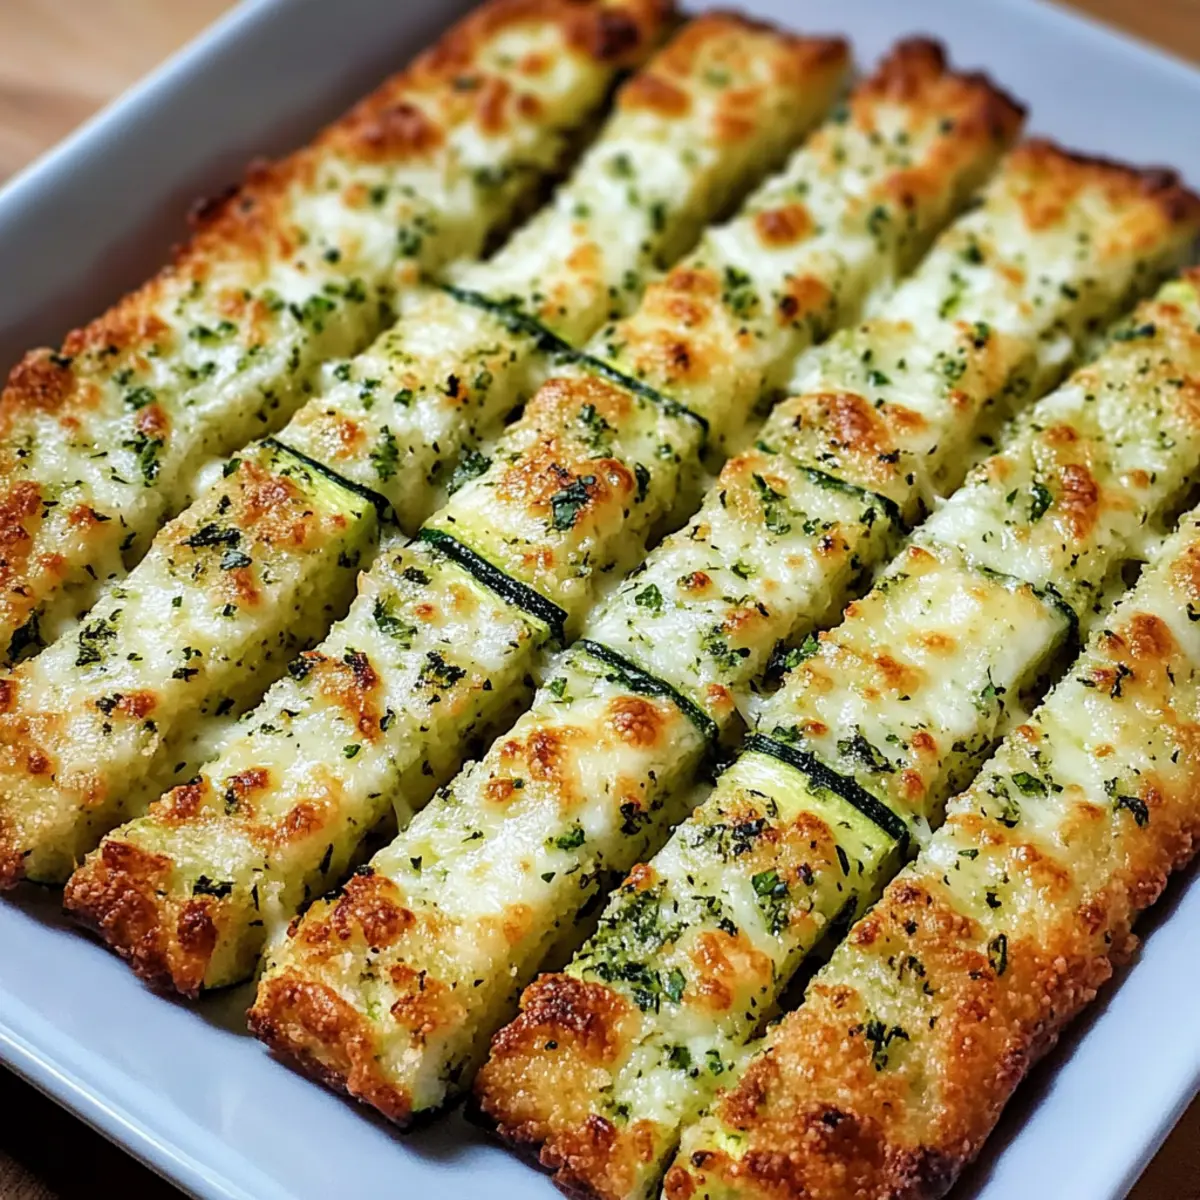
Cheesy Zucchini Breadsticks Recipe FAQs
How do I choose the right zucchini for this recipe?
Absolutely! Look for fresh, firm zucchini that feels heavy for its size. Avoid ones with dark spots all over or soft spots, as these can indicate overripeness. If you’re in a pinch, yellow squash can make a suitable substitute.
How should I store leftover Cheesy Zucchini Breadsticks?
After enjoying your delicious breadsticks, store any leftovers in an airtight container in the refrigerator. They’ll stay fresh for up to 3 days. Make sure to let them cool completely before sealing to avoid condensation, which can make them soggy.
Can I freeze Cheesy Zucchini Breadsticks?
Absolutely! To freeze, lay the sliced Cheesy Zucchini Breadsticks in a single layer on a baking sheet and freeze until solid (about 2 hours). Then, transfer them to an airtight container or a freezer bag. They can be kept frozen for up to 2 months. When you’re ready to enjoy, simply reheat directly from the freezer—just add a few more minutes to the baking time!
What can I do if my breadsticks turn out soggy?
If your Cheesy Zucchini Breadsticks come out soggy, it’s likely that the zucchini had too much moisture. Next time, ensure you thoroughly drain the zucchini after salting and squeezing it. You can also try using a bit more flour to help absorb excess moisture. With these adjustments, you’ll achieve that perfect crispy texture!
Are there any dietary considerations for Cheesy Zucchini Breadsticks?
Yes, these breadsticks can be easily adapted to suit various dietary needs! You can make them gluten-free by using almond or coconut flour instead of all-purpose flour. Additionally, consider swapping the cheeses for dairy-free options to make them suitable for vegan diets.
What dips work well with these Cheesy Zucchini Breadsticks?
Very! These breadsticks pair beautifully with marinara sauce, ranch dressing, or even a tangy garlic aioli. You can get creative by trying different dips based on your family’s favorites—each one adds a unique twist to this delightful snack!
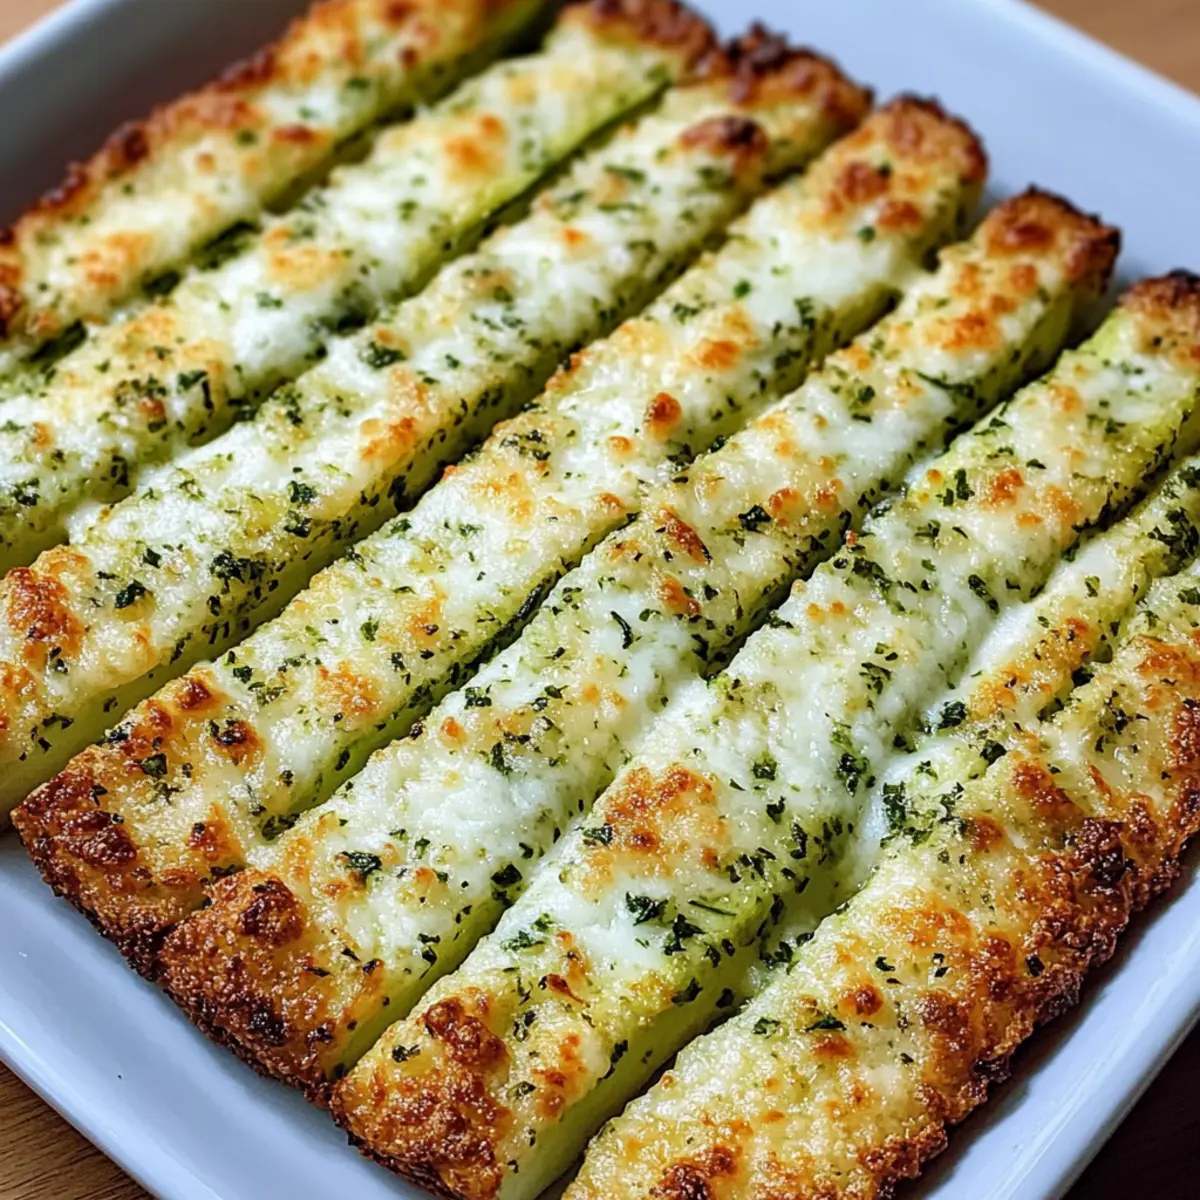
Cheesy Zucchini Breadsticks: Crispy, Cheesy Comfort Snack
Ingredients
Equipment
Method
- Preheat your oven to 400°F (200°C) and prepare your baking pan.
- Grate the zucchini, sprinkle with salt, and let it sit for 10 minutes.
- Drain the zucchini and squeeze out excess moisture.
- In a large bowl, mix the drained zucchini with mozzarella, parmesan, egg, garlic powder, Italian seasoning, parsley, and flour.
- Transfer the mixture into the prepared baking pan and spread evenly.
- Sprinkle additional mozzarella on top for extra flavor.
- Bake for 20-25 minutes until golden brown.
- Allow to cool for 5 minutes, then slice into breadsticks.
Leave a Reply