
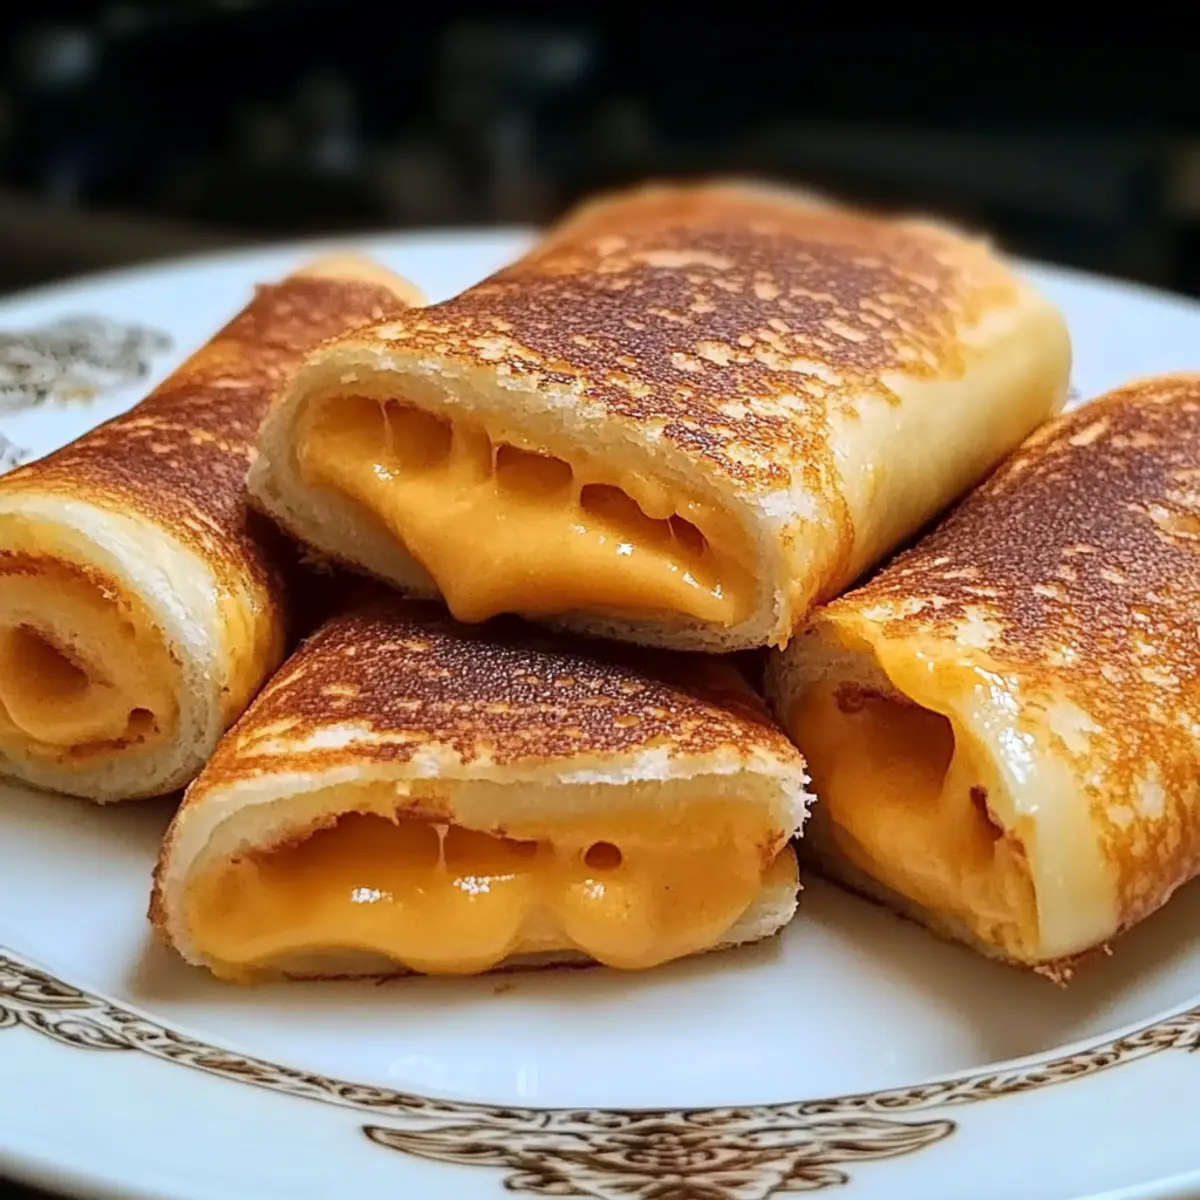
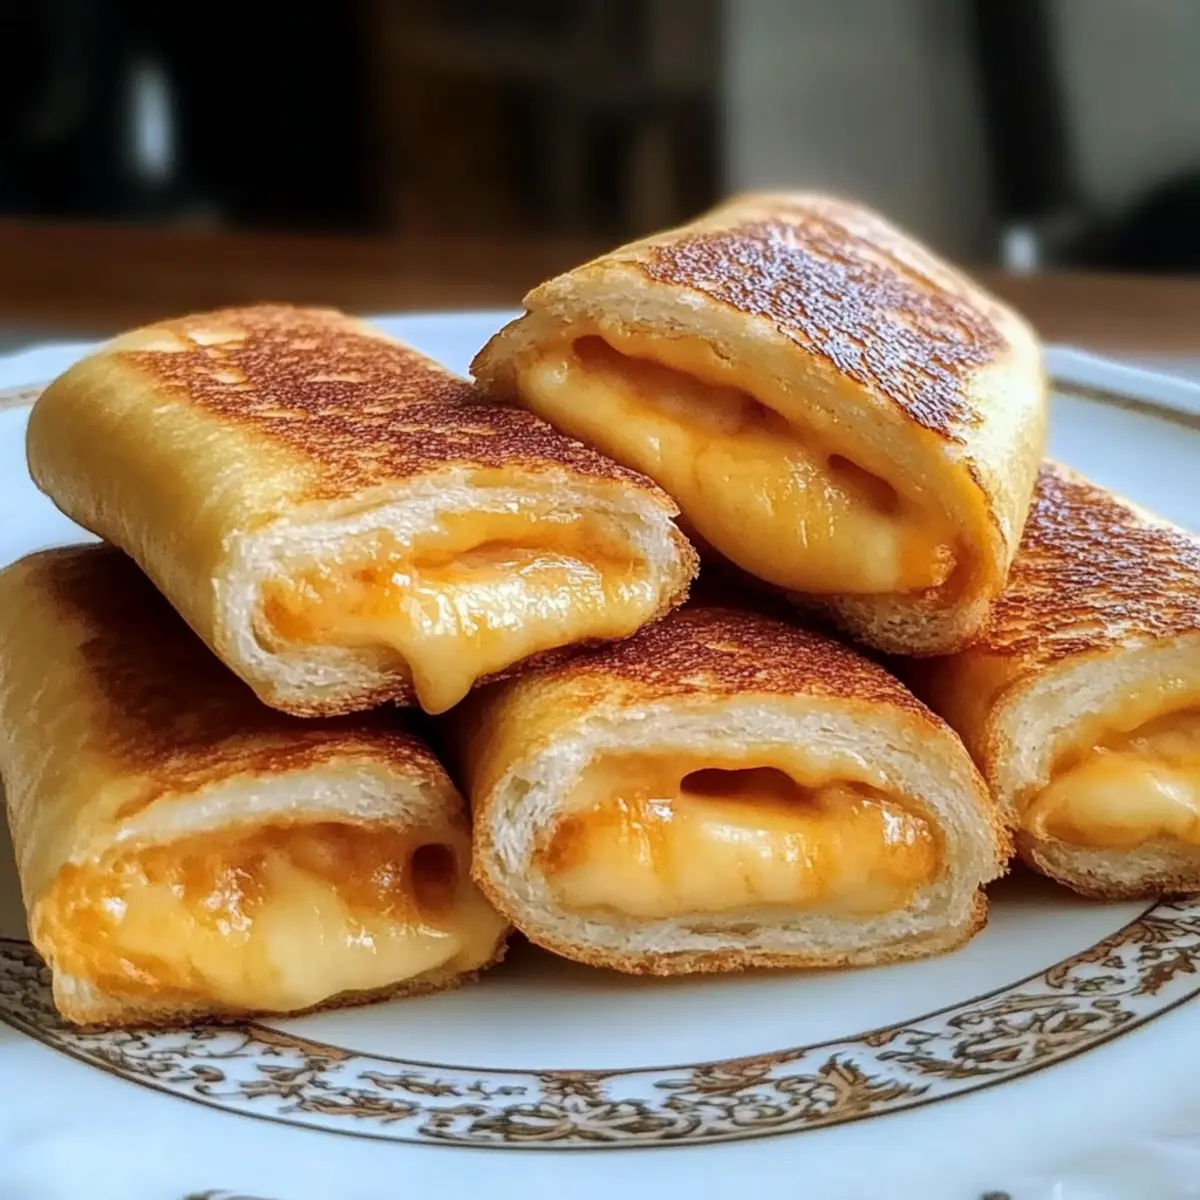
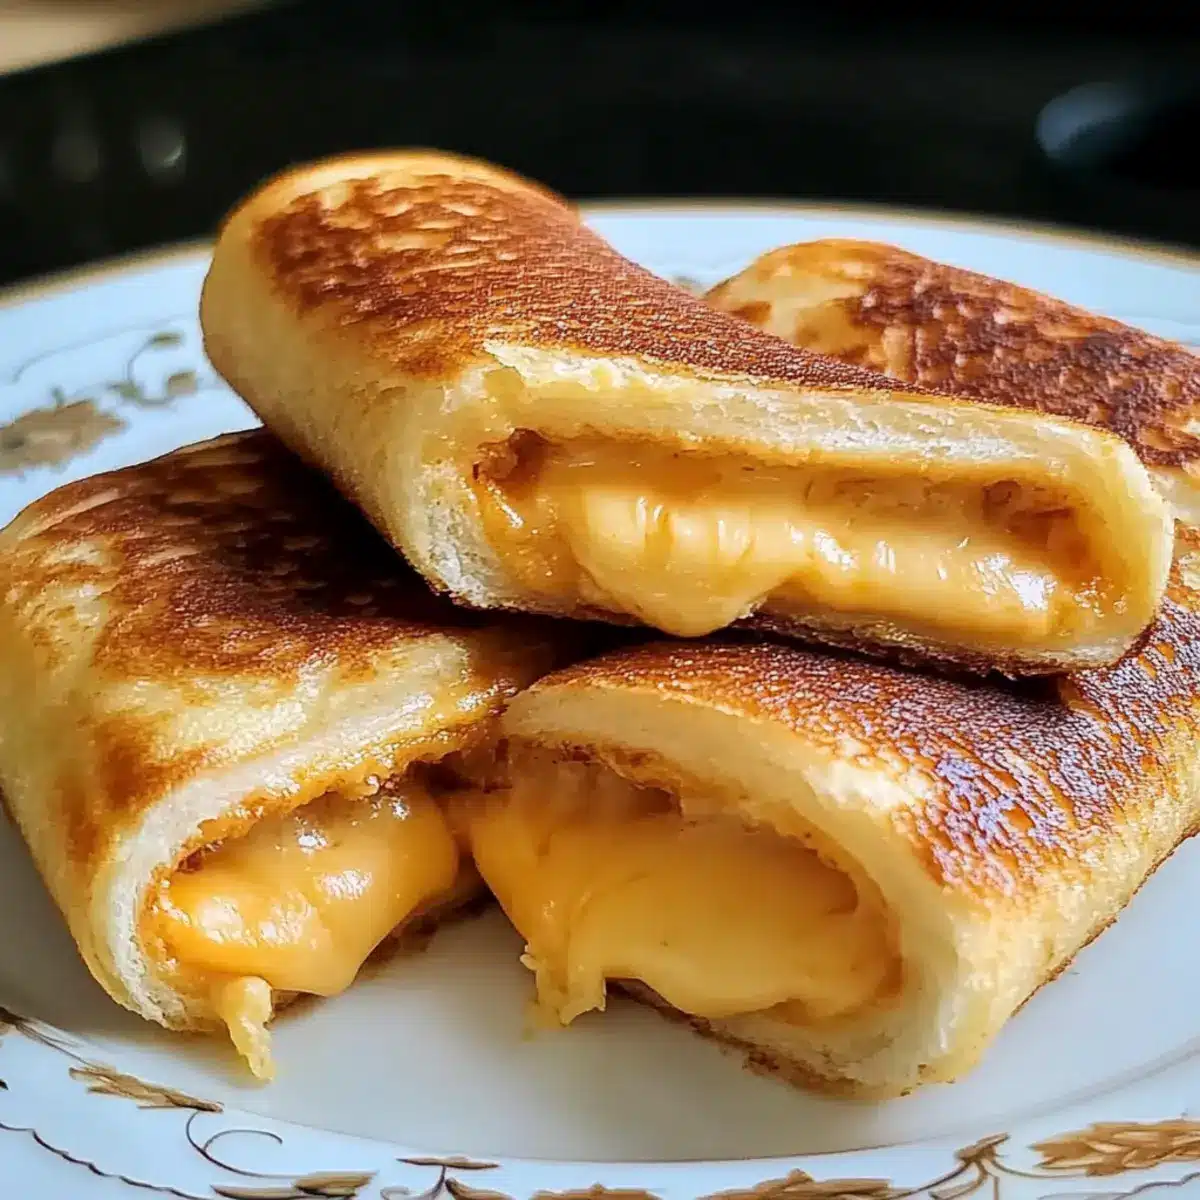
There’s something undeniably comforting about the aroma of toasty bread mingling with melted cheese that pulls you right back to childhood. These Grilled Cheese Roll Ups are a delightful reinvention of the classic sandwich, transforming simple ingredients into a quick, dippable snack that pleases palates of all ages. Picture a crispy exterior giving way to a gooey, cheesy center—perfect for lunch, after-school cravings, or even as an irresistible appetizer when friends come over. Not only are these roll ups incredibly easy to whip up, but they also serve as a fun, interactive meal that gets everyone involved in the kitchen. Have you ever craved that warm nostalgia while adding a playful twist? Let’s dive into this recipe that promises to bring smiles all around!
Why Are Grilled Cheese Roll Ups So Irresistible?
Comforting, Nostalgic Flavor: Nothing feels quite like crispy bread and melted cheese! These roll ups evoke warm memories of childhood lunches.
Quick to Prepare: Ready in under 15 minutes, making them perfect for busy days or spontaneous snack cravings.
Dippable Fun: Whether paired with tomato soup or ranch dressing, the dippable format adds excitement to mealtime.
Kid-Friendly Appeal: Kids love the hands-on aspect of rolling and dipping, making these a surefire hit with the little ones.
Versatile Creation: Customize with different cheeses or fillings—try adding veggies or meats for a unique twist!
Grilled Cheese Roll Ups Ingredients
For the Roll Ups
- Bread – Use soft, pliable bread like white or whole wheat for the best texture.
- Cheese – Choose pre-sliced cheese such as cheddar or American for an effortless melt; thickness should be about 1/8 inch.
- Butter – Opt for unsalted butter to control salt levels; it creates a deliciously golden crust.
For Dipping (Optional)
- Tomato Soup – The classic dip that enhances the cheesy goodness of the Grilled Cheese Roll Ups.
- Ranch Dressing – A creamy alternative that adds a flavorful twist to your roll ups.
Extra Fillings (Optional)
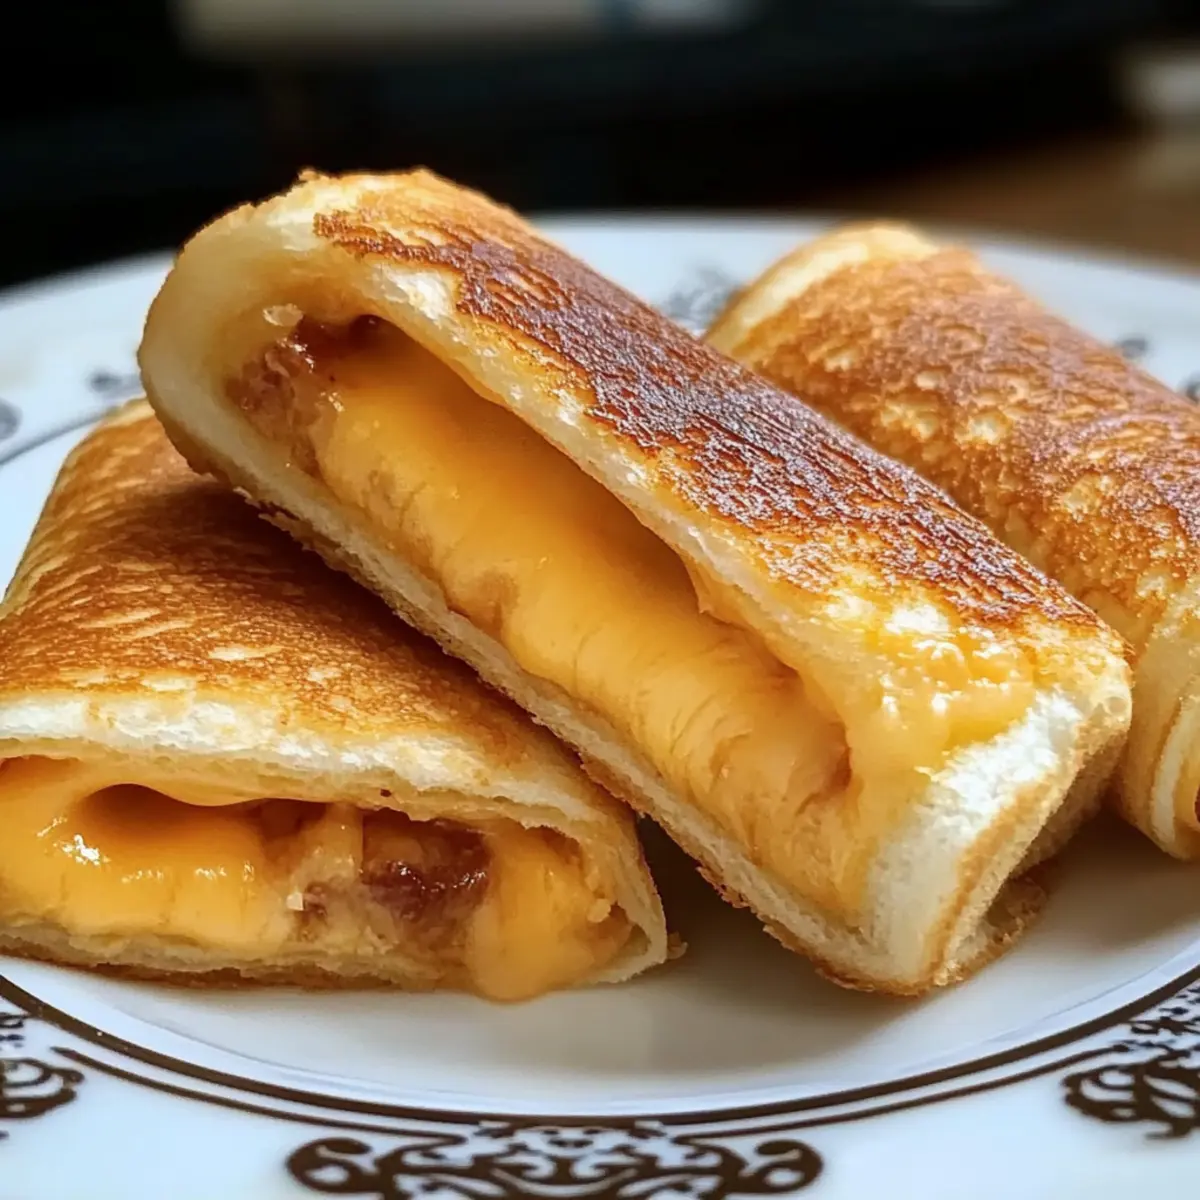
- Cooked Bacon – Crumbled for a savory kick; pairs nicely with cheese.
- Sautéed Veggies – Like spinach or bell peppers for added nutrition and color.
These ingredients come together to make a meal that’s not just comforting but irresistibly dippable, ensuring smiles all around!
Step‑by‑Step Instructions for Grilled Cheese Roll Ups
Step 1: Flatten the Bread
Begin by taking your soft, pliable bread slices and place them on a clean surface. Using a rolling pin, gently flatten each slice to about 1/4-inch thickness. This creates a pliable base perfect for rolling. Aim for an even texture as you roll, which should take about 1-2 minutes per slice. A good flattening will make your Grilled Cheese Roll Ups hold their shape beautifully.
Step 2: Assemble the Cheese Filling
Next, lay down your flattened bread slices and place a slice of cheese in the center of each one. Feel free to add any extra fillings like crumbled bacon or sautéed veggies for an adventurous twist. Carefully roll each slice from one end to the other, tucking the cheese tightly inside. Ensure the edges are secure to prevent any ooze during cooking, setting your tasty Grilled Cheese Roll Ups up for success.
Step 3: Prepare the Skillet
Heat a large skillet over medium heat while adding about 1 tablespoon of unsalted butter. Allow the butter to melt completely and become bubbly, which should take approximately 1-2 minutes. This is crucial for achieving that golden-brown crust on your Grilled Cheese Roll Ups. Keep an eye on it, ensuring the butter doesn’t burn as it melts.
Step 4: Cook the Roll Ups
Once the butter is ready, carefully place your roll-ups seam-side down in the skillet. Cook them for about 2-3 minutes or until they turn a beautiful golden-brown color. You can peek underneath to check doneness, and when they’re ready, flip each roll with tongs or a spatula to cook the other side. Repeat for another 2-3 minutes until crispy and delightful.
Step 5: Serve Immediately
When both sides of your Grilled Cheese Roll Ups are evenly golden, remove them from the skillet and allow any excess butter to drip off. Let them sit for a minute before slicing diagonally for that eye-catching presentation. Serve these delicious rolls hot, perhaps alongside a warm bowl of tomato soup or creamy ranch dressing for dipping, making the experience even more delightful.
What to Serve with Grilled Cheese Roll Ups
Nothing screams comfort quite like a cozy meal that pairs perfectly with melted cheese and crispy bread. Let’s create the ultimate dining experience to complement your delicious roll ups!
-
Creamy Tomato Soup: The classic choice, providing a warm, velvety backdrop that enhances each cheesy bite. A match made in comfort-food heaven.
-
Crunchy Vegetable Sticks: Fresh cucumber or carrot sticks add a satisfying crunch, bringing balance to the richness of the roll ups. They’re also a great way to sneak in some healthy veggies!
-
Garlic Parmesan Fries: Crispy, garlicky fries are perfect for dipping, enhancing the flavor profile while adding a delightful crunch.
-
Ranch Dressing: This tangy dip adds a zesty twist, turning each bite of Grilled Cheese Roll Ups into a flavor explosion. Plus, it’s always a hit with both kids and adults!
-
Crispy Salad: Tossed greens with a light vinaigrette will cut through the richness of the cheese, adding freshness and vibrancy to your meal.
-
Apple Slices: Sweet, crisp apple slices provide a refreshing contrast, balancing the savory flavors of the roll ups. Drizzle a bit of honey for an unexpected twist!
-
Sparkling Lemonade: A fizzy drink with a hint of sweetness elevates your meal, cleansing the palate with every sip. It’s an inviting addition to both adult and kid-friendly gatherings.
-
Churros: For dessert, these fried pastries rolled in cinnamon sugar are a delightful ending—sweet, warm, and airy, leaving everyone with smiles.
Serve your Grilled Cheese Roll Ups with these tasty companions to create a comforting, memorable meal!
Make Ahead Options
These Grilled Cheese Roll Ups are perfect for busy home cooks who want to save time during hectic weekdays! You can prepare the roll ups up to 24 hours in advance by flattening the bread, adding your cheese (and any extra fillings), and tightly rolling them up. Be sure to wrap them securely in plastic wrap or store them in an airtight container in the refrigerator to maintain freshness. When you’re ready to enjoy, simply heat butter in a skillet over medium heat and cook the roll ups until golden brown on each side, about 2-3 minutes per side. This way, you can have delicious, cheesy goodness on the table with minimal effort!
Expert Tips for Grilled Cheese Roll Ups
- Bread Choice: Use soft bread: Stale or crusty bread can tear easily and won’t roll well. Fresh, soft bread ensures perfect texture and crispness.
- Keep it Simple: Don’t overfill: Using too much cheese or extra fillings can cause spills during cooking. Stick to one cheese slice for the best results.
- Monitor the Heat: Cook on medium: High heat might burn the outside while leaving the inside cold and cheesy. Patience is key for evenly cooked Grilled Cheese Roll Ups.
- Fixing Tears: Roll gently: If the bread tears, try rolling more slowly and use gentle pressure with the rolling pin to avoid damaging the slices.
- Flipping Technique: Use tongs or a spatula: Be careful when flipping to maintain the shape of your roll ups and achieve an even golden-brown finish on both sides.
How to Store and Freeze Grilled Cheese Roll Ups
Fridge: Store leftover Grilled Cheese Roll Ups in an airtight container for up to 3 days. Reheat in a skillet to restore crispiness.
Freezer: For longer storage, freeze uncooked roll ups tightly wrapped in plastic wrap and then in a freezer-safe bag for up to 1 month.
Reheating: When ready to enjoy, cook from frozen in a skillet over medium heat until golden brown, about 4-5 minutes per side.
Make Ahead: Prepare the roll ups a day in advance and keep them in the fridge. Cook them fresh for the best flavor and texture!
Grilled Cheese Roll Ups: Customizable Delights
Feel free to let your imagination run wild with these delicious roll ups—there’s no wrong way to enjoy this cheesy treat!
- Cheese Variety: Try using mozzarella for a gooey, stretchy texture or gouda for a smoky flavor twist.
- Add Crispy Bacon: Incorporate cooked, crumbled bacon into the filling for a savory kick that pairs beautifully with cheese.
- Vegetable Medley: Fold in sautéed spinach or roasted peppers to add color, flavor, and nutrients to your roll ups.
- Seasoned Butter: Mix in garlic powder or Italian herbs with melted butter for an aromatic brush before toasting.
- Spicy Kick: Add a dash of hot sauce or pickled jalapeños inside your roll ups for a delightful heat that adds excitement!
- Sweet Side: Try drizzling a bit of honey over the cooked roll ups for a sweet-and-salty contrast that’s sure to impress.
- Stuff with Cheese Spreads: Experiment with soft cheese spreads like herbed cream cheese for a delightful, creamy texture.
- Tomato Relish Dipping Sauce: Serve with a homemade Tomato Soup to perfectly complement the roll ups, enhancing that comforting flavor.
Now you can create the grilled cheese roll ups of your dreams; your family is sure to love these variations!
Grilled Cheese Roll Ups Recipe FAQs
What type of bread is best for Grilled Cheese Roll Ups?
Absolutely! To achieve the best texture, use soft, pliable bread like white or whole wheat. Avoid stale bread or heavily crusted varieties, as they won’t roll easily and might tear during preparation.
How can I store leftover Grilled Cheese Roll Ups?
Very! Store any leftovers in an airtight container in the refrigerator for up to 3 days. When you’re ready to enjoy, reheat them in a skillet over medium heat for the crispiest result—this will keep those delicious edges crunchy!
Can I freeze Grilled Cheese Roll Ups?
Yes, of course! For longer storage, wrap uncooked roll ups tightly in plastic wrap, then place them in a freezer-safe bag. They can be frozen for up to a month. When you’re ready to munch, cook them straight from the freezer in a skillet over medium heat for about 4-5 minutes on each side until golden and warm.
What if my bread tears while rolling?
No worries at all! If you encounter a tear, simply adjust your technique. Ensure you are using fresh bread and roll it more gently, applying light pressure with the rolling pin. If the bread is too thick or stale, switch to a softer, thinner slice for better results.
Are there any dietary considerations for Grilled Cheese Roll Ups?
Absolutely! If you’re cooking for someone with dairy allergies, consider using dairy-free cheese alternatives. For those who are gluten-sensitive, gluten-free bread can work beautifully as well. Always check the ingredients of your chosen bread and cheese to accommodate any dietary needs.
Grilled Cheese Roll Ups: Irresistibly Cheesy & Dippable Delight
Ingredients
Equipment
Method
- Flatten the bread by rolling each slice to about 1/4-inch thickness.
- Assemble cheese filling by placing cheese on each slice and add any extra fillings. Roll tightly.
- Prepare skillet by melting unsalted butter over medium heat.
- Cook roll ups seam-side down for 2-3 minutes until golden brown, then flip and cook the other side.
- Serve immediately with desired dips after slicing into pieces.
Leave a Reply