
Summer days call for desserts that are as refreshing as they are delicious, and that’s where my No-Bake Ice Cream Sandwich Cake comes into play. With just 15 minutes of prep and no oven required, this is the ultimate easy dessert for any hot day—perfect for birthdays, cookouts, or simply cooling off. Picture layers of classic vanilla ice cream sandwiches embraced by rich chocolate fudge and fluffy pudding; it’s a guaranteed crowd-pleaser that will vanish faster than you can say “seconds, please!” Plus, you can customize your toppings to make it even more special, adding a fun twist to an already delightful treat. Ready to dive into this creamy, indulgent ensemble? Let’s make your summer gatherings unforgettable!
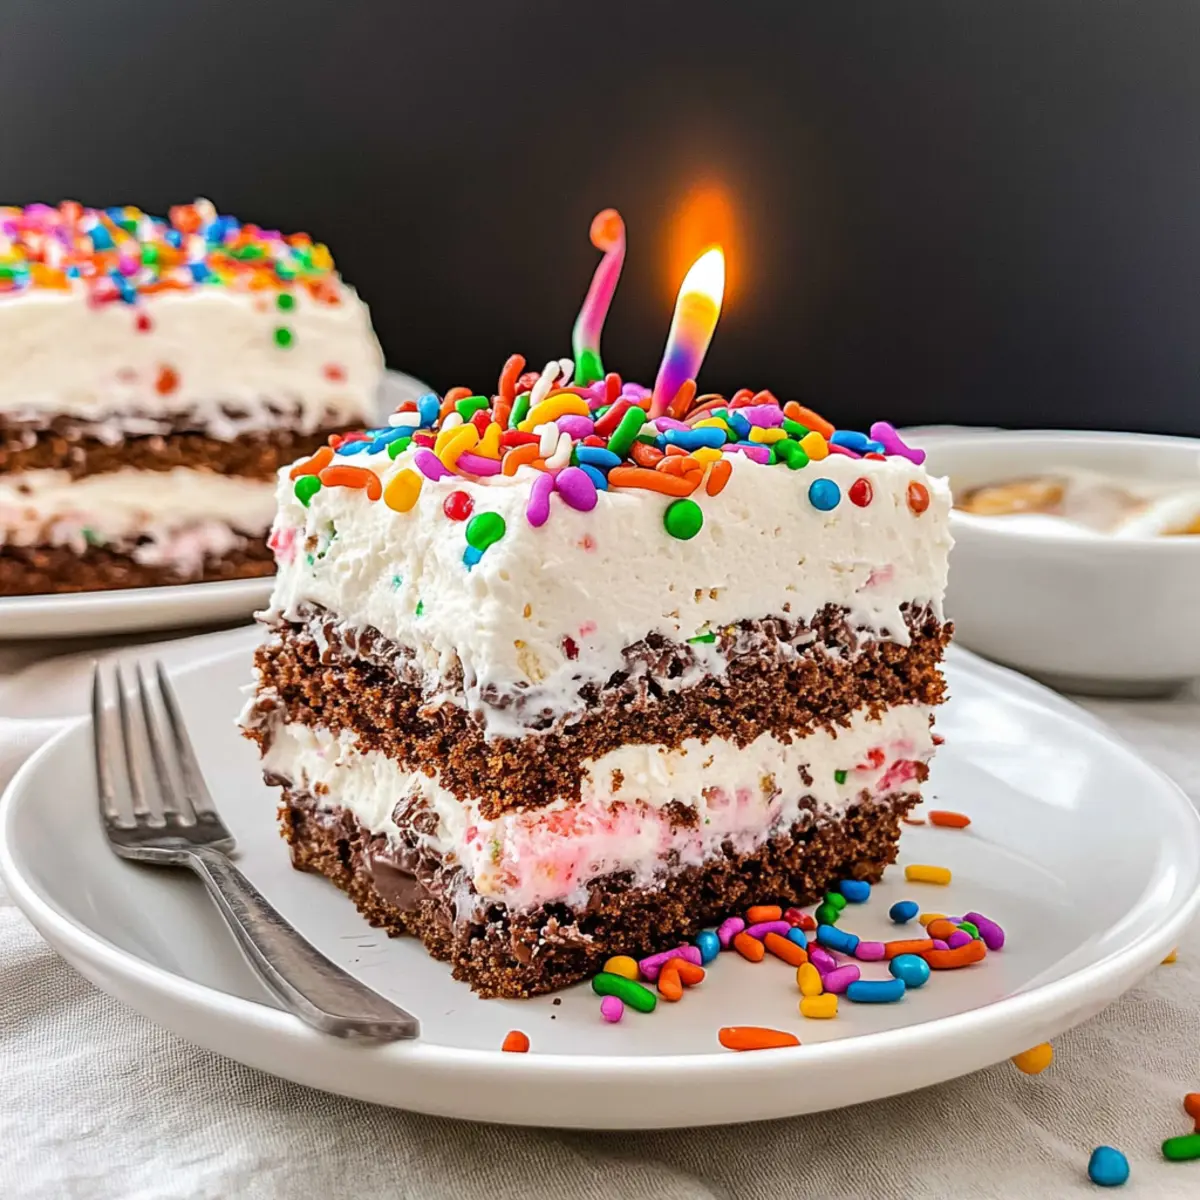
Why is Ice Cream Sandwich Cake a Must-Try?
No-Bake Brilliance: This recipe requires no baking, making it incredibly simple for anyone to whip up in just 15 minutes.
Ultimate Crowd-Pleaser: Perfect for summer gatherings, the layers of ice cream sandwiches and rich chocolate fudge will have your guests raving and coming back for more!
Customizable Fun: Add your favorite toppings, from rainbow sprinkles to crushed cookies, which allows you to create your own unique twist.
Cool & Creamy Delight: Each slice delivers a refreshing ice cream flavor and a smooth texture that’s ideal for hot days, much like my Carrot Cream Cake or Pumpkin Cream Cheese.
Stress-Free Dessert: With minimal preparation and no fuss, this cake frees up your time for other summer activities, so you can enjoy your gathering without being tethered to the kitchen!
Ice Cream Sandwich Cake Ingredients
For the Pudding Layer
• Instant Chocolate Pudding Mix – Provides chocolatey flavor and creamy texture; a perfect base for the cake.
• Unsweetened Cocoa Powder – Enhances the chocolate flavor; make sure it’s unsweetened for balanced sweetness.
• Half-and-Half – Creates a rich, creamy pudding; whole milk can be used as a lighter substitute.
• Cool Whip (16 oz, thawed and divided) – Adds a fluffy topping and layers; homemade whipped cream can also work.
For the Cake Base
• Vanilla Ice Cream Sandwiches (19, regular size) – The main structure of the cake; regular size ensures proper layering.
• Hot Fudge Topping (½ cup, at room temperature) – Adds extra richness without warming; keep its texture intact.
For the Fun Toppings
• Rainbow Sprinkles (½ cup) – Provides a colorful, festive touch; optional but highly recommended for kids!
• Optional Toppings – M&Ms, chopped candy bars, caramel sauce, or any favorite treats offer endless personalization options.
This Ice Cream Sandwich Cake is a delightful way to enjoy summer, with its refreshing flavors bringing joy to any gathering!
Step‑by‑Step Instructions for Ice Cream Sandwich Cake
Step 1: Prep the Dish
Begin by lining an extra deep 9×13-inch baking dish with parchment paper, allowing some overhang for easy removal later. This preparation step is crucial as it prevents sticking and ensures a beautiful presentation when you serve your Ice Cream Sandwich Cake. Take your time to smooth out the parchment for an even base.
Step 2: Make Pudding Mixture
In a medium bowl, whisk together the instant chocolate pudding mix and unsweetened cocoa powder until well combined. Gradually add in the half-and-half and mix until the pudding thickens and becomes creamy, about 2-3 minutes. Gently fold in half of the Cool Whip and half of the rainbow sprinkles, then set this delightful mixture aside to prepare for layering.
Step 3: Layer Ice Cream Sandwiches
Carefully arrange a single, even layer of the vanilla ice cream sandwiches in the bottom of your prepared baking dish. If necessary, trim the sandwiches to fit snugly without any gaps. This first layer will form the base of your Ice Cream Sandwich Cake, ensuring that every slice has that delicious ice cream texture.
Step 4: Add Fudge and Pudding Layers
Spread a generous layer of hot fudge topping over the ice cream sandwiches, ensuring even coverage. Next, spread the prepared pudding mixture on top of the fudge, creating a beautiful contrast of flavors. Place the dish in the freezer for about 20 minutes, allowing the pudding layer to set up properly before adding the next layer.
Step 5: Repeat Layers
After the pudding has set, add another layer of ice cream sandwiches on top of the pudding. Drizzle the remaining hot fudge over this new layer and follow with the remaining Cool Whip, carefully smoothing it across to create a clean finish. This second layer not only adds height but enriches the decadent taste of the Ice Cream Sandwich Cake.
Step 6: Freeze
Cover the entire baking dish tightly with plastic wrap or a lid, and place it in the freezer. Let your Ice Cream Sandwich Cake freeze for at least 2 hours to firm up completely. This freezing step is essential to ensure a perfect slice when you’re ready to serve, maintaining the structure of the layers you’ve carefully built.
Step 7: Serve
When you’re ready to enjoy this refreshing treat, remove the Ice Cream Sandwich Cake from the freezer. Before slicing, feel free to add your choice of optional toppings, such as extra sprinkles or chopped candy bars for an extra festive touch. Cut into squares, and delight in the chilled, creamy layers that will be a hit with everyone!
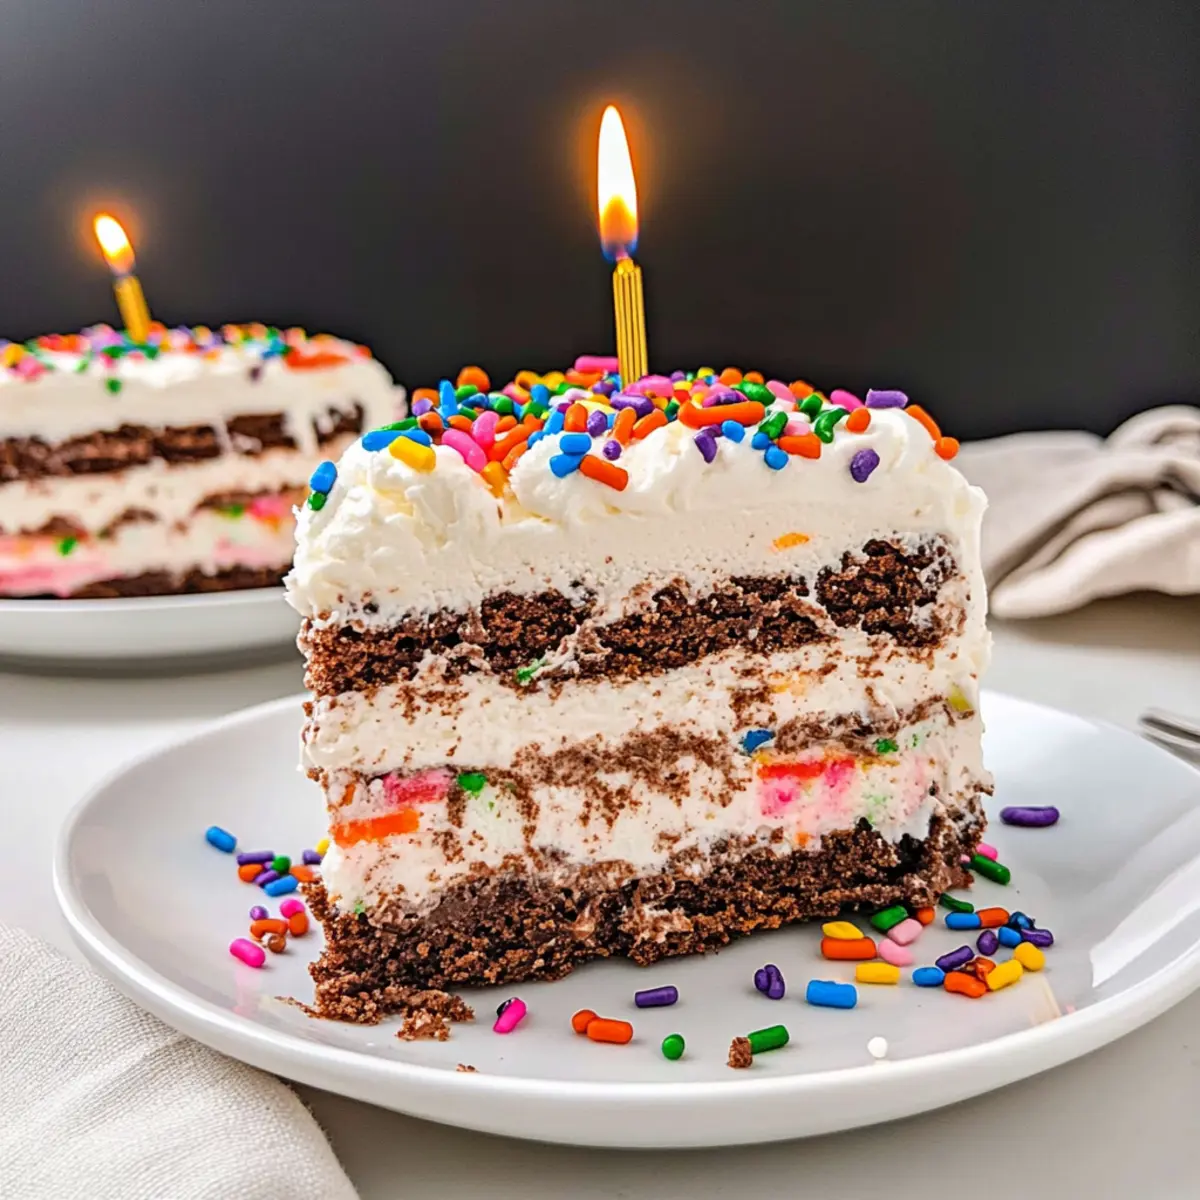
Make Ahead Options
These Ice Cream Sandwich Cake preparations are a game-changer for busy home cooks! You can assemble the entire cake and freeze it up to 3 days in advance, making it ideal for last-minute gatherings or busy weeknights. Simply complete all layers up to the freezing step, then cover the dish tightly to prevent ice crystals from forming. When ready to serve, just remove it from the freezer, let it sit for about 10 minutes for easier slicing, and add any desired toppings before cutting. This way, you maintain that irresistible creamy texture and delightful flavor—all while saving time for those special moments with family and friends!
Ice Cream Sandwich Cake Variations
Feel free to make this recipe your own by exploring these exciting variations and substitutions!
-
Vanilla Twist: Swap chocolate pudding for vanilla pudding to lighten the flavor and create a delicious alternative. This simple change brightens the cake and allows the vanilla ice cream sandwiches to shine.
-
Nutty Crunch: Add crushed nuts or granola between layers for a delightful crunch. The texture richness complements the creaminess of the pudding, enhancing each bite.
-
Minty Fresh: Try mint chocolate chip ice cream sandwiches for a refreshing twist. This variation brings a coolness that’s perfect for hot summer days, reminiscent of a classic mint dessert.
-
Fruit Fusion: Layer fresh berries, like strawberries or raspberries, alongside the pudding for a burst of fruitiness. This adds vibrant color and a fruity contrast to the sweet, creamy layers.
-
Coffee Kick: Amp up the flavor with mocha pudding by mixing instant coffee granules into the chocolate pudding. This results in a decadent coffee-flavored dessert that’s perfect for coffee lovers!
-
Crushed Treats: Customize your toppings with crushed cookies or candy bars for added flair. Try incorporating crushed Oreos or M&Ms for a fun, playful texture that kids will love.
-
Extra Fudge: Don’t be shy with the hot fudge! Double the amount for chocolate lovers who crave an immensely rich dessert experience, elevating the indulgence factor.
-
Decadent Caramel: Drizzle caramel sauce between layers for a sweet surprise. This luscious addition balances the richness and creates a creamy contrast that simply melts in your mouth.
Each of these variations can make your Ice Cream Sandwich Cake feel unique and special. And while you’re at it, you might like to check out a recipe for Light Choux Cream or indulge in Pan Basque Cheesecake for more delightful desserts that will impress your guests. Let your imagination lead the way!
Expert Tips for Ice Cream Sandwich Cake
-
Layering Technique: Ensure all layers are even for a beautiful slice. Uneven layers may cause the cake to collapse when served.
-
Cool Whip Alternatives: If using homemade whipped cream, ensure it’s stabilized with a little powdered sugar to maintain its texture, especially in warmer weather.
-
Freezing Time: Give the cake enough time to freeze completely, at least 2 hours. This will help it hold its shape and make for cleaner slices.
-
Custom Flavor Combinations: Feel free to experiment with flavored ice cream sandwiches, like cookies and cream or mint, to create unique variations of the Ice Cream Sandwich Cake.
-
Add Fun Elements: Don’t hesitate to personalize with toppings like crushed cookies or chocolate chips for extra texture and fun for kids and adults alike!
Storage Tips for Ice Cream Sandwich Cake
Fridge: Keep any leftovers covered and stored in the fridge for up to 3 days, but don’t expect it to last that long—it’s that good!
Freezer: For longer storage, wrap the cake tightly in plastic wrap and aluminum foil, keeping it in the freezer for up to 2 months to prevent freezer burn.
Serving: When ready to serve from the freezer, let your Ice Cream Sandwich Cake sit at room temperature for about 10 minutes for easier slicing.
Reheating: This cake is best enjoyed straight from the freezer, keeping the lovely cold, creamy texture intact—perfect for those hot summer days!
What to Serve with Ice Cream Sandwich Cake?
Summer gatherings are best experienced with complementary delights that elevate your dessert experience and bring joy to the table.
-
Fresh Berries: A vibrant mix of strawberries, blueberries, and raspberries adds a tart contrast to the creamy sweetness of the cake.
-
Chocolate-Covered Pretzels: The salty crunch of pretzels dipped in chocolate balances the rich layers of the cake, offering a fun textural contrast.
-
Chilled Lemonade: A refreshing drink that cuts through the richness of the dessert, providing a bright, zesty counterpoint to every forkful of cake.
-
Fruit Salad: A light and colorful assortment of seasonal fruits adds a refreshing burst of flavors, making each bite even more enjoyable.
-
Ice Cream Scoop: Serve a scoop of vanilla or chocolate ice cream alongside for an extra creamy indulgence, creating a delightful duo that’s hard to resist.
-
Mini Brownies: These fudgy bites pair perfectly with the cold layers of the Ice Cream Sandwich Cake, giving a rich chocolate punch to your dessert spread.
-
Sun Tea: A lightly brewed herbal iced tea offers a herbal sweetness that enhances the cake’s chocolatey notes, turning your dessert into a serene summer treat.
With these pairing ideas, your Ice Cream Sandwich Cake is sure to be the star of the show, complementing every serving with bright and delightful flavors!
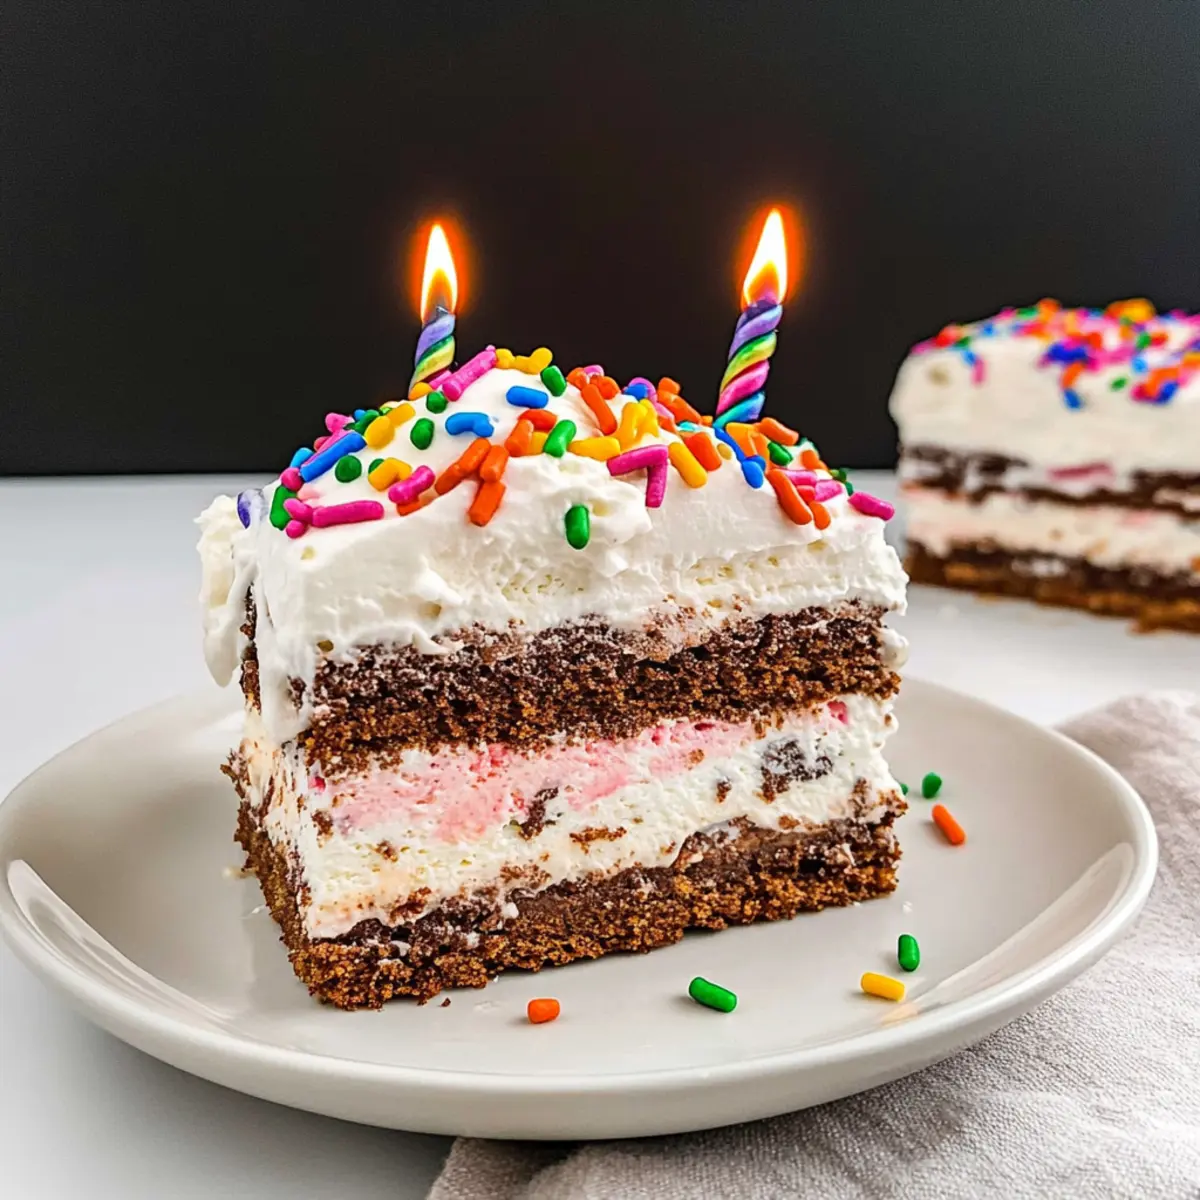
Ice Cream Sandwich Cake Recipe FAQs
What type of ice cream sandwiches should I use?
I recommend using regular-sized vanilla ice cream sandwiches for this Ice Cream Sandwich Cake. They provide the ideal structure and flavor profile. If you’re feeling adventurous, consider trying flavored sandwiches like cookies and cream or mint for a fun twist!
How should I store any leftovers?
Keep your leftover Ice Cream Sandwich Cake tightly wrapped in the freezer. It will stay fresh for up to 2 months when properly stored. To serve, let it sit at room temperature for about 10 minutes before slicing for easier portions. Enjoy every last bite, but I’m sure it won’t last long!
Can I substitute any ingredients?
Absolutely! You can substitute the chocolate pudding mix with vanilla pudding for a different taste experience. If you’re looking for a lighter option, using whole milk instead of half-and-half will work, although the pudding may be slightly less rich. Additionally, you can swap out Cool Whip for homemade whipped cream—just make sure to stabilize it a bit with powdered sugar to maintain its shape.
How do I freeze this cake correctly?
To ensure your Ice Cream Sandwich Cake freezes perfectly, first cover the baking dish tightly with plastic wrap and aluminum foil. This prevents freezer burn and preserves flavor. Freeze it for at least 2 hours for all the layers to firm up, ensuring each slice holds its shape when served. If you’re planning to keep it for a longer period, try not to exceed 2 months in the freezer.
Are there any dietary considerations for this recipe?
If you’re serving this cake to children or guests with allergies, it’s good to note that the Ice Cream Sandwich Cake contains dairy and may include gluten, depending on the ice cream sandwiches you choose. For a gluten-free alternative, look for gluten-free ice cream sandwiches and make sure any additional toppings are also free of allergens. Always check labels to accommodate dietary restrictions!
How can I make my cake visually appealing?
Layering is key for a stunning presentation! Ensure each layer is even and smooth, and don’t skimp on the toppings. A sprinkle of rainbow sprinkles or a drizzle of caramel sauce adds color and flair. You can also crush up some candy bars or add M&Ms on top for an extra pop—it’s all about letting your creativity shine!
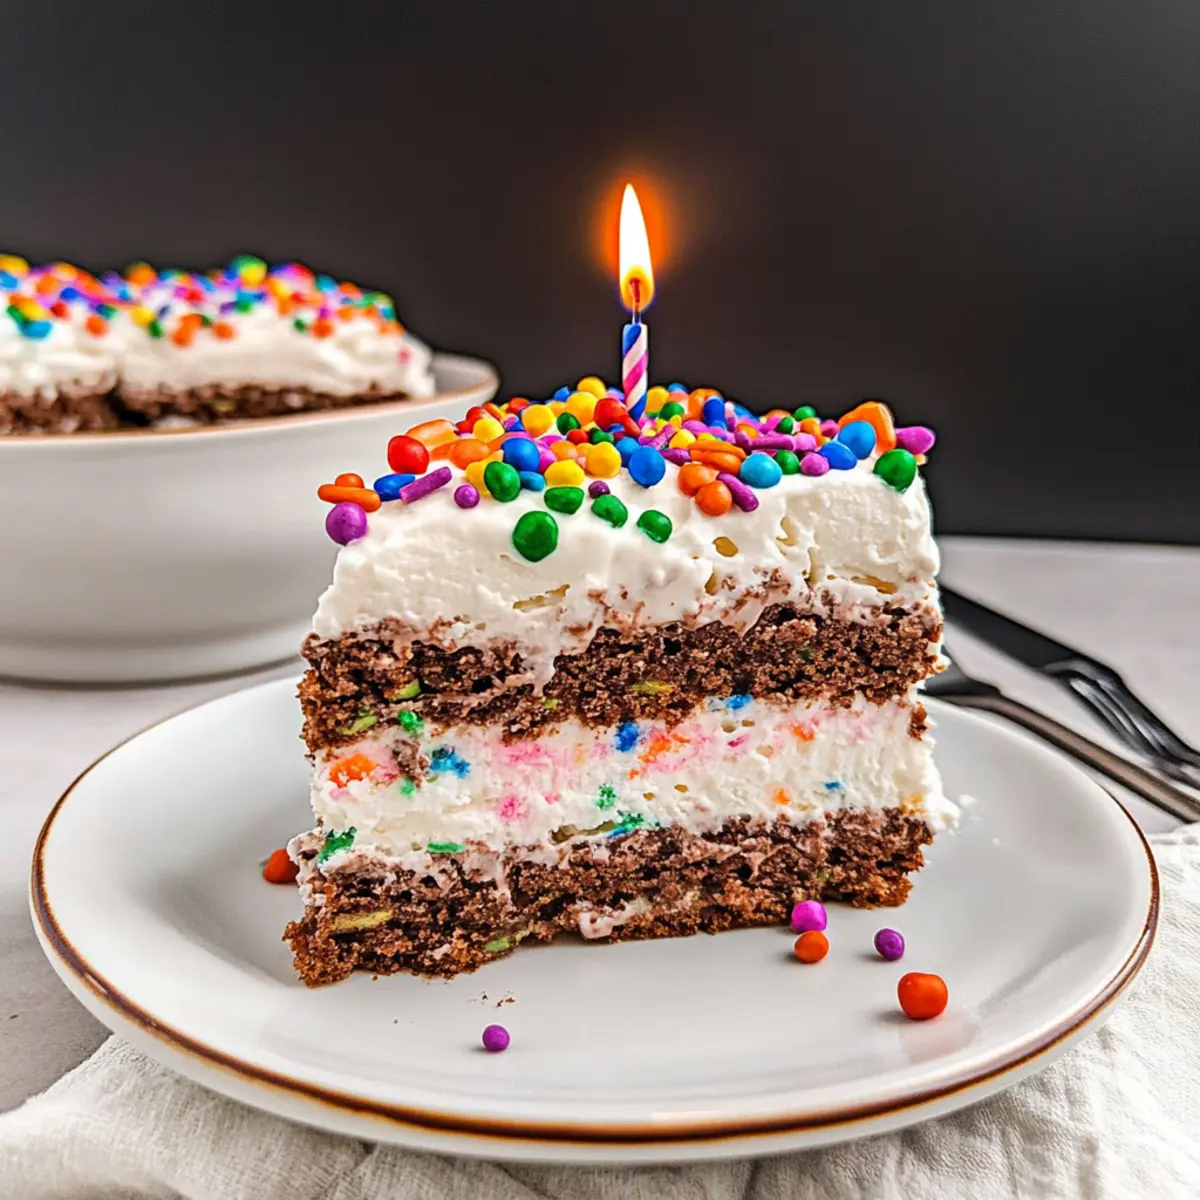
Delicious Ice Cream Sandwich Cake: The No-Bake Summer Star
Ingredients
Equipment
Method
- Prep the Dish: Line an extra deep 9x13-inch baking dish with parchment paper, allowing some overhang for easy removal.
- Make Pudding Mixture: Whisk together the instant chocolate pudding mix and cocoa powder, then gradually add half-and-half. Fold in Cool Whip and sprinkles.
- Layer Ice Cream Sandwiches: Arrange a layer of ice cream sandwiches in the bottom of the prepared baking dish, trimming if necessary.
- Add Fudge and Pudding Layers: Spread hot fudge over the sandwiches, then top with the pudding mixture. Freeze for about 20 minutes.
- Repeat Layers: Add another layer of ice cream sandwiches, drizzle with hot fudge, and spread remaining Cool Whip.
- Freeze: Cover tightly and freeze for at least 2 hours to firm up.
- Serve: Remove from the freezer, add optional toppings if desired, and cut into squares to serve.
Leave a Reply