
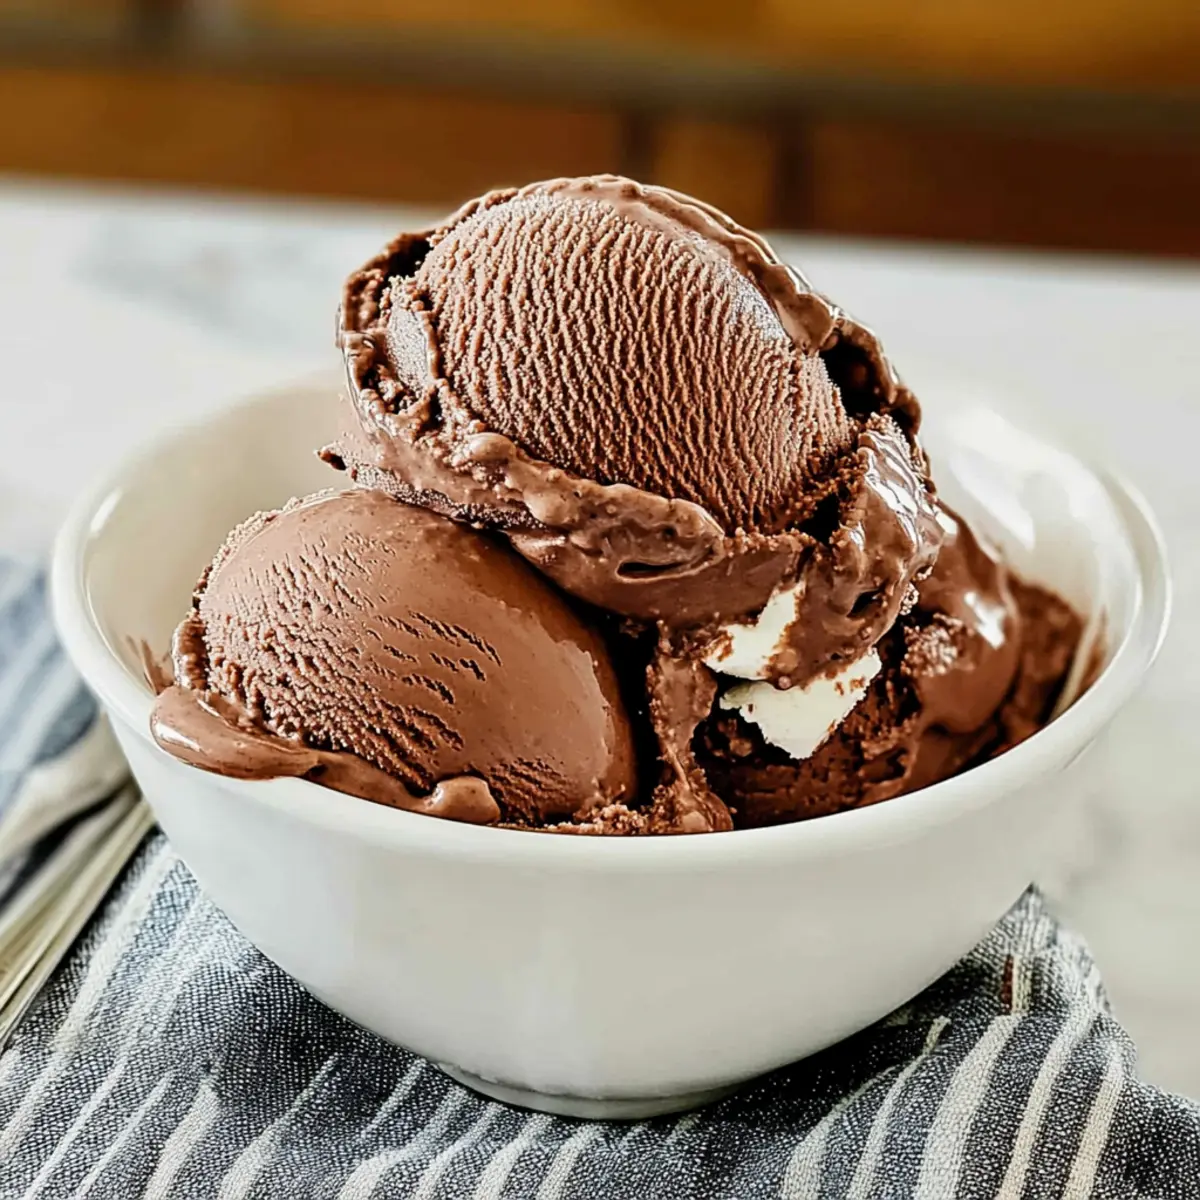
As I stood in my kitchen, my heart raced with excitement at the thought of creating a dessert that would transport me back to my childhood summers. Enter the Easy No-Cook Chocolate Ice Cream, a creamy, rich treat that celebrates the essence of simplicity while banishing the need for any cooking at all. The best part? This delightful dessert is completely egg-free, making it a guilt-free indulgence that’s perfect for those sweltering days when the last thing you want to do is turn on the oven. With quick prep and limitless mix-in possibilities—think cookies, nuts, or even fresh fruit—this recipe offers both convenience and endless customization. Are you ready to scoop up some joy and create your own sweet masterpiece?
Why is this ice cream so delightful?
Simplicity at Its Finest: This no-cook chocolate ice cream requires minimal effort, perfect for busy days when cravings strike.
Rich, Creamy Texture: The combination of heavy cream and cocoa creates a lusciously smooth dessert that melts beautifully in your mouth.
Endlessly Customizable: Add your favorite mix-ins—like cookies or fruits—to give each scoop a personal touch. For more delightful ideas, don’t miss out on our recipes for Chocolate Chip Banana Bars or Pumpkin Cream Cheese.
Crowd Pleaser: Whether for a summer gathering or a cozy family night, this dessert is sure to impress with its rich flavor and visual appeal.
Quick Freeze Time: With just a few hours of chill time, you can create this delightful treat without waiting long to indulge!
No-Cook Chocolate Ice Cream Ingredients
• Here’s what you’ll need to create this luscious treat:
For the Base
- Unsweetened Cocoa Powder – Gives the ice cream its rich chocolate flavor; using Dutch-process cocoa will create a milder taste.
- Brown Sugar – Adds depth of flavor; you can substitute it with coconut sugar if preferred.
- Granulated Sugar – Sweetens the mix; feel free to adjust to your taste.
- Milk – The base liquid that brings creaminess; whole milk is ideal, but 2% will work too.
- Heavy Cream – Essential for that rich, smooth texture; avoid using light cream or half & half for best results.
- Vanilla Extract – Adds a layer of flavor complexity; almond extract can be a delightful substitute.
- Pinch of Salt – Enhances flavor and balances the sweetness.
Optional Mix-Ins
- Chopped Cookies – Introduce textures; Oreos or Nutter Butter cookies add a crunchy surprise!
- Reese’s Peanut Butter Cups – For a sweet and salty twist; chop them up and swirl right in!
- Fresh Fruits – Adding berries or bananas brings a refreshing touch to the ice cream.
- Nuts – Chopped nuts like walnuts or pecans can add both flavor and crunch!
Dive into this No-Cook Chocolate Ice Cream creation with these delicious ingredients, and let your imagination run wild with mix-ins!
Step‑by‑Step Instructions for No-Cook Chocolate Ice Cream
Step 1: Whisk Together the Dry Ingredients
In a large mixing bowl, combine 1 cup of unsweetened cocoa powder, 3/4 cup of brown sugar, and 1/2 cup of granulated sugar. Use a whisk to blend these dry ingredients thoroughly until they are well combined and free of lumps. This step is crucial for achieving a smooth texture in your No-Cook Chocolate Ice Cream.
Step 2: Incorporate the Milk
Gradually pour in 2 cups of whole milk to the bowl with your dry mixture, whisking continuously. This incorporation should happen slowly to avoid clumping and ensure a smooth consistency. Once well combined, the mixture should be free of any dry cocoa particles, resulting in a thick, chocolatey liquid.
Step 3: Add Cream and Flavorings
Next, pour in 2 cups of heavy cream along with 1 teaspoon of vanilla extract and a pinch of salt. Continue whisking until the mixture is silky and completely homogenized. The addition of heavy cream is key to achieving the luscious texture you want in your No-Cook Chocolate Ice Cream.
Step 4: Chill the Mixture
Cover the bowl with plastic wrap and place it in the refrigerator for at least 2 hours, or until the mixture is very cold. This chilling step is essential for preventing ice crystals from forming during the churning process, ensuring that your No-Cook Chocolate Ice Cream turns out creamy and smooth.
Step 5: Churn the Ice Cream
Once chilled, transfer the mixture to your ice cream maker and churn according to the manufacturer’s instructions, usually around 20-25 minutes. You’ll know it’s ready when the ice cream thickens to a soft-serve consistency, showcasing a rich, velvety texture with deep chocolate tones.
Step 6: Freeze Until Firm
After churning, transfer the ice cream into a freezer-safe container. Smooth the top with a spatula, cover the container with a lid, and freeze for 3-4 hours or until firm. This final step is essential for solidifying your No-Cook Chocolate Ice Cream, allowing you to scoop generous servings once complete.
Step 7: Serve and Enjoy
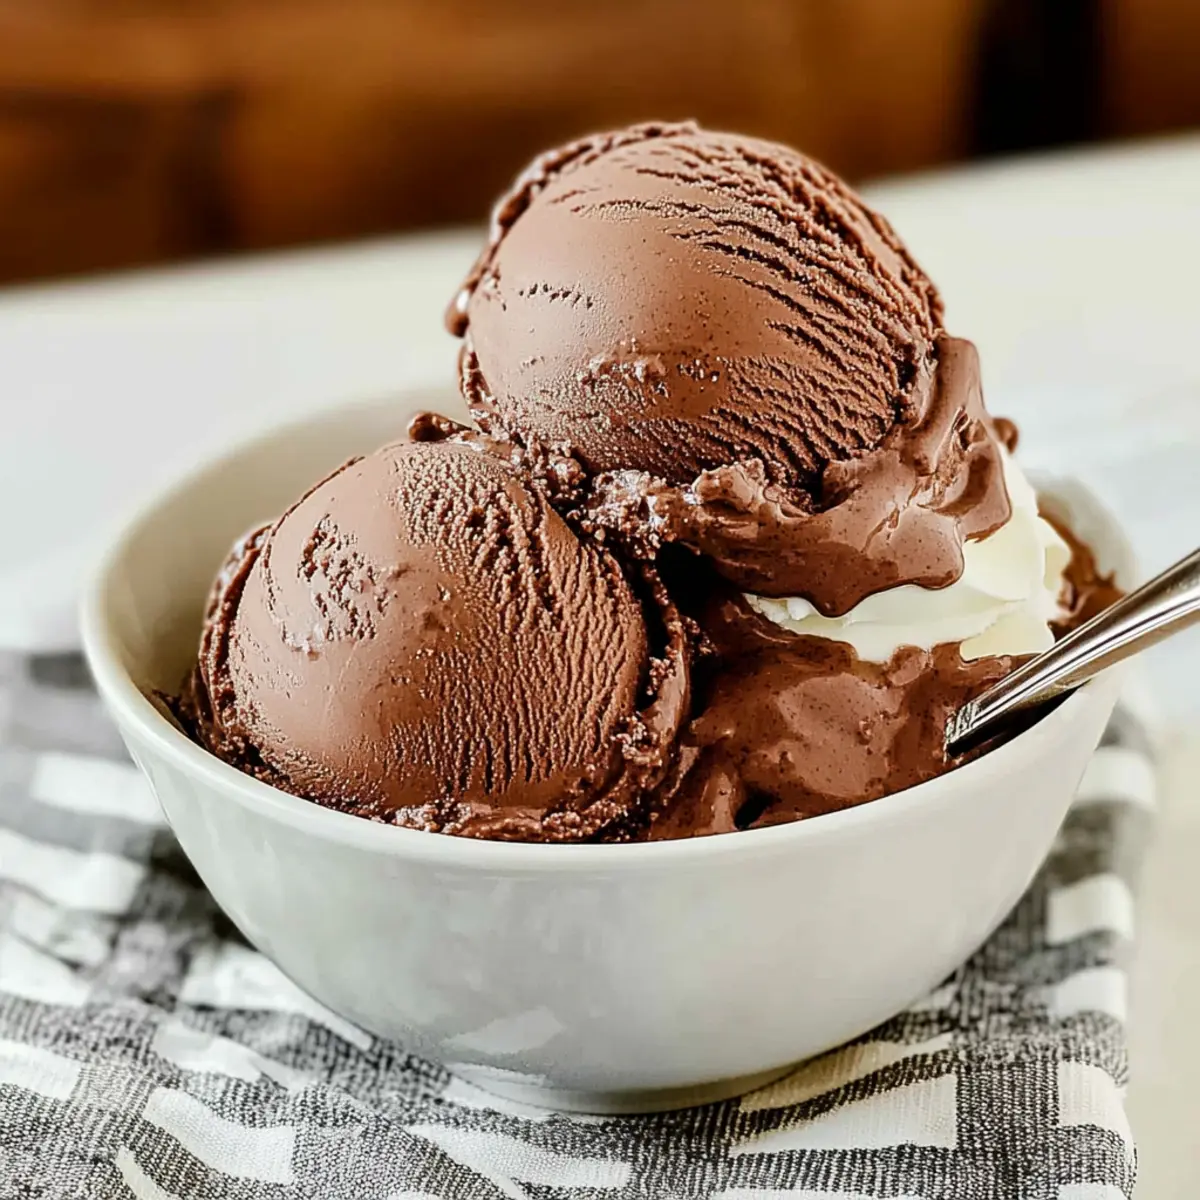
When ready to serve, let the ice cream sit at room temperature for a few minutes to soften slightly for easier scooping. Dish it up in bowls, and consider adding toppings like whipped cream or chocolate syrup for an extra delicious touch. Your homemade No-Cook Chocolate Ice Cream is now ready to delight everyone!
No-Cook Chocolate Ice Cream Variations
Feel free to put your own spin on this chocolate delight with these fun and delicious variations!
- Dairy-Free: Substitute almond milk and coconut cream for a creamy yet dairy-free treat that everyone can enjoy.
- Sugar-Free: Use a sugar substitute like stevia or erythritol for a guilt-free scoop without compromising flavor.
- Espresso Version: Add 1-2 tablespoons of instant espresso powder to the base for a delightful coffee twist that enhances the chocolate profile.
- Mint Chocolate: Swap vanilla extract for peppermint extract and stir in chocolate chips for a fresh and invigorating mint chocolate flavor.
- Nutty Crunch: Fold in some crushed pretzels or walnuts for a salty bite that contrasts beautifully with the sweet chocolate base. Think of how lovely it would be alongside our decadent Dark Chocolate Coffin.
- Fruit Fusion: Mix in fresh strawberries or raspberries right before freezing for a fruity burst in every bite. The berry sweetness pairs perfectly with the rich chocolate.
- Cookie Dough Swirl: Add spoonfuls of edible cookie dough during the last few minutes of churning for a playful touch.
- Spicy Chocolate: For a kick, blend in a pinch of cayenne pepper or chili powder to turn up the heat on this cold classic. It’s a delightful contrast that surprises and satisfies!
These variations not only personalize your No-Cook Chocolate Ice Cream but also elevate its deliciousness to a whole new level!
How to Store and Freeze No-Cook Chocolate Ice Cream
Airtight Container: Store your No-Cook Chocolate Ice Cream in a freezer-safe, airtight container to maintain its rich flavor and prevent freezer burn; it stays fresh for up to 2 weeks.
Scoopability: To keep the ice cream scoopable, place a piece of parchment paper directly onto the surface before sealing the container; this helps minimize ice crystal formation.
Reheating: If the ice cream hardens too much, let it sit at room temperature for 5-10 minutes before scooping. This will help restore that creamy texture.
Freezing Tips: For the best results, avoid storing this delicious treat in the door of your freezer, where temperatures fluctuate more; instead, place it on a shelf for consistent freezing.
Expert Tips for No-Cook Chocolate Ice Cream
- Chill Well: Ensure your mixture is very cold before churning; it helps achieve that creamy texture without ice crystals forming.
- Stick to Heavy Cream: Using heavy cream is crucial for a velvety finish; lighter creams may yield a grainy result, ruining your treat.
- Perfectly Measure Ingredients: Accurate measurements of cocoa and sugars prevent clumping and ensure a rich chocolate flavor in your ice cream.
- Experiment with Mix-Ins: Don’t hesitate to add cookies, fruits, or nuts; just mix them in gently after churning for added texture and flavor.
- Storage Savvy: Store your No-Cook Chocolate Ice Cream in an airtight container to maintain freshness and prevent freezer burn.
What to Serve with Easy No-Cook Chocolate Ice Cream
Indulging in a bowl of chocolate ice cream is a pure delight, but why not elevate your dessert experience even further?
- Creamy Whipped Topping: The lightness of whipped cream plays beautifully against the rich chocolate, adding an airy touch that balances sweetness.
- Chocolate-Filled pastries: Pair your ice cream with warm, flaky pastries, like chocolate croissants, for a delightful contrast of textures.
- Fresh Berries: Strawberries or raspberries bring a vibrant, tart flavor that cuts through the richness, creating a refreshing bite. The juicy burst of fruit complements the chocolate, making each spoonful even more delightful.
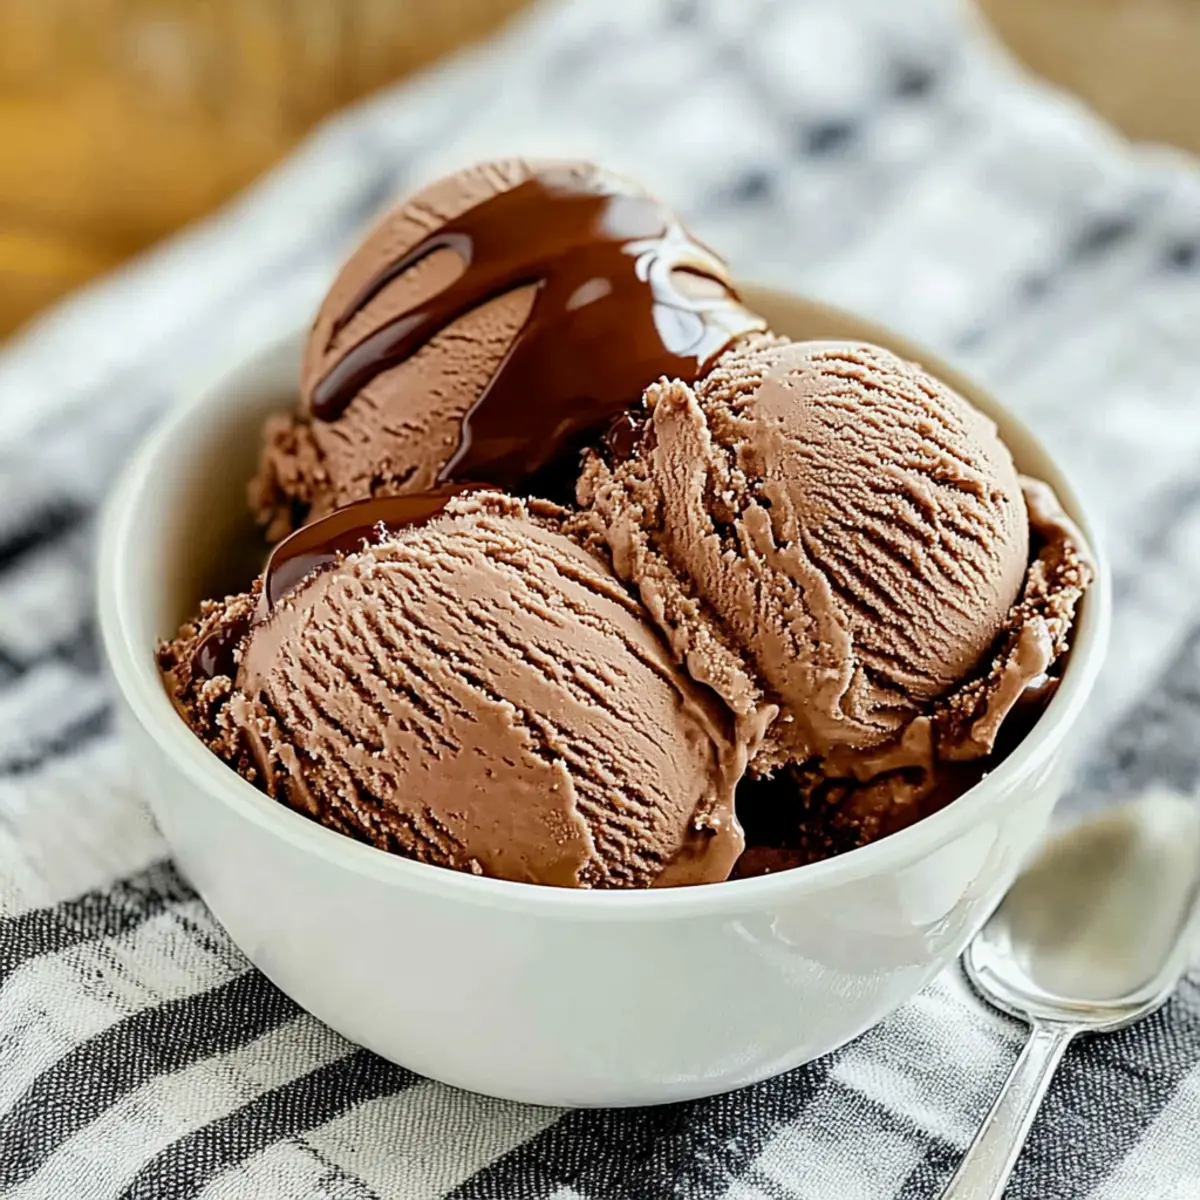
- Chocolate Sauce Drizzle: A generous drizzle of homemade or store-bought chocolate sauce intensifies the chocolate experience, making each taste even more decadent.
- Chocolate Chip Cookies: Serve with freshly baked cookies for an irresistible dessert sandwich; the warm, chewy texture pairs wonderfully with smooth, cold ice cream.
- Nutty Crumble: Add some chopped nuts as a topping; the crunch and earthy flavor enhance the overall experience, creating a flavor explosion in every bite.
- Hot Fudge: Warming up a rich fudge sauce to pour over your ice cream adds a delightful warmth and gooeyness to each scoop, transforming it into an over-the-top treat.
- Coffee or Espresso: Enjoy with a shot of espresso or coffee for an after-dinner treat; the bitterness offsets yet enriches the sweetness of the ice cream, delivering a satisfying conclusion to your meal.
Make Ahead Options
This No-Cook Chocolate Ice Cream is a fantastic option for those busy days when you crave something sweet without the fuss! You can easily prepare the ice cream mixture up to 24 hours in advance by whisking together the dry ingredients and then adding the wet ingredients before chilling it. Simply refrigerate the combined mixture until very cold (this will help enhance the creaminess). When you’re ready to indulge, churn the prepared mixture in your ice cream maker and freeze it. To ensure the best texture, remember to store the finished ice cream in a freezer-safe container, where it can stay fresh and scoopable for up to two weeks! Enjoy the pleasure of homemade dessert without the last-minute stress!
No-Cook Chocolate Ice Cream Recipe FAQs
What kind of cocoa powder should I use for the best flavor?
Absolutely! For the richest flavor, I recommend using Dutch-process unsweetened cocoa powder. It provides a milder taste compared to regular cocoa, creating a deeper chocolate flavor in your No-Cook Chocolate Ice Cream.
How should I store the ice cream to keep it fresh?
To maintain freshness, store your homemade No-Cook Chocolate Ice Cream in an airtight freezer-safe container. This way, it can last up to 2 weeks without losing its wonderful flavor. If you want to keep it ultra-fresh, place a piece of parchment paper directly on top of the ice cream before sealing the container to minimize ice crystal formation.
Can I freeze this ice cream for longer periods?
Certainly! You can freeze your No-Cook Chocolate Ice Cream for up to 3 months. Just make sure to store it in a well-sealed container to prevent freezer burn. When you’re ready to enjoy, let it sit at room temperature for about 5-10 minutes to soften before scooping.
What should I do if my ice cream turns out grainy?
If you find your ice cream has developed a grainy texture, it may be due to the use of light cream instead of heavy cream. Always stick to heavy cream for that velvety finish. Additionally, ensure that your mixture is very cold before churning; this helps to avoid ice crystal formation. If it happens, simply re-churn the ice cream once softened to see if that improves the texture.
Are there any dietary considerations for allergies?
Yes, while this No-Cook Chocolate Ice Cream is egg-free, it does contain dairy and sugar. For those with dairy allergies, you can try using alternative milks like almond or oat milk along with full-fat coconut cream to maintain the creaminess. Always check labels for potential allergens, and be cautious with mix-ins; for example, nuts or certain processed cookies may contain traces of allergens.
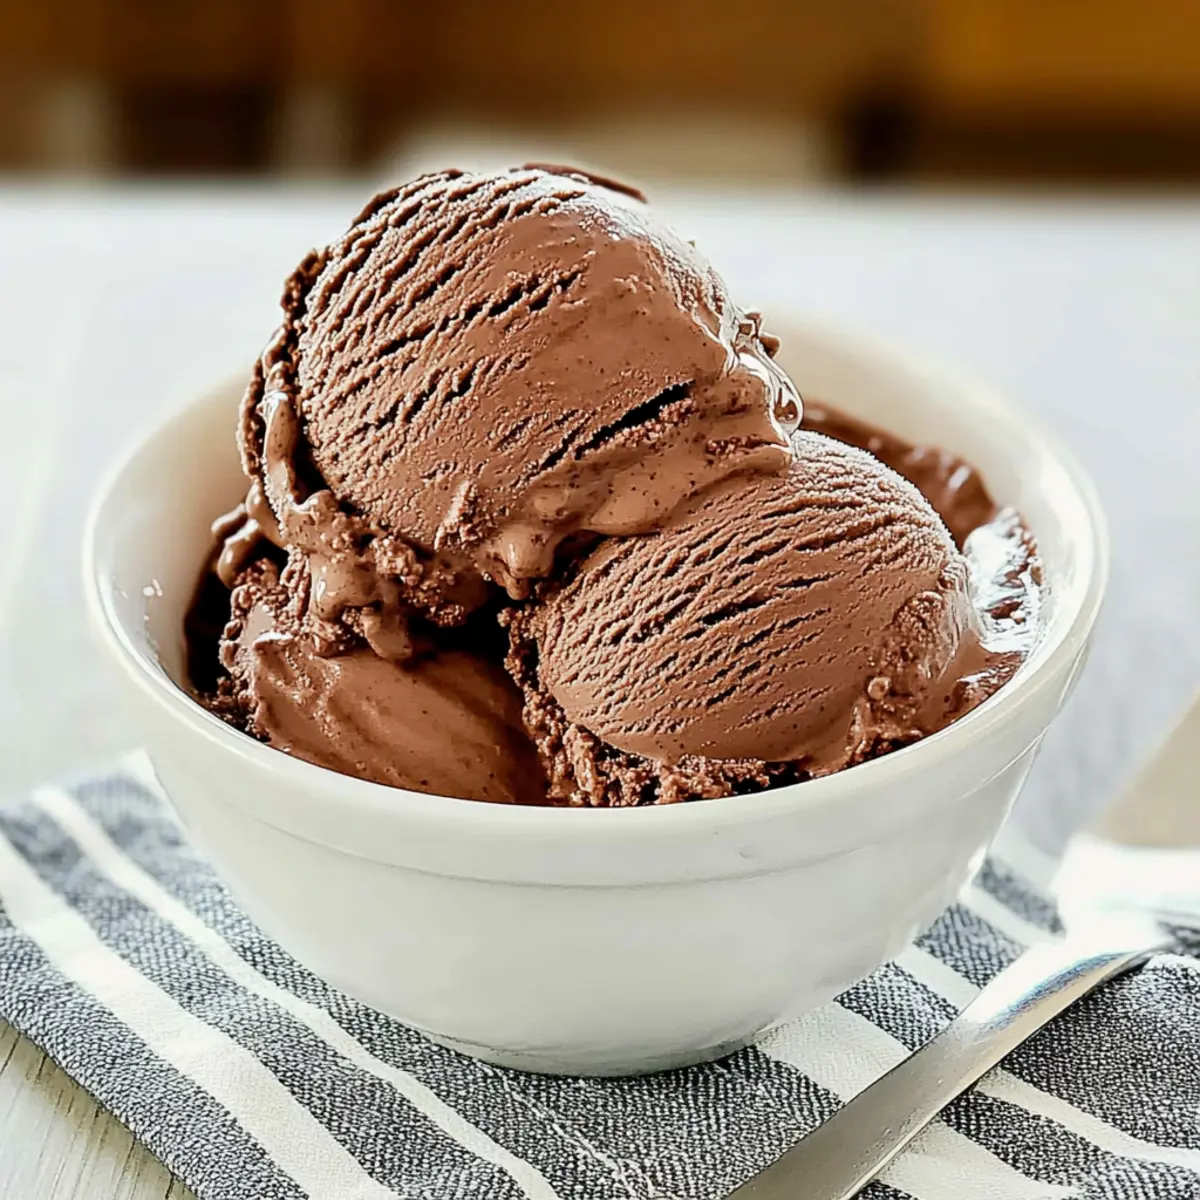
Smooth & Creamy No-Cook Chocolate Ice Cream You’ll Love
Ingredients
Equipment
Method
- Whisk together the dry ingredients in a mixing bowl until well combined.
- Gradually pour in the milk while whisking continuously to avoid clumping.
- Add in the heavy cream, vanilla extract, and a pinch of salt, whisk until silky.
- Cover and chill the mixture in the refrigerator for at least 2 hours.
- Churn the mixture in an ice cream maker according to the manufacturer's instructions.
- Transfer to a freezer-safe container and freeze for 3-4 hours until firm.
- Let sit at room temperature for a few minutes before scooping and serving.
Leave a Reply